Butterfly Wishes Tag

Bookmark

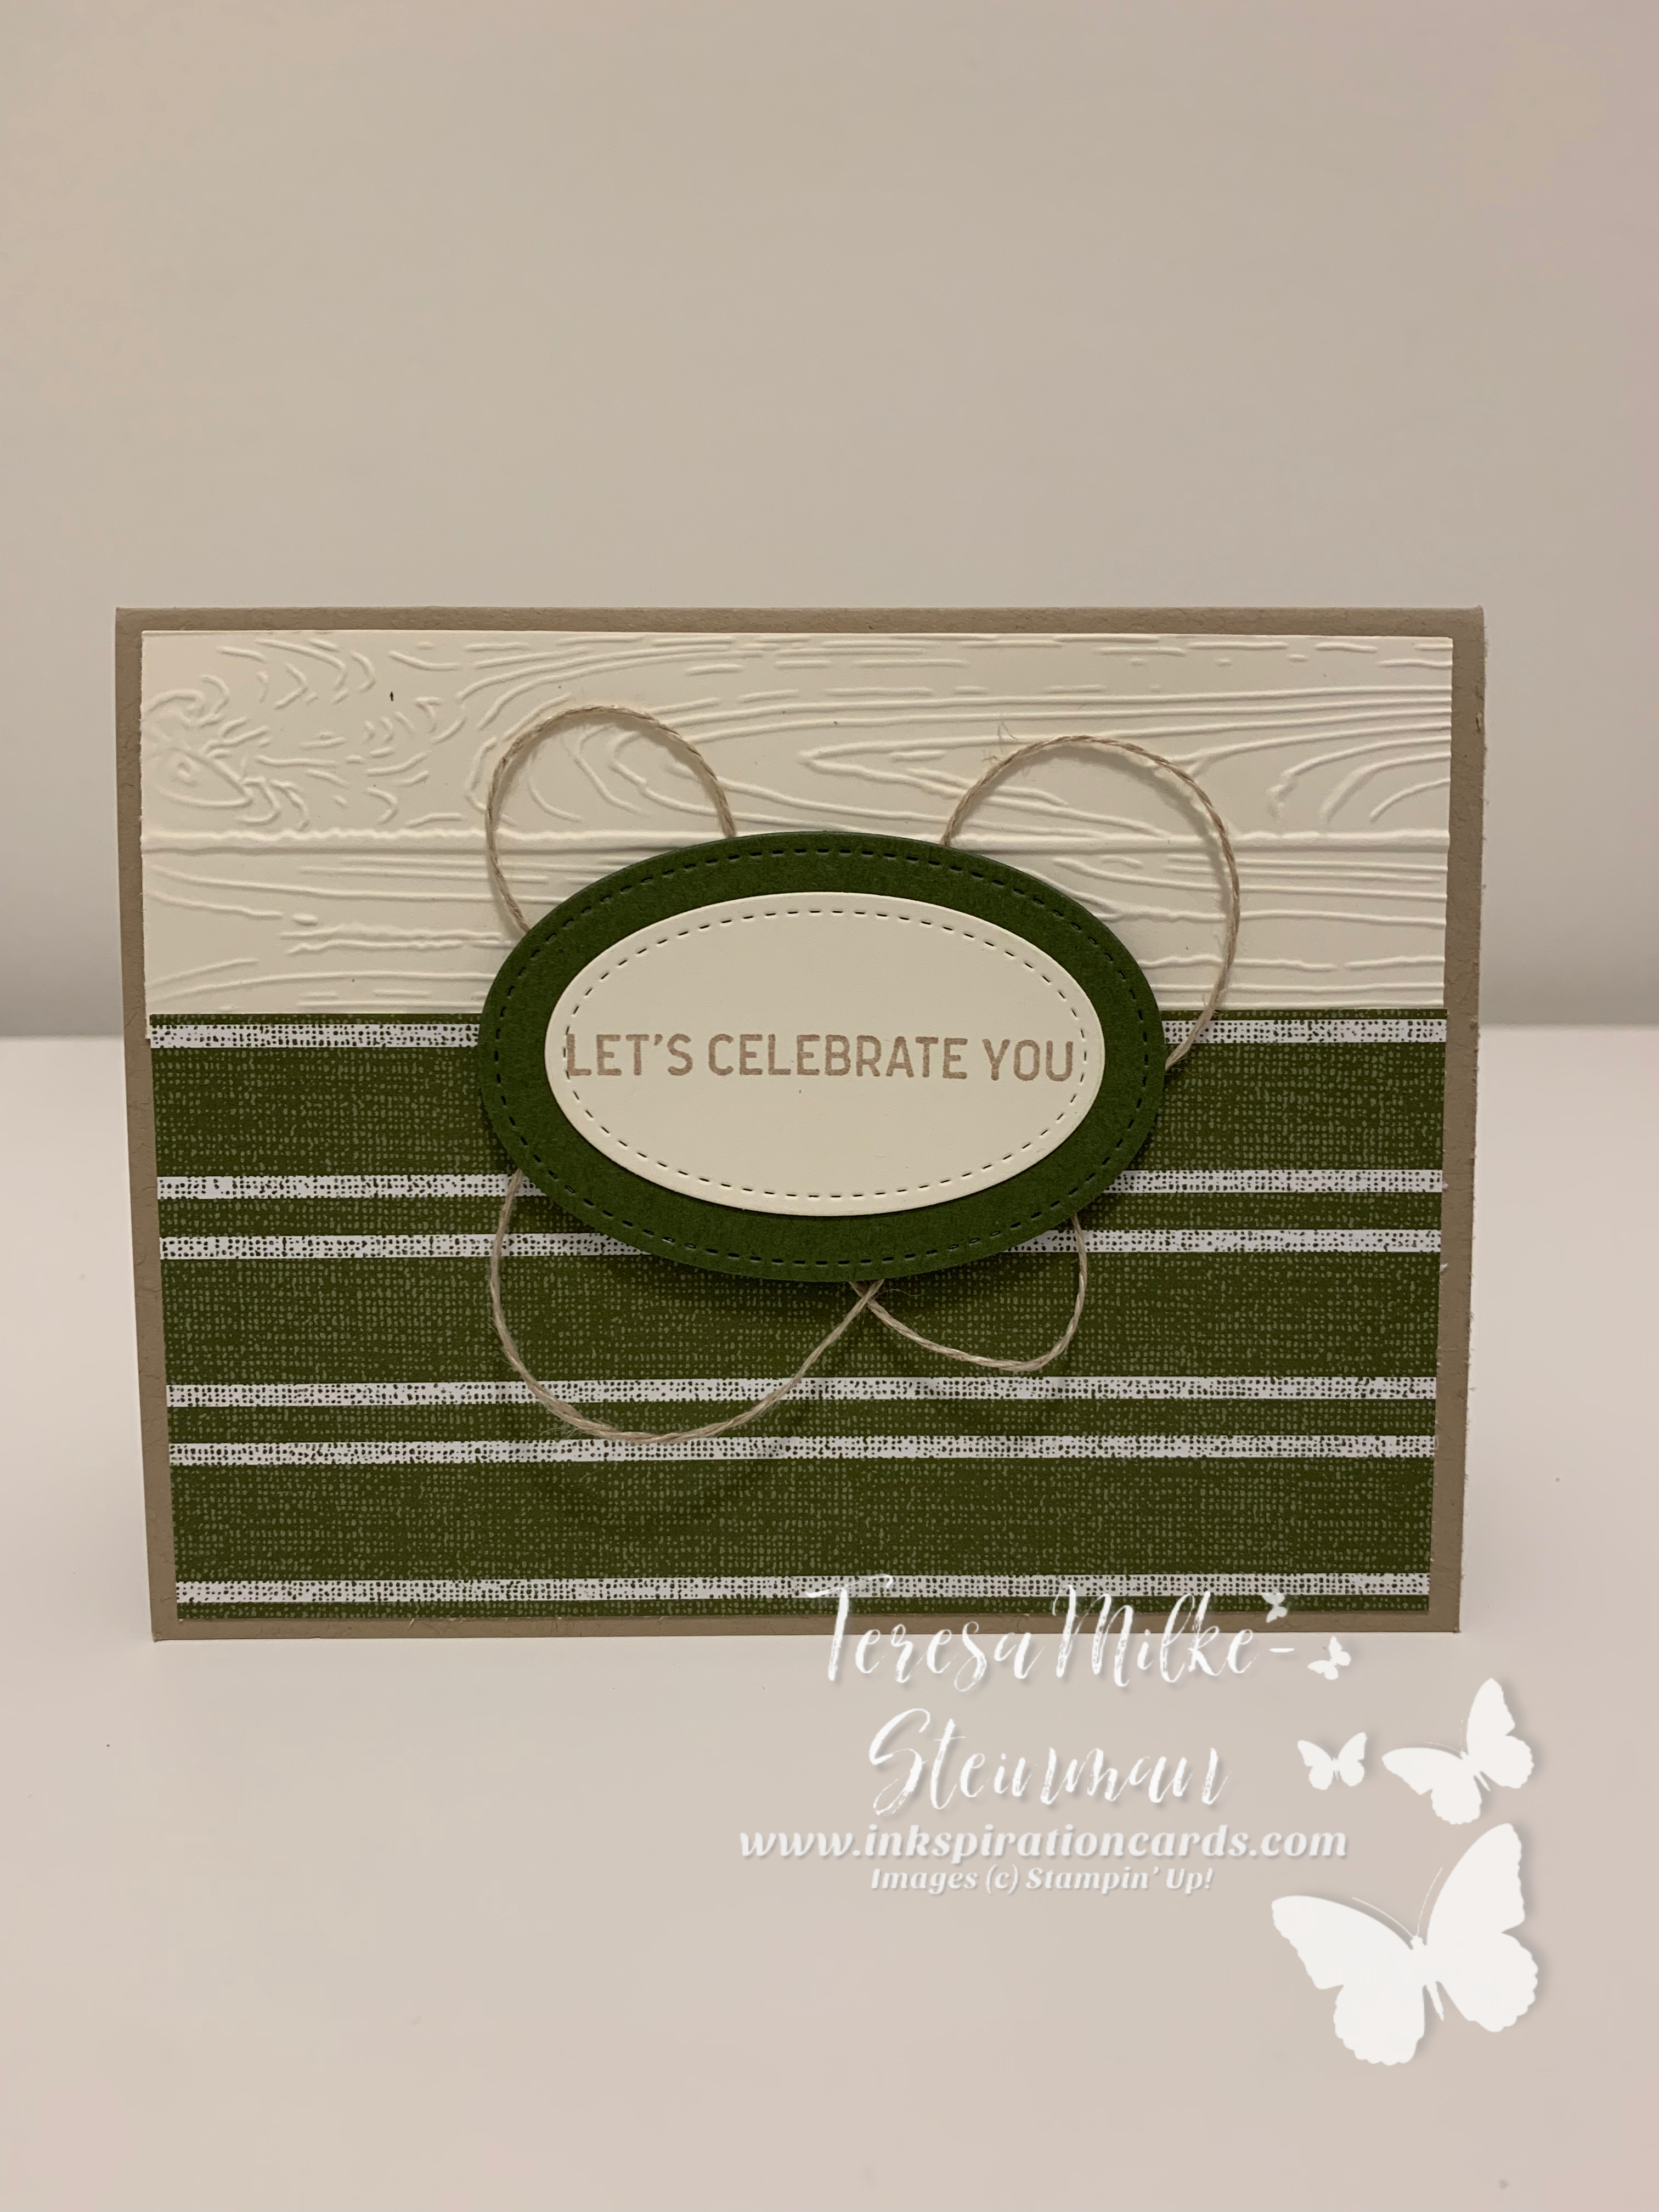
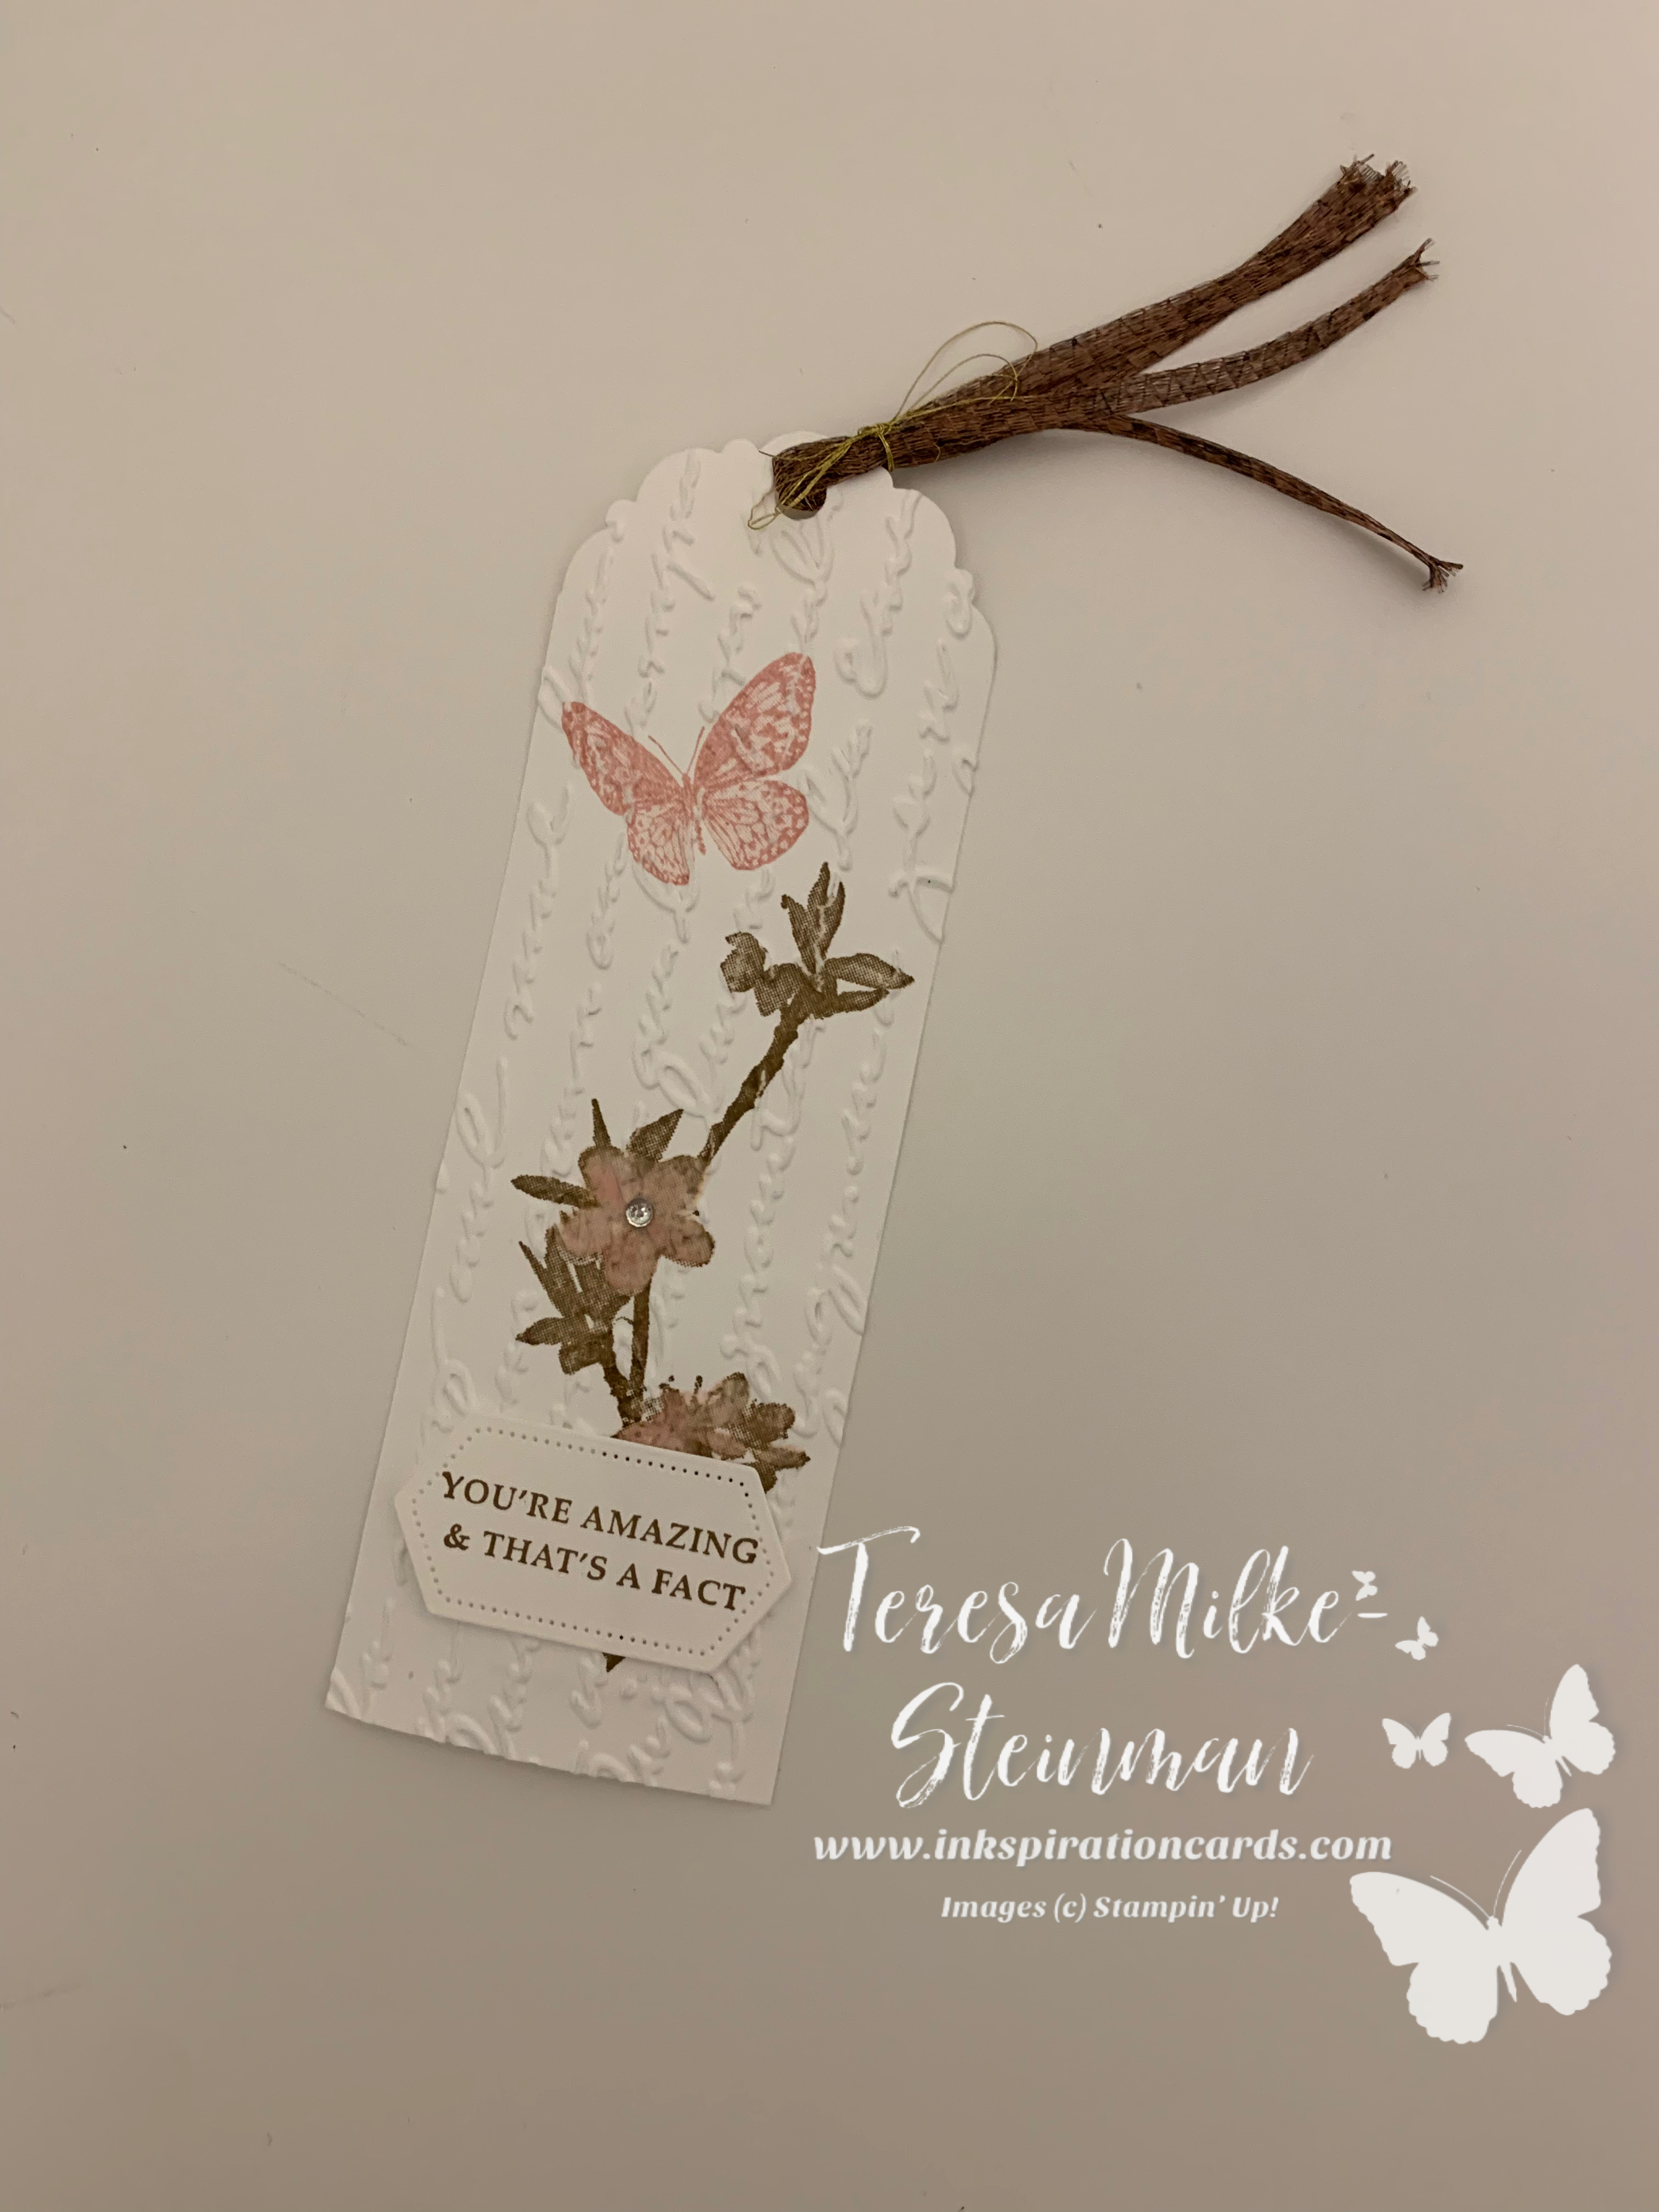
A couple of weeks ago I had a table at my munchkins’ school fun fair. As part of that I created some tags, or bookmarks, and I thought that this week I would share how I made them as they were fairly simple to make and I’m really please with how they turned out!

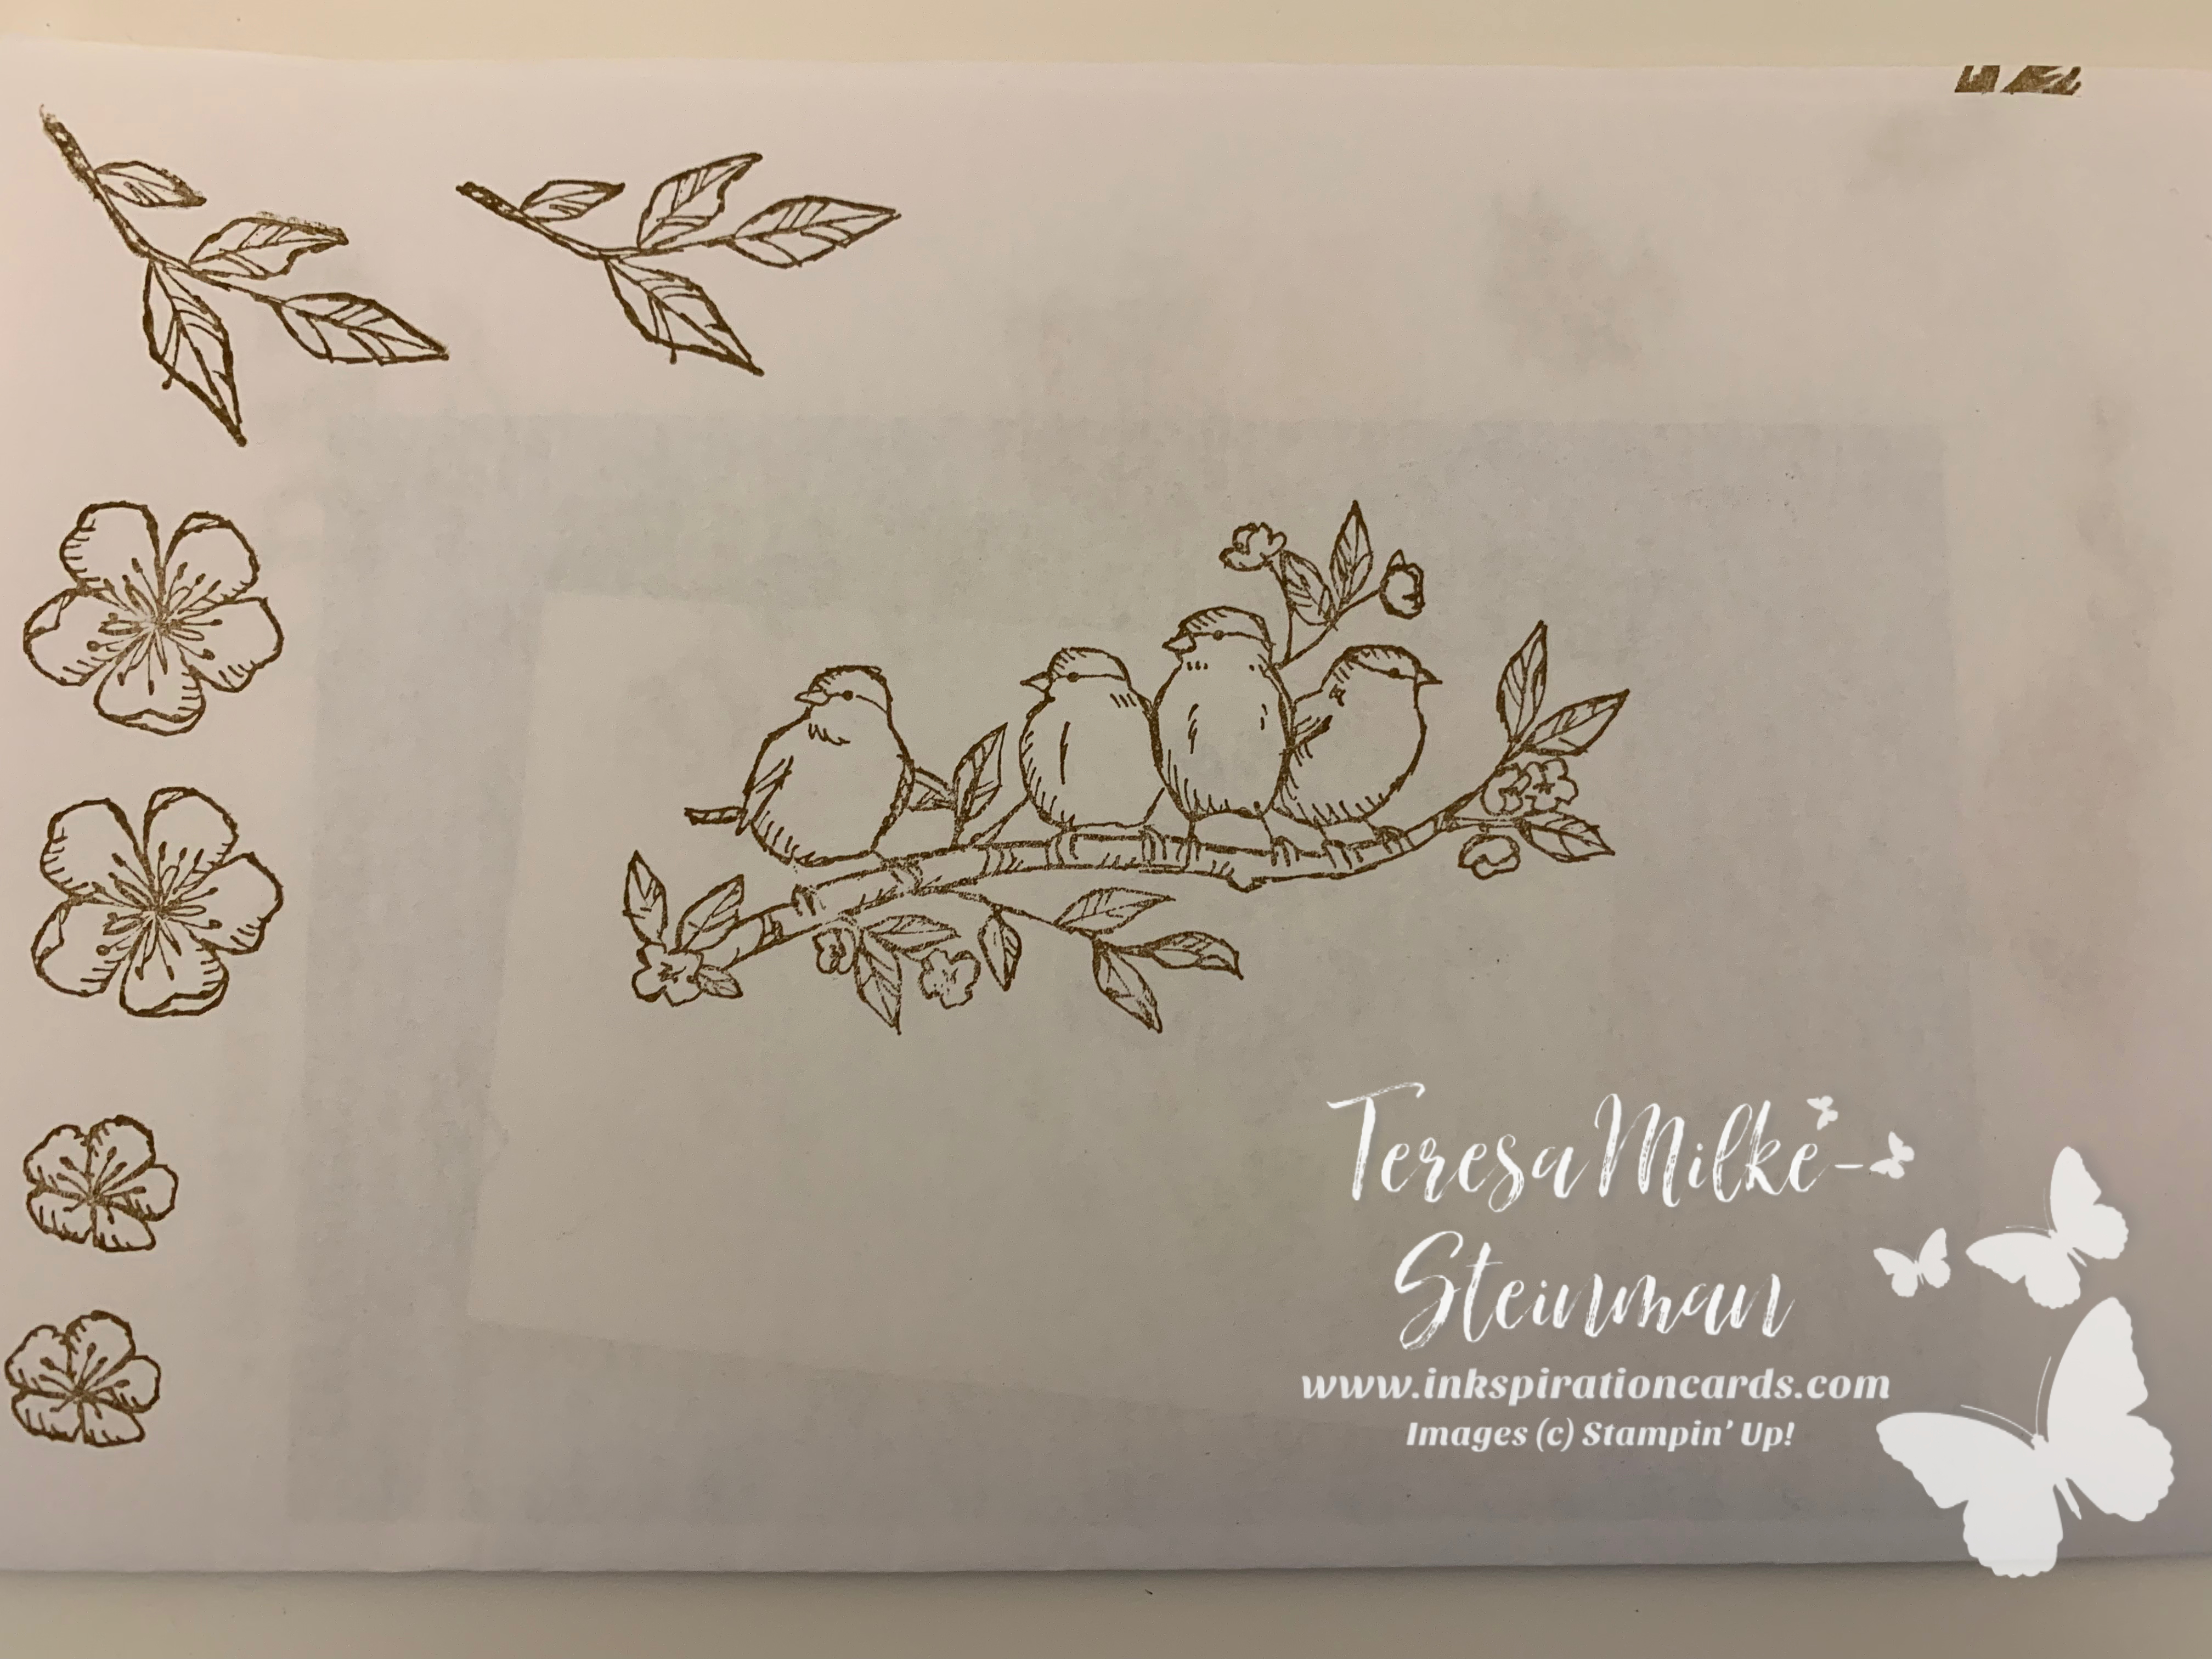
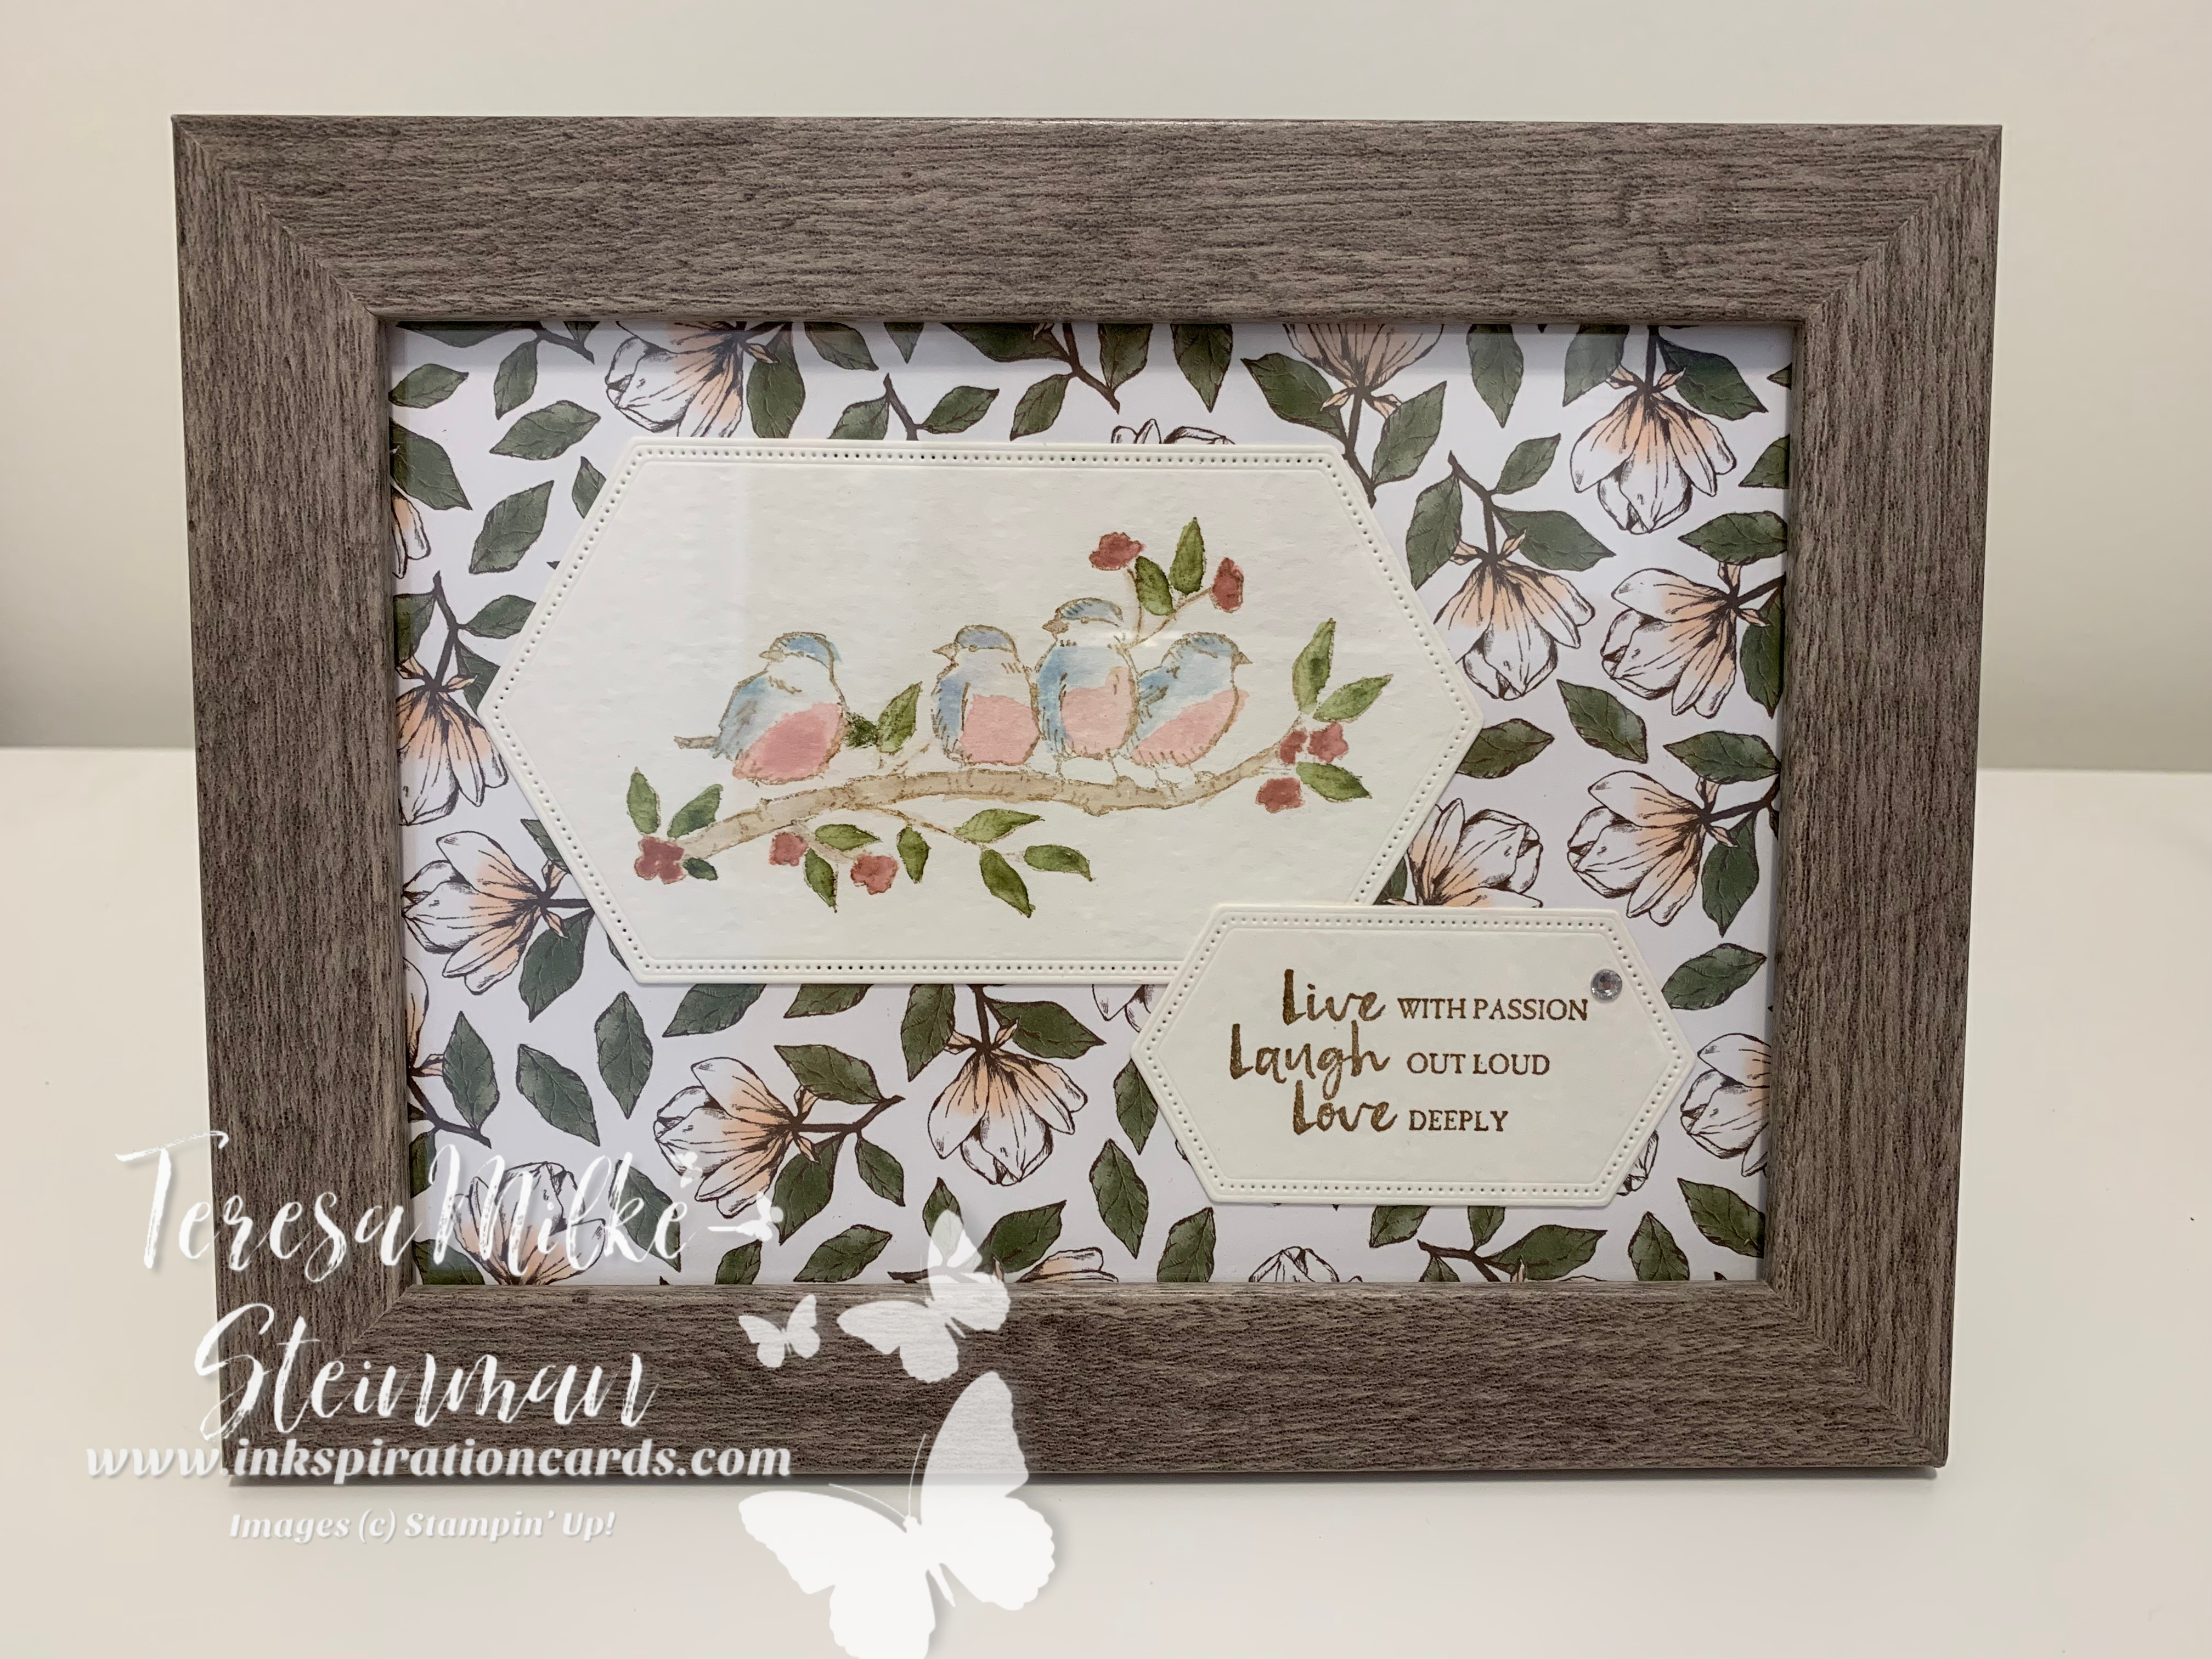
I have fallen in love with the Butterfly Wishes stamp set which is a cling stamp set as well as a DistINKtive stamp set (this means that the stamped images come out in much more depth and are more realistic images) and immediately thought of it when I had the idea to create this project. I also used the Strong & Beautiful cling stamp set which is filled with great positive and motivational phrases.

For the tag itself I used Whisper White cardstock and the new Delightful Tag Topper Punch. For the colours I used one of the new 2019-2021 In Colours, Rococo Rose, and Soft Suede.

Then to add some more “layers” to the tag I used my Aqua Painter to add a little bit of the Rococo Rose to the flowers as well as the Scripty 3D Embossing Folder. I also added a Rhinestone Basic Jewel, some of the 1/4″ Copper Trim and some Rose Metallic Thread.

For a full list of supplies and step by step instructions make sure to grab the project sheet below! Then share your project in the comments.

2019 Butterfly Wishes Tag Project Sheet

Chalkboard Thank You

clipboards

A few months ago I found some cute little chalkboard clipboards at a local Dollarama (love this place!!) and I knew exactly what I wanted to use them for…. end of year teacher thank you cards!

I knew that I wanted to emboss “thank you” onto the clipboards and I really like the one from the retired Tin of Cards stamp set (you can really use any stamp set provided the word fits onto the clipboard), so all that was left to figure out was what was going to go behind the clipboard.

I decided to use the Crafting Forever cling stamp set so that I could emboss supplies on some Basic Black cardstock and create a chalkboard effect. To do that I simply stamped the images on the cardstock using Versamark ink. Then I sprinkled White Stampin’ Emboss Powder all over the stamped images and used my Heat Tool to set the powder. There were the odd specks of random white embossing powder, but I think that added to the chalkboard effect.

card mat

I then chose to use Crumb Cake cardstock for the card base to help emphasize the chalkboard effect, but also because most basic clipboards have a base of this colour.

clipboard thank you

I just love how these turned out! Hopefully my munchkins and their teachers will like them just as much.

Strong & Beautiful

Sponged Unstaoppable & Proud wm

A colleague this week asked me if I could make them a card for an upcoming bridal shower. Obviously this isn’t it (I will share that one in another post), but this is a version of it. I used two different techniques in this project (sponging and embossing) but otherwise kept the card fairly simple.

To start off I used Whisper White and Highland Heather cardstock. I used the Highland Heather inkpad for the sponging and stamping (all except the phrase that is). For the phrase I decided I wanted to emboss that so I stamped first with Versamark and then used Silver Stampin’ Emboss Powder and my Heat Tool.

For the images and phrase I used two different stamp sets. I used Beauty Abounds for the images and Strong & Beautiful for the phrase. Both of these sets are cling stamp sets.

I also used some Stampin’ Dimensionals and a few Rhinestone Basic Jewels to give the card a little something extra!

For a list of supplies and step by step instructions check out the project sheet below. Please post pics of your projects in the comments… I would love to see them!!

2019 Strong and Beautiful

Embossed Recipe Tins

Embossed Tins wm

I’ve seen this done before and thought I would try it for the chance to create something other than a card. It looked fairly easy to do and it definitely was. It’s simply stamping and embossing just as you would on a piece of cardstock.

The tins I used I had picked up on clearance just before the end of last year when I first had the thought for this project, but this could easily be done with the Copper Tea Tins in the current catalogue.

For the images I wanted to choose something that would be fairly neutral, so I decided to use one image from the  Free As A Bird cling stamp set and one from the recently retired Humming Along stamp set; some good alternatives to this image would be one from the  Good Morning Magnolia cling stamp set, the Modern Heart cling stamp set or the Beautiful Day cling stamp set.

I started by wiping my Embossing Buddy over the front of the tin where I intended to stamp my image in order to keep the embossing powder where I wanted it. Then I stamped my image using my Versamark inkpad and sprinkled White Stampin’ Emboss Powder on top. I then used my Heat Tool to set the image.

Cranberry Birds inside wm

For inside the tin I decided to create some dividers and used  Very Vanilla cardstock (you could also use Whisper White cardstock if you wanted). I cut the cardstock at 6 1/2″ x 5″ and then simply traced a divider I had from a previous project and cut along the traced line to create the tab. Finally I used Tuxedo Black Memento ink to stamp a design on the tabs using the retired Tin of Cards stamp set. If you have a small straight design you could stamp that across the top or simply leave it blank. I’m not one to be able to free-hand a design (at least not without an eraser by my side) so I was glad I kept this stamp set.

I really enjoyed creating these tins and I think next time I’ll use the Crafting Forever stamp set. If you create your own tin I’d love to see it!! Post a pic in the comments.

It’s Your Day!

its your day


With Father’s Day coming up this weekend, I decided to stick with more masculine colours and a neutral design. The idea for this card came together pretty quickly once I decided on a stamp set.

For this card I used both the Beauty Abounds cling stamp set and the Itty Bitty Birthdays cling stamp set. The paint splatter and and bubbles provided a nice background on both pieces of Whisper White cardstock and I had my choice of phrases to work with. When I stamped on the smaller piece I didn’t look at what I had already stamped on the larger piece of cardstock and the randomness turned out really cool!

For the colours I initially chose to use Night of NavyMint Macaron and then also decided to throw in some Smoky Slate ink. I used Night of Navy to stamp the paint splatter and Mint Macaron and Smoky Slate for the bubbles. For the phrase I stamped using Mint Macaron.

I also decided for this card to keep things simple and use the 2 1/4″ Circle Punch, instead of my Stitched Shapes thinlits dies, and some Stampin’ Dimensionals to help the phrase stand out.

For all the supplies and steps for this project make sure to check out the project sheet and then share yours in the comments!

It’s Your Day Project Sheet.docx

No Line Watercolouring with Free as a Bird

stamped birds for real

I really enjoy colouring, whether it’s my stamped images or a page from a colouring book. In fact I find it very relaxing when I’m having a tough day, although I admit I don’t get to colour as often as I would like. So when I saw the no line watercolouring technique I just had to try it!

I used some of the images from the Free as a Bird cling stamp set and for ink I started with Soft Suede. First I stamped off the images onto a scrap piece of paper I had and then I stamped onto the Watercolour Paper.

After a few minutes to allow the ink to dry I used my Aqua Painter to add some colour to the stamped images.

stamped birds

I used Crumb Cake for the branch, Mossy Meadow for the leaves, Rococo Rose for the flowers and the bird’s tummies and Seaside Spray for the rest of the bird.

To get the ink onto the lid and make this easier, simply squish the inkpad while it is still closed to get the top and bottom to touch (you may have to squish fairly hard). Also with darker colours (like Mossy Meadow) or when you want a light shade (like I used on the bird’s tummies) dab a bit of the colour off before you put ink to paper. You can always add more colour if you want to.

Here’s a picture of my final project….

framed birds

I used a piece of the Magnolia Lane Designer Series Paper for the background and stamped a phrase from the Beautiful You cling stamp set using Soft Suede again. Then I used a couple of the Stitched Nested Labels dies to cut out both the phrase and the image. Finally I added a Rhinestone and put it in a 5×7 frame. (This one I picked up at Michael’s, but you can pick whatever frame suits you)

I’m hoping that with summer around the corner and some much needed vacation, I can play with these great products from the new catalogue more often!!

Itty Bitty Magnolia Lane

Celebrate You wm

I think I’m liking the Magnolia Lane Designer Series Paper even more now after this project! At first I was drawn to the DSP because of the colours and of course the flower designs (especially the larger Magnolia flowers), but I thought that I would play around with some of the other designs to come up with a more masculine design, especially since Father’s Day is right around the corner.

For this card I chose this piece of DSP because of the colour (Mossy Meadow) and because the pattern was quite simple. It actually reminds me of paneling a little bit. I then chose to use Crumb Cake cardstock as the card base since it is a nice neutral colour and the Very Vanilla cardstock because it’s a little more subdued than the Whisper White.

With the DSP reminding me of paneling I decided to use the Pinewood Planks 3D embossing folder on the larger piece of Very Vanilla cardstock.

The phrase for this card acutally came from the Itty Bitty Birthdays cling stamp set. There were a couple of phrases that were not directly birthday related, but I chose this one because I wanted something that covered a bit more of the card than just the “it’s your day” stamp would have. I then used a couple of the oval Stitched Shapes dies for the phrase as well as the Mossy Meadow border.

To add a little extra something and still stay within the masculine theme of the project, I added some Linen Thread behind the phrase and popped it up using some Stampin’ Dimensionals.

Here’s the project sheet so that you can recreate this project for yourself. Post a pic of your version once you’re done, I’d love to see it!

2019 Itty Bitty Magnolia Lane Project Sheet

The 2019-2020 Annual Catalogue has arrived!

AC cover

It’s finally here!! I’ve been so excited to share what I could with you these past few weeks in anticipation of the new Annual Catalogue and now it’s available for everyone to see!

The Annual catalogue launches today and will be around until June 2nd of next year. The possibilities are really just up to you and your creativity (don’t forget there’s always Facebook and Pintrest to help spark some inkspiration!). There are products for just about every occasion (birthday, wedding, new baby, Christmas, Valentine’s Day, even just because) and every level of stamper… from the beginner all the way up to those of us who have been doing this for years.

I hope that you love it just as much as I do… and stay tuned for more projects from me!

If you’d like a bit more of a peek at the products in the new catalogue, check out this cute video that highlights different projects using some of these great new products!

www.youtube.com/stampinup20192010annualcatalogue

If you live in Canada and still haven’t got your hands on your very own copy, please send me an email (inkspirationwithteresa@gmail.com). I’m happy to pop one in the mail to you! You’re also welcome to head over to my website and check it all out online…

www.stampinup.com/inkspirationcards