Happy Holidays!

With everything to do to get ready for the holidays and then the holidays themselves I needed to take some time and unplug and recharge. This weekend I’m up at my in-laws’ farmhouse which is the perfect place to get some much needed r and r.

I hope that you and your family are enjoying the holidays and that you are also getting some time to rest and relax!

Happy Holidays Everyone!!

Hello Timeless Tulips

I’m not sick of the snow and winter just yet (good thing too cause winter doesn’t officially start til Saturday), but I love this card and so I couldn’t help sharing a little bit of spring!

This was one of a few cards that I made when I attended OnStage Local a few weeks ago and I can’t wait to get creating more cards with this stamp set… Timeless Tulips. I love this card because it looks beautiful and is very easy to create! It only uses Pear Pizzazz and Whisper White cardstock and for inks Pear Pizzazz, of course, and Rococo Rose.

Tulip Hello close wm

The Timeless Tulips stamp set is a distinktive stamp set which means that the stamped images have much more depth to them. This also means that it’s helpful to spread the ink away from the centre of your ink pad a little bit to make sure you don’t get too much ink and a much clearer image. To do this you can use a Bone Folder or even a plastic spoon. Don’t worry the ink pad will even itself back out!

With this card there is also a bit of the masking technique, but in this case you don’t have to create a completely separate mask. Once you have stamped the 3 larger tulips and punched them out, you can simply flip these tulips over to use them as your masks.

For the stems and leaves I also stamped off onto another piece of paper first for some of them and stamped others at full strength. It really gives a nice effect when you do this.

The larger tulips and two of the leaves were adhered to the card front using Stampin’ Dimensionals. For “hello” I also used some Stampin’ Dimensionals and added some Linen Thread underneath which is a nice way to add a little something more and still keeps with the nature theme of the card.

Tulip Hello wm

On January 3rd, 2020 the new Mini Catalogue (formerly known as the Occasions catalogue) will launch and you’ll be able to get this stamp set as well as the coordinating punch. If you live in Canada and would like me to mail you a copy of the upcoming Mini and Sale-a-bration catalogues send me an email at inkspirationwithteresa@gmail.com.

Also if you enjoyed this project please like it and make sure to follow my blog so that you can get notified whenever I post!

Friendship Lily

One of the many reasons why I LOVE being a Stampin’ Up! demonstrator is because I get a chance to see and even create with the new upcoming products before they are officially launched. I’ve had the chance to see what’s coming in the January – June Mini catalogue as well as the great products you can earn for free as part of Sale-a-bration 2020 and I can’t wait for you guys to see it too! In the meantime I’ll be able to give you some sneak peeks. I’ve already posted some from when I went to OnStage back in November on my Facebook page so make sure to check those out.

For this card, I used a set I got when I was at OnStage Local in Toronto; the Lovely Lily Pad stamp set. This was part of a 2 stamp set giveaway where the recipients had to giveaway one of the two stamp sets they received and I was lucky enough to be given this stamp set which I had had my eye on since I saw it in the catalogue earlier that day.

Friendship Lily wm

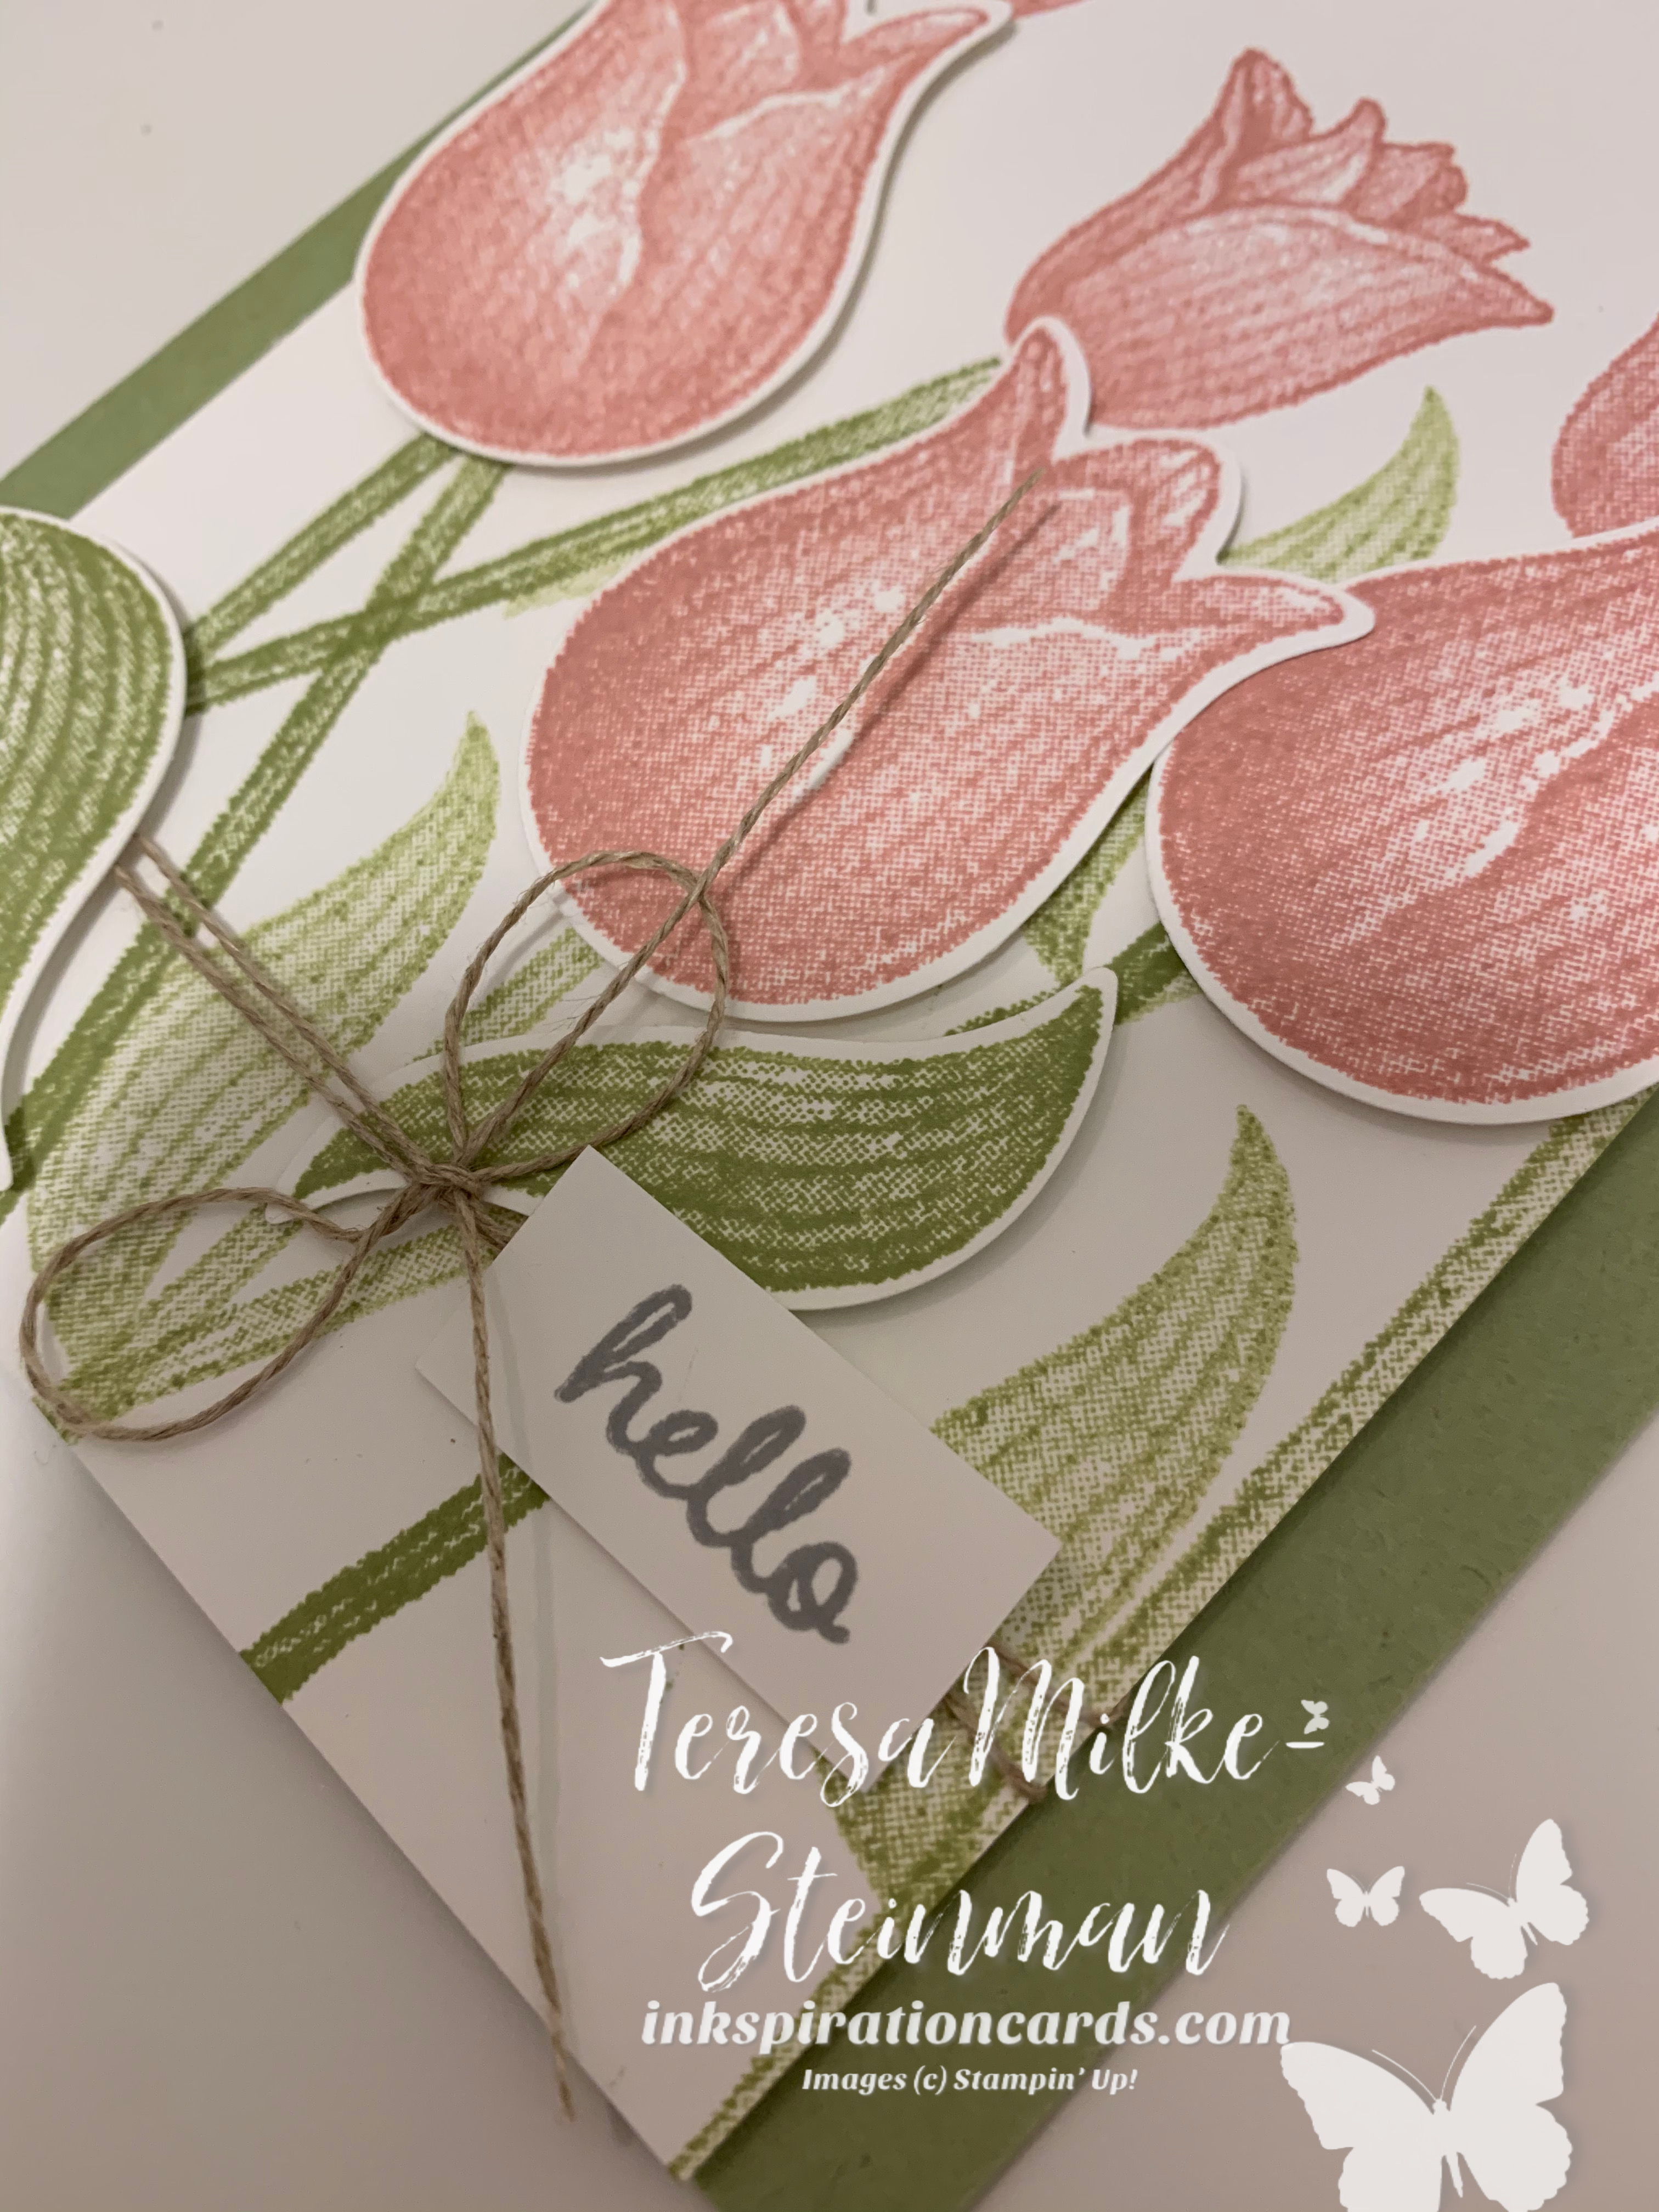
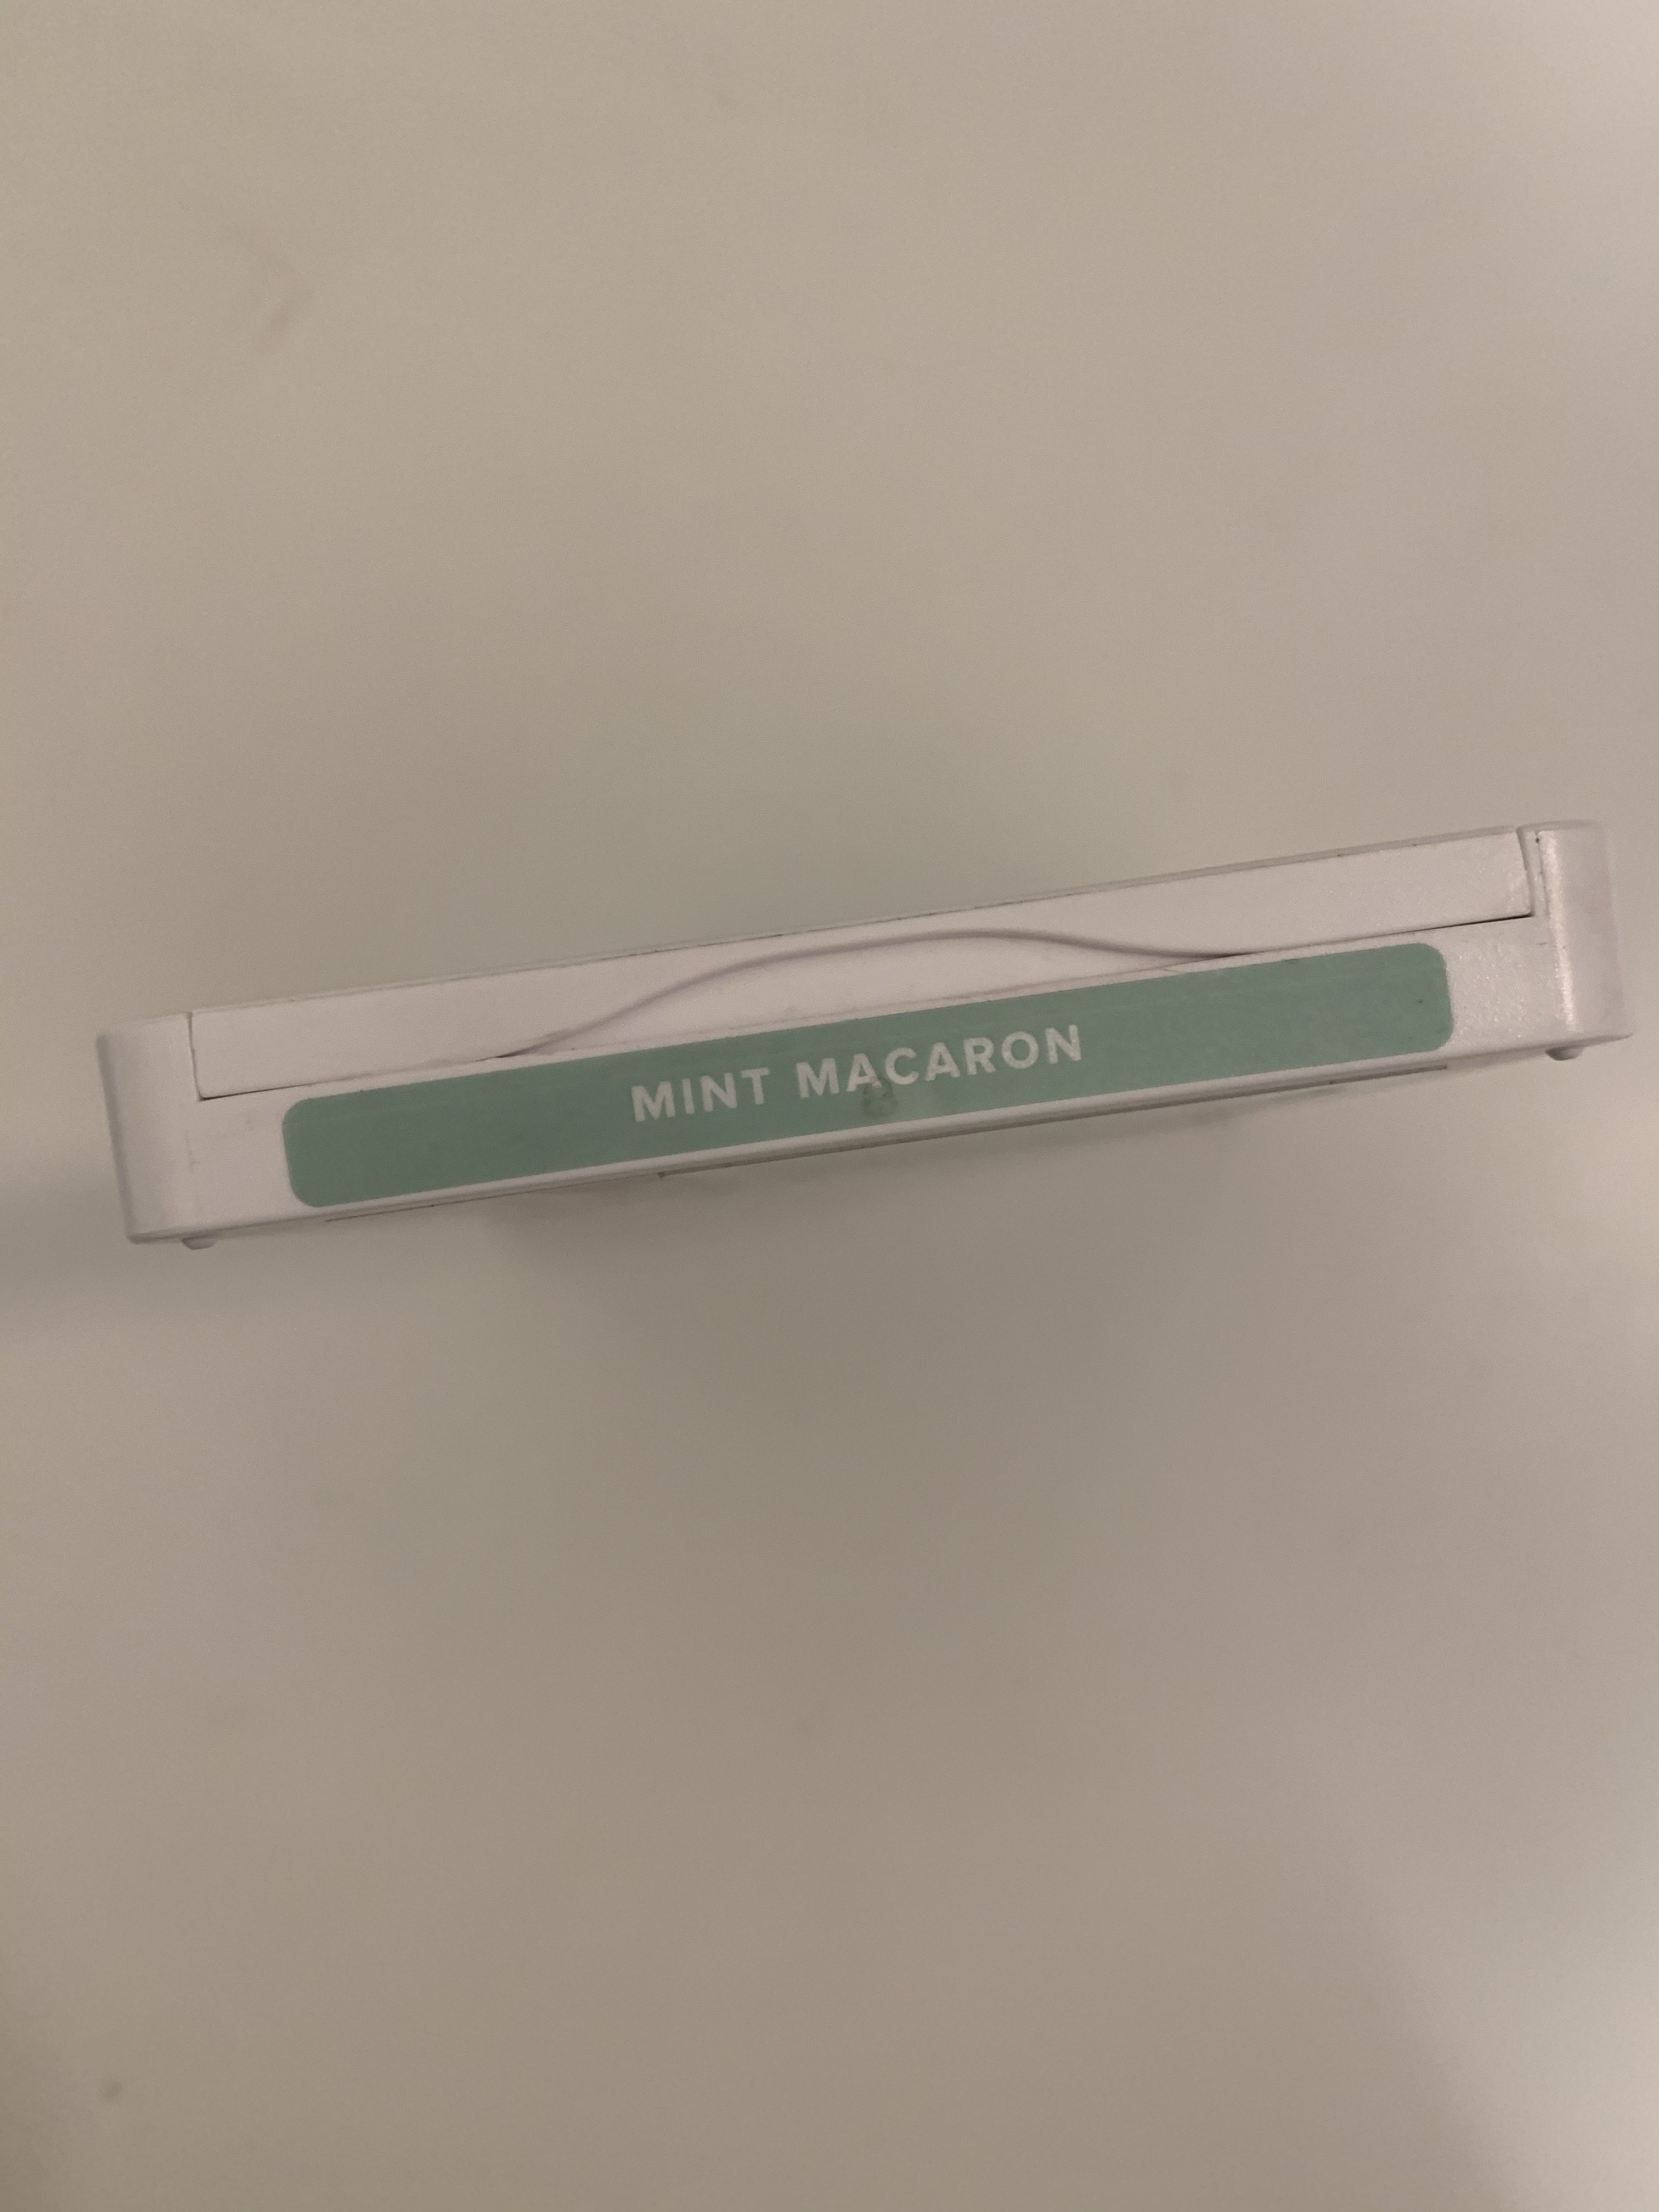
I used Petal Pink and Mint Macaron for my colours for this project. For the card base I used Mint Macaron cardstock, the card mat is Petal Pink cardstock and I stamped on a Whisper White card front.

All the images for this card came from the Lovely Lily Pad stamp set and the phrase came from the Free as a Bird cling stamp set. The phrase and outline of the lilies were stamped with Tuxedo Black Memento ink. For the colour of the lilies I used Petal Pink ink, but first I gently stamped off onto another piece of paper before stamping on the Whisper White cardstock to give a more subtle look. For the lily pads I used Mossy Meadow ink for the outline of the pads and stems and Mint Macaron ink for the colour of the lily pads. To make sure that I didn’t get the lines from the lily pad or Mint Macaron on the lilies I used the masking technique.

How to Create a Mask for Stamping…

All you need to do to create a mask is stamp the image you want to create a mask for onto a piece of paper. Just grab a piece from a notepad or even your printer, cardstock is too thick and will create extra space between the images. Some people like to use post it notes to create masks so that way you don’t have to worry about the mask sliding or moving. Once you’ve stamped the image onto the paper/post it note just cut out the image and you have a mask that you can use over and over again.

Now that you have your mask, or in this case masks, you can start stamping your images. First you need to stamp your outlines, making sure to cover the outline of your lilies once you get to adding your lily pad and possibly even the stems, just in case. Then once you have your outlines, you add the colour to your stamped images. Again make sure to cover your lilies with your masks so that your lily stays a faint Petal Pink.

I also decided to put an extra piece of Whisper White cardstock on the inside of the card and stamped another lily on the inside as well. This time I stamped the Petal Pink ink at full strength.

Friendship Lily Inside wm

To finish off the card I added some Silver 3/8″ Metallic-Edge Ribbon and once I popped up the phrase that I had cut out using the Stitched Shapes Dies using some Stampin’ Dimensionals, I added a single Rhinestone Basic Jewel. Gotta have some bling!!

This is the first of many cards to come using this stamp set, which will be available for you to earn FREE once Sale-a-bration starts on January 3rd , 2020. I just love water lilies and so to have a stamp set with them is just awesome! I’ve even already seen a few projects that I would love to C.A.S.E. so stay tuned for more.

Here’s the project sheet for this card complete with step by step instructions and a list of all the supplies you’ll need.

2020 SAB Friendship Lily Project Sheet.docx

If you like this post and project please follow my blog so you can get notified whenever I post or you can join my email list where I share other projects, tips and information about promotions; contact me.

Ink pad Organization

I’ve been stamping and scrapbooking for a number of years now and somehow I never noticed when Stampin’ Up! started putting stickers on the bottom of their inkpads instead of showing the colour on the edge. As a result I’ve been digging through my stacks of inkpads to find the colour(s) I needed for my projects.

Since I finally figured it out I’ve been working on putting the stickers where they belong and thought that I would share my inkpad makeover with you.

It’s super easy… all you need to do is peel the sticker from the bottom of your inkpad, in your language of preference, and stick it to the front edge of the inkpad.

So now for the big reveal! Here’s my ink storage before…

As you can see it wasn’t so easy to find the ink colours I needed. The two inkpads where you can see the colour in this picture are some of my first inkpads when Stampin’ Up! had the inkpad colour built into the design.

And here’s the after…

This is going to make crafting so much easier, plus it looks way better!! I also sorted my inkpads by colour collection; with the In Colours on the top shelf and then the other colour collections below. I’m also planning on using a couple of storage toppers from Stampin’ Up!’s new storage products to put my refills and other things in that are just loose on the top shelf right now.

I’m really loving how this turned out!

If you like this post please like and follow my page, you may also want to check out my post Paper Pumpkin Storage.

Snowman Season Shaker Card

Snowman Shaker close wm

Ever since I got this stamp set I’ve been dying to make a shaker card… and finally here it is! I can’t say often enough how much I love these snowmen and this set is a definite keeper for me.

So with this card I used Pool Party cardstock as my card base and then stamped on Whisper White cardstock using the Snowman Season photopolymer stamp set set. For the snowman itself I used Tuxedo Black Memento ink. Then for the snowflakes I used a combination of Pool Party and Seaside Spray ink. The phrase, which is also from the Snowman Season stamp set, was stamped in Pool Party.

Once I got everything stamped I used the 2 1/4″ Circle Punch to cut out the snowman. I then adhered him to the Pool Party card base as well as a piece of Feels Like Frost Designer Series Paper to the bottom of the Whisper White card front using SNAIL Adhesive. The phrase wasa adhered onto the Feels Like Frost DSP using a couple of Stampin’ Dimensionals.

To create the shaker window, I adhered a piece of Window Sheet to the back of the Whisper White card front and then placed some Foam Adhesive Strips around the outside of the hole. I also put some Stampin’ Dimensionals in the corners of the Whisper White card front to help keep it solid once it’s adhered to the card base.

Next came the sequins…. I sprinkled a bunch of both the Iridescent Sequin Assortment and Snowflake Sequins onto the snowman. Then once I peeled the backing off of the Adhesive Foam Strips and Stampin’ Dimensionals I adhered the card front to the card base.

Snowman Shaker wm

This card is definately one of my favourites using this stamp set! If this card sparks a shaker card of your own I would love to see it, so post it in the comments.

If you like this project follow my blog to get notified whenever I post. You can also join my email list over on my contact me page to get projects like this and much more delivered right to your inbox every week.

Paper Craft Crew Challenge #360

PCC #360

Things have been pretty hectic lately so it’s been a while since I participated in a Paper Craft Crew Challenge. Finally things are slowing down a little bit and so I decided to give this week’s challenge a try.

Here’s the sketch for this week’s challenge (PCC 360).

For my project I started with a piece of magnolia DSP and the bird stamp set. In terms of colours I took pp from the DSP and used cc as the card base. I stamped the images on ww and thought that a pop of Mossy Meadow would work well.

I stamped the flowers in pp, some fully inked and others stamped off once. “Thank you” was also stamped in Petal Pink. The leaves were stamped with mm and I used cc to stamp part of of the branch full of birds. To do that I first inked the part of the image I wanted and then covered the rest of the stamp with a piece of paper.

To colour the bird I used the wc pencils. EE for the branch and most of the bird, FF for the blooms and tummy of the bird and for the leaves I used a combination of gg and oo.

I adhered the leaves and banner to the bird which I framed with Crumb Cake cardstock and then popped it all up using dimes. Finally I added 3 pearls for that little something extra.

Thanks Bird wm

I’m loving how this card turned out! I always enjoy participating in these challenges and wish I had more time to do more.

If you’d like to check out the other projects for this week’s challenge simply follow the link…

www.papercraftcrew.com/pcc360