Incredible Butterflies

Incredible Butterflies

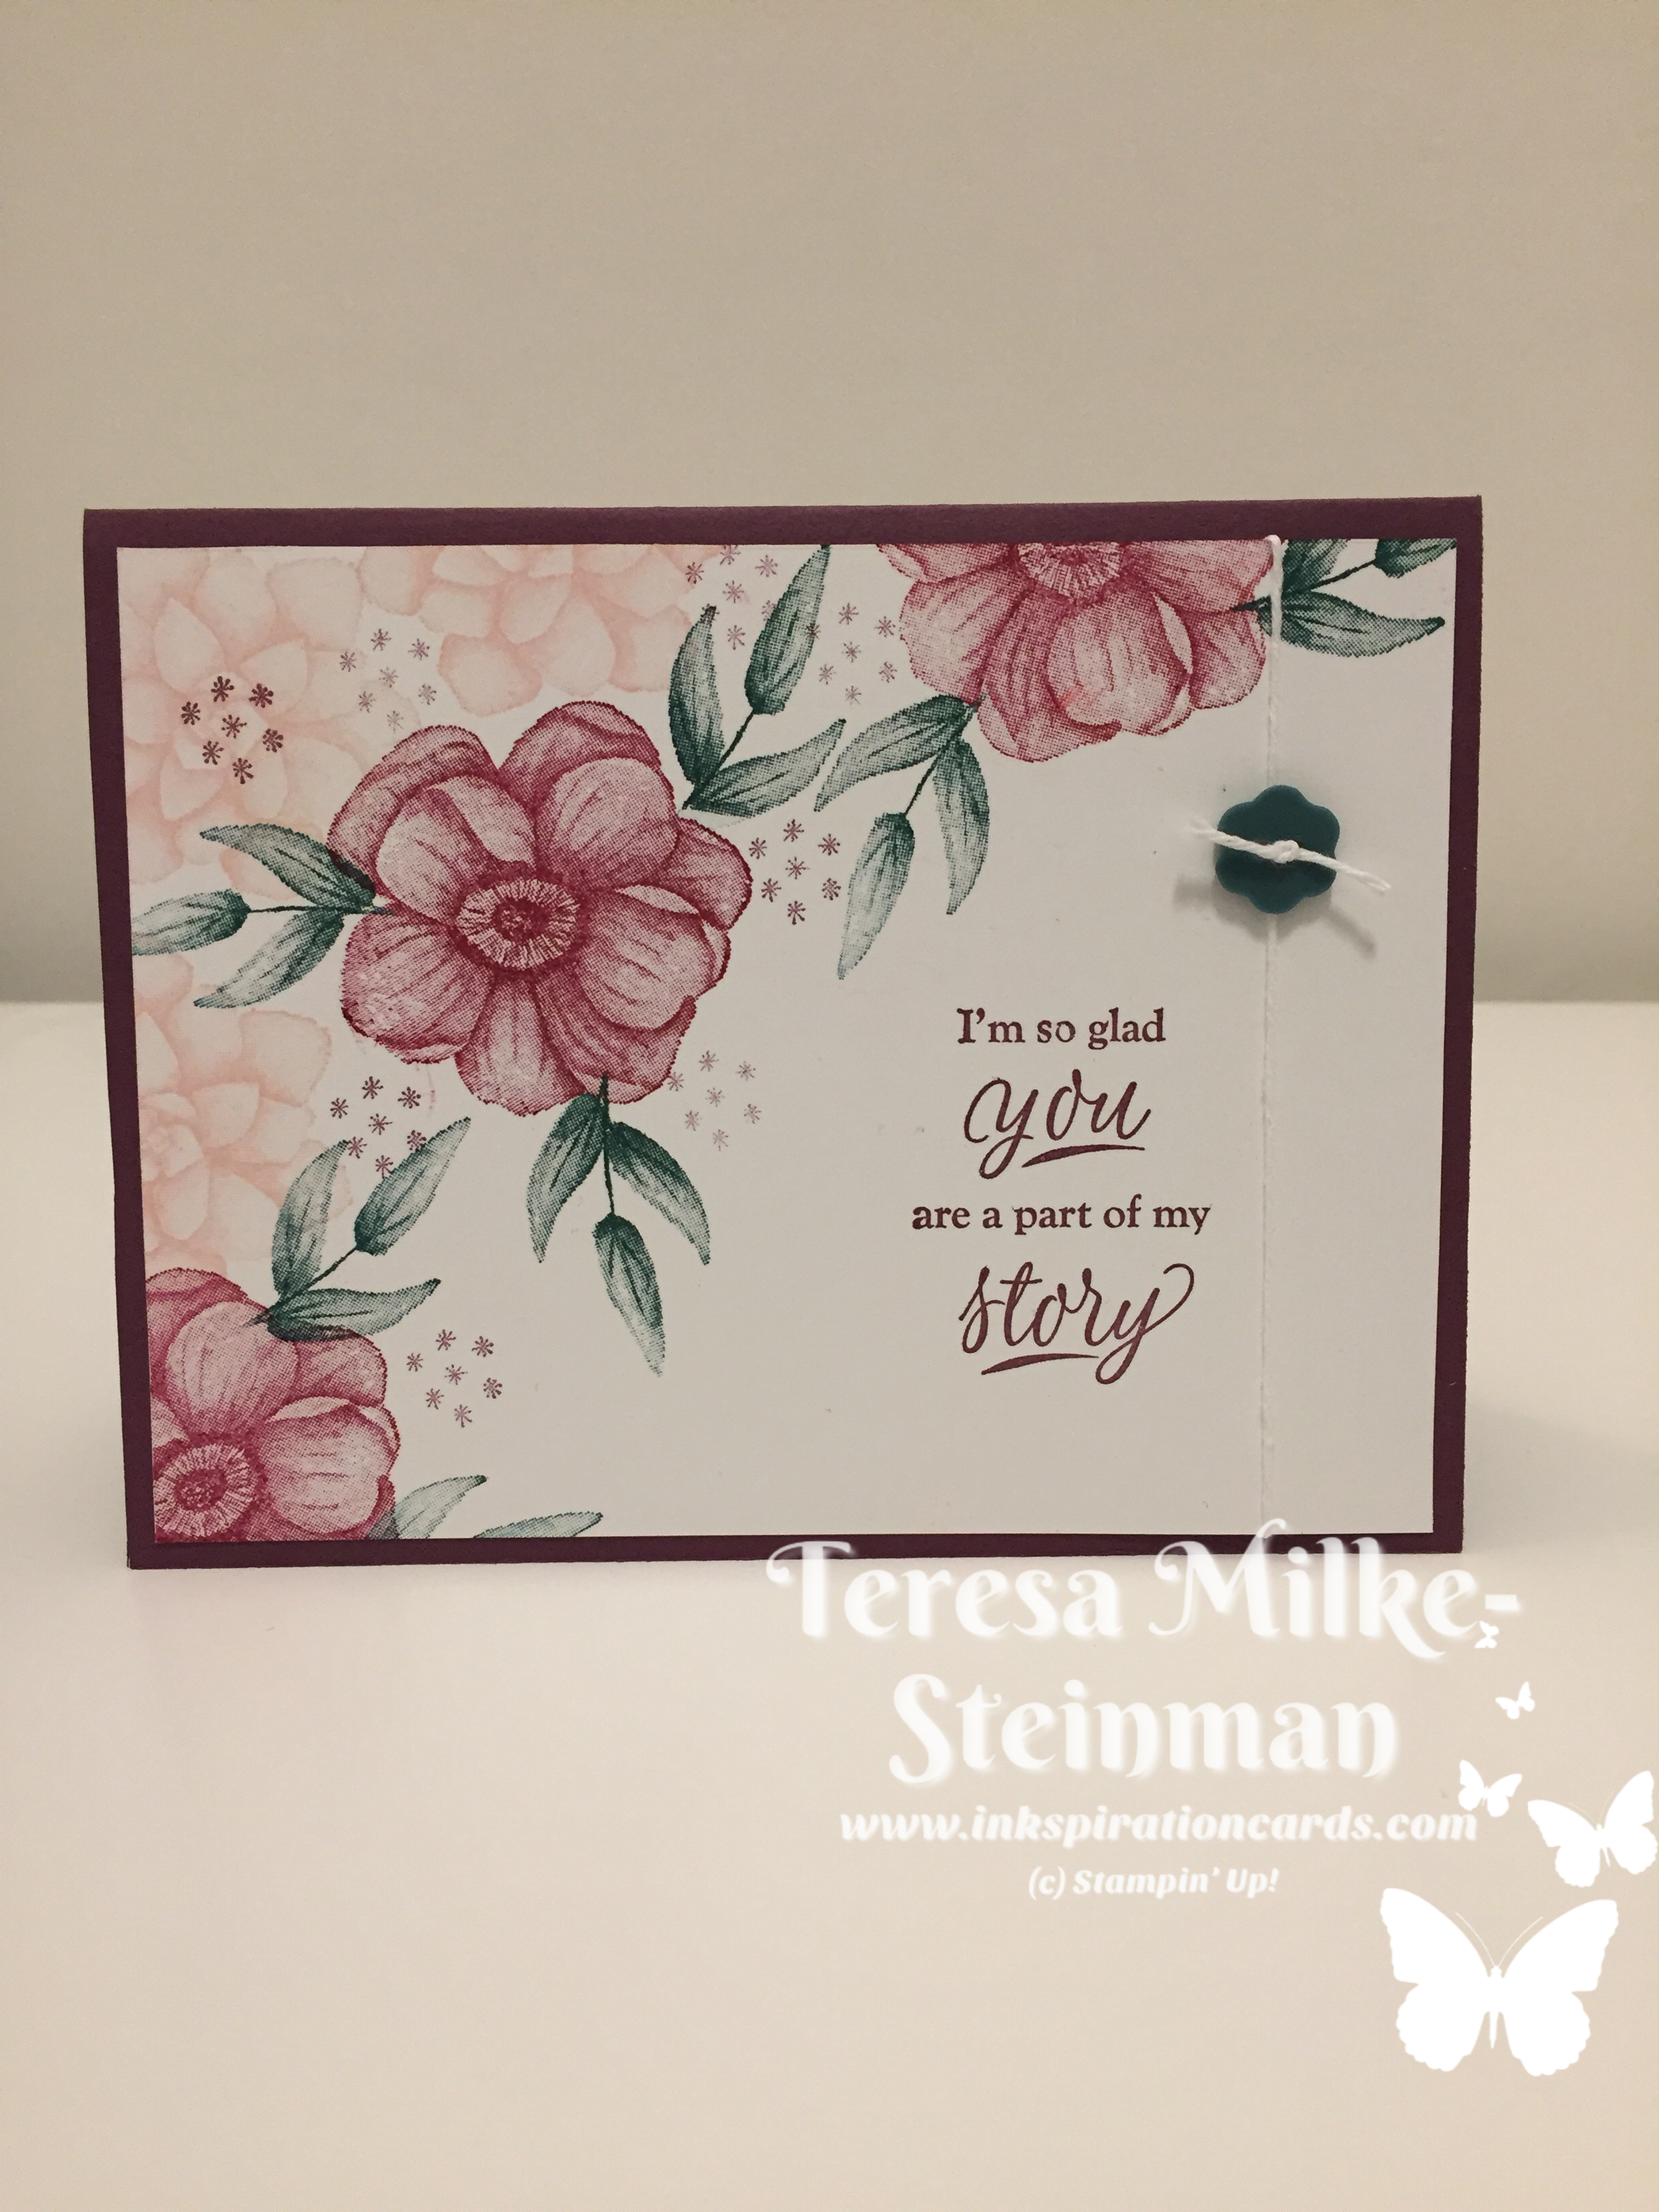
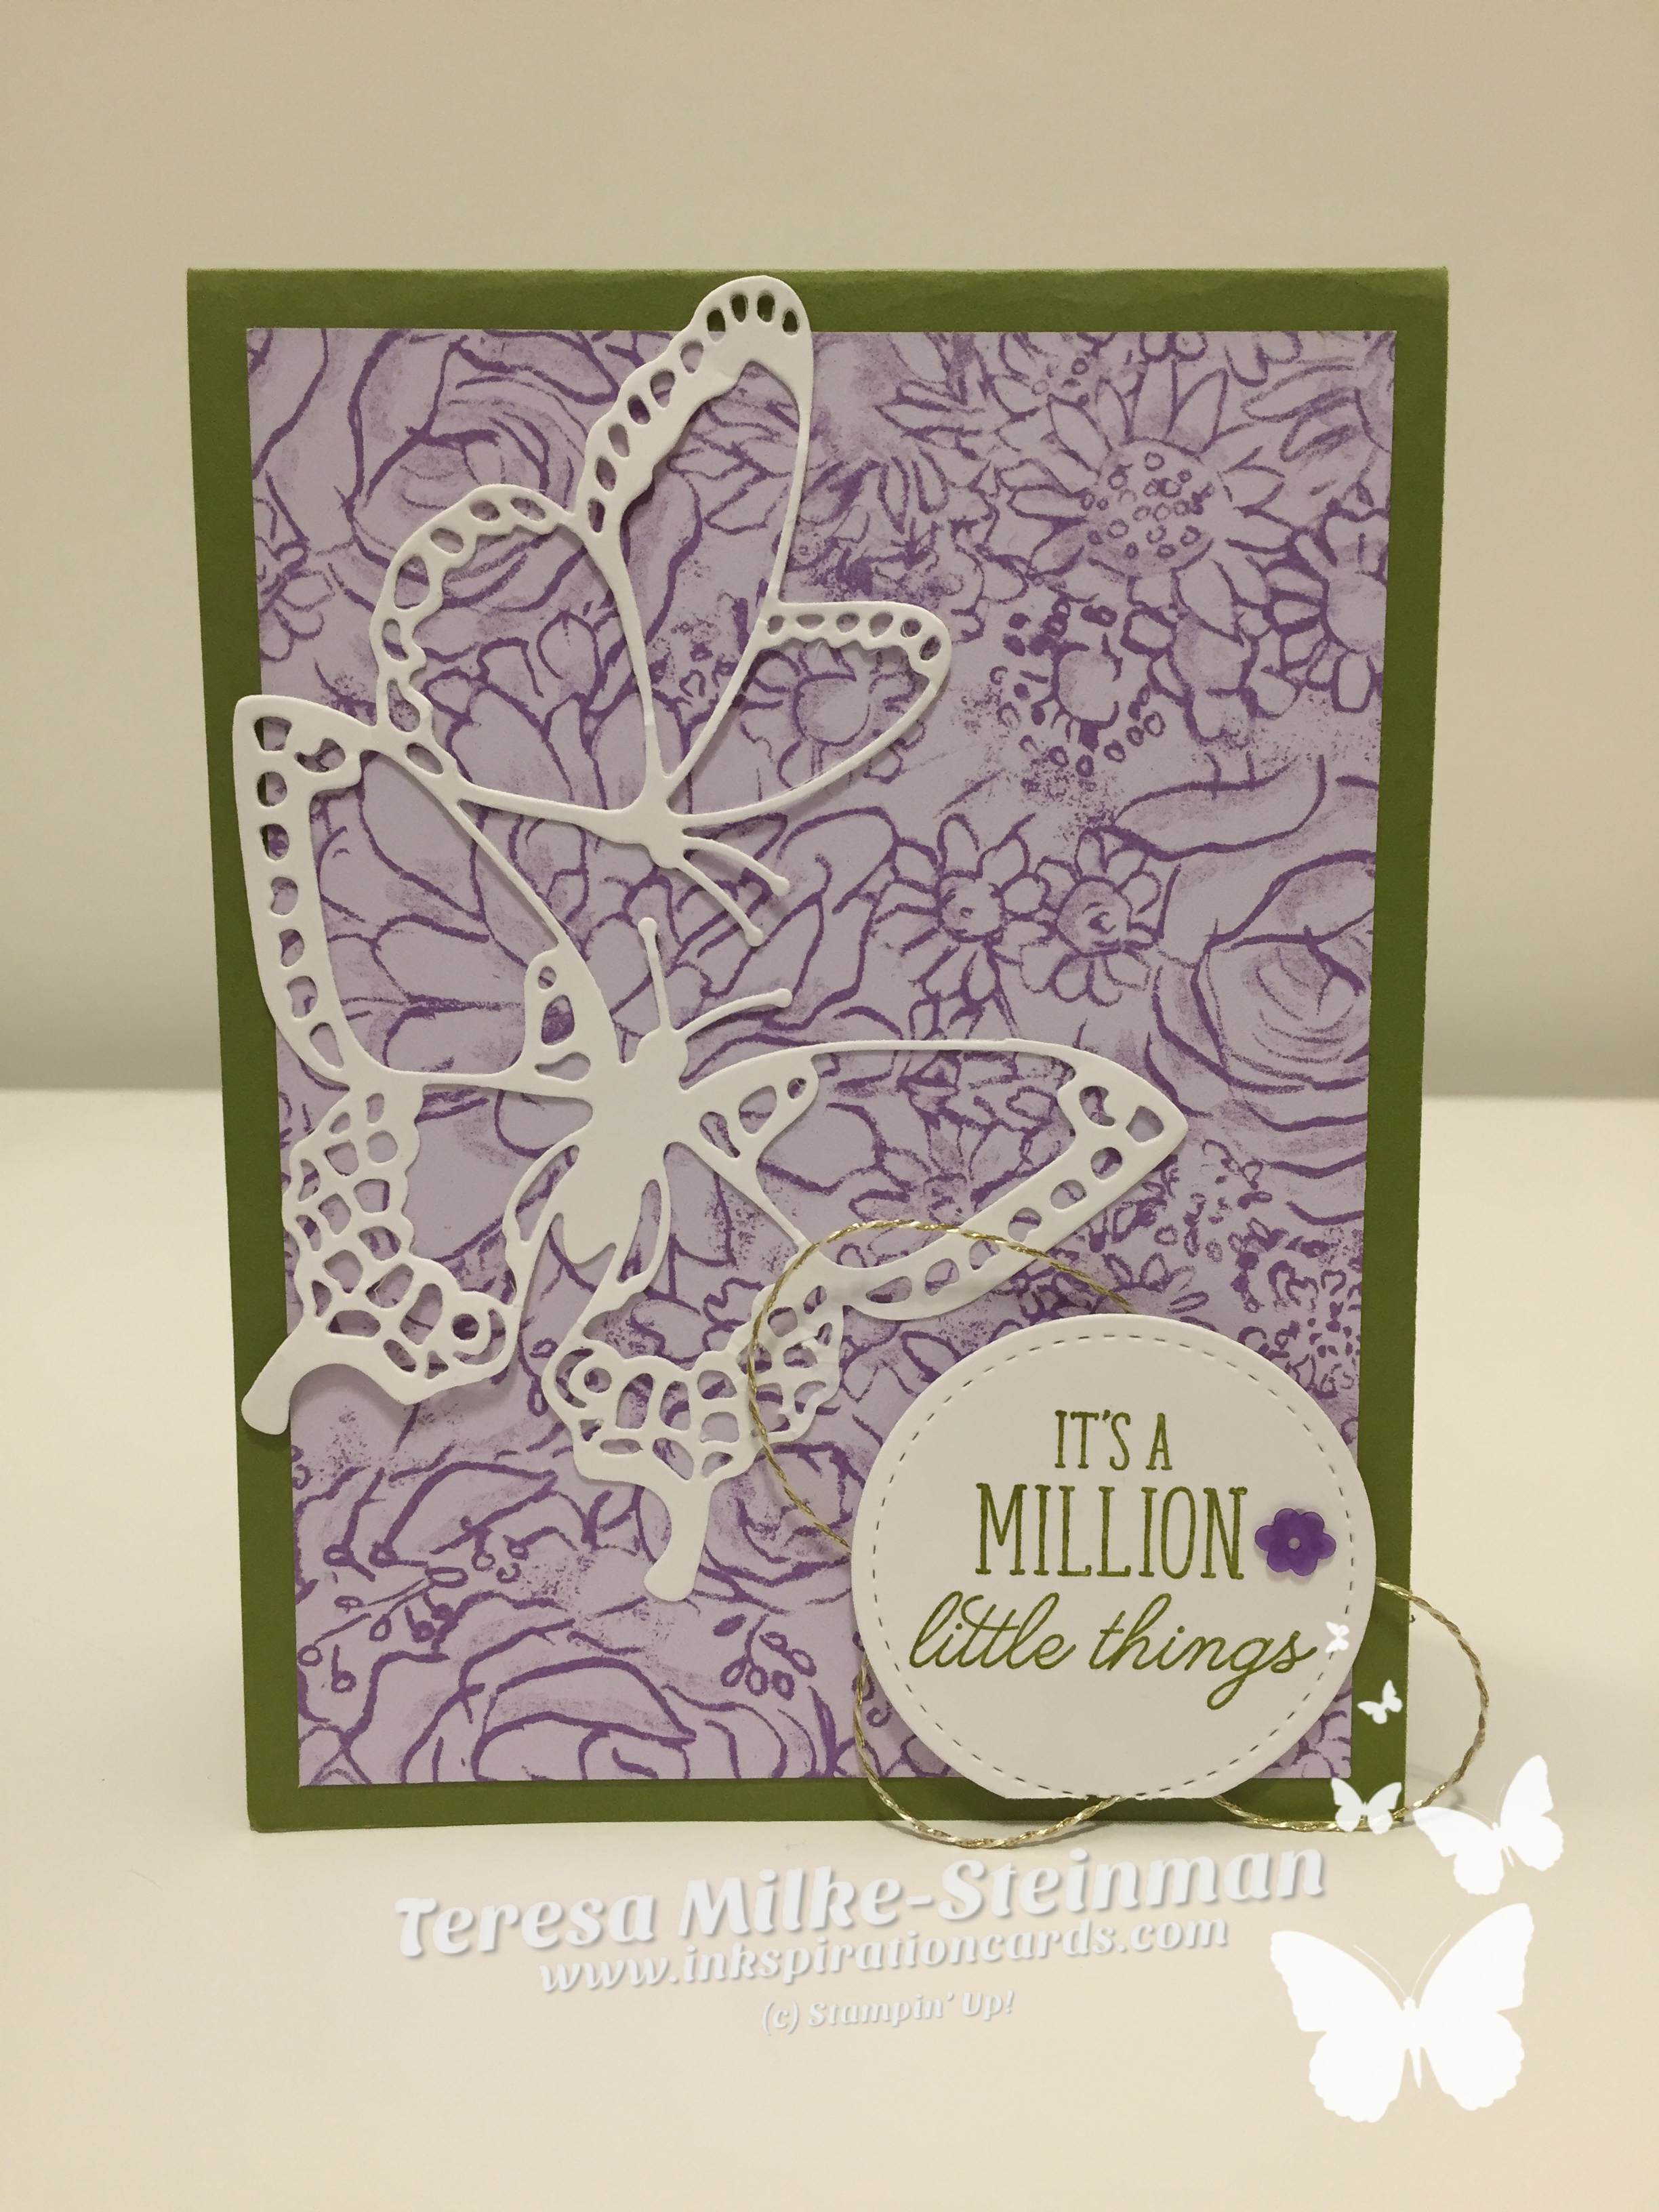
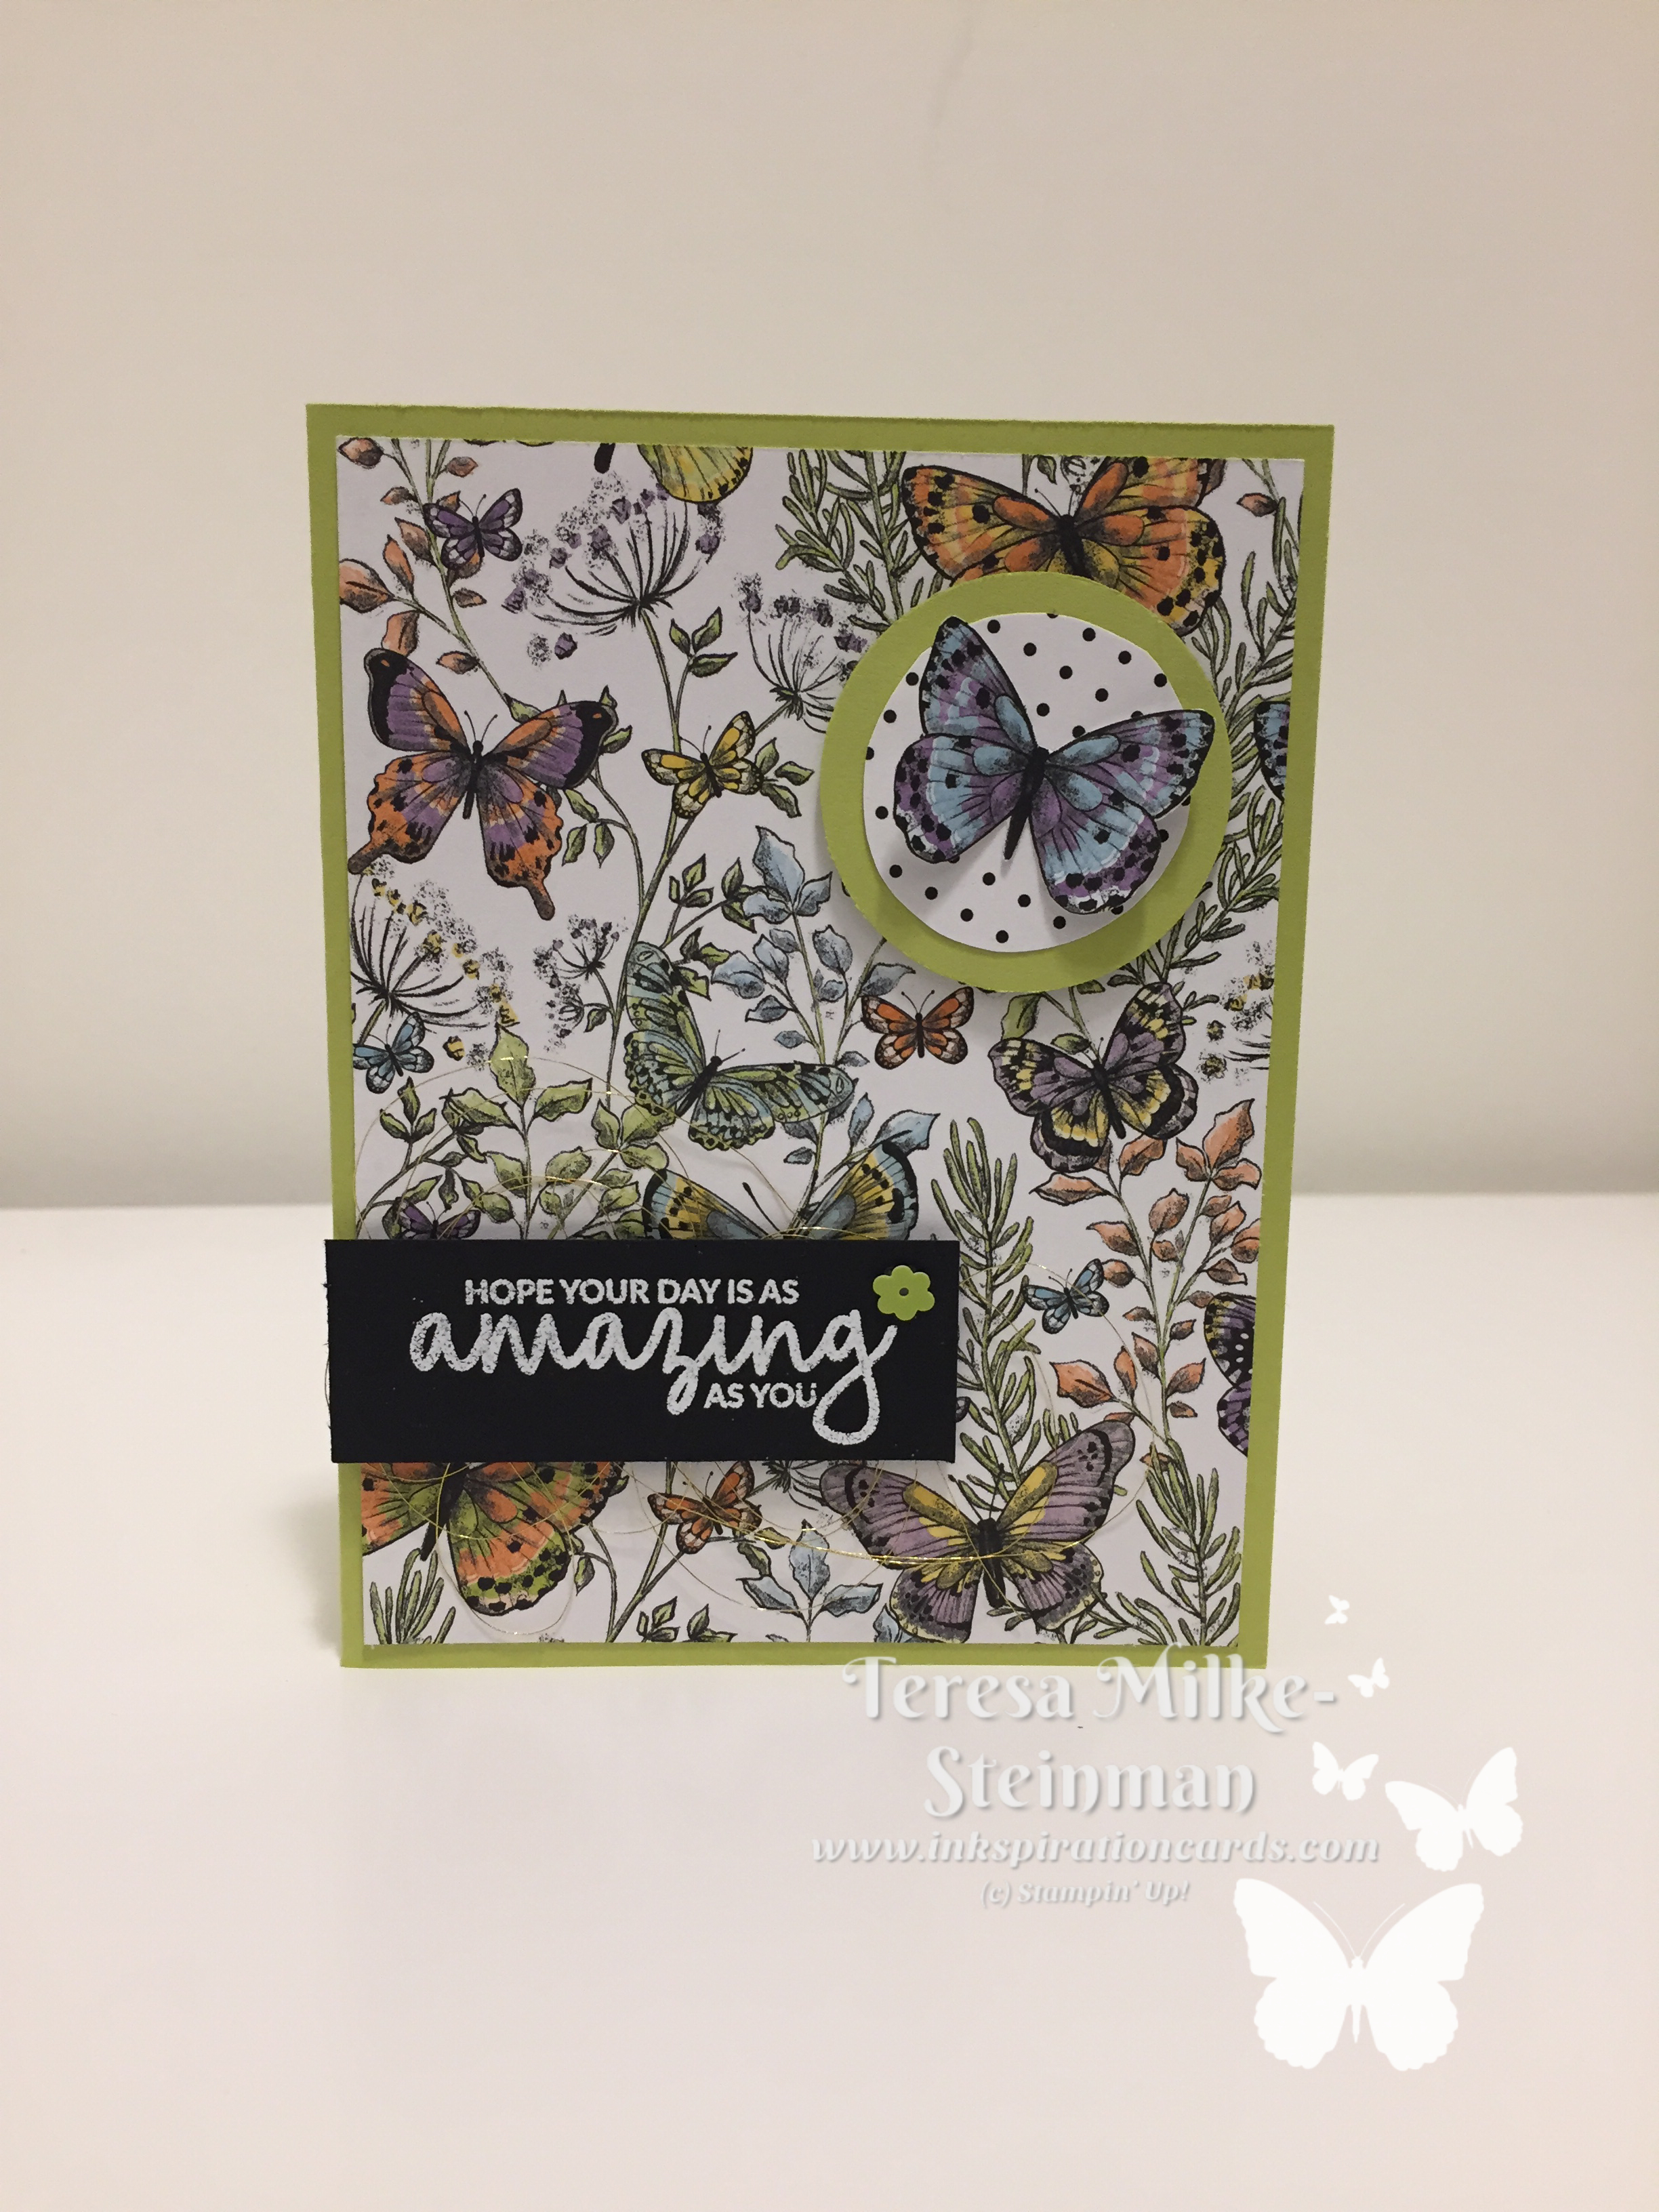
I have loved the Botanical Butterfly Designer Series Paper since I first saw it in the Sale-a-bration catalogue back in December and with my love of butterflies of course it was the first Sale-a-bration product that I chose. I will definitely be sad to see it go after March 31st, but thankfully I still have some to play with for now.

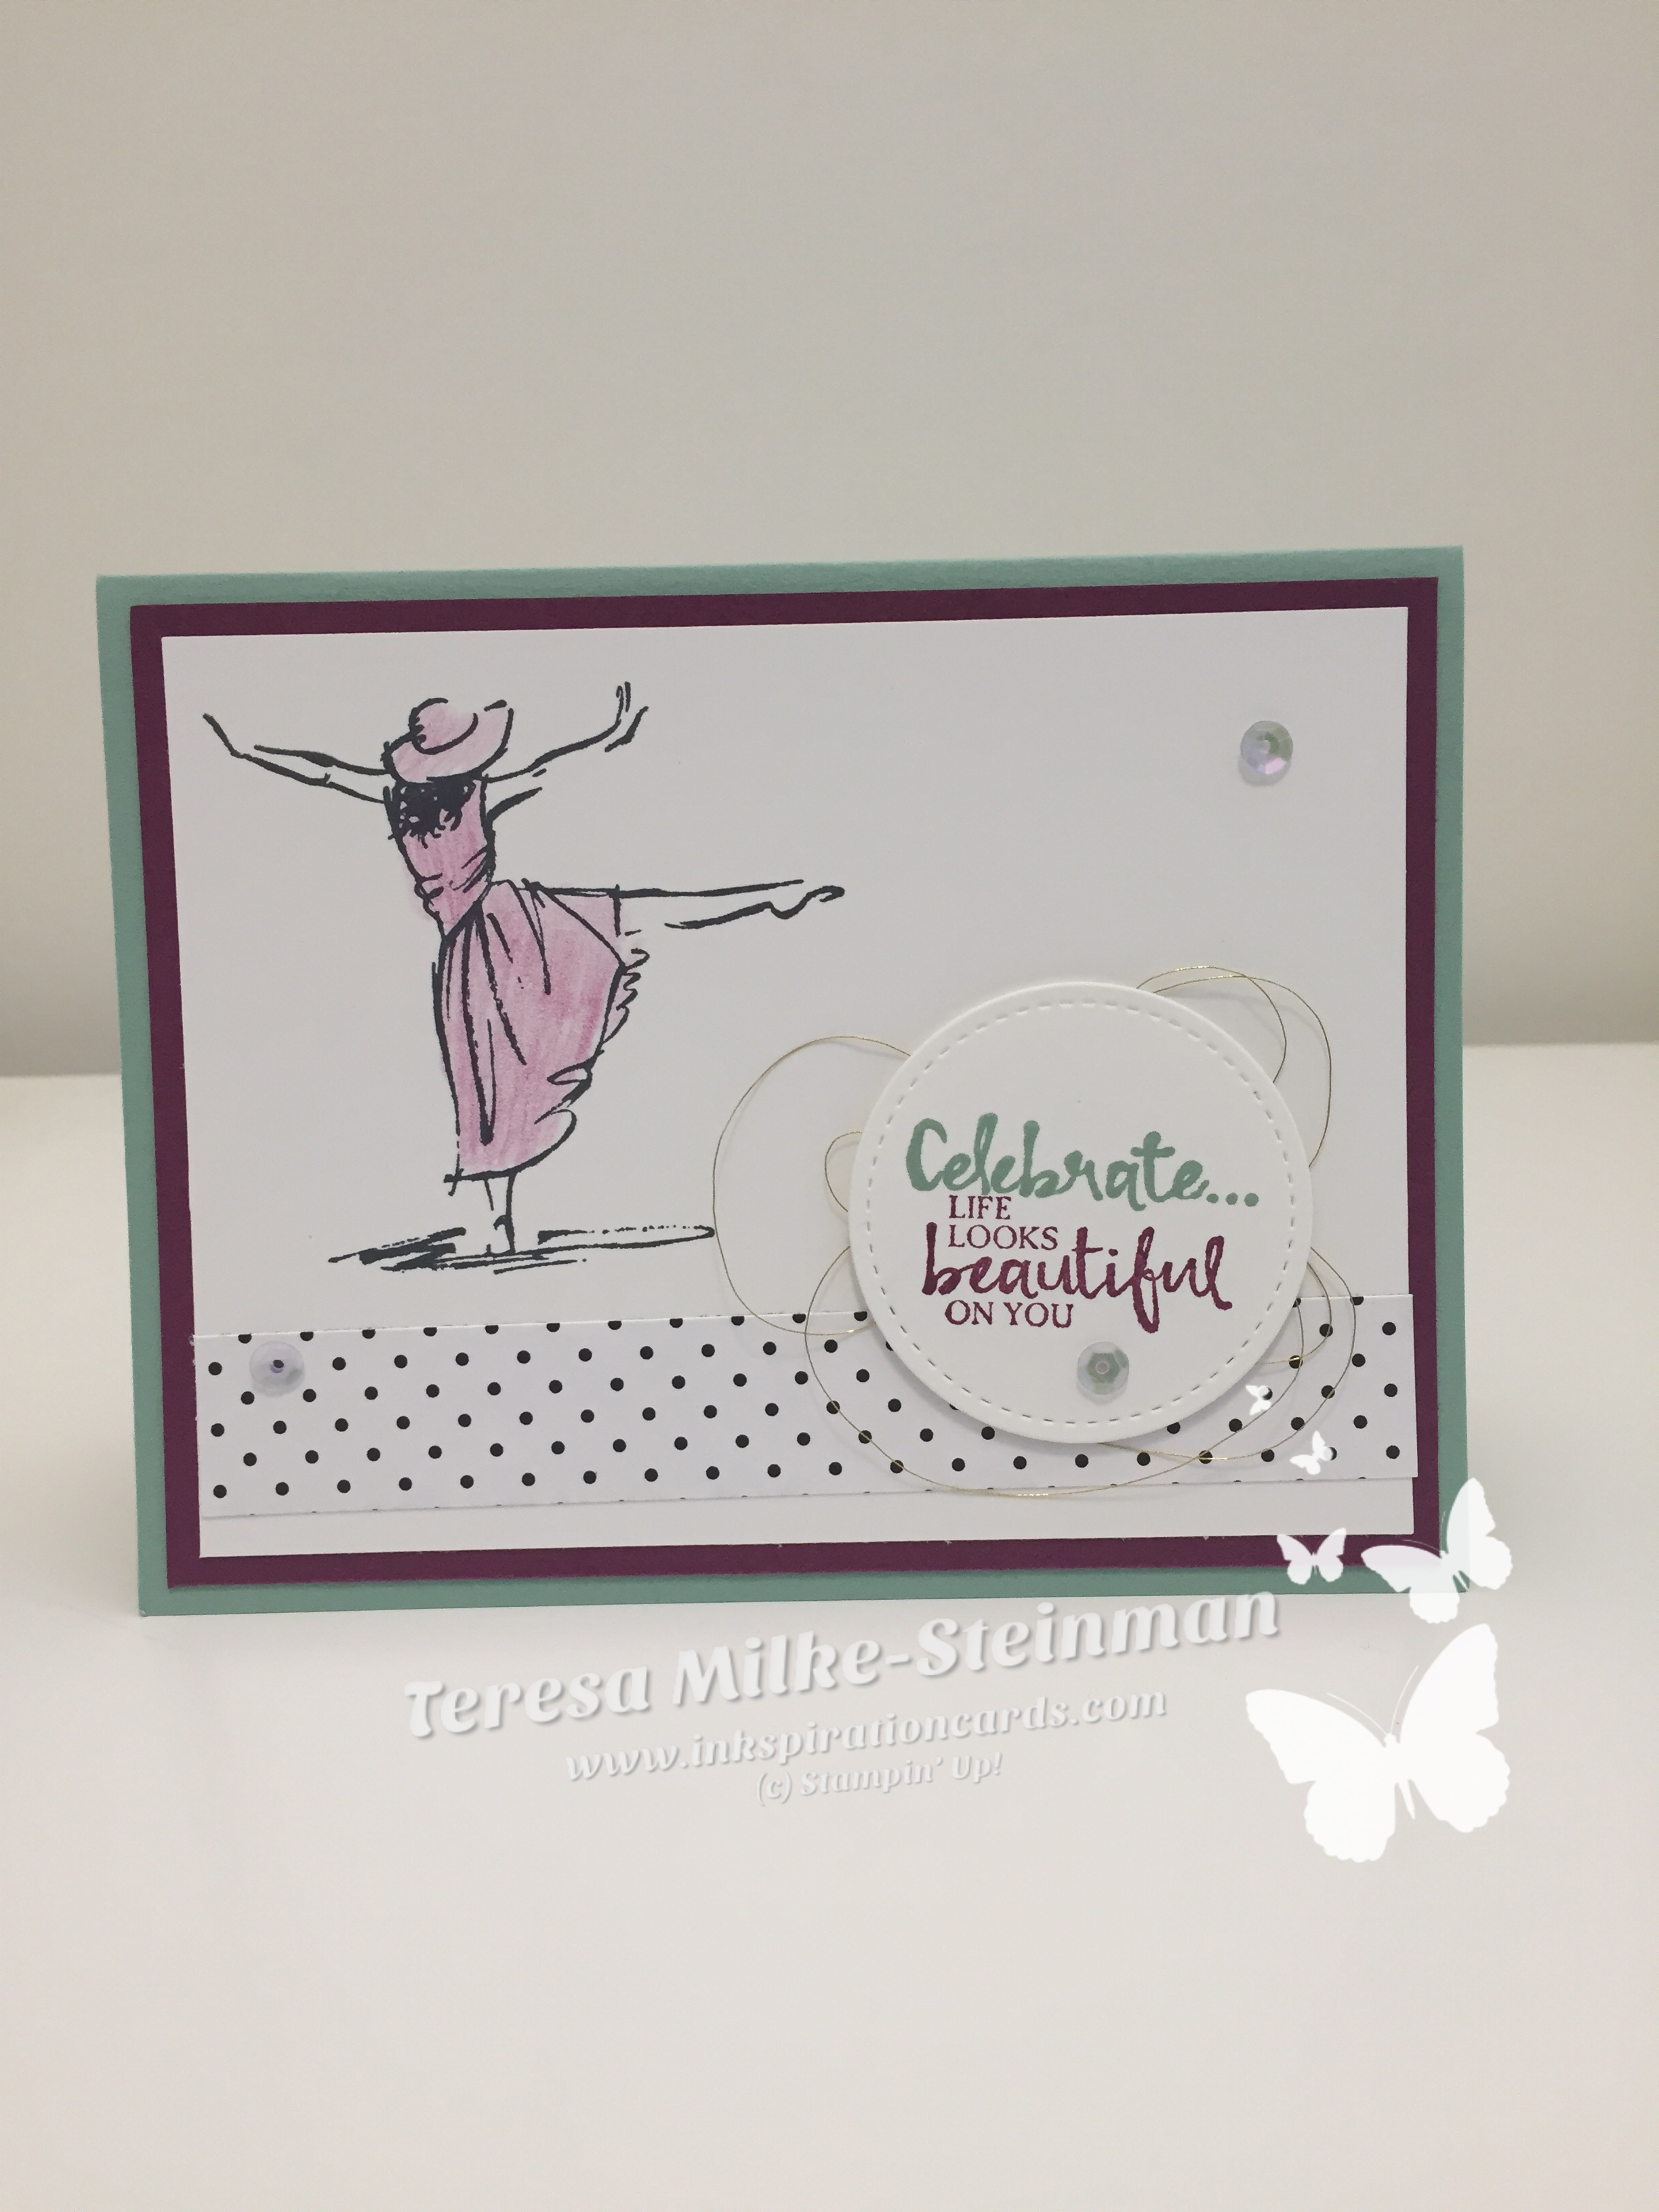
This card doesn’t involve a lot of stamping at all, just the phrase which came from the Incredible Like You stamp set and it is actually heat embossed. The two circles were simply punched out and the black and white polka dot paper is simply the other side of this same sheet of DSP.

For the full list of supplies that I used to make this card as well as step by step instructions on how to recreate this project yourself, simply click below for the project sheet. If you need to pick up any supplies just head over to  www.stampinup.com/inkspirationcards and if you’re shopping before April 1st and your cart equals $60+ you will be able to earn this great DSP, or another product of your choosing, for FREE!

2019 SAB Incredible Butterflies

My Stampin’ Up! Family

Although I’ve been a papercrafter and scrapbooker since shortly after I graduated from highschool, it was only about 6 1/2 years ago that I joined Stampin’ Up! as a demonstrator and I have to say it was the best decision that I have ever made! While I did enjoy crafting before I joined and had a few friends that I would get together with to scrapbook and craft, that has been nothing in comparison to my experiences since I joined.

demo mtg people

My team has become like my crafting family and even the larger Stampin’ Up! community has been so welcoming! Whenever I get together with my team we always have a great time crafting, laughing and catching up and even though we don’t get to see each too often the connection is always there.

Plus on top of all the fun we have together, my team (as well as the larger Stampin’ Up! community) provide so much inspiration and encouragement that it is very rare that I find myself stuck for an idea for very long!

With all that said there has never been a better time to join the Stampin’ Up! family. Along with the amazing Stampin’ Up! community, until March 31st you have not one but two options when you join….

join option 1 and 2

craft & carry tote

If you have any questions I am happy to help and will do my best to answer them and support you in whatever way would be most helpful.

www.stampinup.com/inkspirationcards/jointhefun

Hello Spring!

hello spring

Well Spring officially arrived yesterday afternoon which makes today the first full day of Spring!! It is yet to be seen whether Winter will hang around for a little while longer or not, but so far I am enjoying all the sunlight we have been getting lately. Either way I thought that I would welcome Spring and so I dug out an old Paper Pumpkin kit to make this wreath.

Unfortunately this kit isn’t available anymore, but if you would like to make something like this it wouldn’t be that difficult. All you would need is a Styrofoam wreath which you can pick up at a Dollar or Craft store, some ribbon of your choosing (here are Stampin’ Up!s options), strips of cardstock (Mossy Meadow cardstock would work well) that you can cut using a pair of fringe or another kind of patterned scissors, Tear & Tape adhesive to wrap/attach the strips around the wreath, you could use Basic Black cardstockWhisper White Craft ink and Whisper White Solid Baker’s Twine to create the sign or see what your local Dollar/Craft store has in stock. For embellishments you can add whatever you would like, the Blossoms Elements and Leaves Trinkets are my surrent favourites and would be easy enough to attach using Mini Glue dots or a hot glue gun. I myself am thinking about adding some butterflies from Butterfly Beauty Thinlits Dies!

I would love to see how yours turns out! Please email me your pictures (inkspirationwithteresa@gmail.com) and I will feature them on my blog!

Painted Season

Painted Seasons wm

The Painted Seasons bundle is part of the Sale-a-bration freebies and it has definitely been a popular choice, so much so that you can either earn the bundle (stamp set and Designer Series Paper) with any purchase of $120 or just the Designer Series Paper with any $60 purchase until the end of this month (March 31st).

This card in particular I received from my upline at our most recent team meeting. It features the Painted Seasons and Part of My Story (which you can also earn free during Sale-a-bration) stamp sets and uses some of the 2017-2019 In Colours; Fresh Fig, Powder Pink and Tranquil Tide (which will be retiring at the end of May!).

I love attending these team meetings because it gives me a chance to spend some time with my smaller team (aka Stampin’ Up! family) where we motivate each other, offer great ideas and inkspiration (just like this card) and catch up on life outside of Stampin’ Up! If you would like to be a part of this there has never been a better time, just head over to my website and check out this amazing opportunity!

www.stampinup.com/inkspirationcards/jointhefun

Amazing Butterflies

Amazing Butterflies wm

I just love playing and creating with the Beauty Abounds Cling Bundle and with Spring on it’s way (in theory), I’m also loving using more spring like colour combinations, like Old Olive and Powder Pink.

For this project I used Old Olive cardstock for the card base, Powder Pink cardstock for the card mat and Whisper White cardstock for the card front as well as for the banner and the two larger butterflies. I stamped the two smaller butterflies and phrase using Powder Pink ink and then stamped three paint splotches using Old Olive ink. The two larger butterflies were leftover from a project where I separated the butterflies from the Butterfly Beauty Thinlits dies and I sponged Old Olive ink onto them. To sponge you can either use the Sponge Daubers or Stamping Sponges. I placed them on top of two of the paint splotches using the Fine-Tip Glue Pen. The two Old Olive sprigs behind the banner also came from the Butterfly Beauty Thinlits Dies and I simply secured them using a bit of SNAIL Adhesive.

For the banner I stamped the words which came from the Amazing Life stamp set using Powder Pink and used Old Olive to stamp the dots, from the same stamp set, underneath. I then wrapped some Old Olive Linen Thread around the Whisper White cardstock. To attach it to the card front I used two Stampin’ Dimensionals and then I added a Clear Rhinestone Jewel to add a little bit of bling.


Stamp Your Own Mug!

Not that long ago a saw a post by another demonstrator where they had designed their own mug and I thought “I totally need to try that!” Well apparently my upline saw this as well and thought the same thing that I did because when we had our team meeting to talk about Stampin’ Up! and how we’re sharing our inkspiration with others, we made our own!

The great thing is that it’s not that difficult to do…. the tough thing is to have enough patience. All you need is a plain white mug (I bought the ones we used at a local Dollarama), Jet Black StazOn inkpad and whatever stamps you want to use to create your design. These images came from the Crafting Forever (the “stamping” and banner phrases came from a stamp set exclusively for demonstrators).

Once you’ve got your images and phrases stamped on the mug the way you would like (this may take a few attempts, so give yourself plenty of time) place the mug in the oven and set the temperature to 350 degrees (DO NOT PREHEAT) and then set the timer for 30 minutes. When the timer goes off simply turn off the oven and let the mug cool down.

If you would like to add colour to your design simply choose whatever colour Stampin’ Blends you want and colour away! Once you’ve coloured your design, repeat the step above and bake the mug one more time. You will then end up with something like this…

This is one of the many reasons why I have loved being apart of the Stampin’ Up! family! Everyone is so willing to share their ideas and provide inkspiration and motivation. If you would like to learn more about joining head over to my website. I would happy to have you join my team and there’s never been a better time!

www.stampinup.com/inkspirationcards/jointhefun

Happy International Women’s Day!

Celebrate Life wm

My inkspiration has been running a bit low lately, but with my cold on it’s way out and the sun starting to make a few more appearances recently it’s starting to come back! I thought I would try to create a card to honour International Women’s Day and I really like how it turned out.

I used the Beautiful You stamp set with Mint Macaron as my card base, Rich Razzleberry as the mat and the polka-dotted strip of DSP came from the Botanical Butterfly Designer Series Paper that you can earn FREE until the end of this month as part of Sale-a-bration. I stamped the woman using the Memento Black inkpad and coloured her using the Rich Razzleberry Watercolour Pencil and for the words I used Mint Macaron for the word “celebrate” and Rich Razzleberry for the rest. I then cut them out on my Big Shot using the Stitched Shapes Framelit Dies and popped it up using a couple of Dimensionals, but not before I laced some Gold Metallic Thread behind. Then last but definitely not least I added 3 Gingham Gala Adhesive Backed Sequins. I hope that you enjoy my project!

Womens day 2019

Beauty Abounds

savingpng-7

My projects seem to be bringing in more colours and Spring themes these days. Thank goodness Spring is almost here! This project features the Beauty Abounds bundle along with the Botanical Butterfly DSP that you can earn for FREE as part of Sale-a-bration until the end of March. I used Old Olive as my card base and Whisper White for the butterflies (which I cut apart after running through the Big Shot) as well as the cardstock for the phrase. I used the Stitched Shapes Framelits to cut out the phrase and raised it up using Dimensionals, but not before I placed some Gold Metallic Thread behind it and then I finished it off with a Gingham Gala Adhesive-Backed Sequin. Enjoy recreating this project!