Guide to Card Measurements

This past week has been one of those weeks where my creativity is running a bit low. I think after all my crafting for Valentine’s Day and a recent craft show my brain has needed a bit of a break! So instead of a project, I thought that I would share the measurements that I use whenever I’m creating a card.

Over the years I’ve been asked this question a few times and so I know it’s a question that lots of you are wondering about, especially those of you that are just starting out.

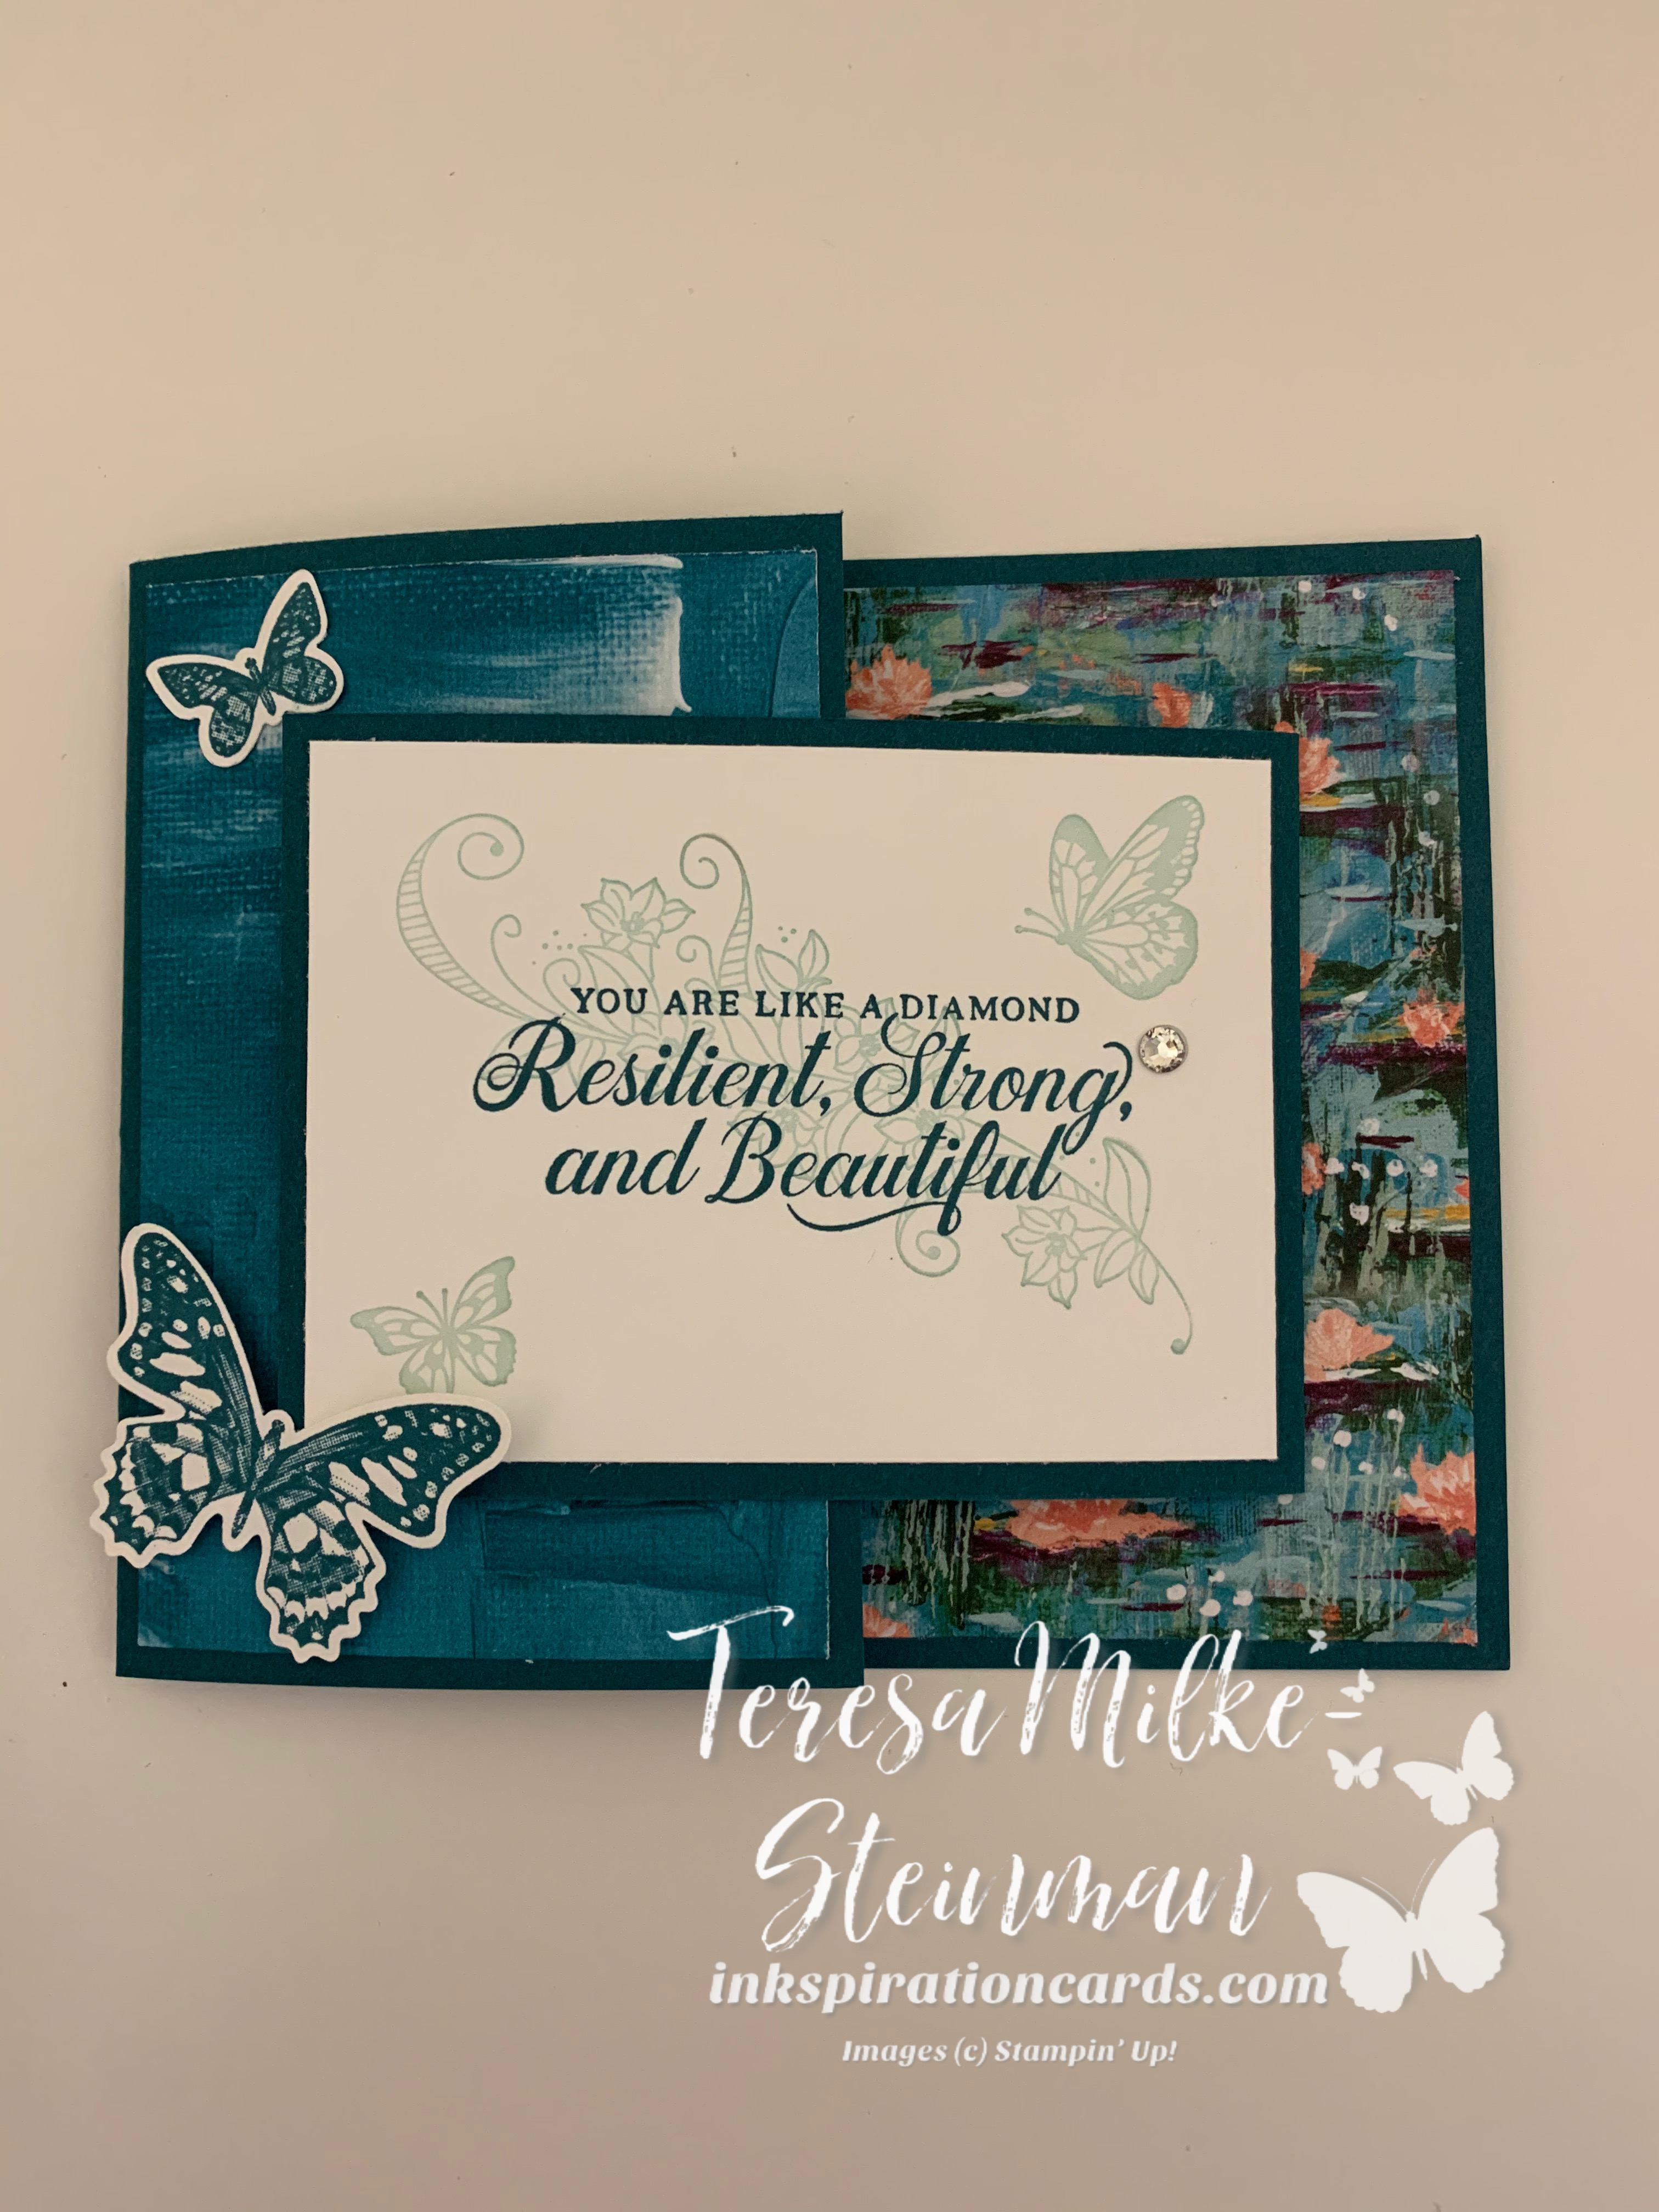
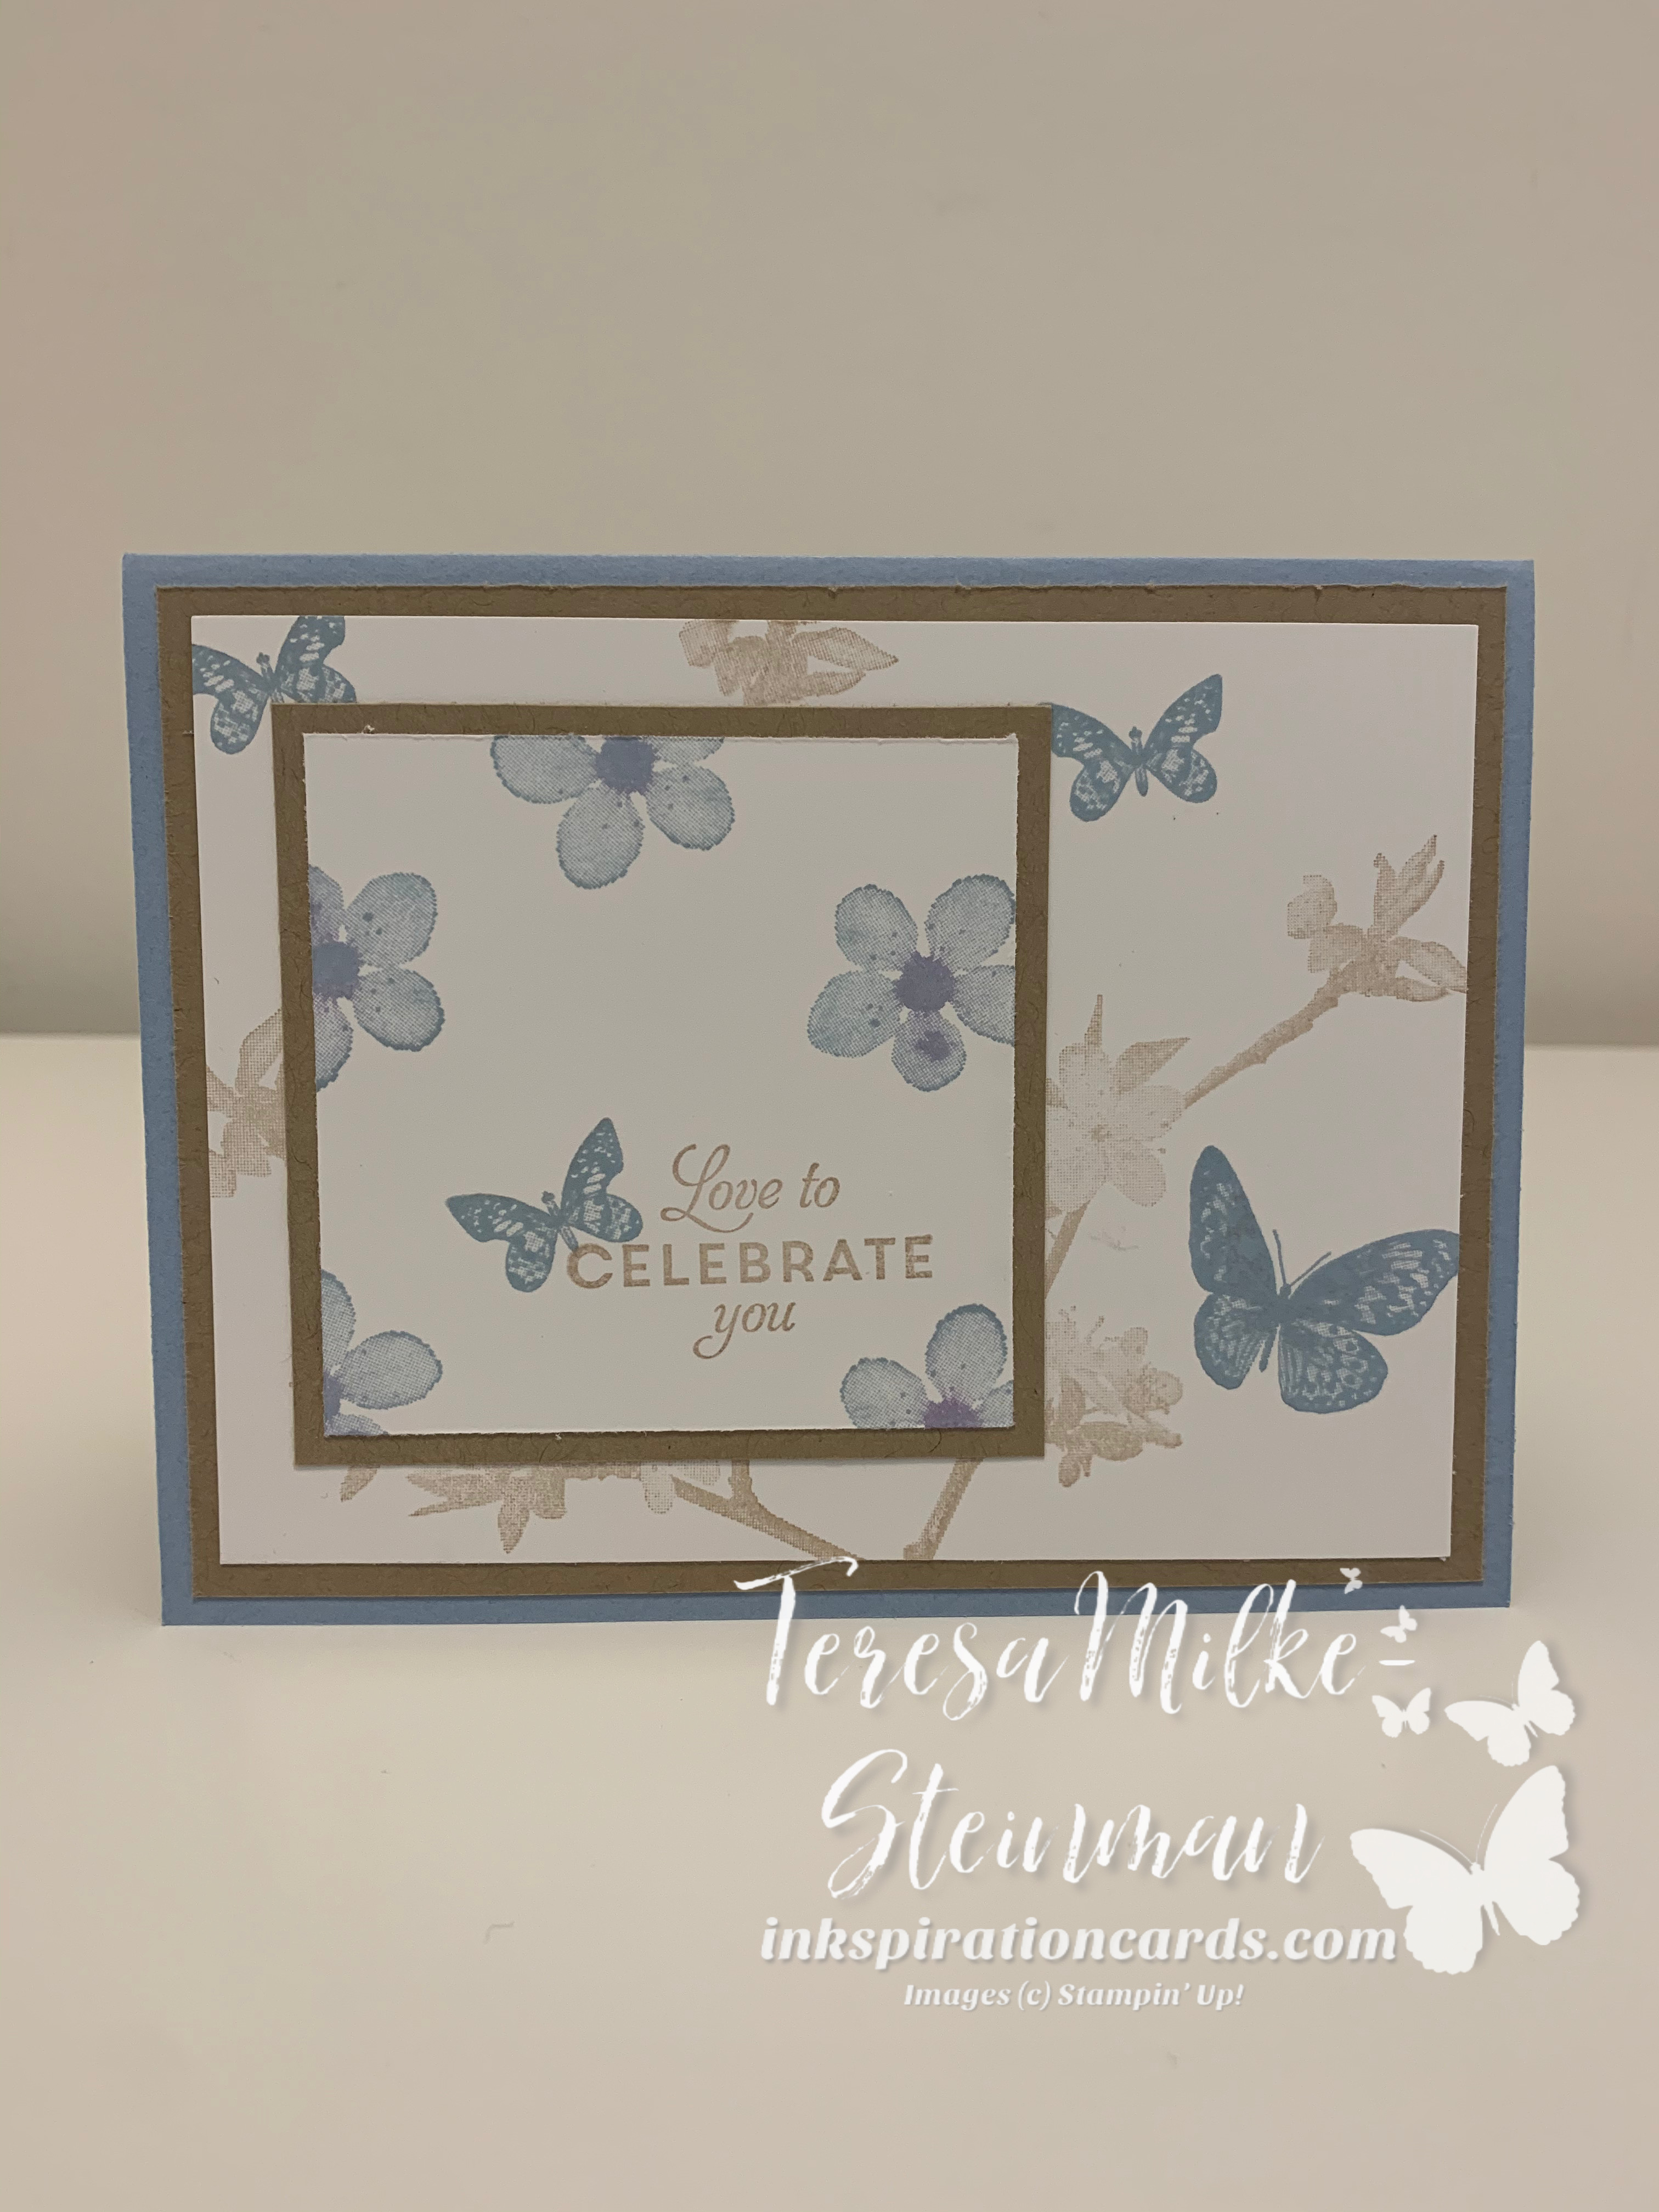
For the most part I generally use the same measurements for my cards; each layer is 1/4″ smaller than the layer before. It makes it quick and easy since I don’t really have to think about it anymore, plus it gives a nice border and some nice layers to the cards.

  • Card base: 8 1/2″ x 5 1/2″
  • Card mat: 4″ x 5 1/4″
  • Card front: 3 3/4″ x 5″
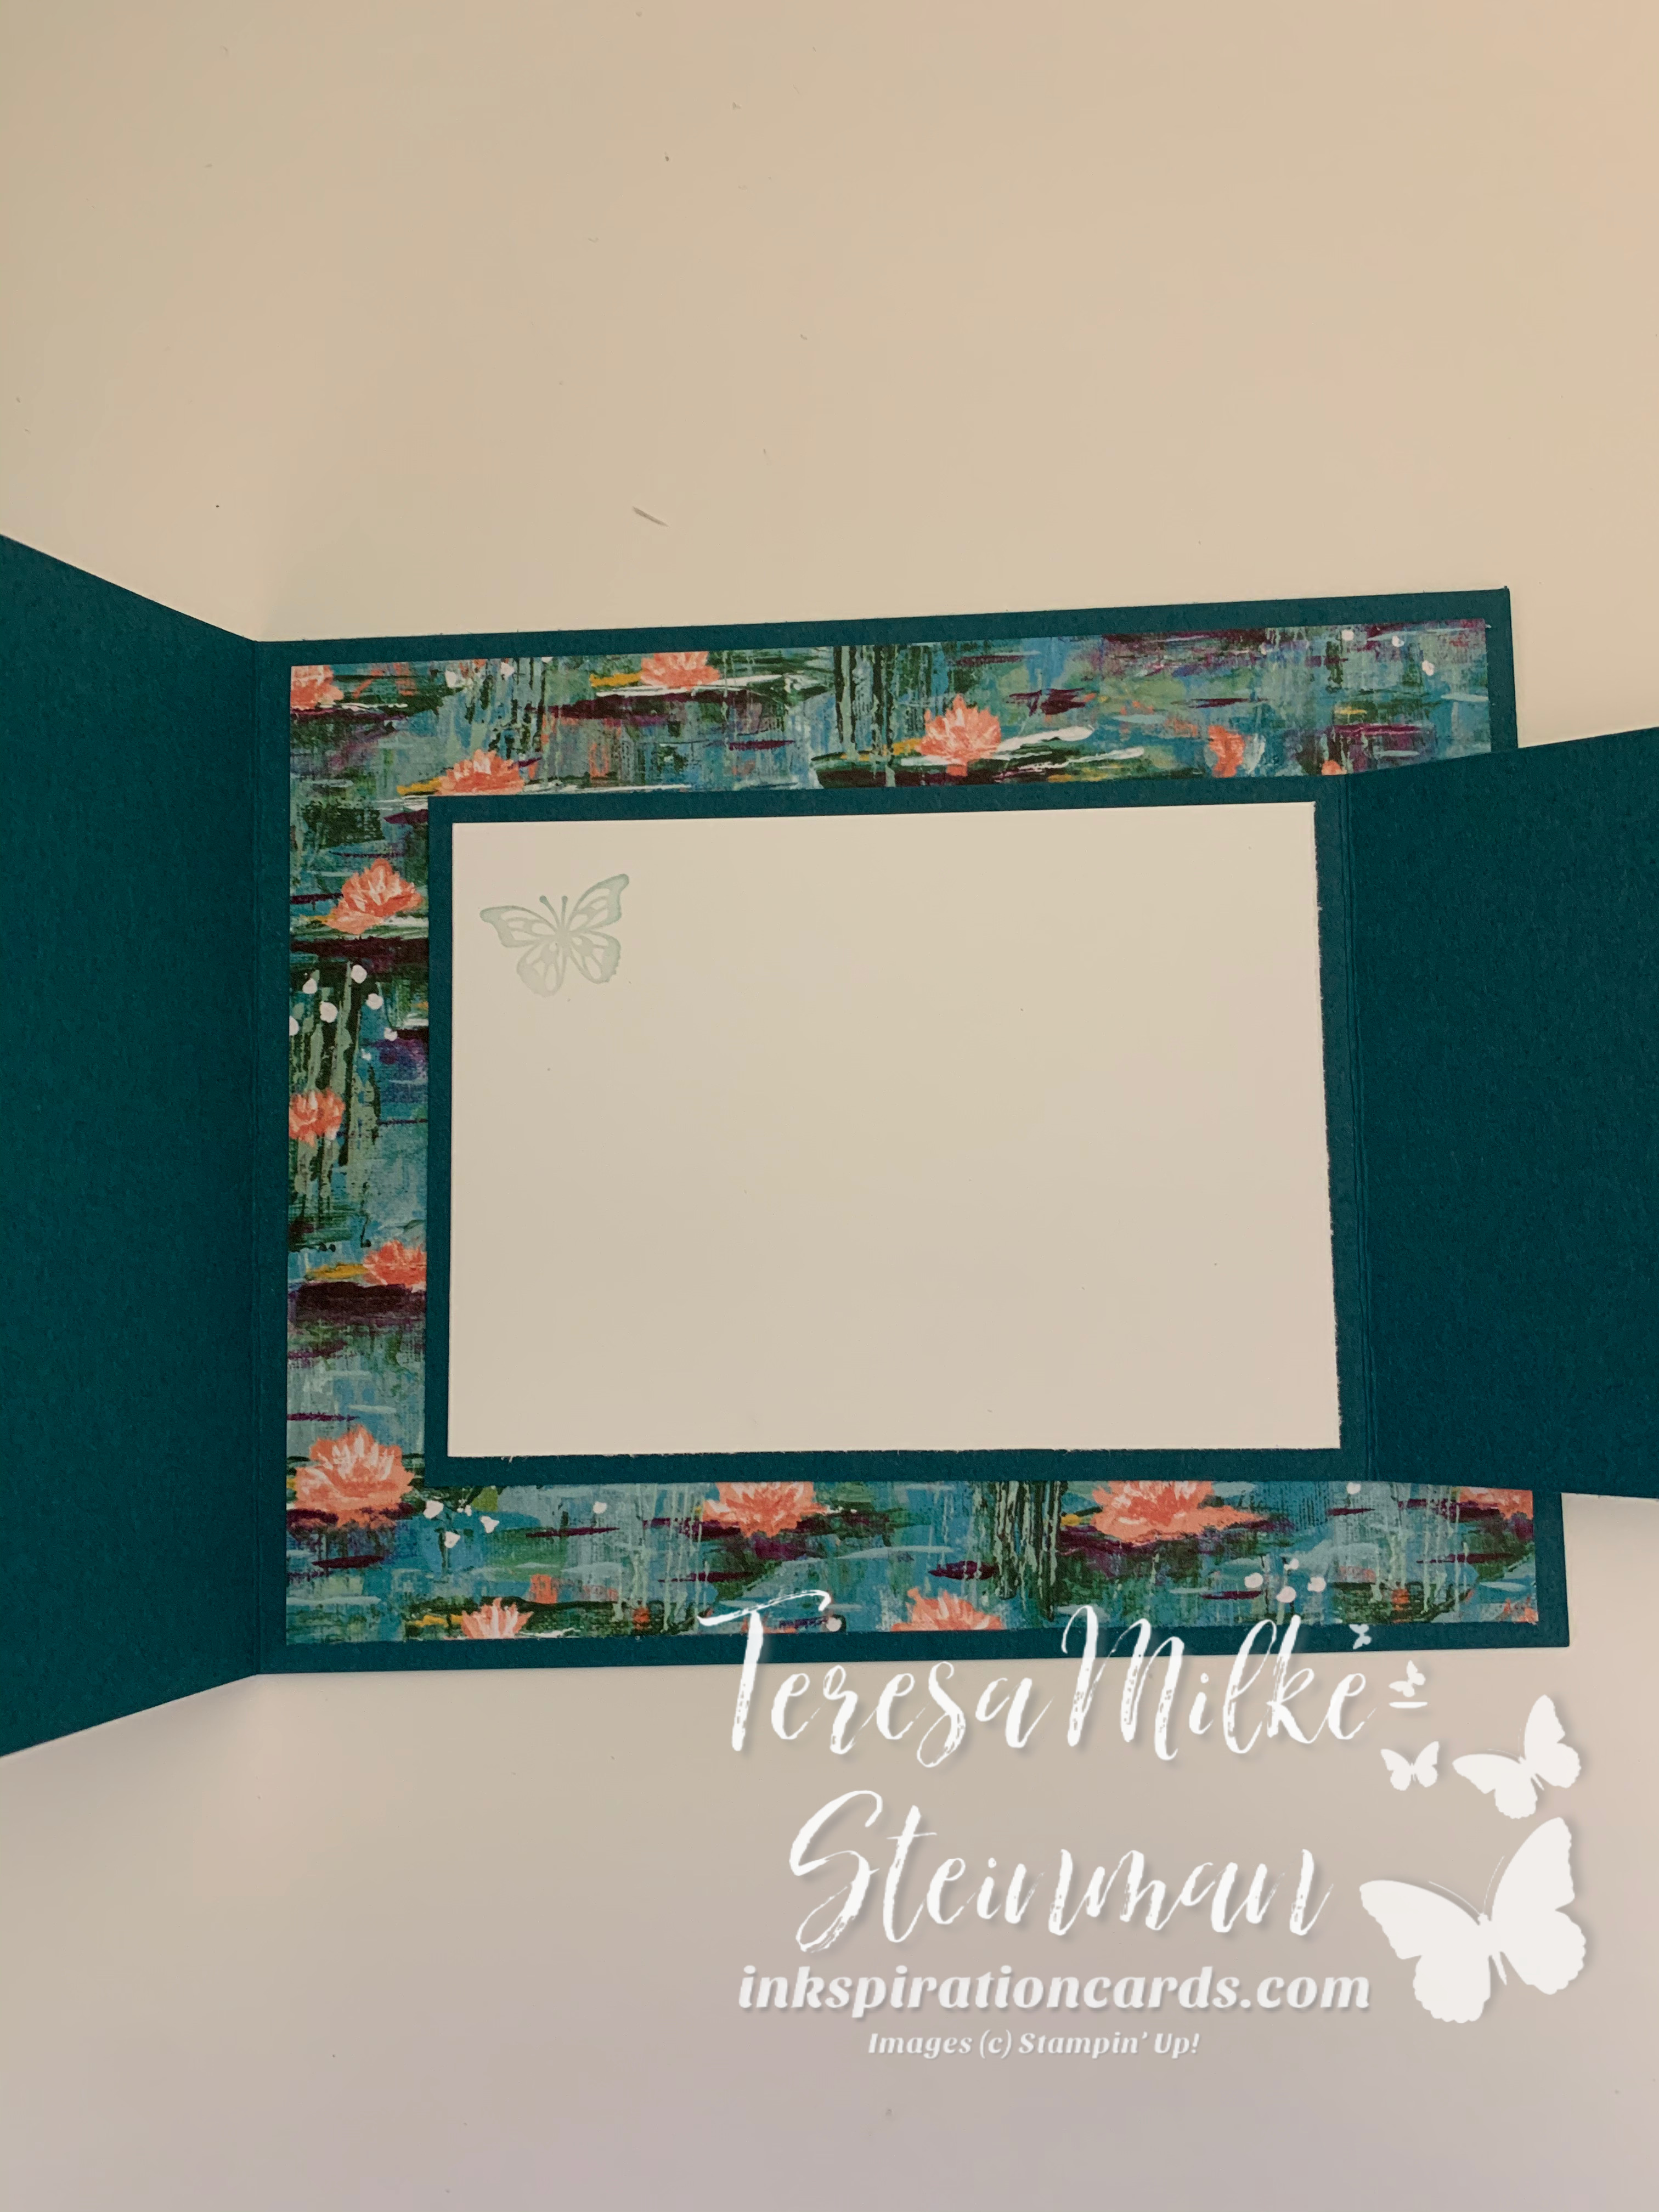
  • For a layer on the inside of the card I use the card mat measurements.

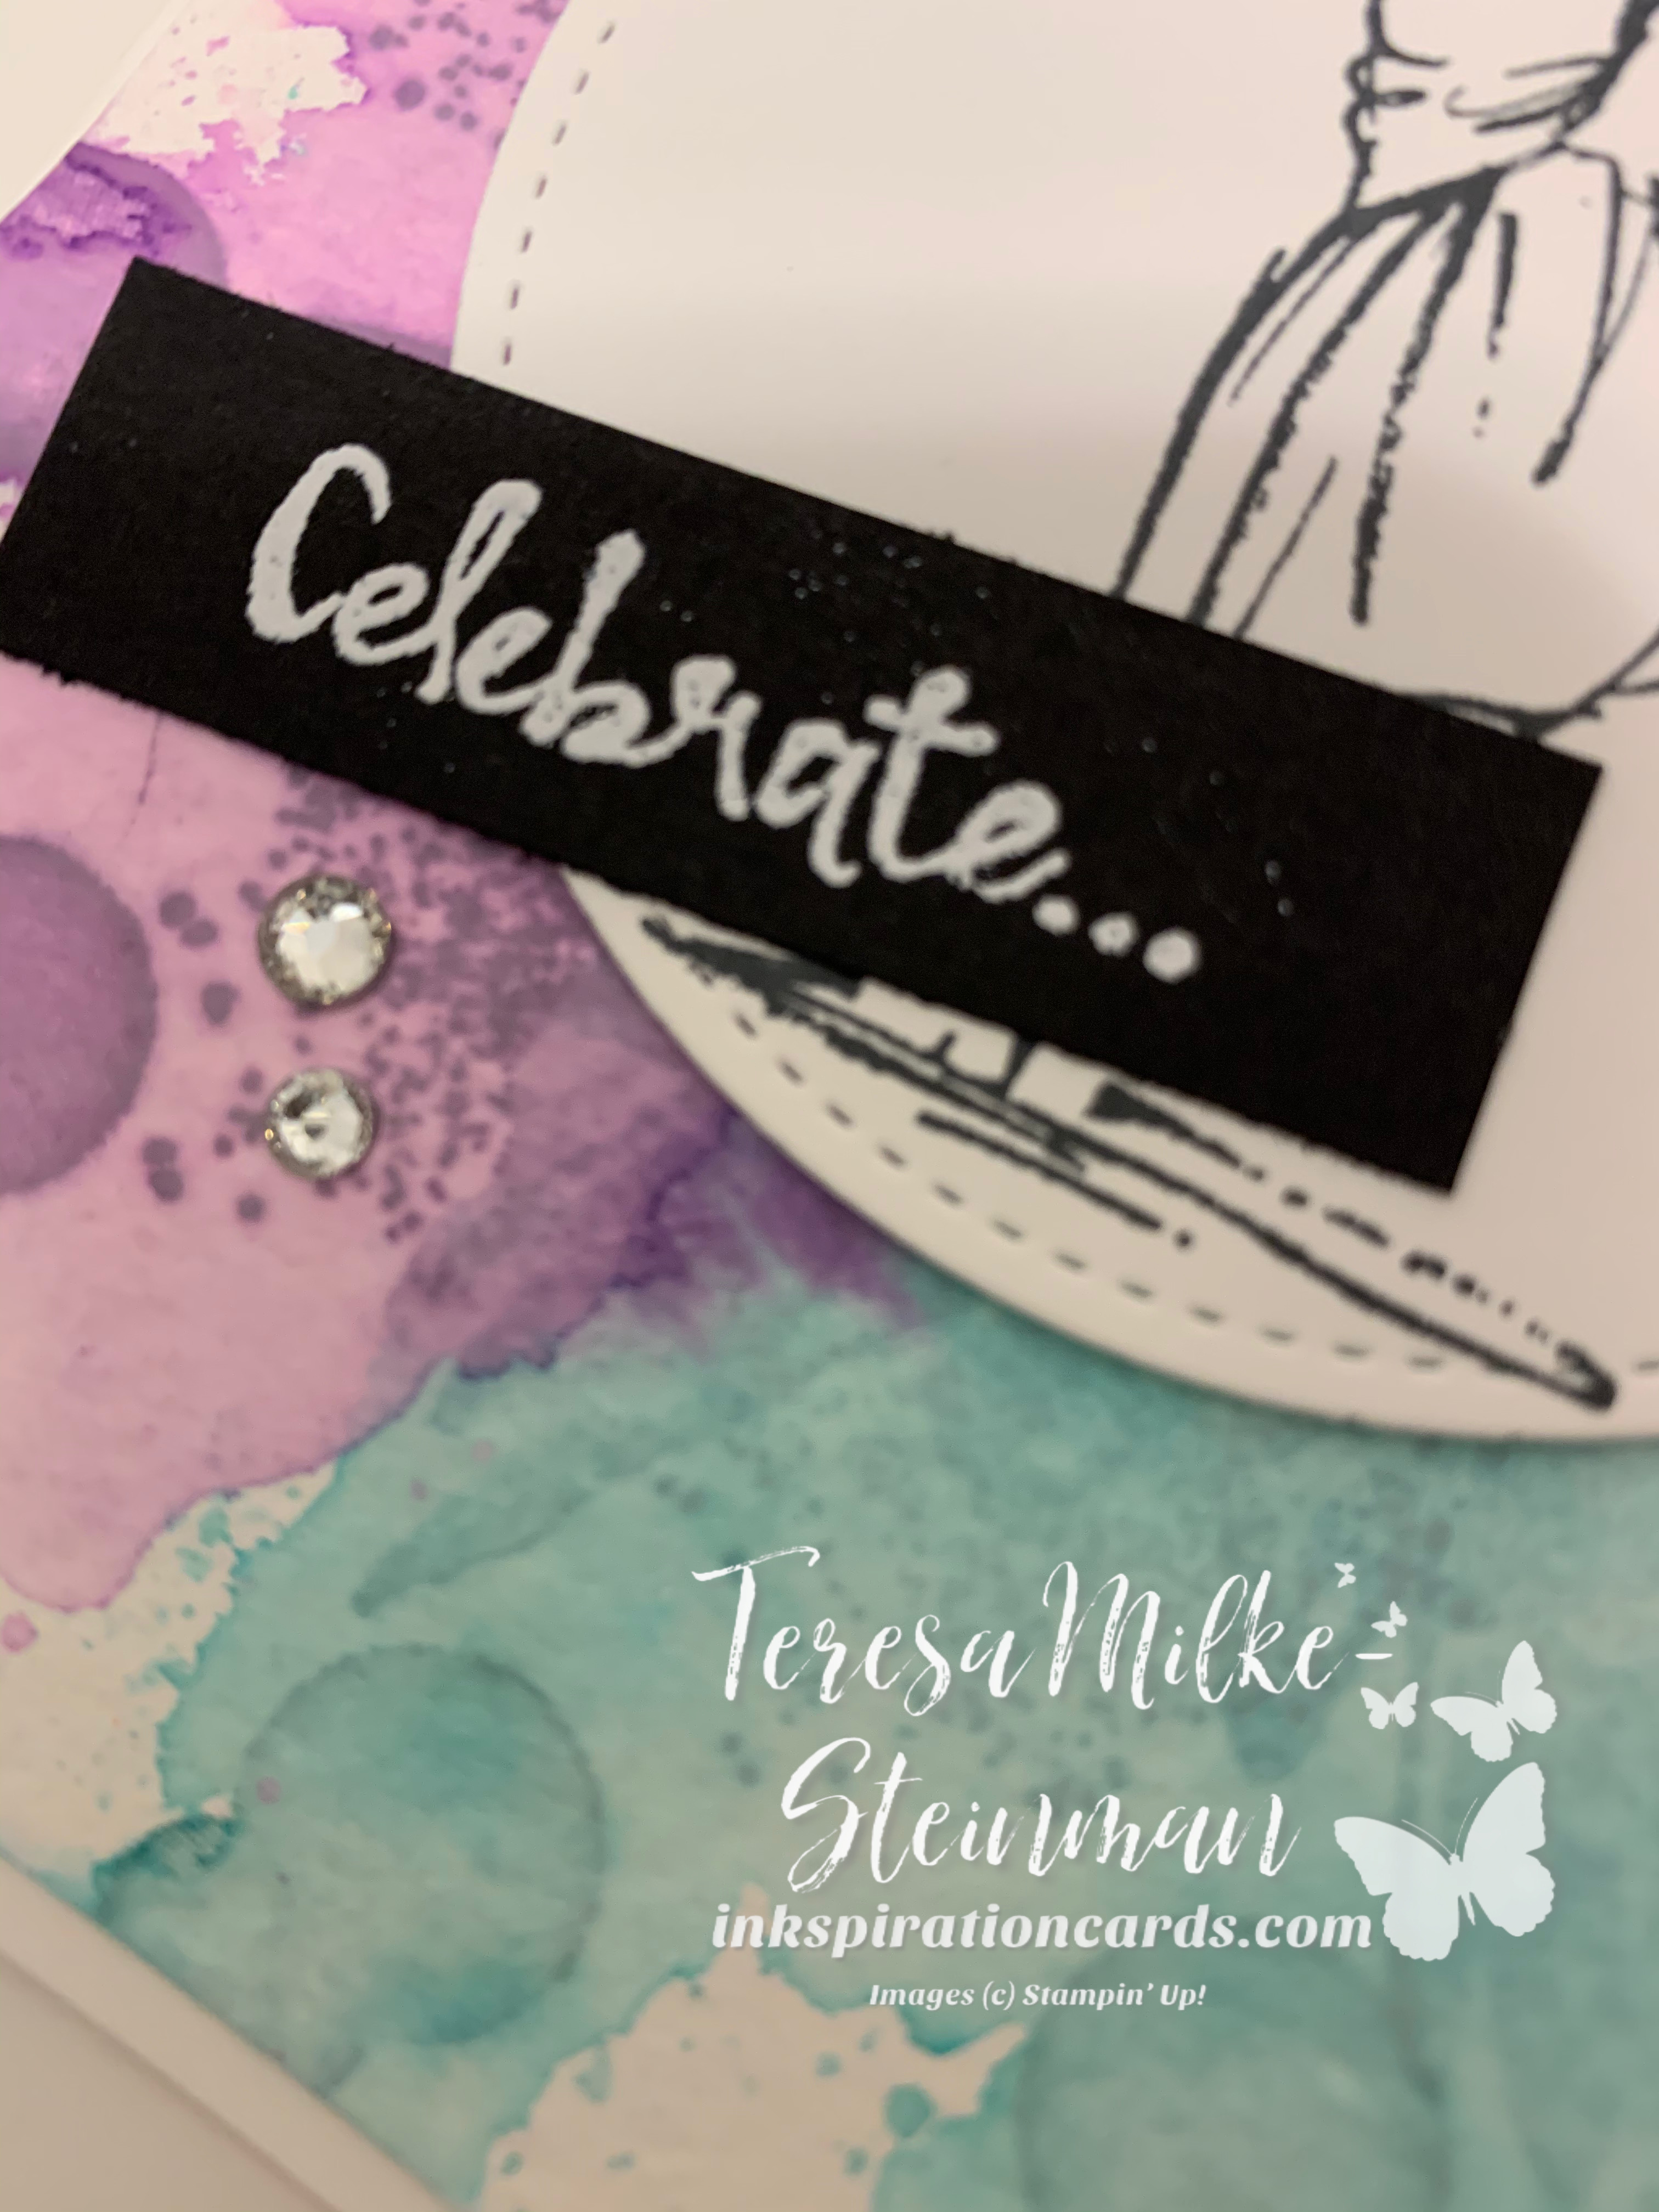
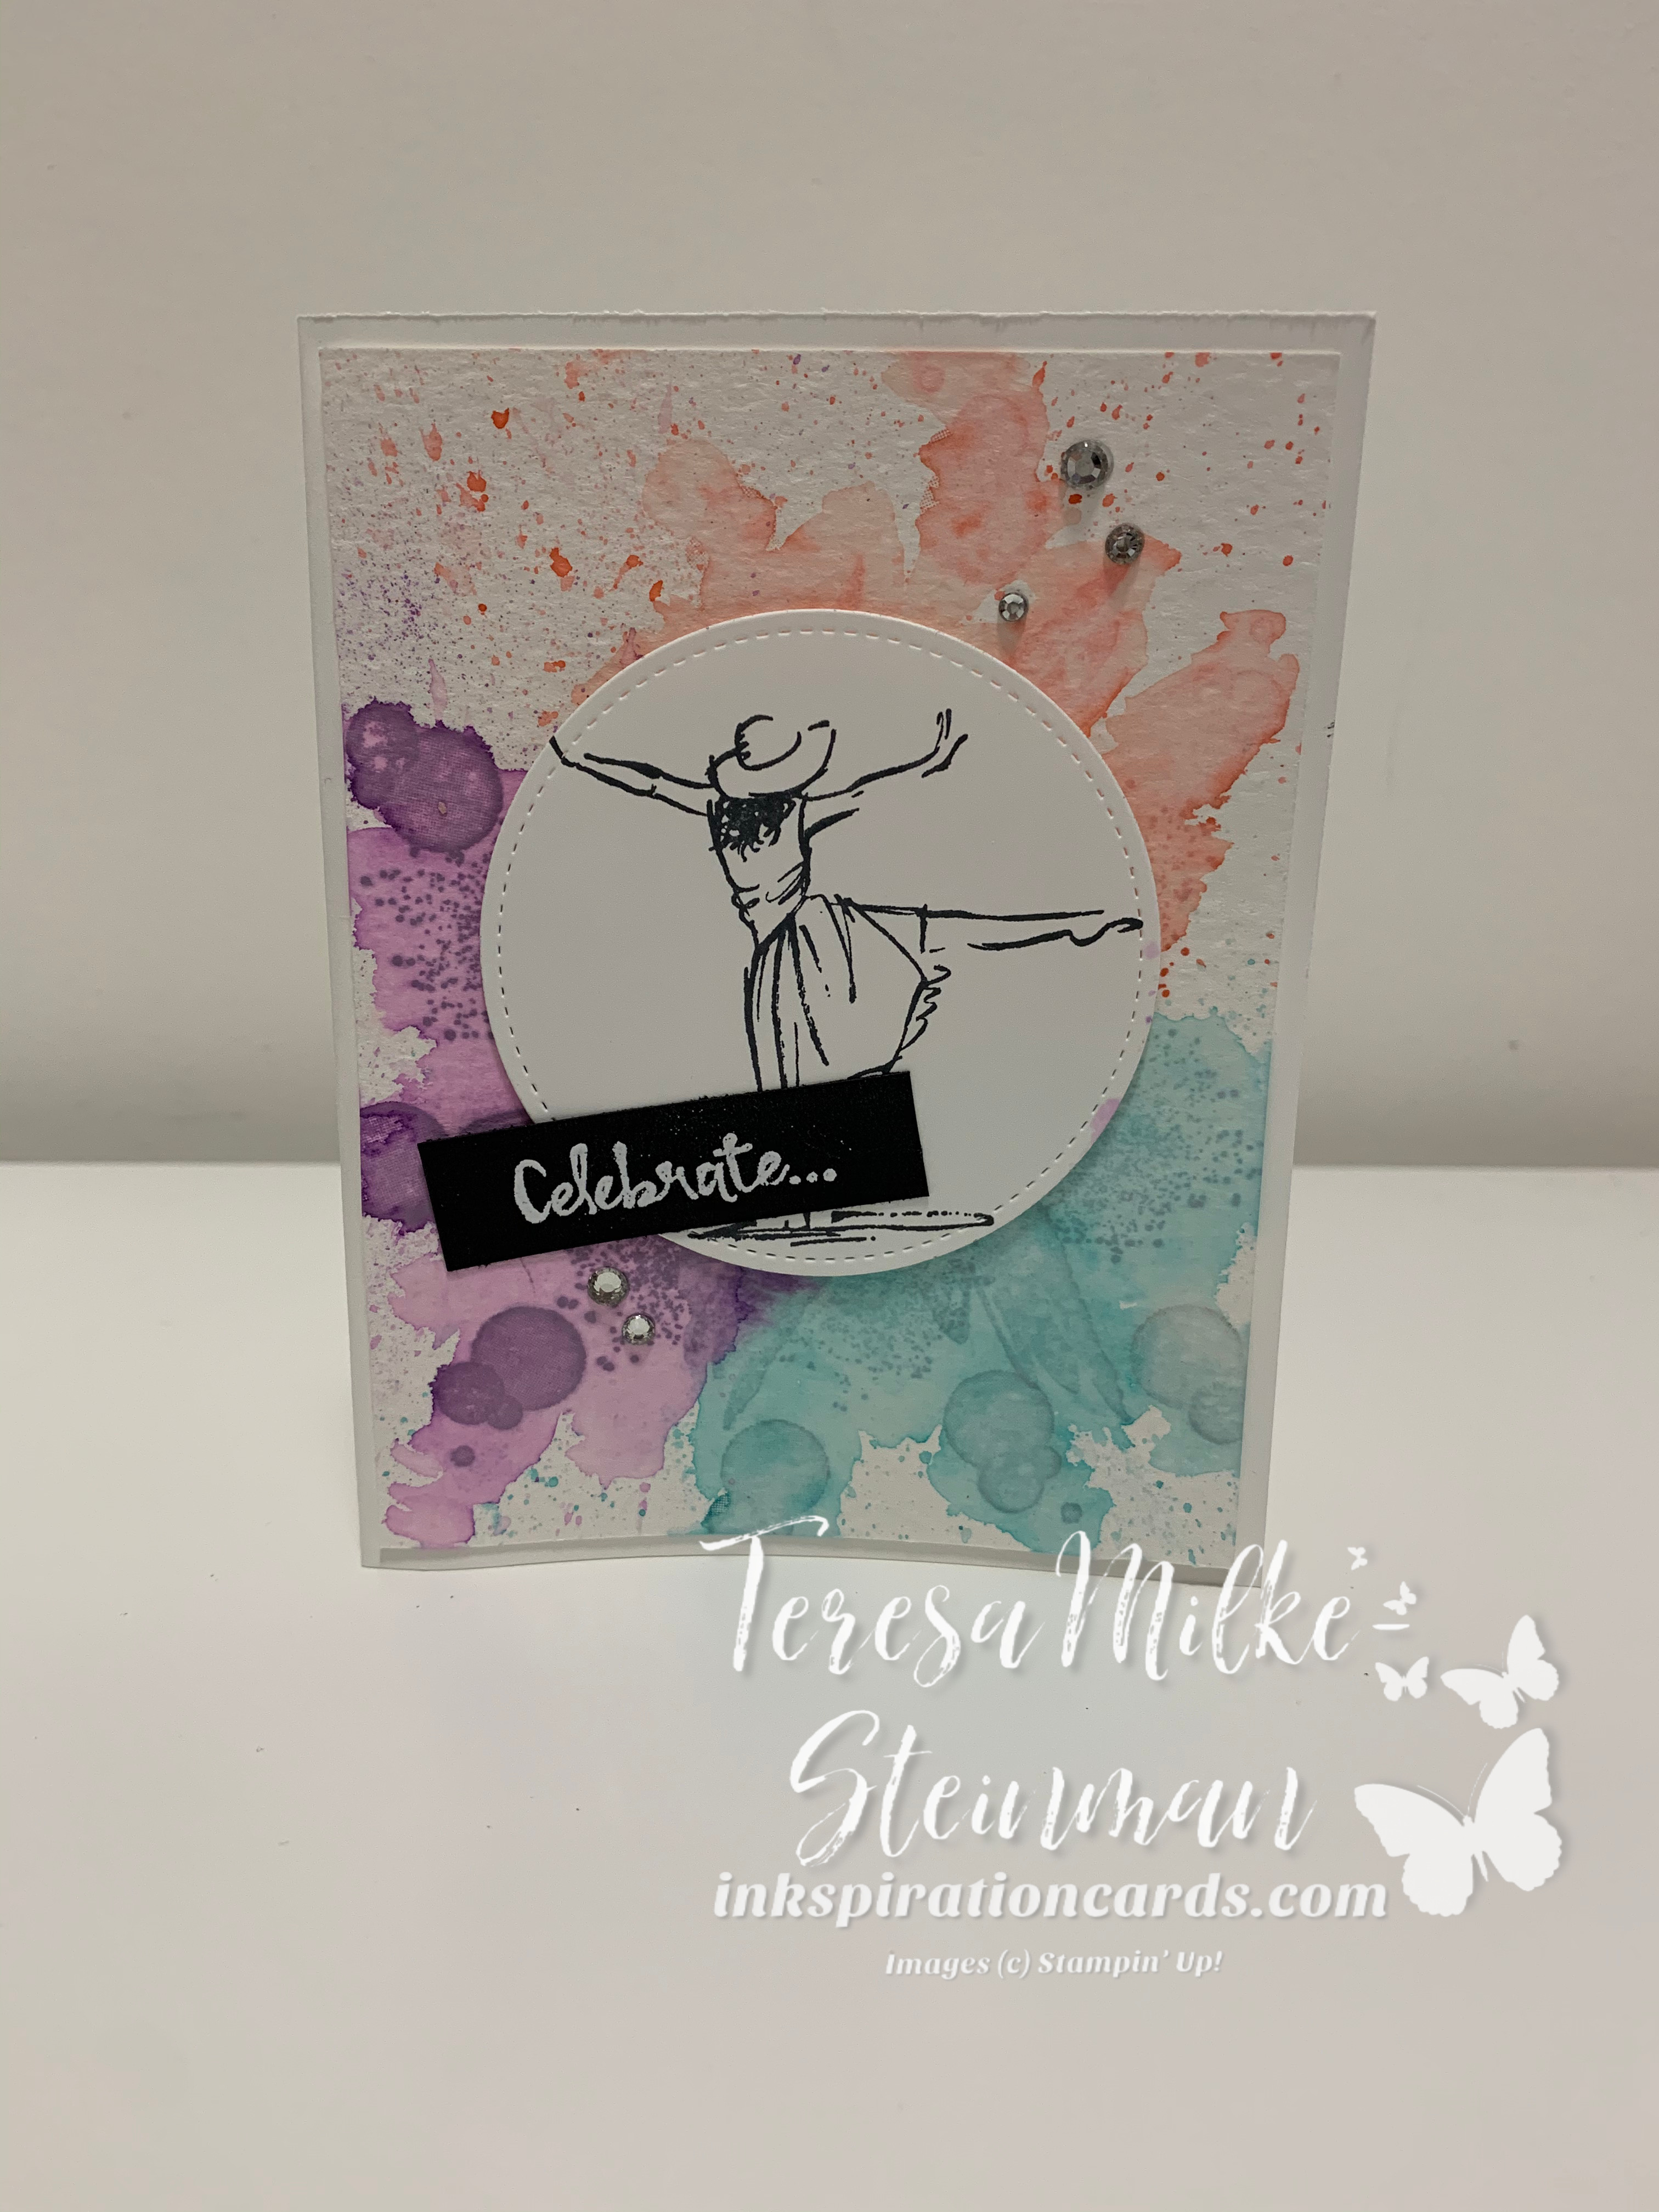
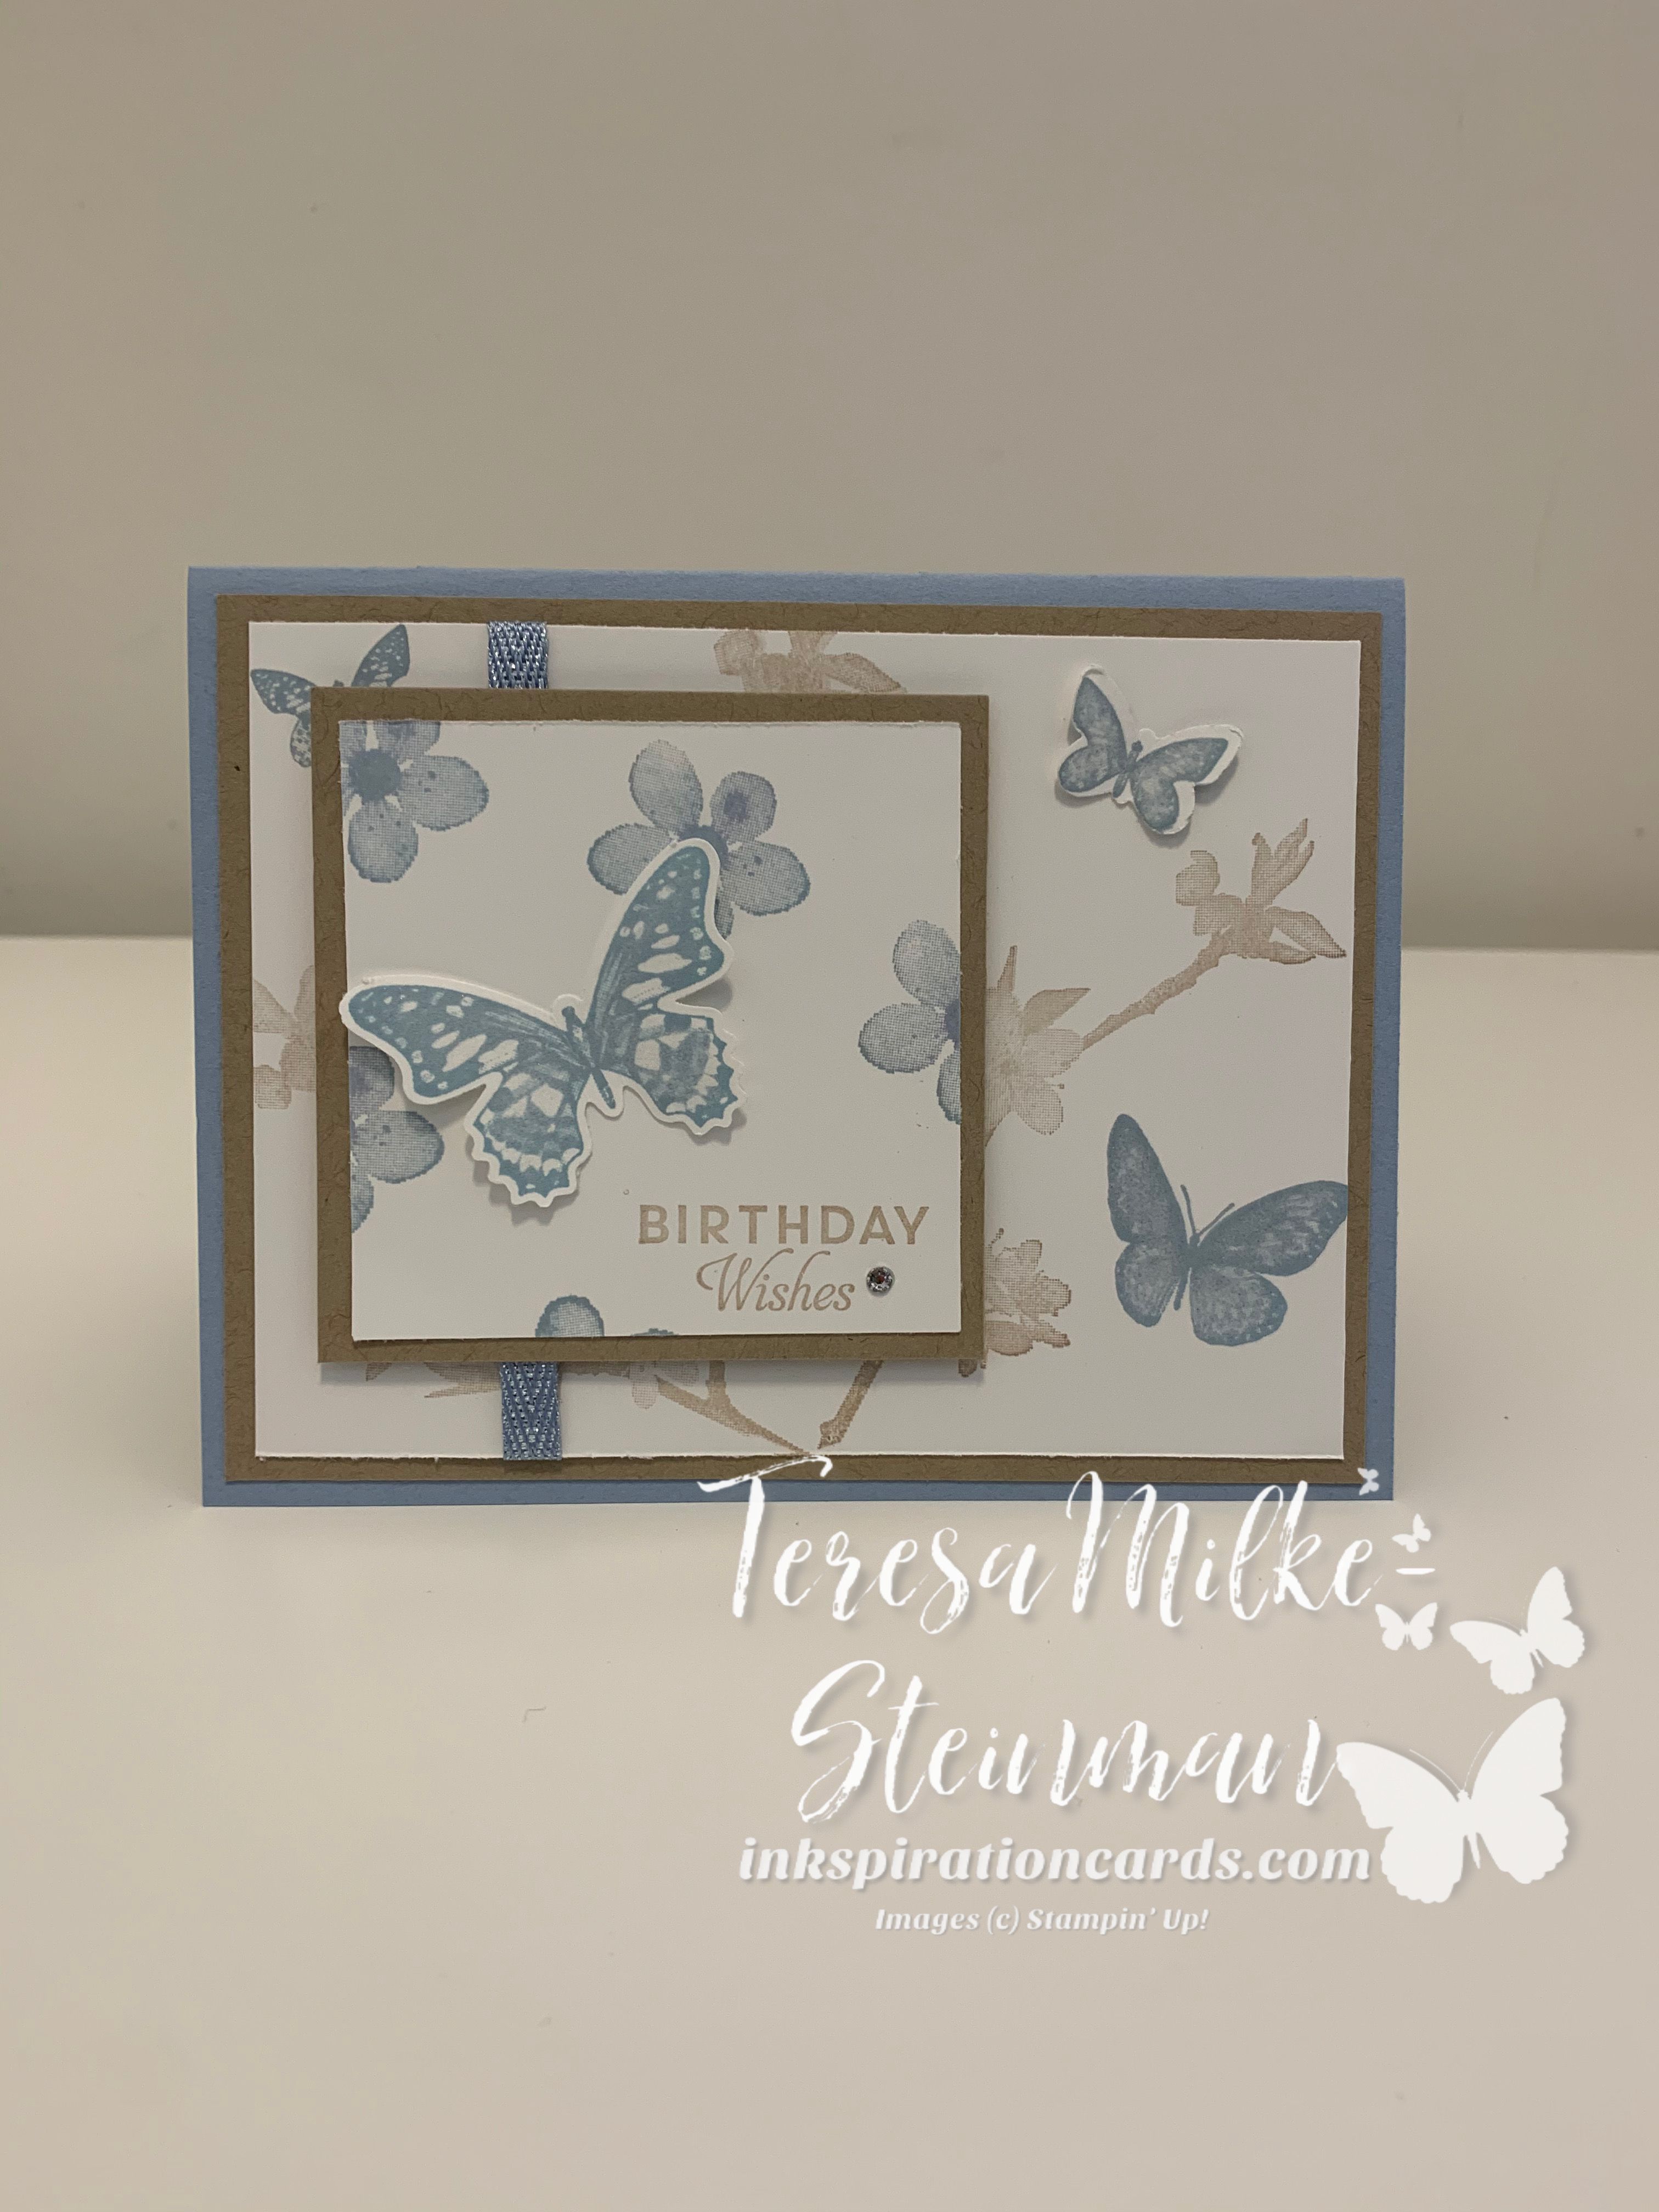
I also use this 1/4″ measurement whenever I need a layer behind a word/phrase or an image. It really helps pull in the different colours of the project, but isn’t too overwhelming.

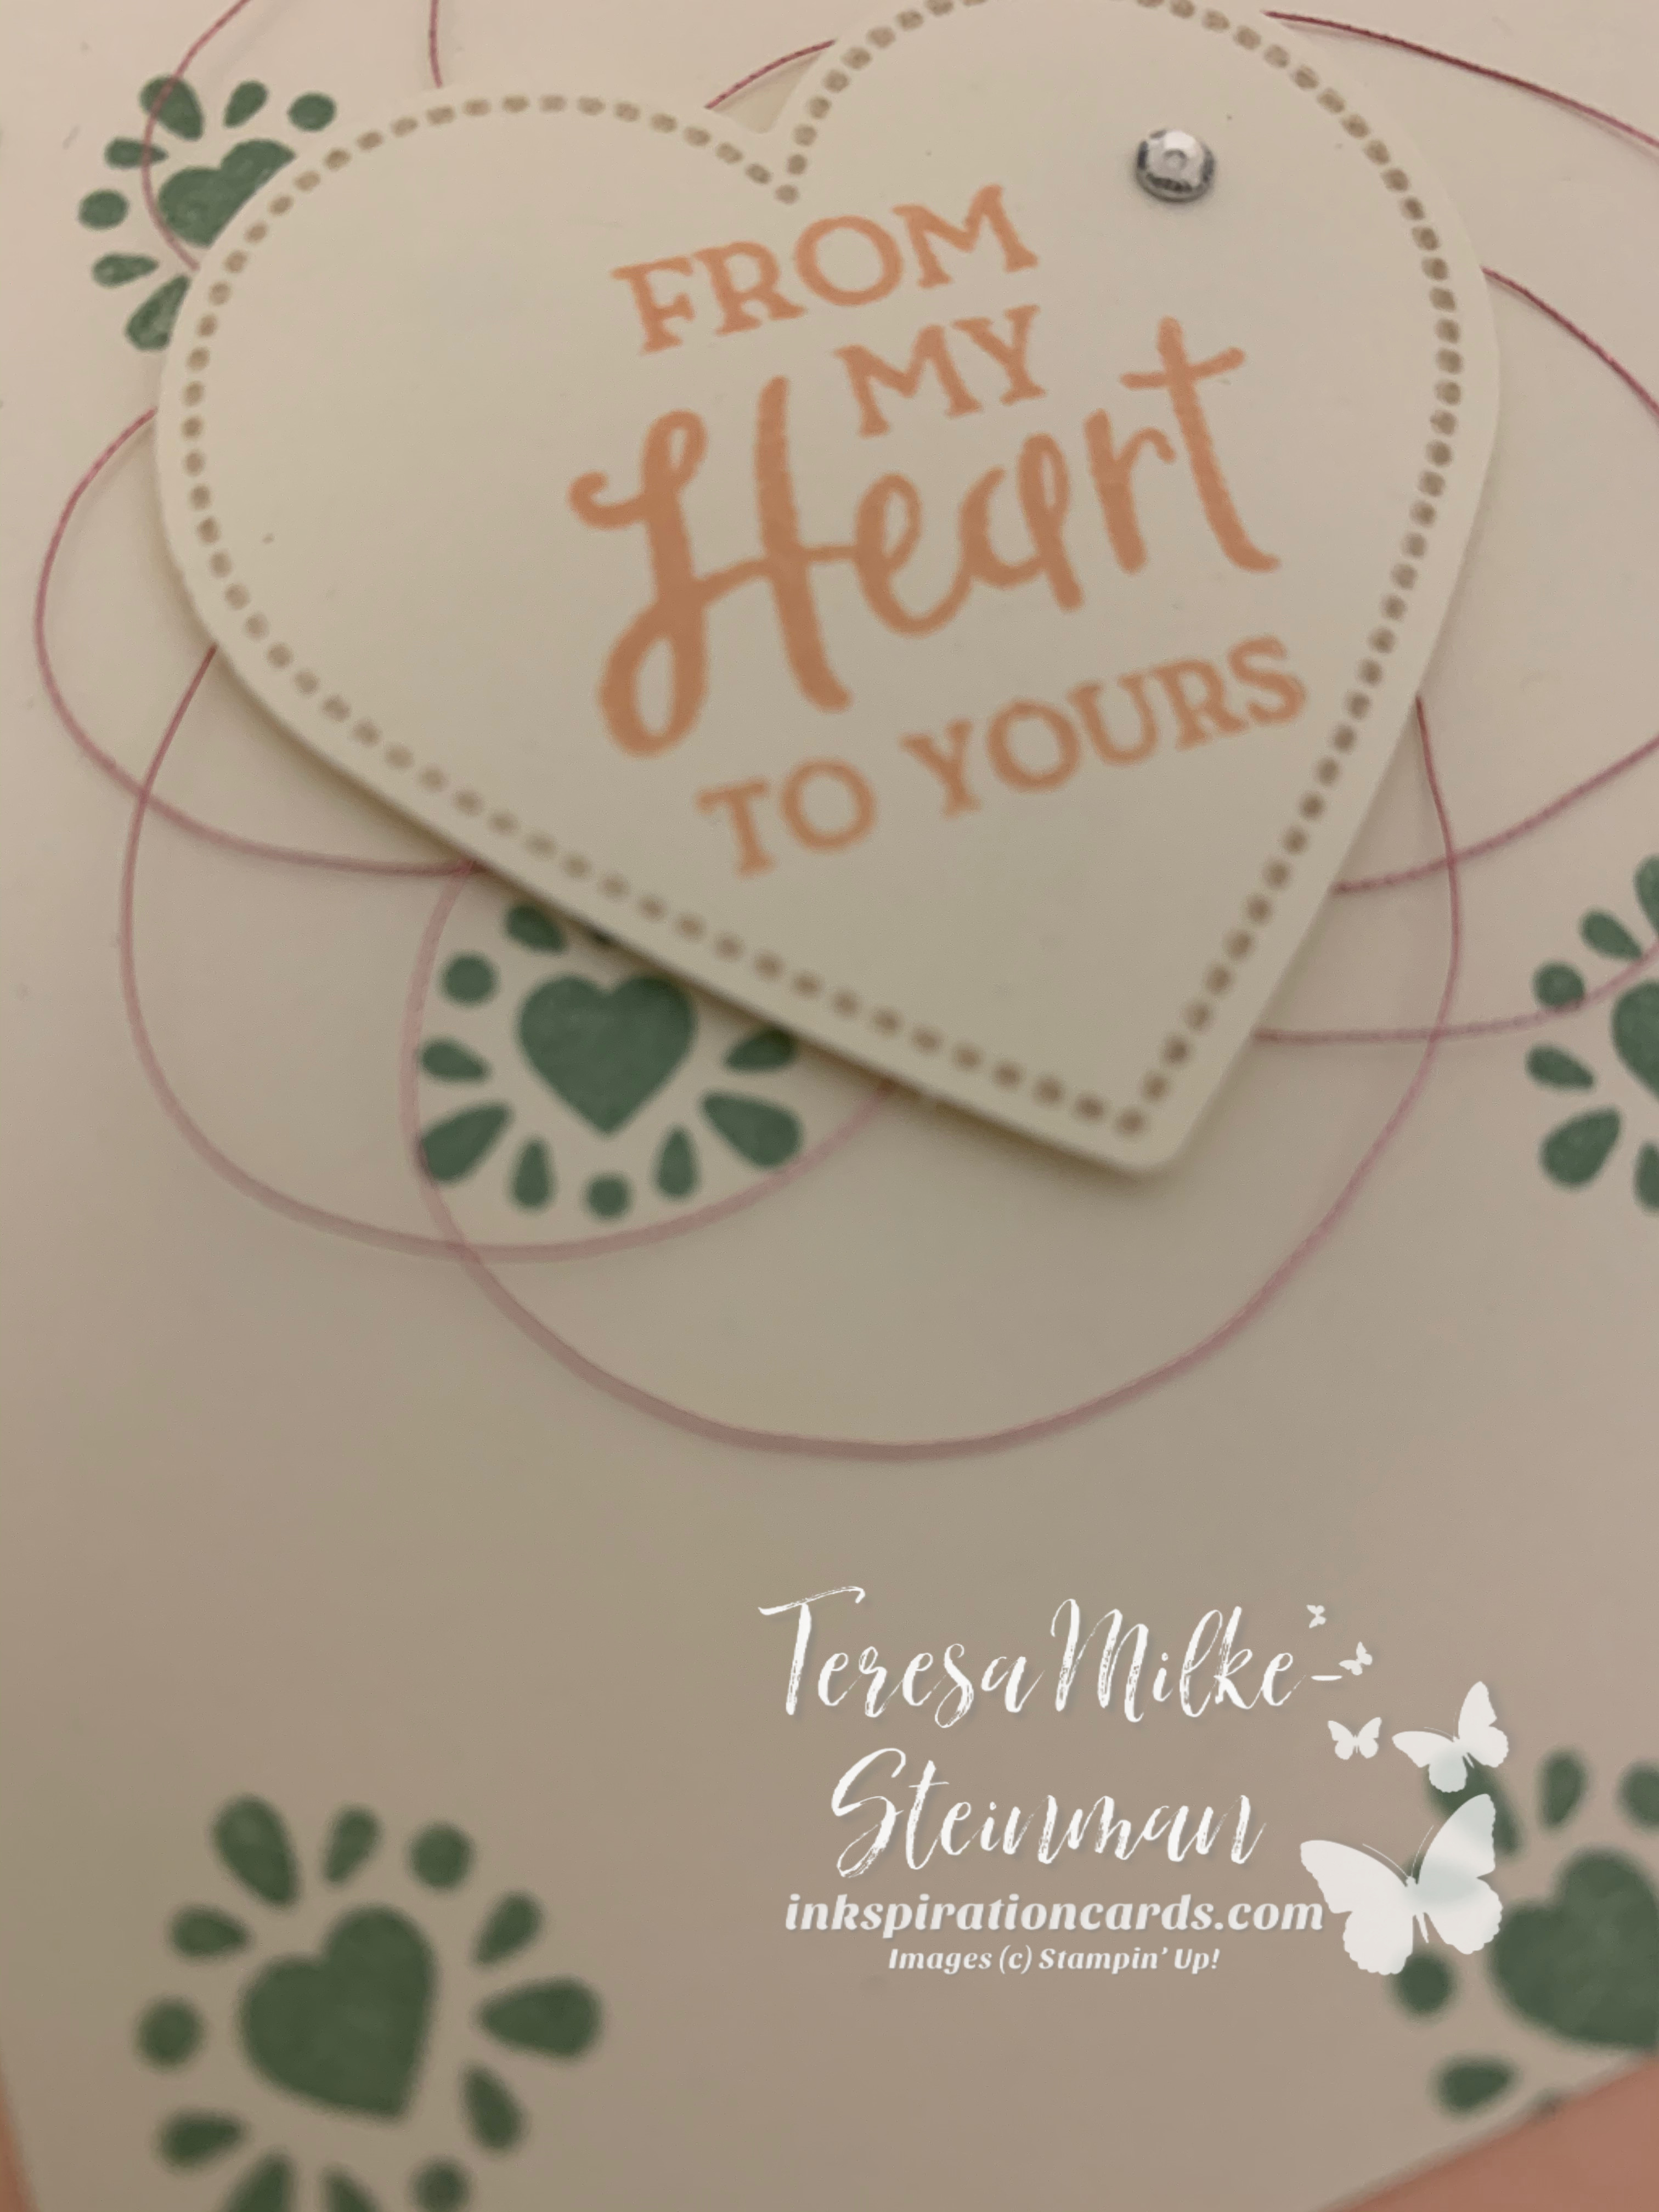
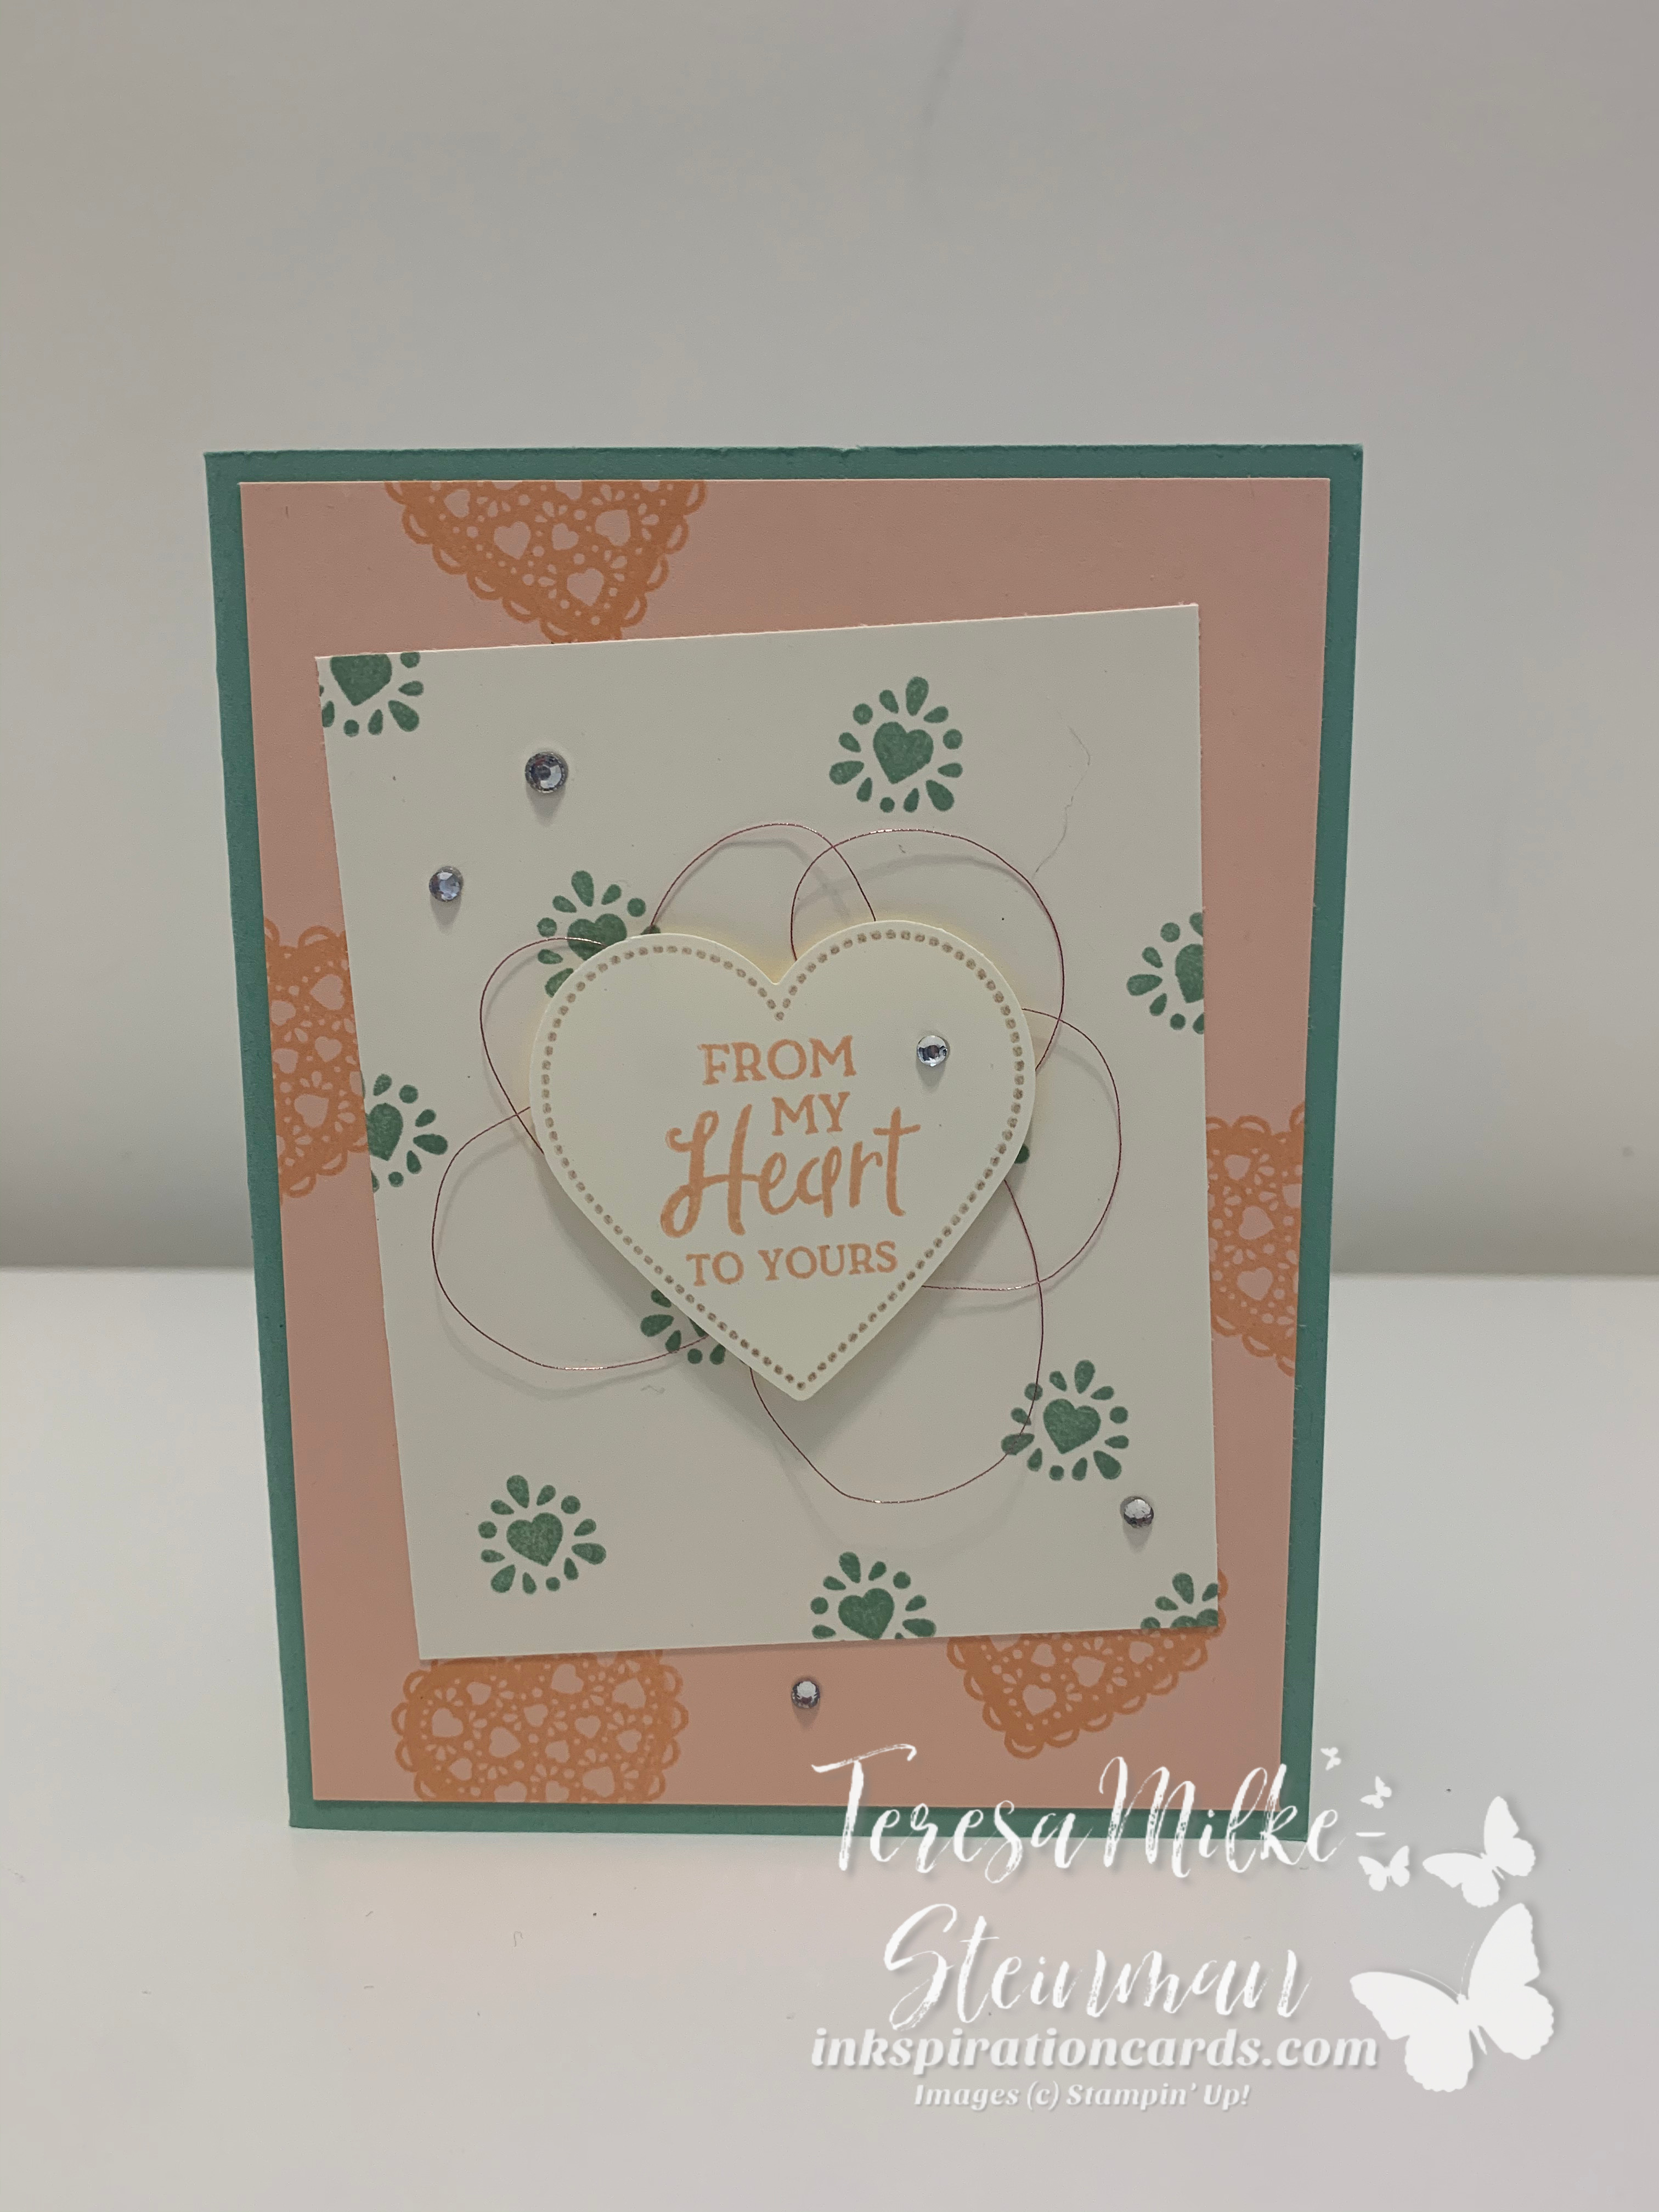
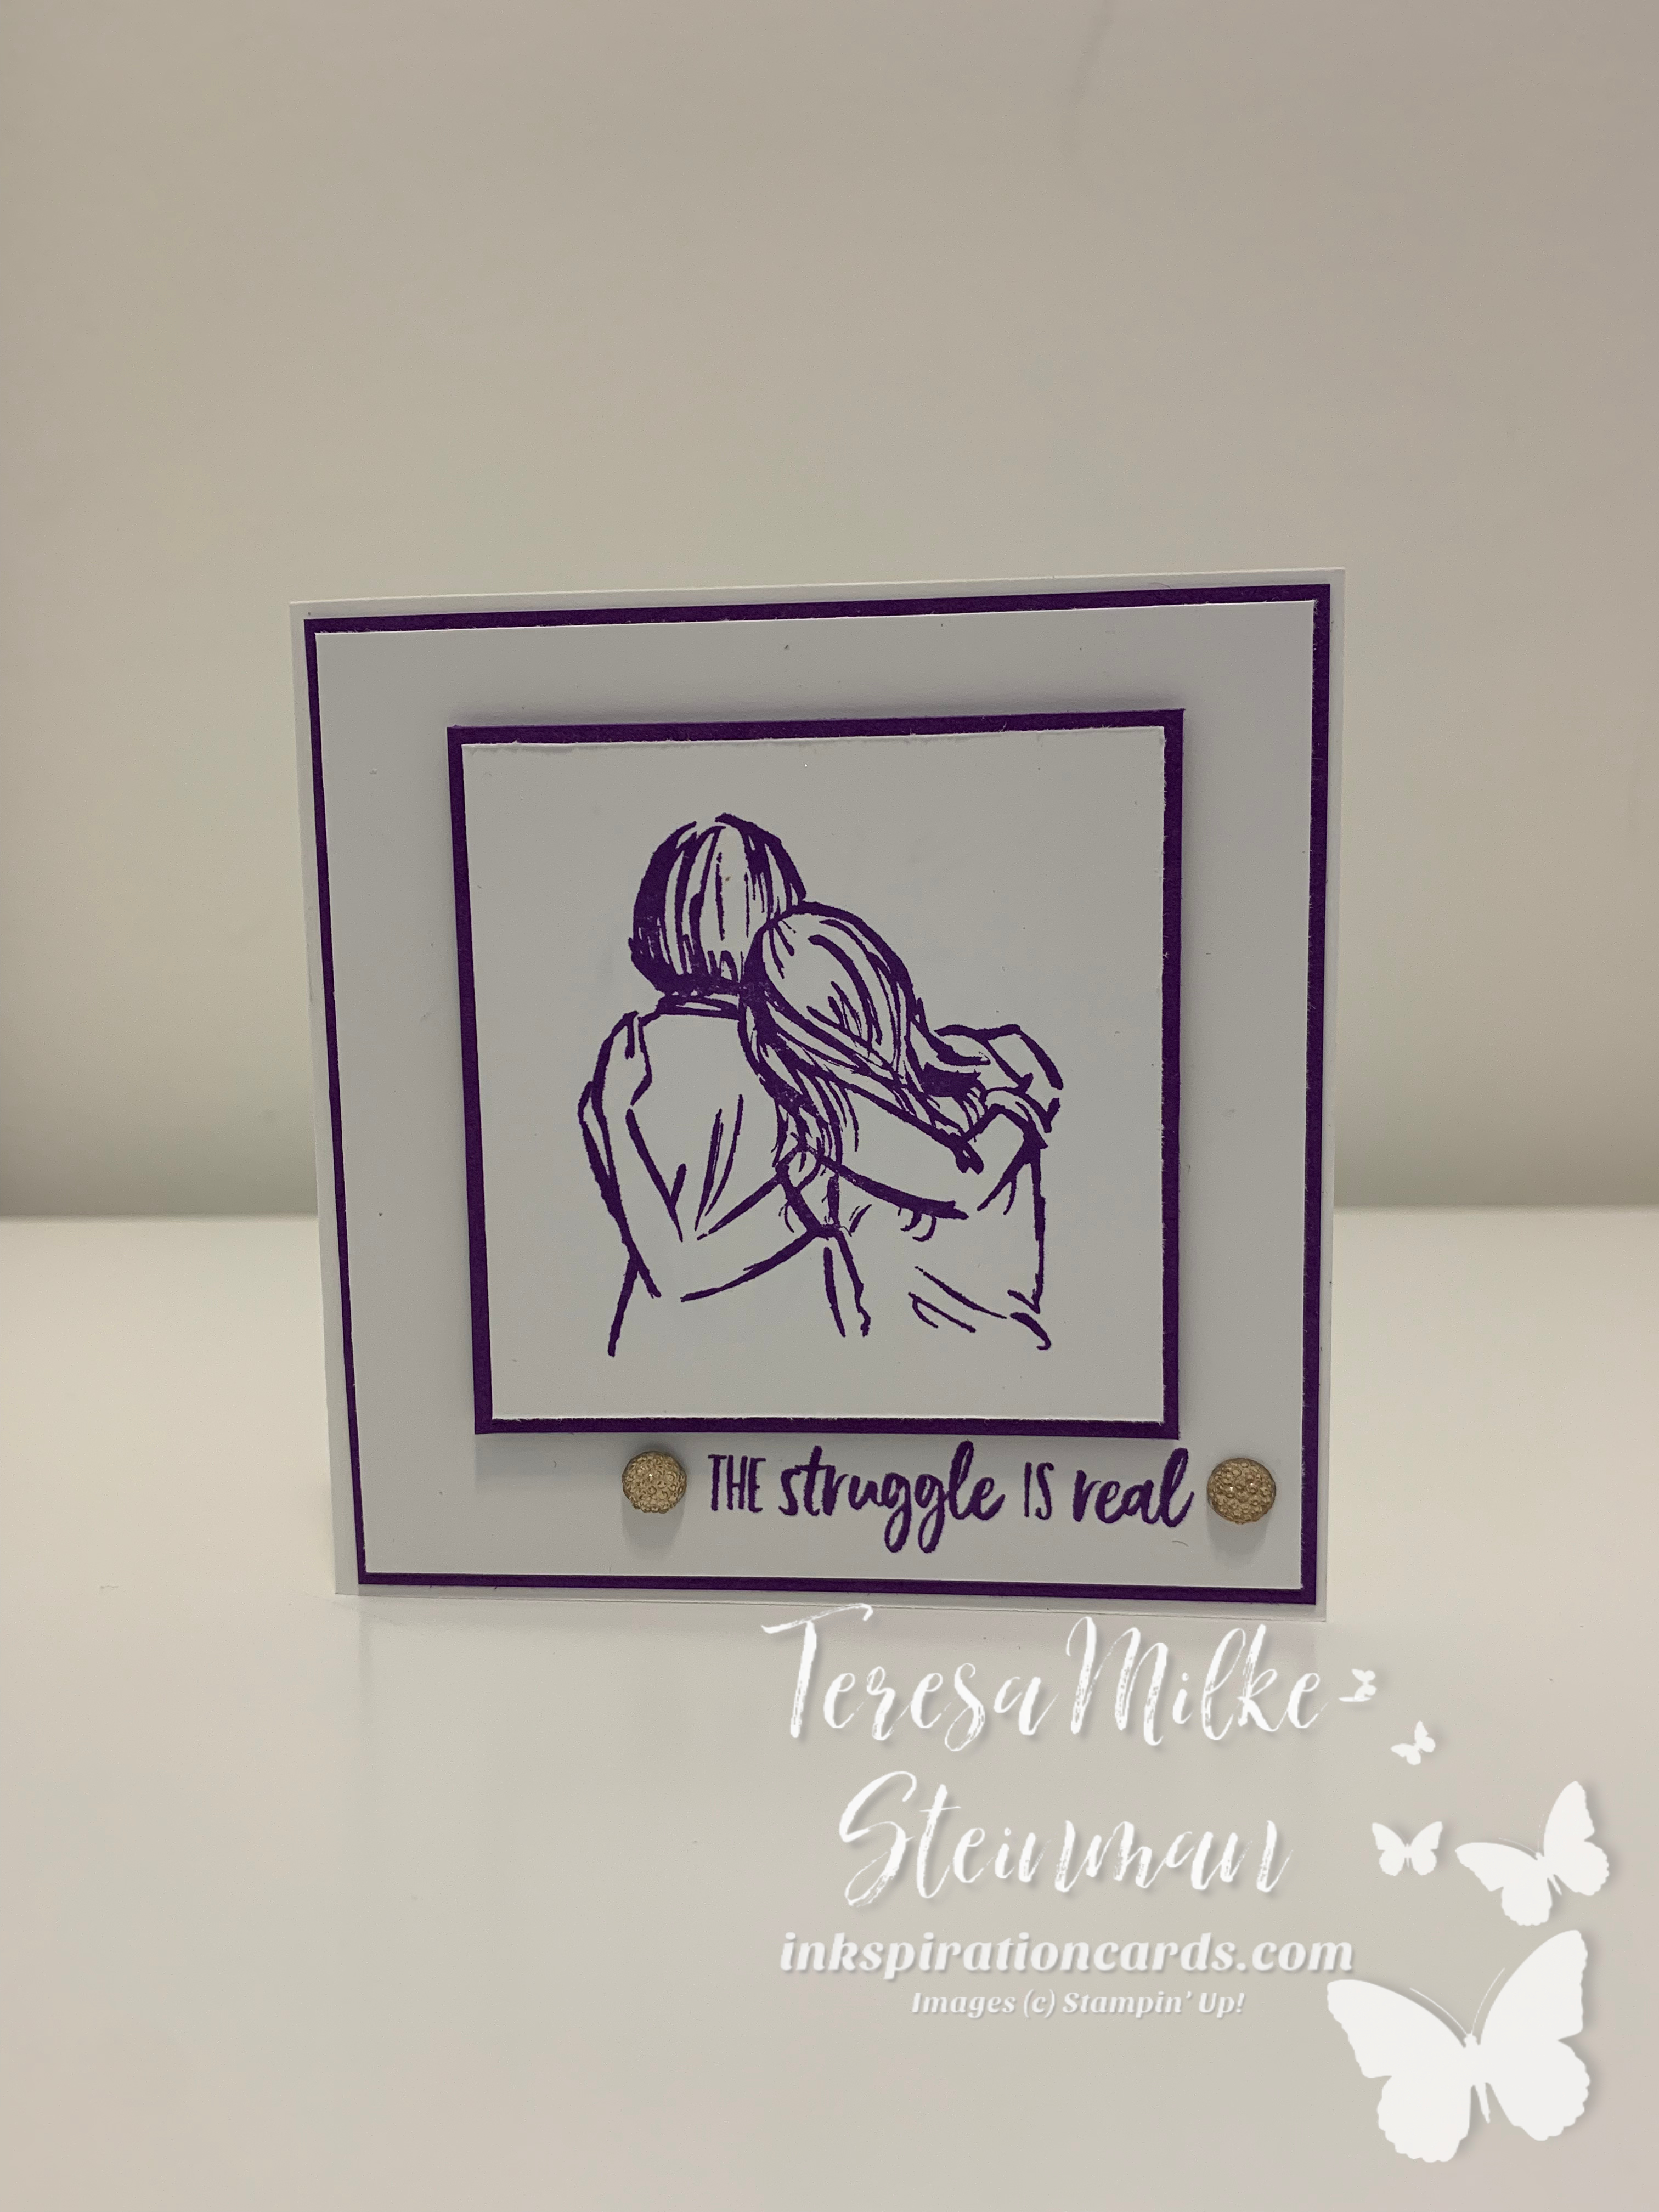
There have also been times when I’ve wanted an even smaller border than this, to just give a hint of a border, and have used an 1/8″ as the difference between my layers. Here’s one example…

Purple Ribbon wm

For something larger like a scrapbook page layout, I’m more likely to use a 1/2″ to create my layers/borders. Mainly this is because the area that I’m working with is much bigger than my cards and I don’t want the layers/border to get lost on the page. Also becasue when I’m using specialty or designer series paper I want to really see the colours and patterns of the paper.

I hope that this has been helpful!

If you want to get notified whenever I post here, make sure to follow my blog and an email will be sent right to your inbox.

I also share tips and tricks in my weekly email newsletter which you can sign up for here, plus you’ll receive 3 free projects sheets complete with a list of supplies and step by step instructions.

Easy Water Colouring

It’s been a hectic couple of weeks for me and it seems to have caught up with me this week. Originally I was hoping to pull this project together for a sketch challenge earlier this week, but life/the universe had other ideas.

Initially I considered using Pigment Sprinkles for this project, but decided I would do something a little simpler and easier to control instead. I also decided to stamp some images and then use my Aqua Painter to blur/blend them so there was still a certain amount of form to the ink splotches.

I really wanted to highlight the colours for the background so I kept everything else neutral; Whisper White and Basic Black. I even White Heat Embossed the word “celebrate” to keep with the neutral theme.

Watercolour Celebrate close up wm

For the ink colours I went with Flirty Flamingo, Bermuda Bay and Gorgeous Grape and I love how these pop against the white of the Watercolour Paper and Whisper White cardstock.

To create the ink splotches/splatter I started by stamping images from the Beautiful You and Beauty Abounds stamp sets; the small bubbles and splatter from Beauty Abounds and the smaller squiggle from Beautiful You.

I did one colour at a time so I could very quickly use my Aqua Painter to blur/blend the images. If you wait too long the ink will start to dry and then you may not get as much smudging of the images as you’d like.

I also flicked the tip of the Aqua Painter with the lid to add some random ink splatter in the different colours.

Watercolour Celebrate wm

For the central image I wanted something that went with the bright colours of the background, so I chose the dancing woman from the Beautiful You stamp set and cut it out using the largest circle from the Stitched Shapes Dies.

To finish it off I popped up the woman using Stampin’ Dimensionals (to adhere the embossed word I just used snail) and then added a few Rhinestone Basic Jewels for some bling.

I really love how this card turned out and if you like this card make sure to follow my blog so that you’ll get notified whenever I post!

Joy Fold Card

I’ve taken the plunge and joined a blog hop!

Over the last year now I guess (wow, time flies!) I’ve been really enjoying participating in different sketch and stamping challenges and so I’d started digging around looking to possibly join a monthly blog hop. Not too long after I started my search one of my best friends, and also my upline, was telling me about a Fancy Fold blog hop that she was a part of. I asked if there was room for one more and here I am!

This month’s Fancy Fold is the Joy Fold. Chris Twina has a great YouTube video on how to do it and after watching it it didn’t seem nearly as intimidating (which is sometimes how it goes for me… seems complicated, but in fact it’s not).

Here’s mine…

Joy Fold wm

I started first with the idea of using a butterfly to keep the card closed because I just LOVE butterflies. Next came the Designer Series Paper and I went with the Lily Impressions DSP, which comes from this year’s Sale-a-bration catalogue, because I liked the idea of having a simple design on the smaller flap and then something with a bit more colour and design for the larger piece inside the card.

From there I got my colours and went with Pretty Peacock for the card base and for the phrase and images that I wanted to have stand out. I also liked the idea that Chris used in her card of having a subtle design in the background and then having the phrase stand out on top.

I ended up using 3 different stamp sets for this card. The Strong & Beautiful cling stamp set gave me the phrase, I used Beauty Abounds for the design behind the phrase as well as the butterflies around it and the one on the inside of the card (which was all stamped with Pool Party to give a bit of contrast to the darker Pretty Peacock) and then for the two butterflies on the smaller flap I used Butterfly Wishes.

To top it all off I added one of the large Rhinestone Basic Jewels right next to the phrase. I always like to add a bit of bling to my cards and I thought it fit so well with the phrase.

Joy Fold inside wm

I really love how there are so many layers to this card and how you can see all the layers! Now I did end up tweaking Chris’ measurements a bit. For the Designer Series Paper I used 4 1/4″ x 2 3/4″ for the smaller piece and 4 1/4″ x 5 1/4″ for the larger piece. The rest was the same; 8 1/2″ x 4 1/2″ (scored at 5 1/2″) for the large card base, 8″ x 3″ for the smaller “card base” and the two pieces of Whisper White were 2 3/4″ x 3 3/4″.

If you like today’s card make sure to follow my blog so you’ll be notified whenever I post! Also make sure to check out Mary Ann Rossiter’s card from the Fancy Fold blog hop as well as the others! I know I will be!

#simplestamping just because

Another month means that there’s another #simplestamping challenge from Stampin’ Up! This month the challenge is to create a card using the theme “just because” and there’s no extras allowed this time; just stamps, ink and paper.

I’ve been having a lot of fun with these challenges and some of them have turned out really nicely! While I love looking at the more elaborate card designs out there, I’ve always tended to be a bit more simple and straight forward with my designs. Even with that though sometimes it’s been challenging ONLY being able to use stamps, ink and paper. I’ve had to stop myself on a couple of occasions from adding a few Rhinestone Basic Jewels which is a go to for me because I LOVE adding a bit of bling to my cards!

For this #simplestamping project I was able to resist the urge to add extras this time by using the Butterfly Wishes cling stamp set. This stamp set is a distINKtive stamp set which means your stamped images will come out with more depth and detail.

Here it is…

Celebrate You wm

For the colour combination I went with Seaside SprayCrumb Cake and Whisper White. (I’ve been creating a lot lately using pinks and reds for Valentine’s Day, so while I love pink I definitely needed a bit of a change!)

I also love to create a next level up card when I participate in these #simplestamping challenges and this month is no different. I think I was actually planning out this design as I was planning and creating the original.

The colour combination and the foundation is the same, but to kick it up a knotch I added a strip of the Seaside Spray 1/4″ Metallic Ribbon (I’m so glad that they decided to carry this ribbon over!), a Rhinestone Basic Jewel (of course) and popped up the smaller square using some Stampin’ Dimensionals.

Birthday Wishes wm

You can also see that I switched up one of the images for this card and I did this because I wanted to use the coordinating Butterfly Duet Punch. I got this for Christmas and I have been dying to use it!

What you can’t see though is that I also added some Wink of Stella to the two larger butterflies as well as to the smaller punched out butterfly. It’s such a great way to add some sparkle to your projects without having it end up absolutely everywhere!

If you enjoyed these cards make sure to follow my blog so that you get notified whenever I post. And if you’d like to get ideas like this plus exclusive project sheets and stamping tips sign up for my email newsletter!

Valentine’s 2020 with Paper Pumpkin

In just a few more days Valentine’s Day will be here. In our house we don’t do big and elaborate, but we do a little bit of something (thankfully I’m pretty much ready). For the most part it’s helping my munchkins get their Valentines ready for school. This year though will be the first year that my oldest doesn’t make Valentines for her classmates. (Apparently once you hit grade 4/5 it’s just not that big a deal anymore) She did decide to make some for family though and is going to make one for her teacher.

My littlest guy is just in grade one so he still likes making and receiving Valentine’s Day cards, but when he saw what his older sister was doing he, of course, re-purposed the Valentines he had already stamped for his classmates to give to family.

For the past few years we’ve used a combination of the January Paper Pumpkin kit (because it usually has a love/Valentine’s Day theme) and my other stamps, ink and paper. This year will be a bit different… the Valentines for our family were all done using this year’s January Paper Pumpkin kit (I’ll Bee Yours) and for my little munchkin’s classmates it will be Valentine’s from the local Dollarama (once he had stamped his Valentines for our family he decided that he was done with stamping).

The cards on the left are my oldest’s and the ones on the right are my youngest’s creations.

It actually worked out well that my littlest munchkin decided not to use more of the Paper Pumpkin supplies because that meant that I could use them!! (I’ve actually gotten attitude from my munchkins when they found out that I used some of the Paper Pumpkin supplies, it’s like I’m not allowed or something!)

Anyway… here are the projects I created following the Paper Pumpkin kit instructions…

I also made a few alternative projects mainly using the supplies from the kit, but I also used different cardstock, some of the stamps and one of the punches from the Heartfelt bundle which coordinates with the I’ll Bee Yours kit. Here are my 3 favourites…

I had a lot of fun using the January Paper Pumpkin kit as well as the Heartfelt bundle to get ready for Valentine’s Day this year.

If you like these projects then make sure to follow my blog so that you get notified whenever I post. Also if you’re curious about Paper Pumpkin feel free to send me an email at inkspirationwithteresa@gmail.com or you can sign up for next month’s kit here.

From the Heart

Tomorrow’s the big Love is in the Air craft show at the Milton Sports Centre (come say hi if you’re in the neighbourhood) and next Friday is Valentine’s Day, so there’s definitely been a lot of creating lately using all kinds of hearts and Valentine colours. Some of my projects have used the conventional Valentine colour combination (red and pink), while others have been more unconventional (blue and purple). This card is a bit of a cross-over…

Heart with Twine close up wm

For this card I went with Petal Pink, a more conventional colour, and Mint Macaron, a not so conventional colour. The card base is Mint Macaron cardstock and the card mat is Petal Pink cardstock with Very Vanilla cardstock for the rest.

I’ve been having a lot of fun creating with the Heartfelt bundle and used it for this project as well. I did some tone on tone stamping with the lacey heart on the Petal Pink card mat and then used Mint Macaron to stamp the smaller hearts on the Very Vanilla cardstock.

For the heart in the centre of the card I first stamped the dotted outline using Crumb Cake ink and the phrase using Petal Pink ink. Then I punched it out using the simple heart punch from the bundle.

Heart with Twine wm

To finish it all off I put some Rose Metallic Thread behind the heart which I popped up with some Stampin’ Dimensionals and then I added a few Rhinestone Basic Jewels.

I hope you like this card! If you did make sure to follow my blog so that you’ll get notified whenever I post.

Why I love Stampin’ Up!

It’s been about 7 1/2 years since I joined the Stampin’ Up! family as a demonstrator… WOW how time flies when you’re having fun! And it really has been a lot of fun! I mean how can you not have fun when you get to stamp and create whenever the inkspiration strikes?!

Of course there’s the obvious reasons why I love Stampin’ Up!… like the 20-25% discount on great quality products that coordinate so well that it makes stamping and creating so much easier, the early access and FREE products you get and the fact that you can turn this into a business or not… no pressure!

Aside from that though, I do use the word “family” on purpose. The demonstrators that I have met over the years are so friendly, fun and nice, but I can’t say enough about my team!

Here’s those of us that could make it to the recent OnStage Local that was in Toronto this past November.

Stampin Junkies photo

We don’t get to see each other face to face very often, but whenever we do it’s like no time has passed! Just like with certain family members. These awesome and creative women are so funny and helpful and supportive and there whenever you need them!! And I can say the same of my smaller direct team too. It’s so great to be a part of something like this!

The other thing I want to mention about why I love Stampin’ Up! are the awesome creative ideas you see from the other demonstrators and within this community, or family, we are all happy to share our ideas and have no problem when others want to copy, or C.A.S.E. (Copy and Share Everything), an idea.

Here are just a few projects that were shared at OnStage in November…

There are so many reasons to love Stampin’ Up! and these are just the ones that stand out for me, they’re a little different for everyone who joins. So just in case I’ve peaked your interest here’s a little more info….

For $135 you get catalogues and a ton of business supplies if you decide you want to turn this into a business and you will get to choose $165 worth of Stampin’ Up! products from any of the current catalogues! (Taxes and shipping are included as well)

join-starter-kit

Plus right now, until March 31st, you will also get to choose an additional stamp set of your choice and you’ll get a cute little paper cutter and a 6×6 sampling of almost all of the newest Designer Series Paper.

SAB 2020 join

If you have any questions about joining or what to choose or anything just send me an email (inkspirationwithteresa@gmail.com). I’m happy to help out it any way that I can! There’s also more information and the link to join the Stampin’ Up! family on my website.