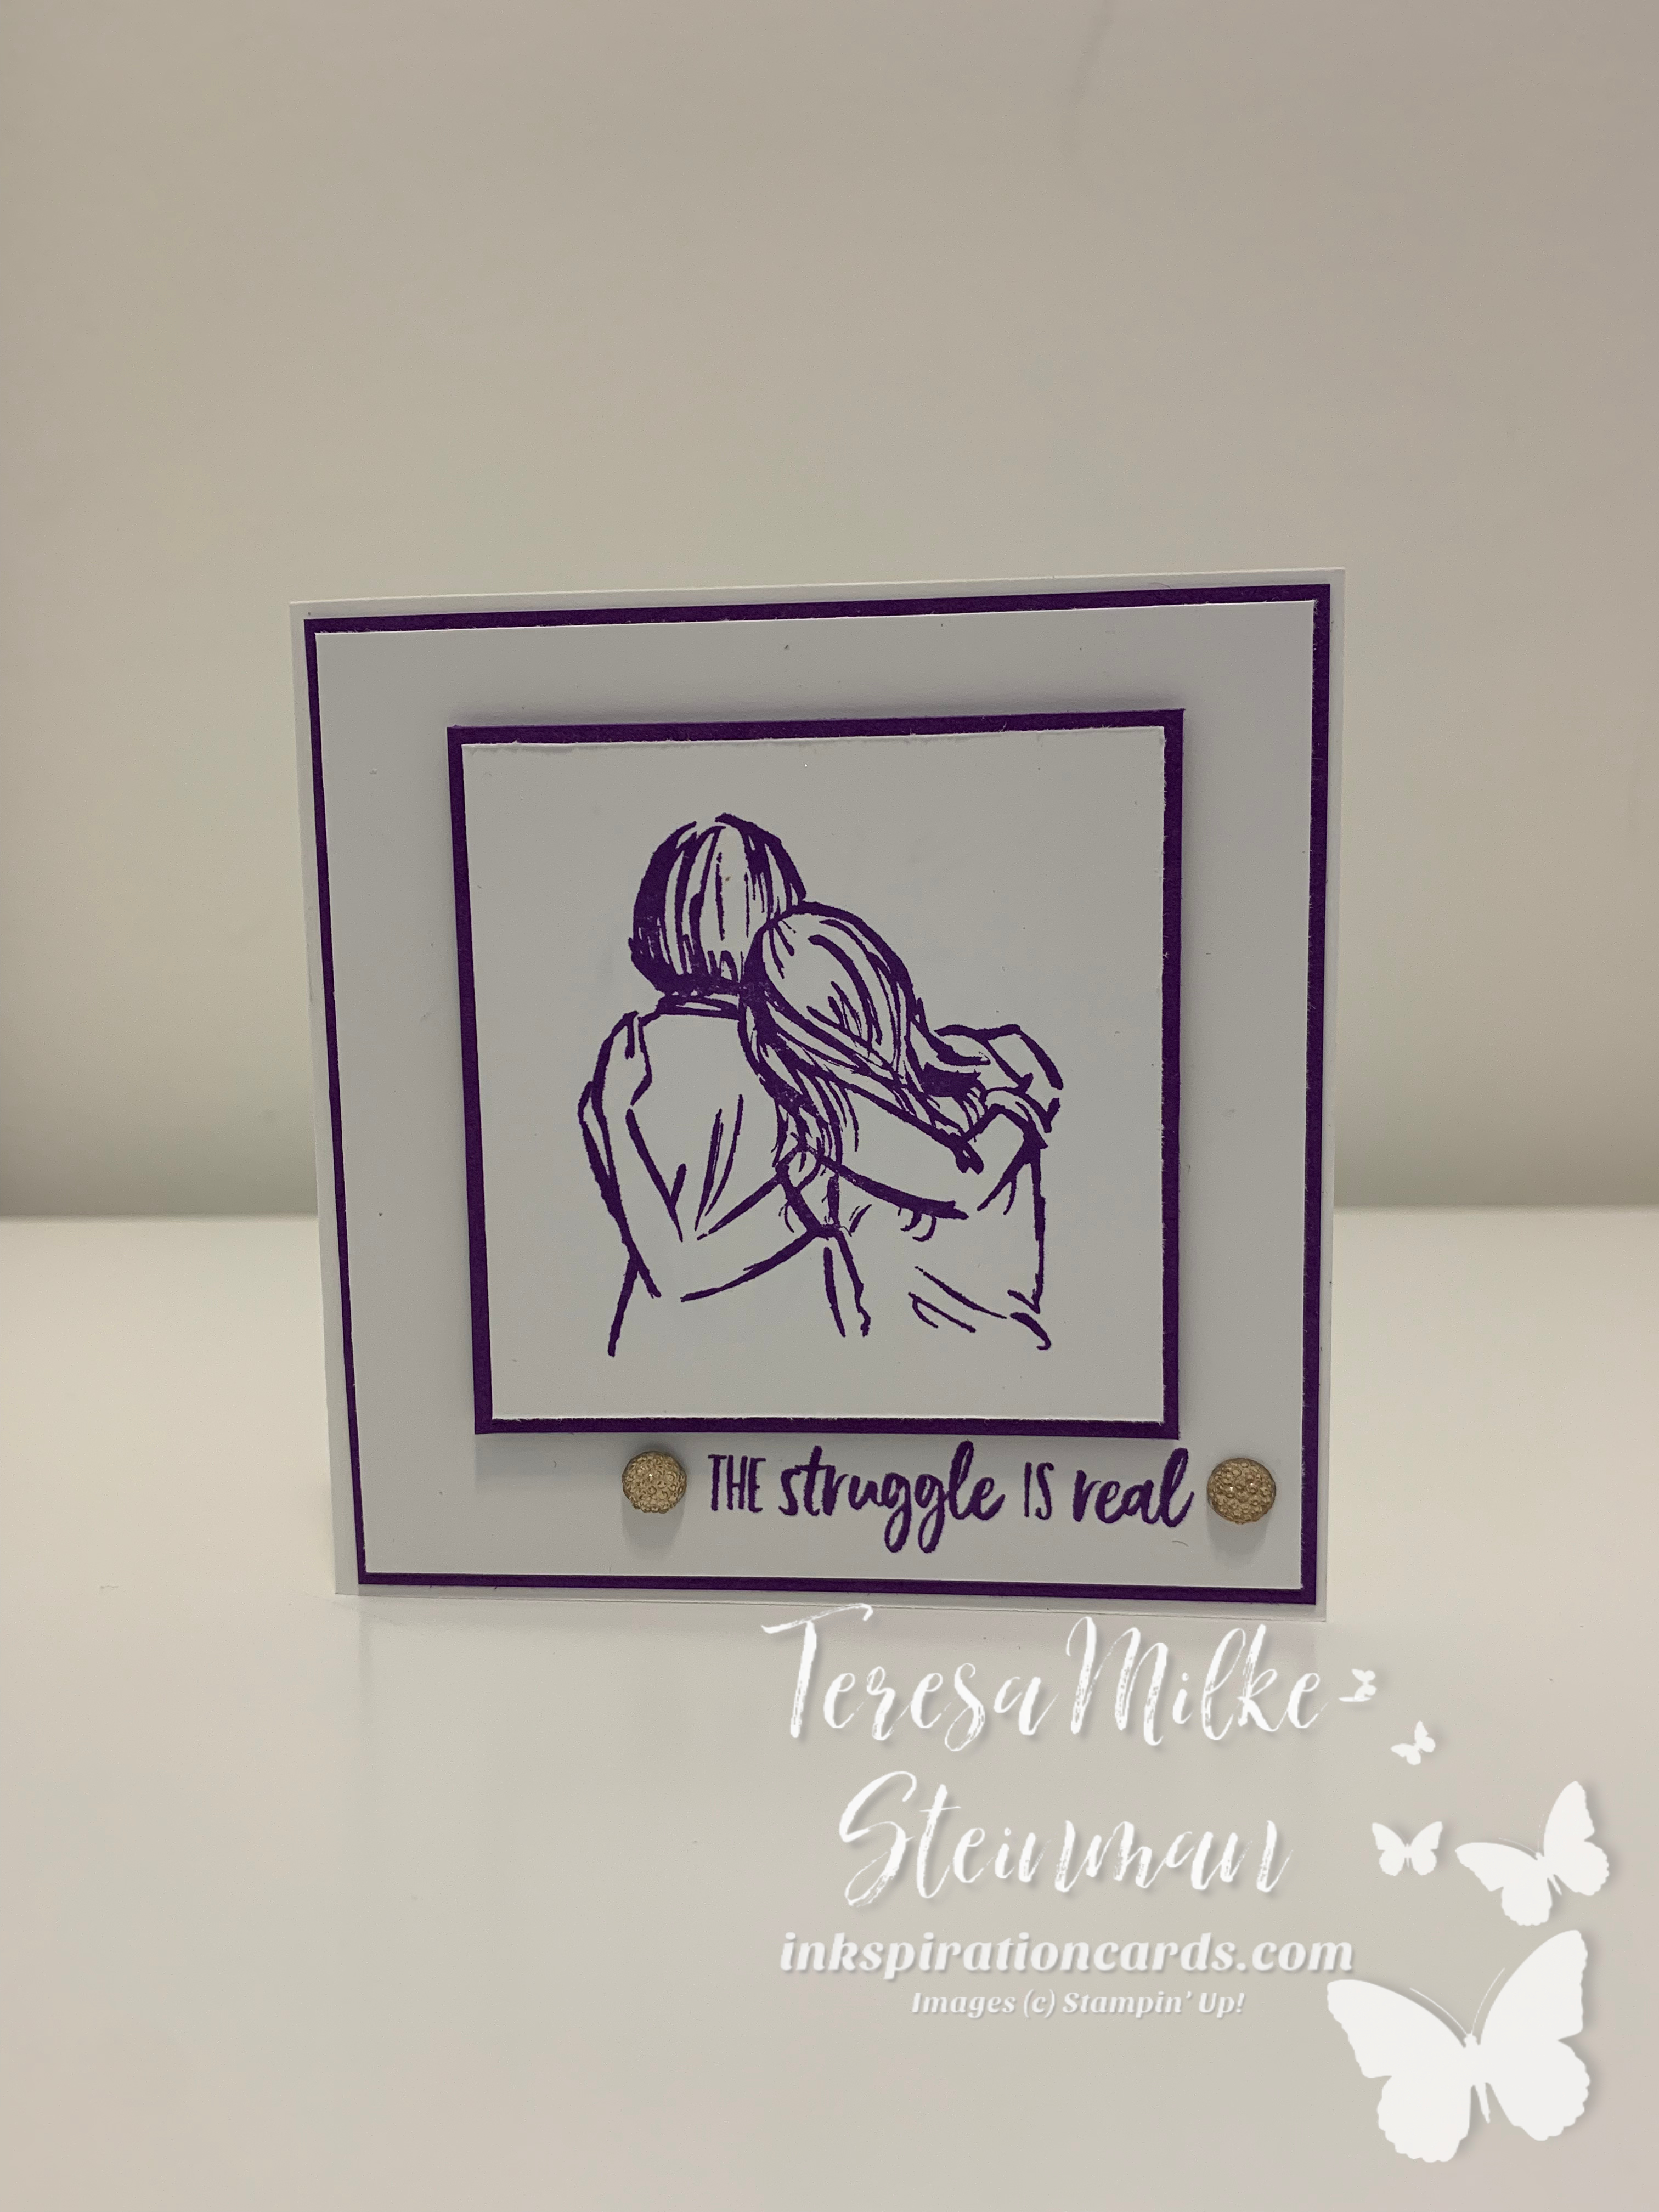
This past week has been one of those weeks where my creativity is running a bit low. I think after all my crafting for Valentine’s Day and a recent craft show my brain has needed a bit of a break! So instead of a project, I thought that I would share the measurements that I use whenever I’m creating a card.
Over the years I’ve been asked this question a few times and so I know it’s a question that lots of you are wondering about, especially those of you that are just starting out.
For the most part I generally use the same measurements for my cards; each layer is 1/4″ smaller than the layer before. It makes it quick and easy since I don’t really have to think about it anymore, plus it gives a nice border and some nice layers to the cards.
- Card base: 8 1/2″ x 5 1/2″
- Card mat: 4″ x 5 1/4″
- Card front: 3 3/4″ x 5″
- For a layer on the inside of the card I use the card mat measurements.

I also use this 1/4″ measurement whenever I need a layer behind a word/phrase or an image. It really helps pull in the different colours of the project, but isn’t too overwhelming.
There have also been times when I’ve wanted an even smaller border than this, to just give a hint of a border, and have used an 1/8″ as the difference between my layers. Here’s one example…

For something larger like a scrapbook page layout, I’m more likely to use a 1/2″ to create my layers/borders. Mainly this is because the area that I’m working with is much bigger than my cards and I don’t want the layers/border to get lost on the page. Also becasue when I’m using specialty or designer series paper I want to really see the colours and patterns of the paper.
I hope that this has been helpful!
If you want to get notified whenever I post here, make sure to follow my blog and an email will be sent right to your inbox.
I also share tips and tricks in my weekly email newsletter which you can sign up for here, plus you’ll receive 3 free projects sheets complete with a list of supplies and step by step instructions.
