The Easter long weekend is here! And even though we’re not able to celebrate like we usually do, I still have some surprises for my munchkins. They’ve seen a few of them, but they haven’t seen these yet. I saw these Easter Bunny boxes on Facebook and just had to make them! Emma Fawcett, a demonstrator from Ireland, posted them and I checked out her YouTube video for all the steps and measurements. It was pretty straight forward to make. And these will be one of the reasons I hold onto my Layering Ovals dies even though they’re retiring.
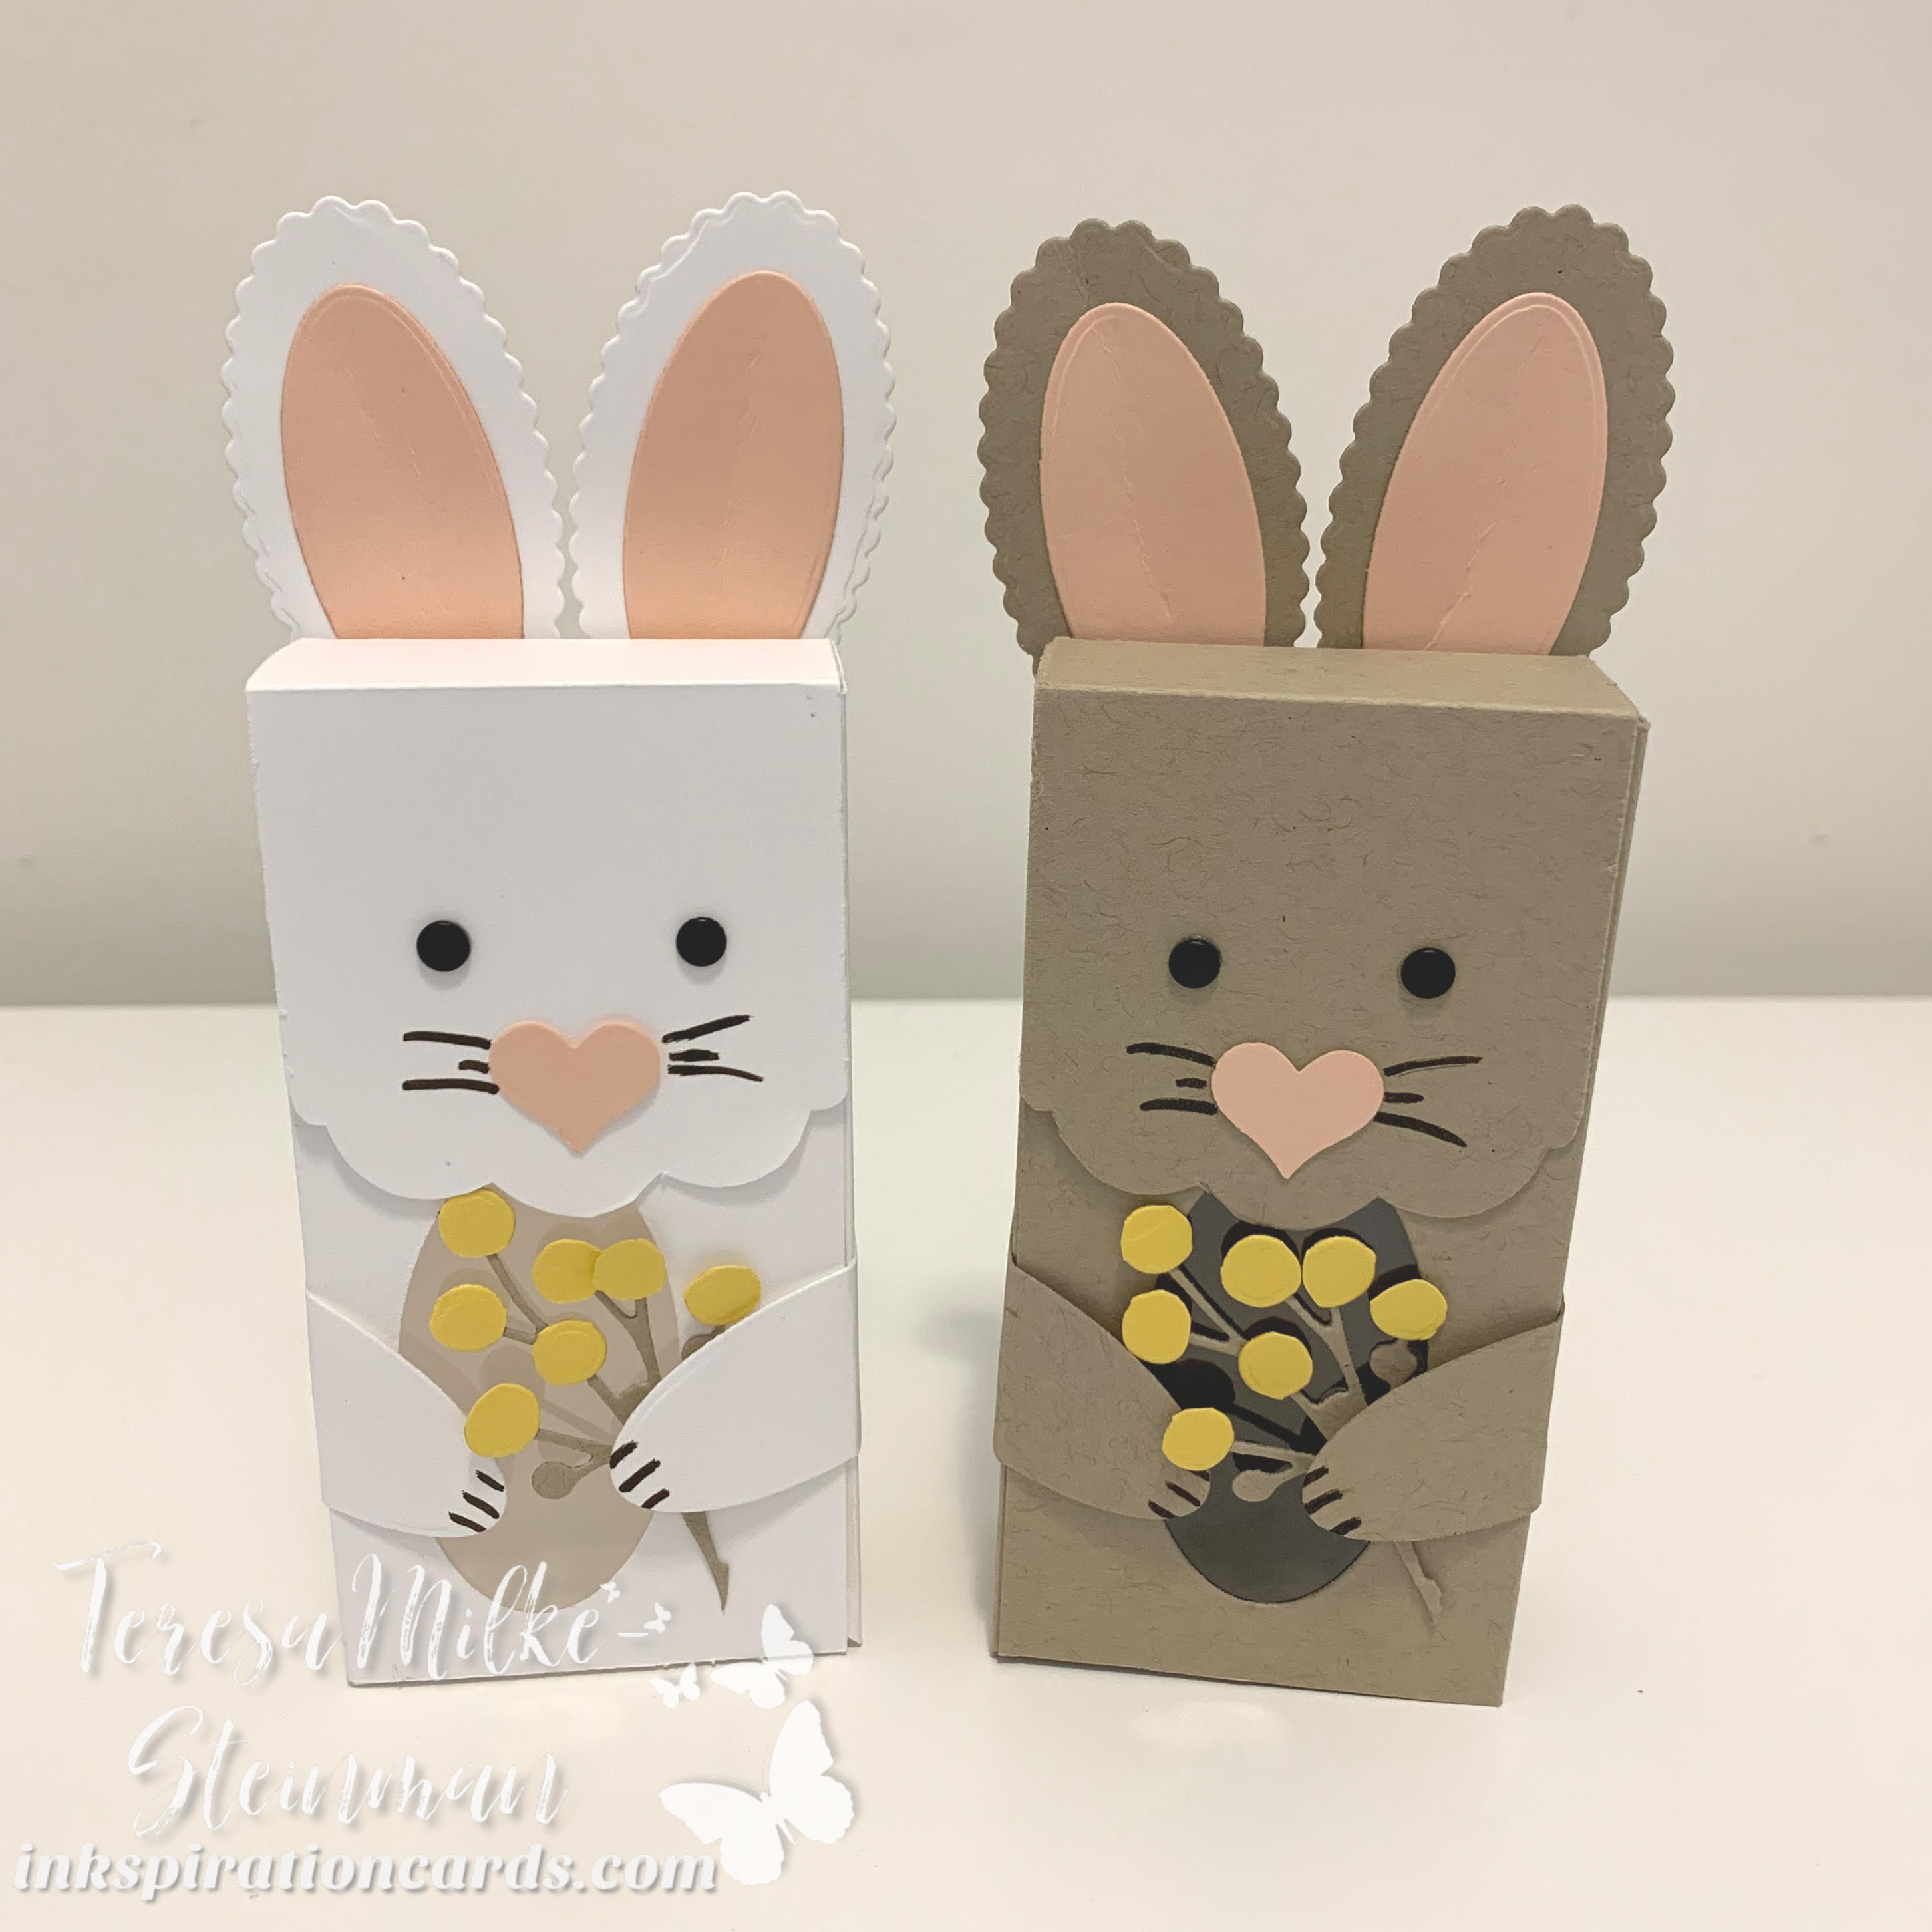
I decided to make one bunny with Basic White and the other with Crumb Cake. Along with that I used some Petal Pink for the ears and nose. And some Daffodil Delight for the flowers and a piece of window sheet.

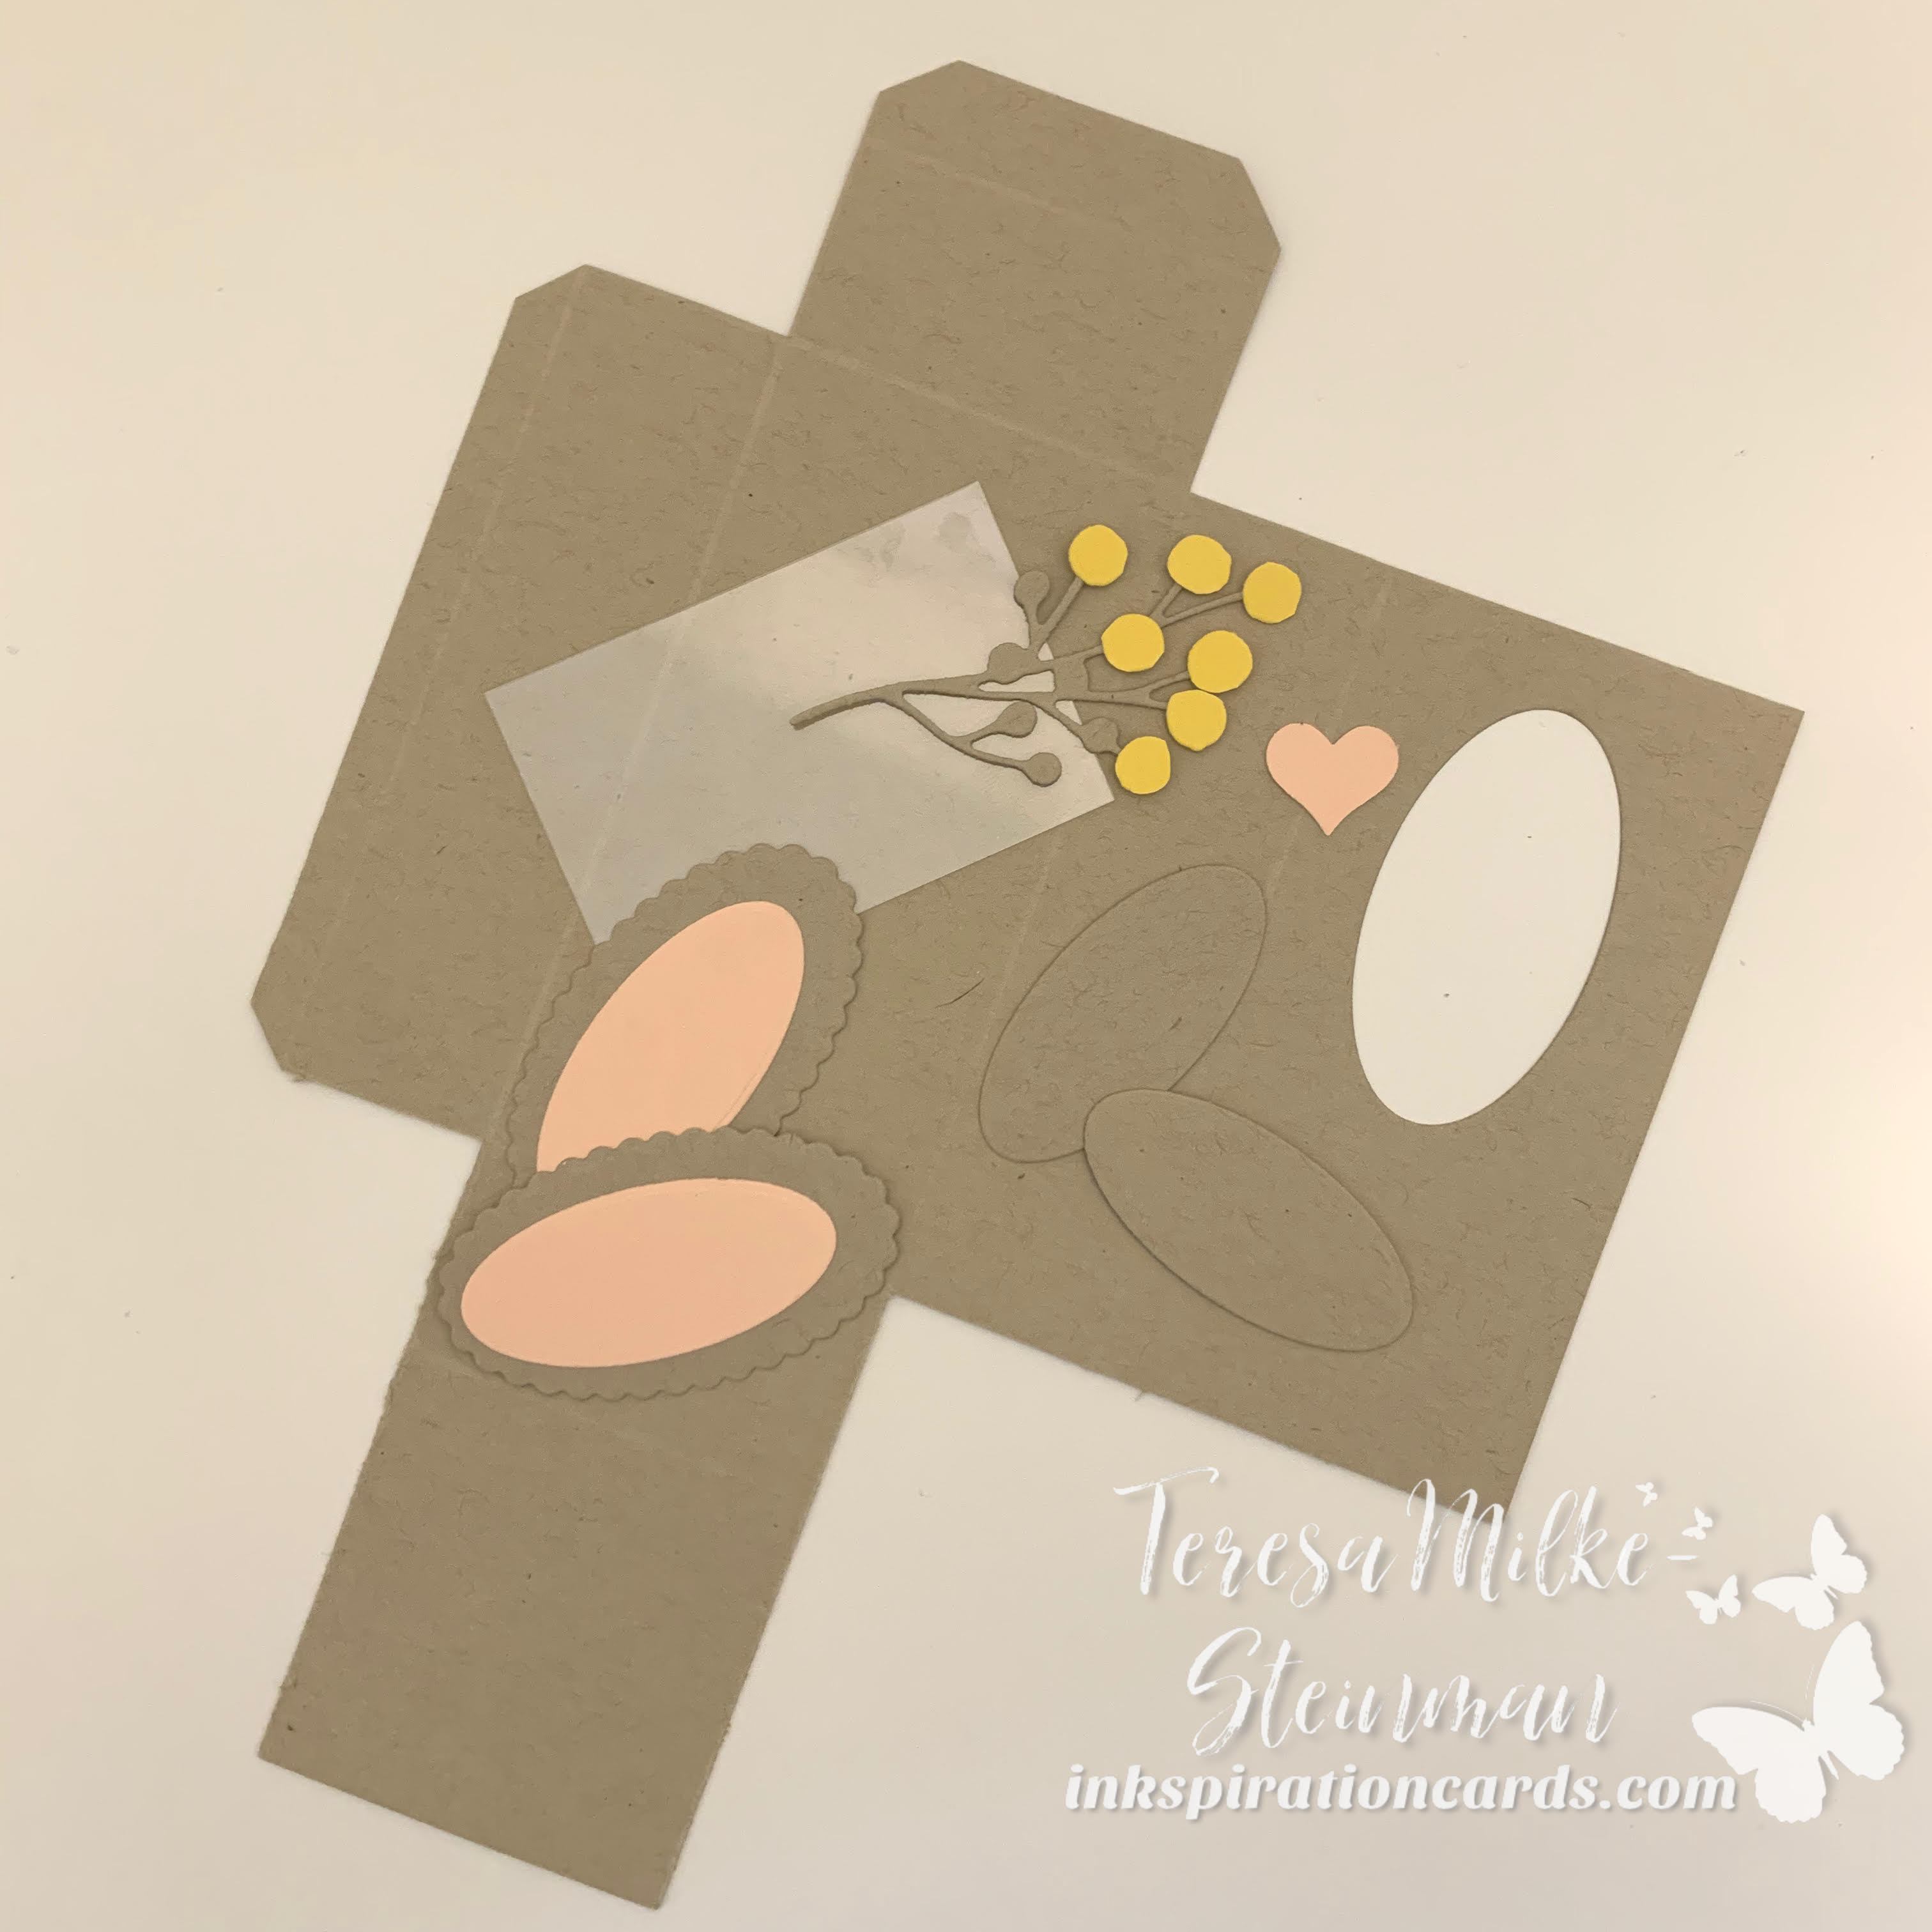
For the ears and paws I used the Layering Ovals dies. This also made the window in it’s tummy. To make the flowers I used the Poinsettia dies. The stem is in Crumb Cake and the “flowers” are in Daffodil Delight. For the flowers I needed to cut them into singles and then used Glue Dots to attach them to the stem.
To secure the box I used Tear & Tape Adhesive. I also used that to adhere the piece of window sheet on the inside of the box. For the ears and paws I used a combination of Stampin’ SEAL and Dimensionals.
To make the nose I pulled out a retired heart punch and used a couple of Glue Dots to adhere it. And for the whiskers and on the paws I used an Early Espresso Stampin’ Write Marker. The eyes in this case are some retired dots that I had. Or you can use the Matte Black Dots.
Here they are…

These Easter Bunny Boxes turned out so cute! I hope my munchkins love them too. I’m going to be filling them with jelly beans (one of their favourites). Last year I made some cute little baskets with the Timeless Tulip stamp set and punch. You can check those out here!
