Handmade Easter Treat Boxes

Handmade Easter treat boxes are definitely more my thing than Easter cards. My munchkins always get a little something from the Easter bunny. And so of course the Easter Bunny (aka me, lol) likes to make something pretty to put them in.

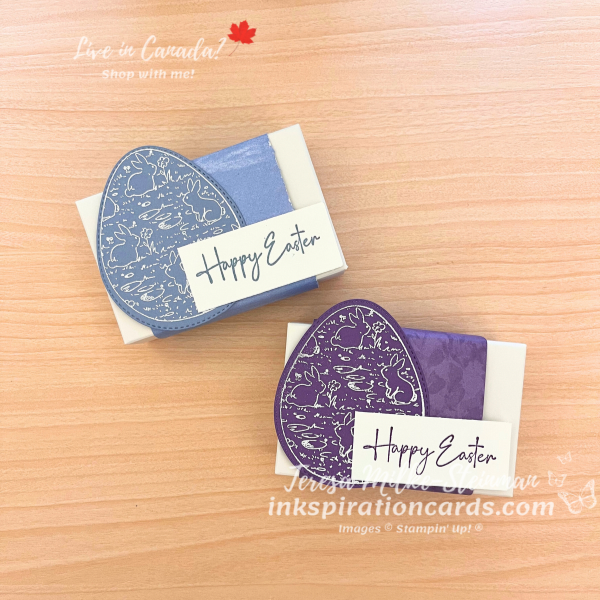
For these cute boxes I’m using my favourite image from the Excellent Eggs stamp set from the January-April Mini catalogue. Although I do love the bunny too, he’s super cute! Anyway… instead of making them all just one colour I thought I’d use 2. And to pick my colours I needed to pick my patterned paper first. I wanted a simple design to show off the detail in the egg. So I used a Boho Blue design from the Fresh like a Daisy Designer Series Paper pack. And a Gorgeous Grape design from the Perennial Lavender Designer Series Paper pack.

From here, I heat embossed the bunny egg design on the coordinating cardstock using white embossing powder. Then I die cut the eggs with the coordinating die. Next I stamped “Happy Easter” in the same ink colours (Boho Blue and Gorgeous Grape) on some Basic White cardstock.

To put it all together I wrapped the strips of Designer Series Paper around the Envelope Treat Boxes to make a belly band. Then I added on the white embossed eggs and stamped sentiment. Just make sure to be careful where you put your adhesive! Otherwise you might end of with the pieces sticking to the box which would make it hard to slide the belly band off.
Handmade Easter Treat Boxes

I’ll be posting a video on my YouTube channel showing off these cute handmade Easter treat boxes in about a week. So check out my channel or watch here for an update.

In the meantime, check out a cute card I made using the Excellent Eggs bundle here.

Product List
Easter Treat Bags

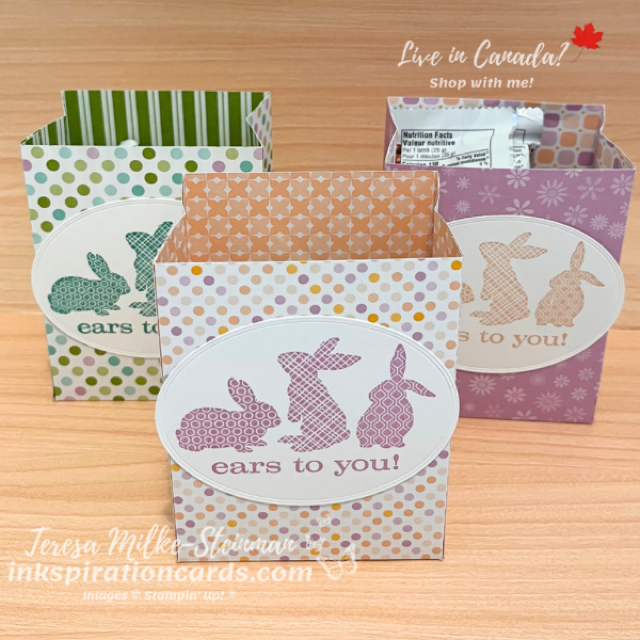
The Easter long weekend is just a few days away! I can’t believe how fast this year is going by, can you?! To celebrate we always do the big family dinner. And I also make a little something to hold a few treats for my munchkins. This year I’m making Easter Treat bags!

To make these I played around with the dimensions to make sure they would fit what I picked up. And I used a mix of retired and currents products. The Designer Series Paper and stamp are retired. I used some different designs from the recently retired Dandy Designs DSP pack from this year’s Sale-a-bration. The colours in this pack of patterned paper are nice and bright. So they’re perfect for this project! The stamp is from a few years ago, but those bunnies are so cute I just had to keep them.

The ink colours are the current part of the treat bags. I pulled the colours from the DSP designs; Fresh Freesia, Petal Pink, Mango Melody and Coastal Cabana. The die that I used to cut out the bunnies is also current; the Framed Florets dies. And I popped them up with a few Stampin’ Dimensionals.

To put it all together I used Tear & Tape Adhesive. It’s such a good, strong adhesive for 3D projects or fancy fold cards. Then to finish them off I filled them up with some colourful slime and chocolate. I pinched the tops of the bags a little bit too.

Easter Treat Bags

These Easter treat bags turned out really cute! In the end I made 4; 2 for my munchkins and 2 more for my nieces.

Check out another project I made using the Dandy Designs DSP here.

There’s a new list of retiring products now. So check out my online shop for all the info and discounts!

Easter Bunny Boxes

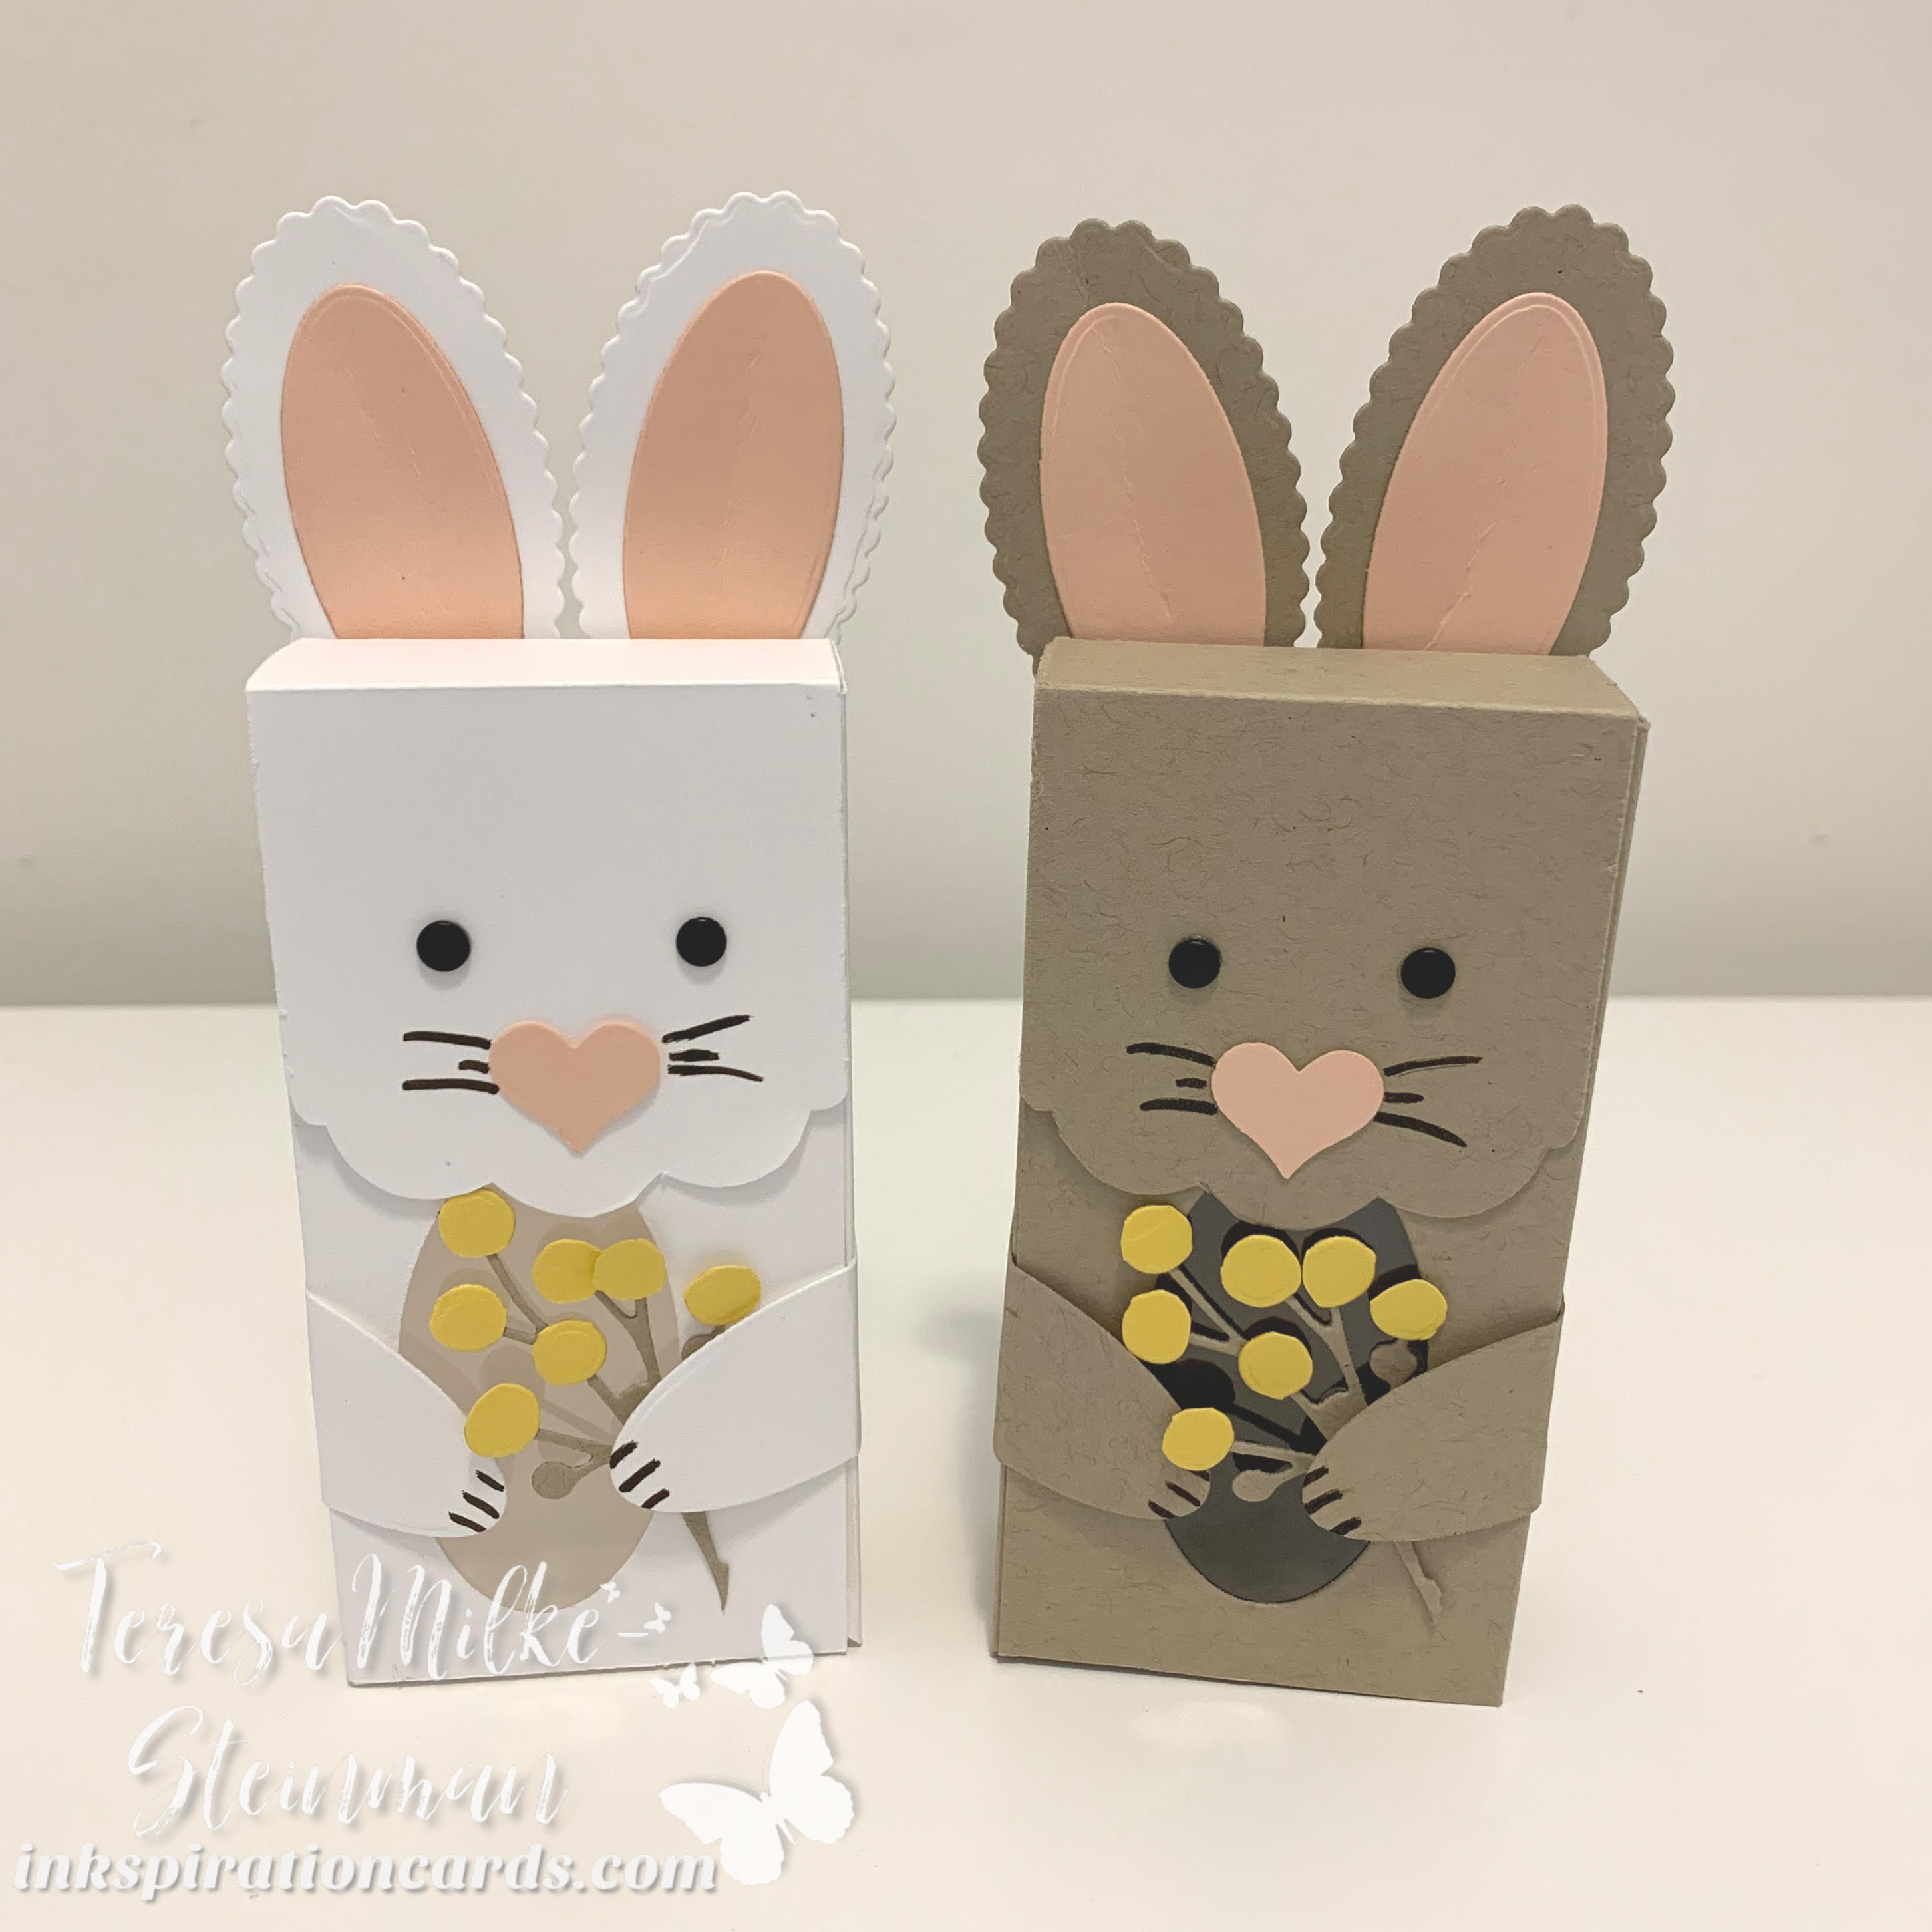
The Easter long weekend is here! And even though we’re not able to celebrate like we usually do, I still have some surprises for my munchkins. They’ve seen a few of them, but they haven’t seen these yet. I saw these Easter Bunny boxes on Facebook and just had to make them! Emma Fawcett, a demonstrator from Ireland, posted them and I checked out her YouTube video for all the steps and measurements. It was pretty straight forward to make. And these will be one of the reasons I hold onto my Layering Ovals dies even though they’re retiring.

I decided to make one bunny with Basic White and the other with Crumb Cake. Along with that I used some Petal Pink for the ears and nose. And some Daffodil Delight for the flowers and a piece of window sheet.

Easter Bunny Boxes

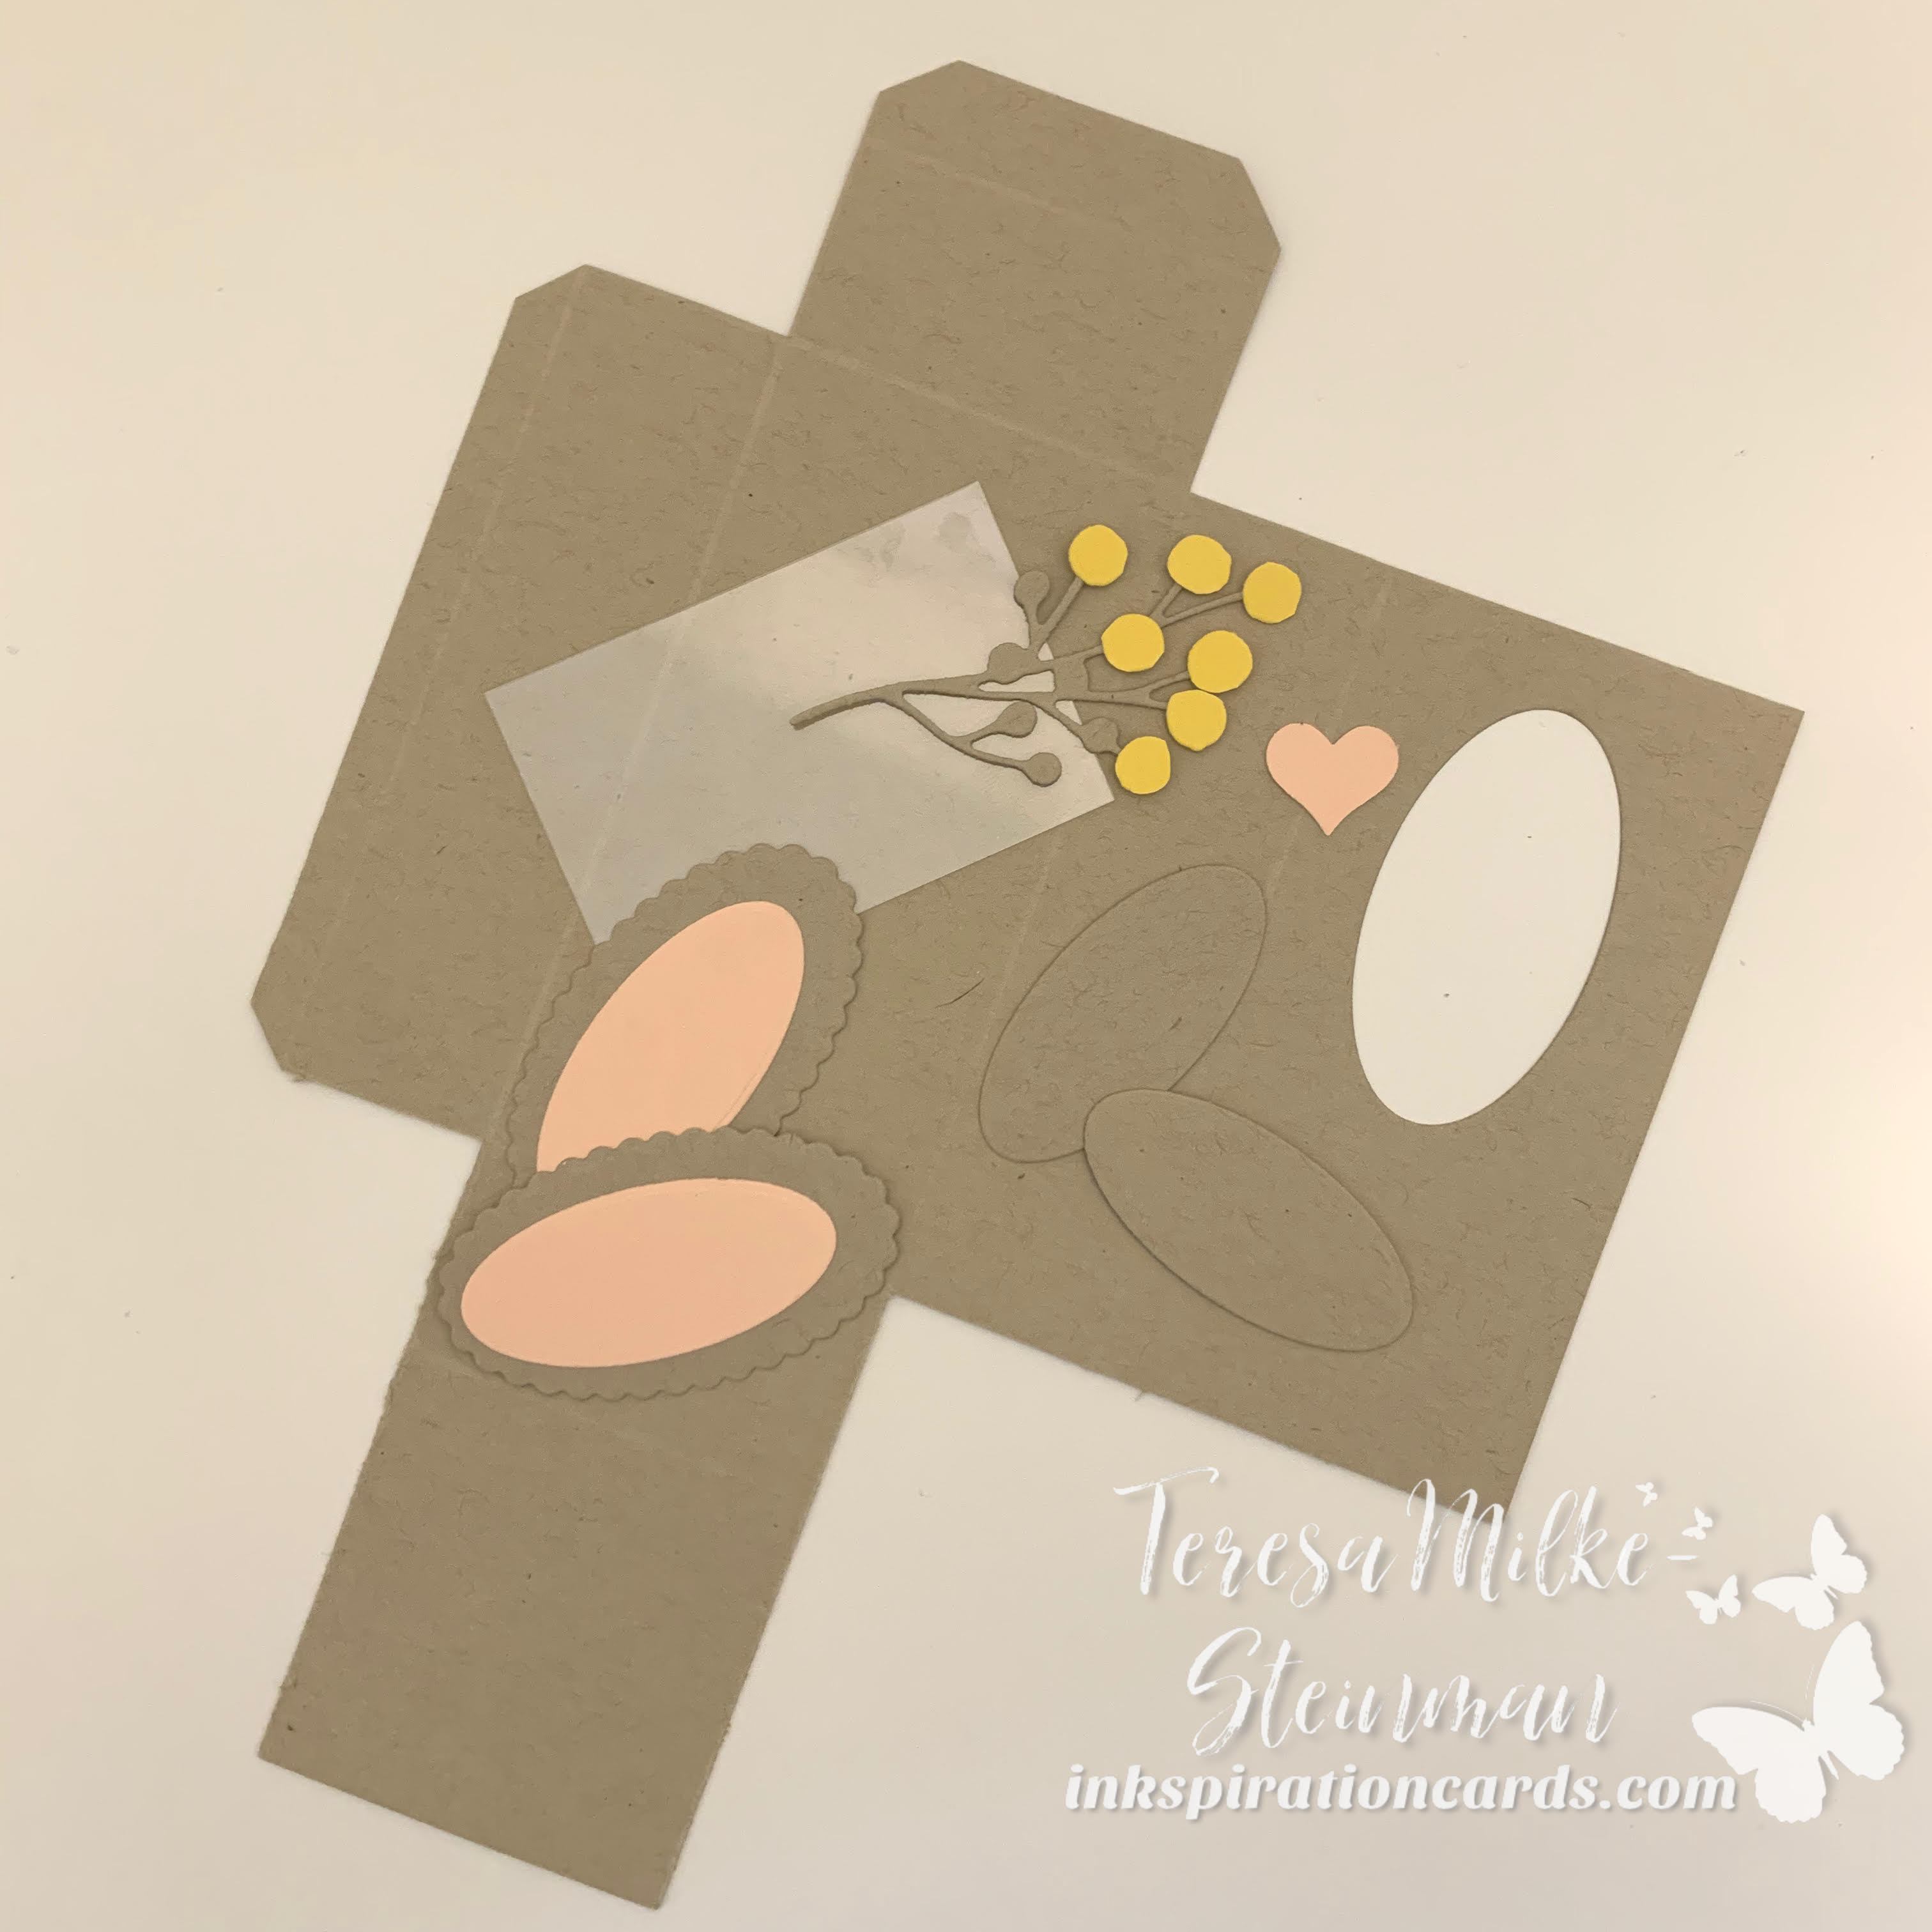
For the ears and paws I used the Layering Ovals dies. This also made the window in it’s tummy. To make the flowers I used the Poinsettia dies. The stem is in Crumb Cake and the “flowers” are in Daffodil Delight. For the flowers I needed to cut them into singles and then used Glue Dots to attach them to the stem.

To secure the box I used Tear & Tape Adhesive. I also used that to adhere the piece of window sheet on the inside of the box. For the ears and paws I used a combination of Stampin’ SEAL and Dimensionals.

To make the nose I pulled out a retired heart punch and used a couple of Glue Dots to adhere it. And for the whiskers and on the paws I used an Early Espresso Stampin’ Write Marker. The eyes in this case are some retired dots that I had. Or you can use the Matte Black Dots.

Here they are…

Easter Bunny Boxes

These Easter Bunny Boxes turned out so cute! I hope my munchkins love them too. I’m going to be filling them with jelly beans (one of their favourites). Last year I made some cute little baskets with the Timeless Tulip stamp set and punch. You can check those out here!