Matching Halloween Cards & Boxes

It’s Thanksgiving for us this weekend. So that means there’s only a couple more weeks until Halloween. My munchkins can’t wait to make the house look all spooky! In the meantime I’m enjoying some spooky crafting and thought I’d share some matching Halloween cards and boxes I made.

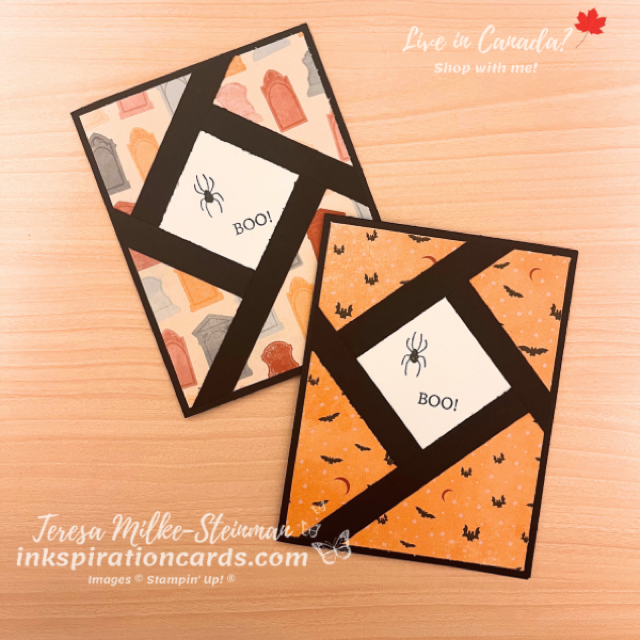
For the cards I used a Basic Black card base and a couple of different designs from the Them Bones Designer Series Paper pack. On top of the DSP I added a 2″ x 2″ piece of Basic White cardstock. I stamped that with the spider and “Boo!” from the Cottage Wreaths stamp set in Tuxedo Black Memento ink… of course. Then I layered some 1/2″ strips of Basic Black cardstock around it and trimmed off the extra.
Matching Halloween Cards & Boxes

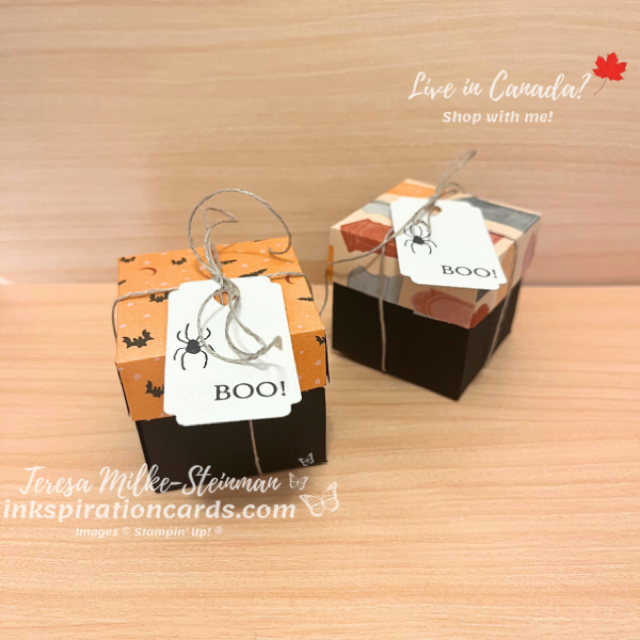
The 2 matching boxes are mini explosion boxes. To make them I used more Basic Black cardstock for the box itself. And then I made lids with the same DSP designs. To keep them secure I added some Linen Thread. Then for the tag, I used the same stamps as the cards, but I die cut them using the Something Fancy dies.
Matching Halloween Cards & Boxes

I’ve never made matching Halloween cards and boxes before. But this was fun! I think I need to do this again next year.

Check out another Halloween card I made using the Them Bones DSP here.

And don’t forget to head to my online shop to grab your Halloween crafting supplies!
Halloween Treat Boxes

I decided this week that I needed to make some Halloween treat boxes. At this point I still don’t know what Halloween is going to look like for us this year… hopefully they’ll say something soon. In the meantime though I’m doing some things for my munchkins so that they still enjoy it no matter what it looks like.

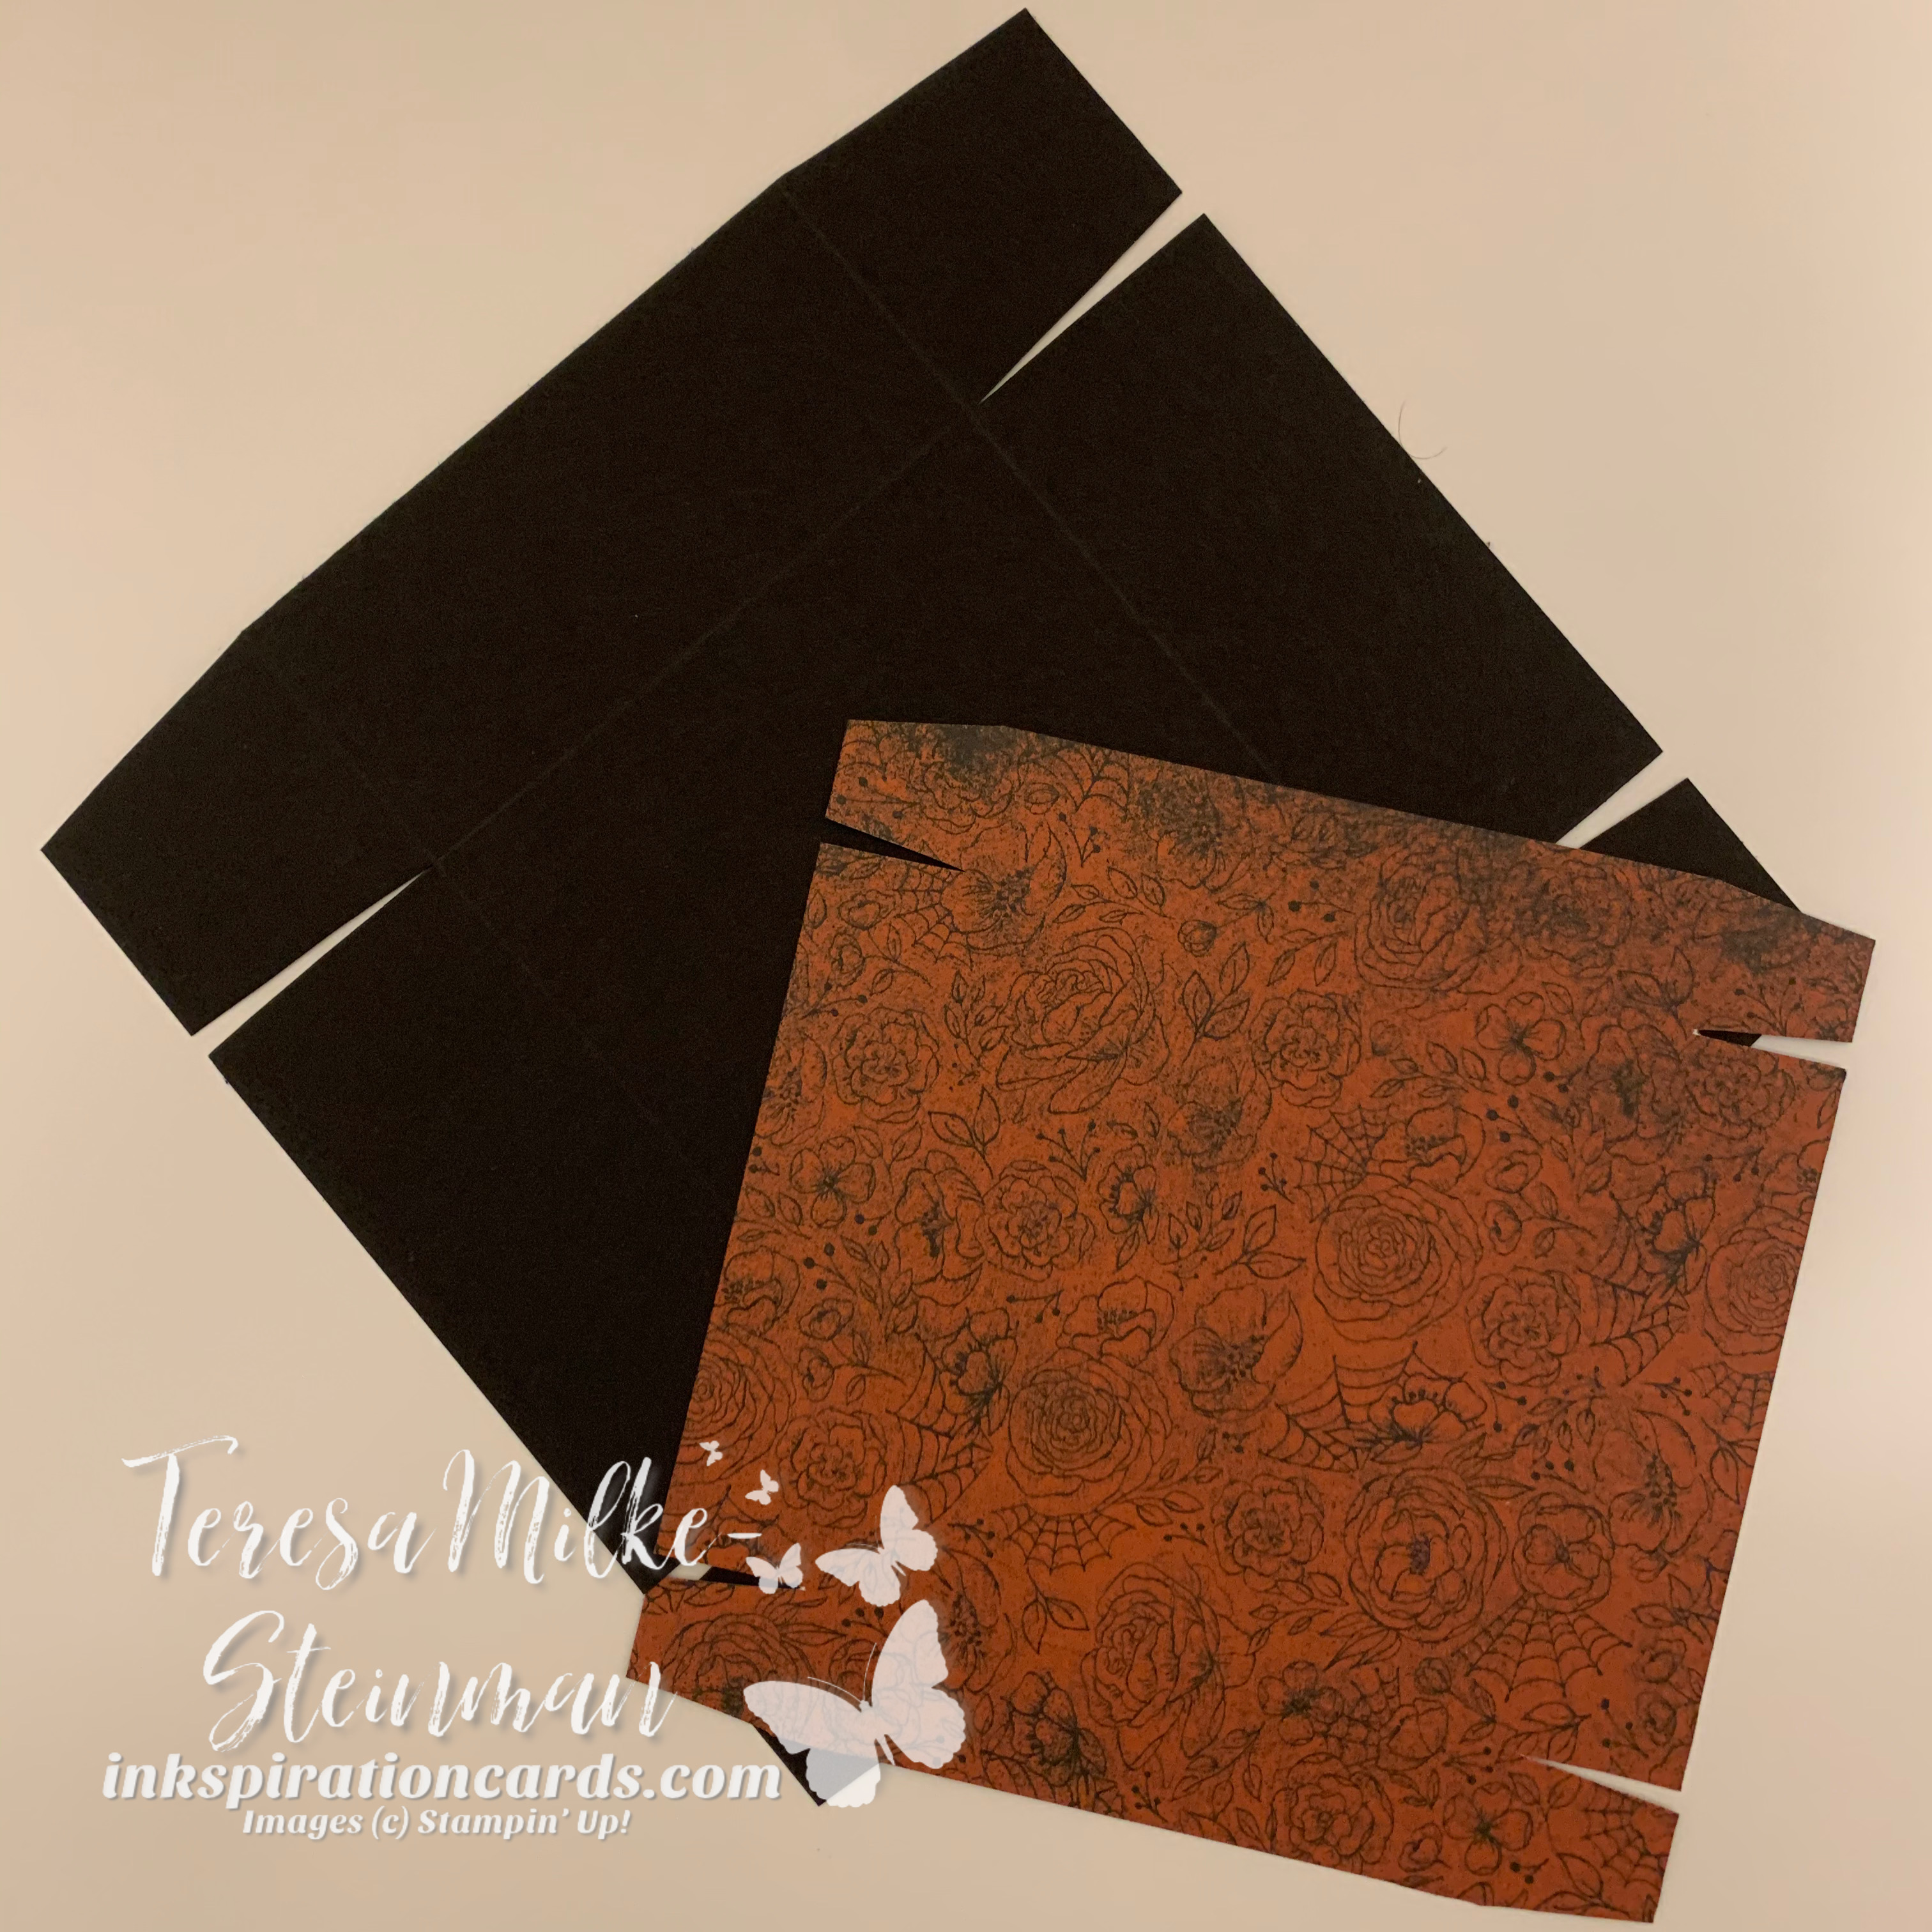
For the boxes I used Basic Black cardstock for the base, of course, and Magic in this Night Designer Series Paper. I love this pack of patterned paper and am excited to make some other projects with it! Since I have 2 munchkins I made 2 treat boxes, but I used 2 different designs. I also wanted them to hold a good number of treats so I made them 3 1/2″ x 3 1/2″.

Here are the full measurements…

  • cardstock base: 6 1/2″ x 6 1/2″, scored at 1 1/2″ on all sides
  • patterned paper lid: 5 1/8″ x 5 1/8″, scored at 3/4″ on all sides
Halloween Treat Boxes

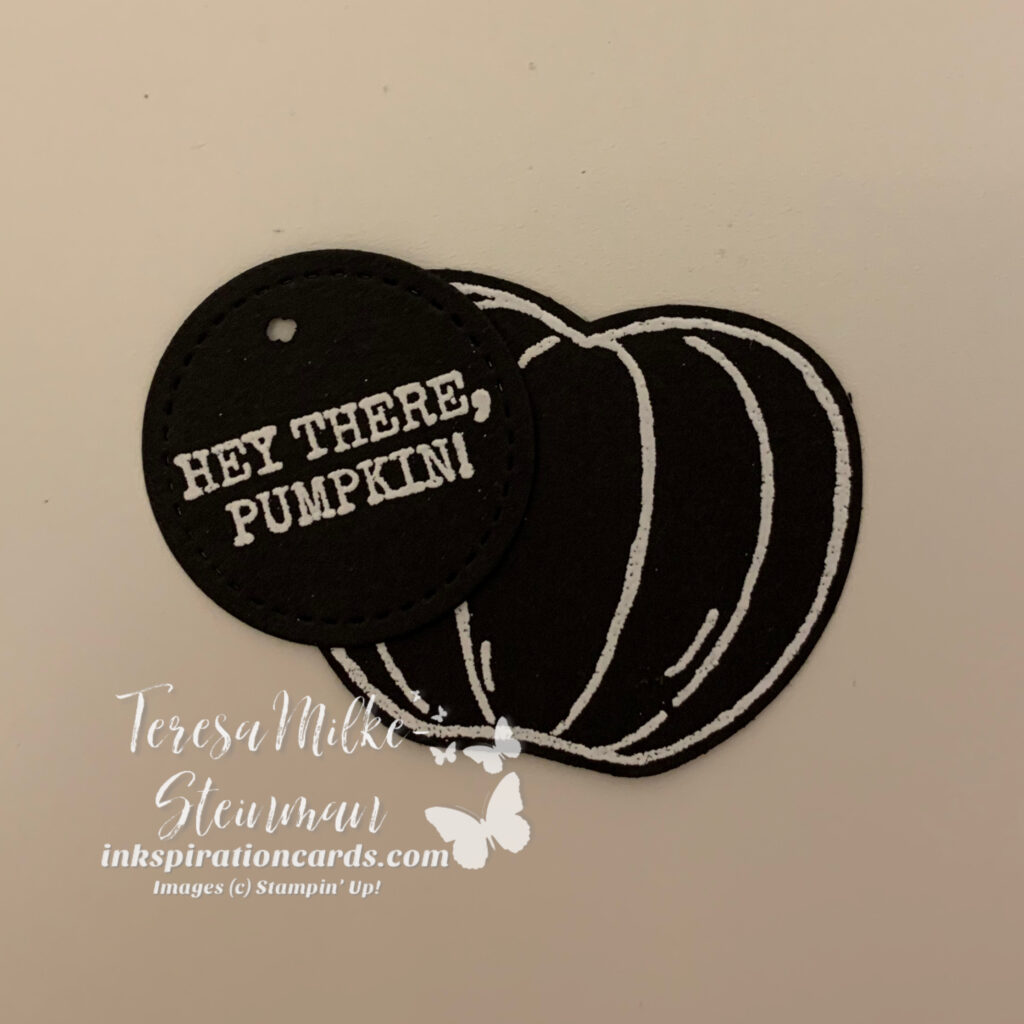
Before I folded the base of the box I stamped a few pumpkins, etc. from the Harvest Hellos stamp set using Whisper White ink. I debated about heat embossing with white, but liked how the images look a little faded. I did heat emboss the tags for the boxes though.

Halloween Treat Boxes

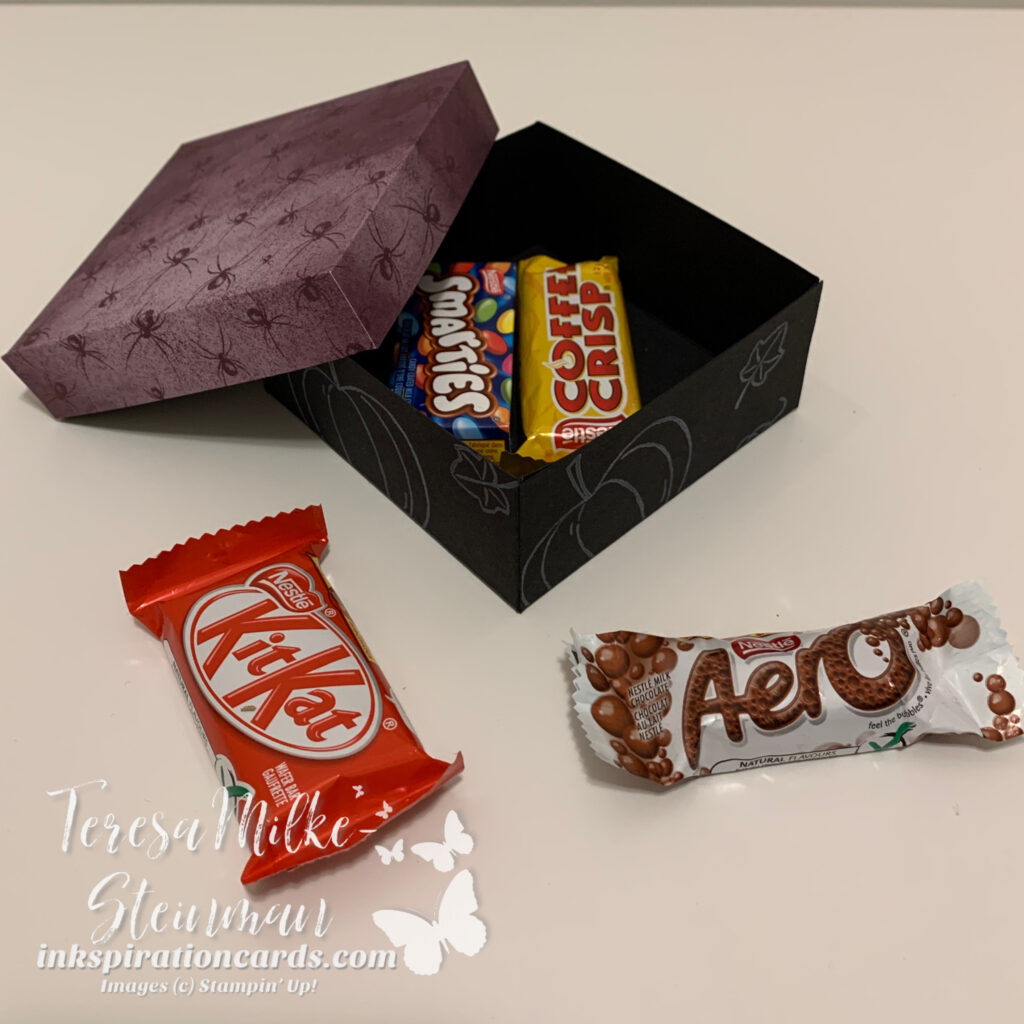
From there it was a quick fold and stick; I used the Multi-Purpose Liquid Glue to hold the base and lid together. Then I tested the size of the box with a few treats. It looks like it will hold about 6 of the Halloween sized chocolate bars. You can put in any kind of candy you like.

Halloween Treat Boxes

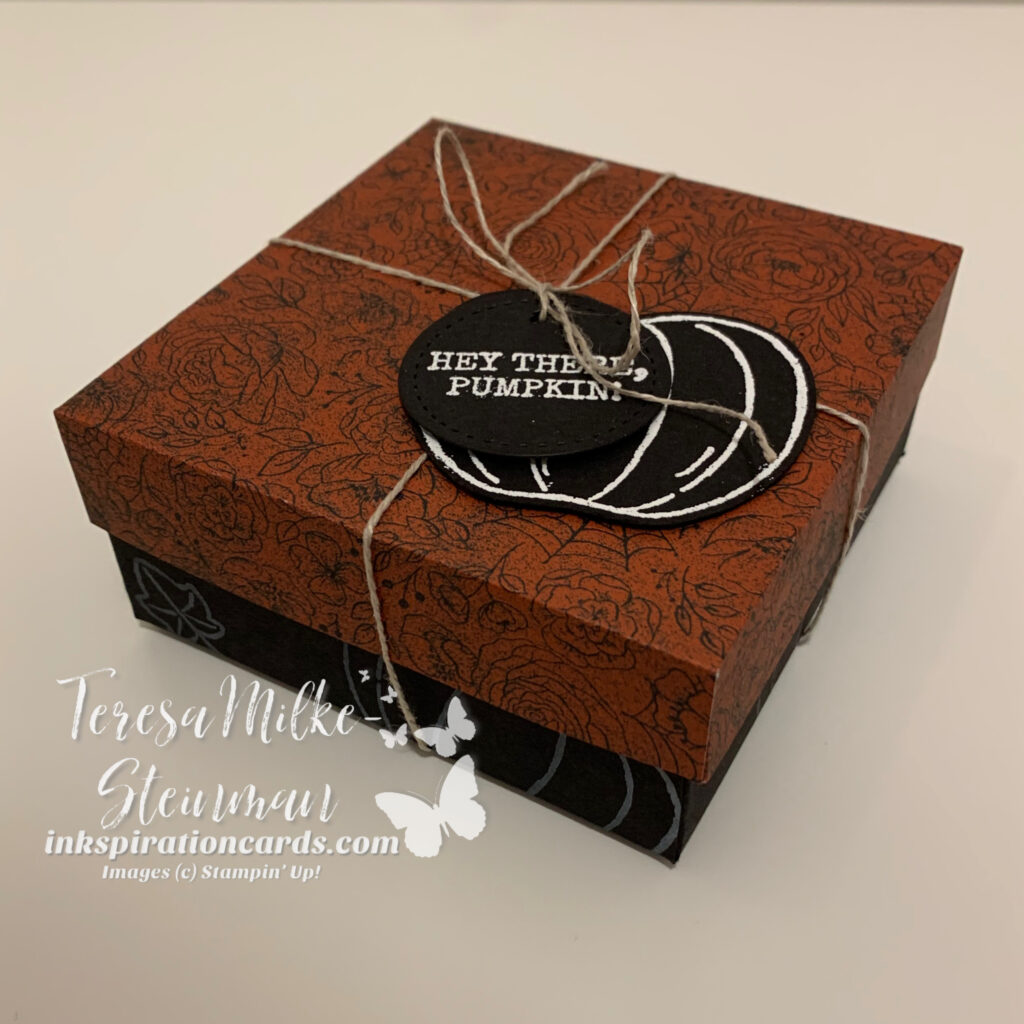
To finish it off I used some Linen thread to secure the lids and tags to the base of the boxes. I really liked how these turned out. Plus they were super easy to make!

Halloween Treat Boxes

If you want to make your own Halloween treat boxes, now is a great time. The Magic in this Night DSP is 15% off! Check it out here along with the other Designer Series Paper packs that are on sale this month. Crafting with patterned paper is an easy way to step up any project. Check out this card I made using one of Stampin’ Up!s other Designer Series Paper packs.