Halloween Sampler with Them Bones

Now I’m getting to what I usually do for my Halloween crafting… home decor. The Them Bones suite is such a great one for any Halloween project! This time I’m making a Halloween sampler with Them Bones Designer Series Paper.

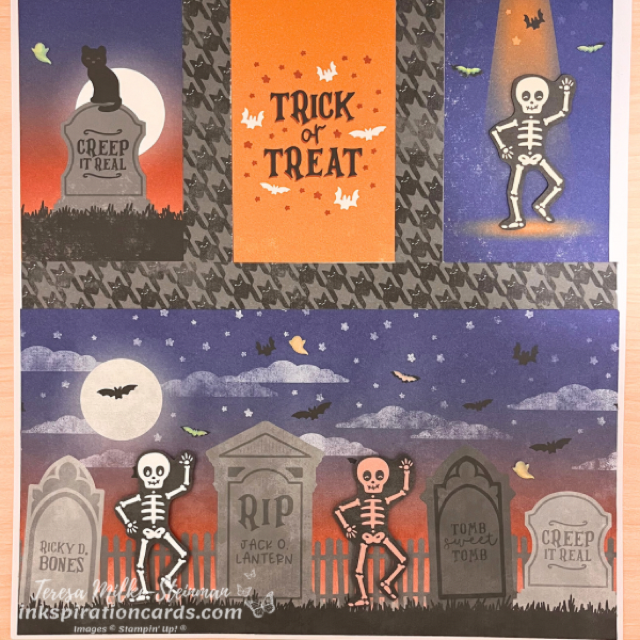
I started with an 11″ x 11″ piece of Basic White cardstock. Then I cut up a few different sheets from the patterned paper pack. These designs are so great! You don’t really need to add a lot else. I used almost half a sheet just along the bottom. Then I chose 3 smaller designs from another sheet for up top.

Usually when I make a sampler I add some coordinating cardstock to frame each of the boxes. But instead I used another design in between all the boxes. Then to add another layer I fussy cut some of the skeletons and popped them up with some Stampin’ Dimensionals. And to finish it off I added a few Glow in the Dark Bats & Ghosts.
Halloween Sampler Them Bones

I’ve made a few other samples with lots of stamping and die cut pieces. This Halloween sampler with Them Bones DSP is very simple!

Check out the matching Halloween cards and treat boxes I made using some different designs from the same pack of patterned paper here.

And you can check out the whole Them Bones suite over in my online shop!
Matching Halloween Cards & Boxes

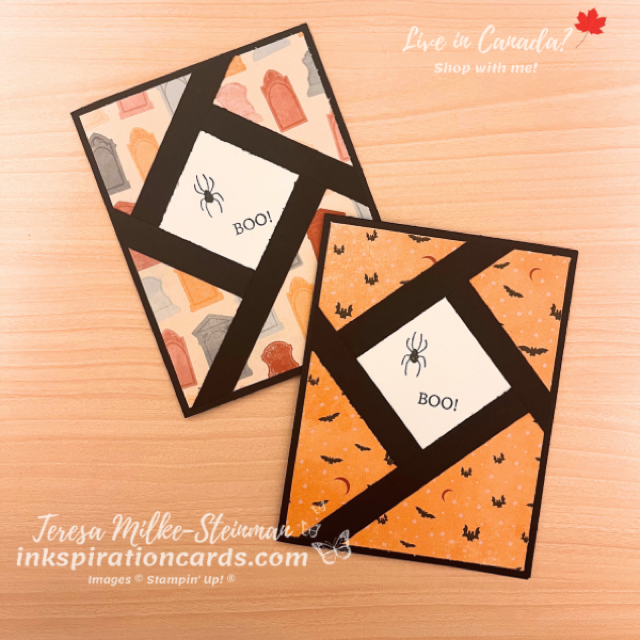
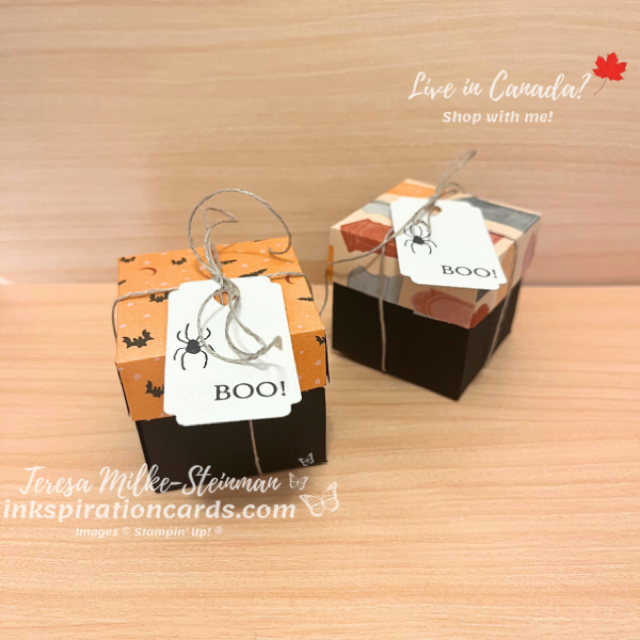
It’s Thanksgiving for us this weekend. So that means there’s only a couple more weeks until Halloween. My munchkins can’t wait to make the house look all spooky! In the meantime I’m enjoying some spooky crafting and thought I’d share some matching Halloween cards and boxes I made.

For the cards I used a Basic Black card base and a couple of different designs from the Them Bones Designer Series Paper pack. On top of the DSP I added a 2″ x 2″ piece of Basic White cardstock. I stamped that with the spider and “Boo!” from the Cottage Wreaths stamp set in Tuxedo Black Memento ink… of course. Then I layered some 1/2″ strips of Basic Black cardstock around it and trimmed off the extra.

Matching Halloween Cards & Boxes

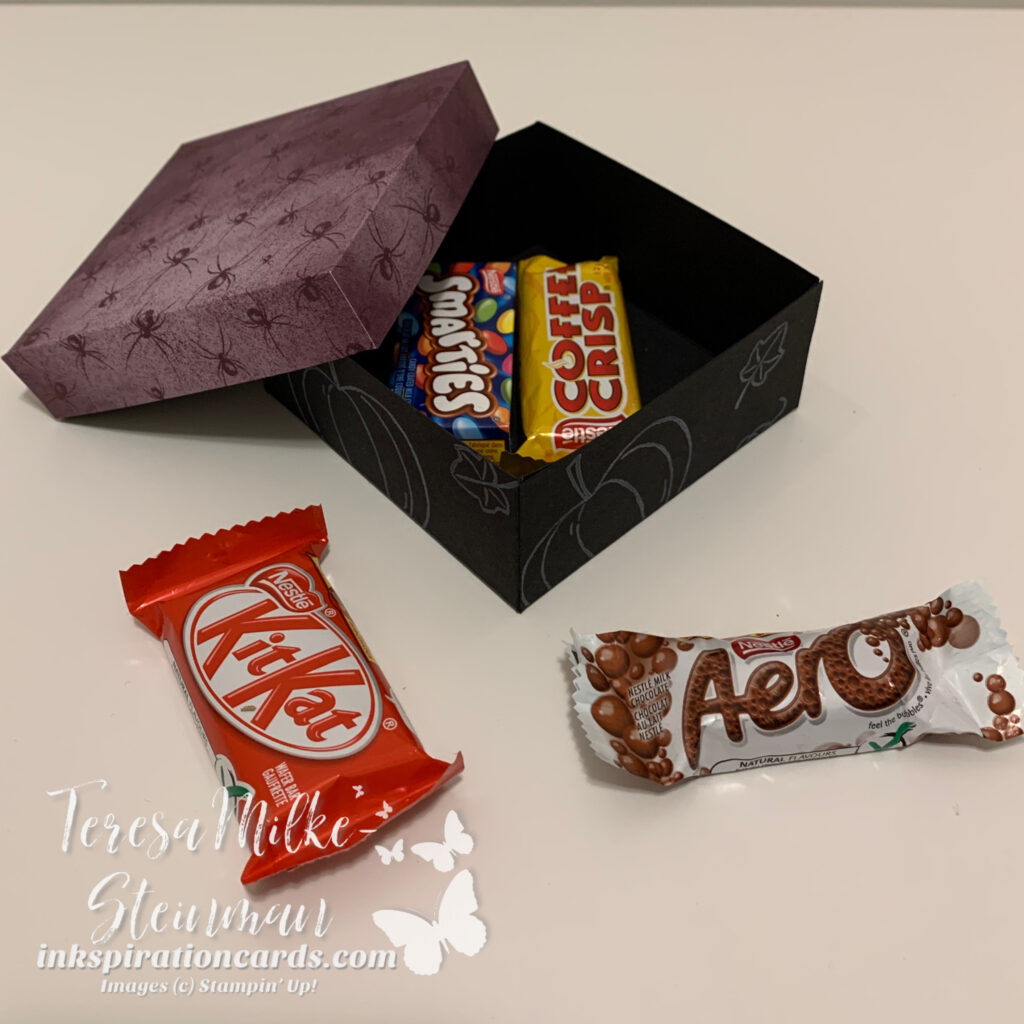
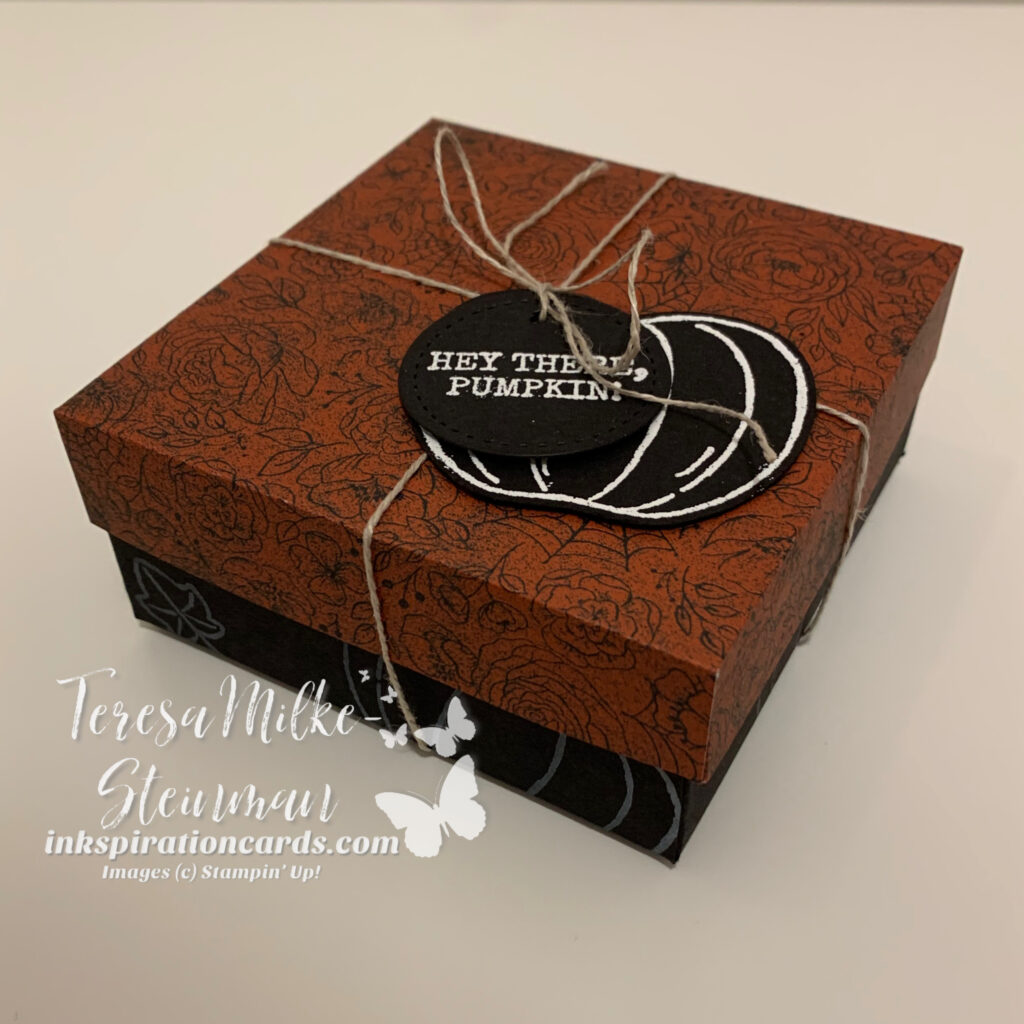
The 2 matching boxes are mini explosion boxes. To make them I used more Basic Black cardstock for the box itself. And then I made lids with the same DSP designs. To keep them secure I added some Linen Thread. Then for the tag, I used the same stamps as the cards, but I die cut them using the Something Fancy dies.

Matching Halloween Cards & Boxes

I’ve never made matching Halloween cards and boxes before. But this was fun! I think I need to do this again next year.

Check out another Halloween card I made using the Them Bones DSP here.

And don’t forget to head to my online shop to grab your Halloween crafting supplies!

Monochromatic Halloween Card

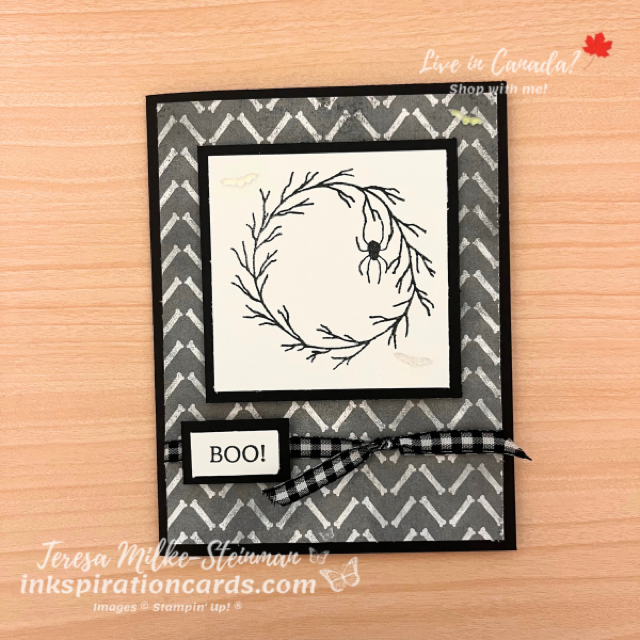
I don’t usually make a lot of cards for Halloween. But I’ve been having so much fun crafting with the Them Bones Designer Series Paper that I couldn’t resist! This one is a monochromatic Halloween card. A lot of the time I pair black and orange for my Halloween crafting, but I thought I’d switch it up a little for this one.

So I layered a black design from the Them Bones DSP pack onto my Basic Black card base. But not before I wrapped a bit of the Black & White 1/4″ Gingham ribbon from the Annual catalogue. On top of that I added some more Basic Black cardstock to frame my image. The spooky wreath and spider come from the Cottage Wreaths stamp set. I also stamped a spider on the inside of the card and added a string of webbing using my Dark Basic Black Stampin’ Blend. I popped this up using a few Stampin’ Dimensionals.

For a sentiment I simply added a “BOO!” Which I framed with some more Basic Black cardstock and popped up with some more Stampin’ Dimensionals on top of the gingham ribbon. I added a little more of the gingham ribbon with a simple knot next to the sentiment. And then to finish it off I added a few of the Glow in the Dark Bats.

Monochromatic Halloween Card

See how this monochromatic Halloween card came together over on my Facebook page here.

And you can check out another handmade Halloween card I made using the Them Bones DSP pack here!

Handmade Halloween Card

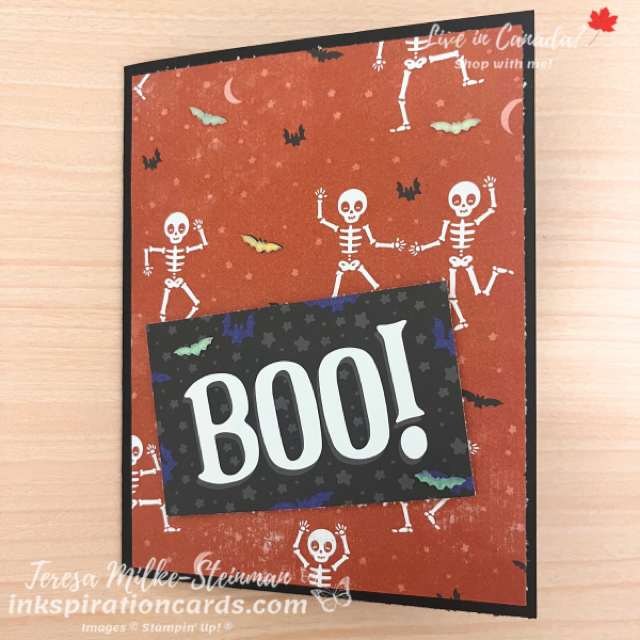
Can you believe that tomorrow is the first day of Fall? I definitely can’t! This year seems to just be flying by. Anyway… in our house we love Halloween! The munchkins LOVE to decorate the house and carve pumpkins and sadly my oldest probably won’t trick or treat to many more times. One thing I don’t really do though is make a handmade Halloween card. Usually I make more home decor pieces. But I couldn’t resist making at least one with the Them Bones Designer Series Paper!

This patterned paper pack has some great Fall designs too, but I think my favourites are the Halloween themed designs. They’re just so cute! And they make it SUPER easy to make Halloween cards. Other than the DSP itself I didn’t need to add a whole lot for this design.

The card base is Basic Black… of course! Then I used some of the same design on the inside and outside of the card. On the inside I just put a little strip, but on the outside it’s basically my card front. For the sentiment I simply used another of the Them Bones designs. This design is the perfect sheet for making a whole bunch of Halloween cards! I popped up the sentiment with some Stampin’ Dimensionals. And then to finish it off, instead of bling, I added a few of the Glow in the Dark bats. Can you spot them all?

Handmade Halloween Cards

The Them Bones pack of Designer Series Paper makes it so easy to make a handmade Halloween card right?!

Check out another card I made with one of the Fall designs from this pack of patterned paper here.

And you can find this fun pack of patterned paper in my online shop! Don’t forget to check out the Clearance Rack while you’re there… Stampin’ Up! just added a bunch more items and these are all available only while supplies last.

Paper Pumpkin Spooky Treats

We love Hallowe’en in our house! My two munchkins have already been talking about pumpkins and decorations for a couple of weeks now. And just earlier this week they were doing some crafting with the Paper Pumpkin Spooky Treats kit. As soon as they saw it they were bugging me to make treat boxes of their own!

I already made my original treat boxes, so I’m on to making alternative projects. As much as I love crafting the original project, I love adding a few other things to see what else I can make with my Paper Pumpkin kits. So I’m excited to join the Paper Pumpkin blog hop. The whole idea with this hop is to make alternative projects using the kit or even something that was inspired by it.

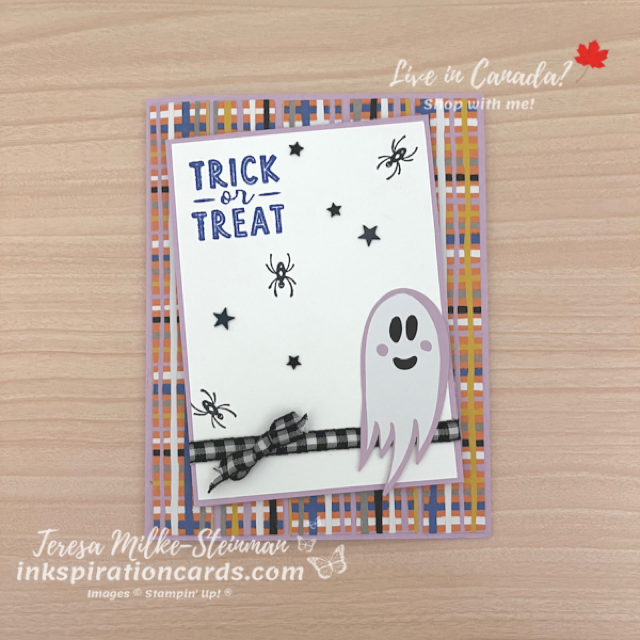
For my alternative design I’m using Fresh Freesia as my card base. Then I cut up a couple of my wraps to create some “Designer Series Paper” strips. On top of that I added another smaller layer of Fresh Freesia and Basic White cardstock. I stamped a few spiders using Tuxedo Black Memento ink and the “Trick or Treat” I stamped with Orchid Oasis, which is the ink colour that came with this month’s kit.

Before I added these pieces to my card I wrapped some of the Black and White 1/4″ Gingham ribbon from the Annual catalogue. I popped it all up with a few Stampin’ Dimensionals and then added a gingham ribbon bow. To finish it off I added one of the cute little ghost die cuts from the kit along with a few of the stars.

Paper Pumpkin Spooky Treats

Super cute right?! I just love the Paper Pumpkin Spooky Treats kit!

Never tried a Paper Pumpkin kit before? Check out my post about why I love stamping kits here. And to check out the other cards on this hop use the link below!

<!-- start Blog Carousel script -->
<script src="https://blogcarousel.com/?11to=embed&mode=js" type="text/javascript"></script>
<noscript><p><a href = "https://blogcarousel.com/?11to&showBloghop" title = "View all blog hop posts">Blog Hop Index</a></p></noscript>
<!-- end Blog Carousel script -->

A Different Kind of Halloween Card

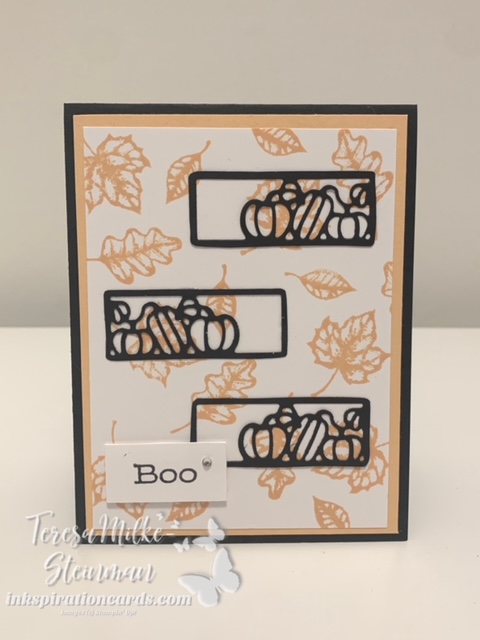
Halloween is next weekend, can you believe it?! Where has this year gone? For Halloween I’m usually more into making home decor pieces or treat packages. I don’t hand out very many Halloween cards. But I thought I’d try a different kind of Halloween card. Most Halloween projects are full of ghosts and jack-o-lanterns, but I just love these cute little pumpkins from the Giving Gifts dies.

For my colour combination I did stick with orange and black. But instead of Pumpkin Pie I used Pale Papaya. I really like how it looks! It’s not super intense or bright and not too light. Plus I love the way the Basic Black stands out.

I knew that I wanted to use the little pumpkins from the dies and of course I needed the “Boo” from the coordinating Time of Giving stamp set. But behind it all I just stamped the leaf cluster image. I didn’t want the bigger pumpkins from the Pretty Pumpkins stamp set in the background… although you could. I like that the leaves are smaller and still give that fall feel to the card.

Once I stamped the leaves I used some Multi-Purpose Liquid glue to stick on the pumpkin patches. And the centre one I just flipped around to have the pumpkins facing the other direction. You don’t even notice that you’re looking at the “wrong side” of the cardstock. From here I popped up the phrase with some Stampin’ Dimensionals and then added a bit of bling. Can’t forget that!

A Different Kind of Halloween Card

It’s such a cute card! And it’s definitely a different kind of Halloween card. I think I’m going to use this colour combination again next Halloween. And while I might make a couple of Halloween cards, I’m still sticking with my treats and decor.

You can check out another fall card I made recently the Pretty Pumpkins bundle here. And you get both bundles in my online shop.

Halloween Shadow Box

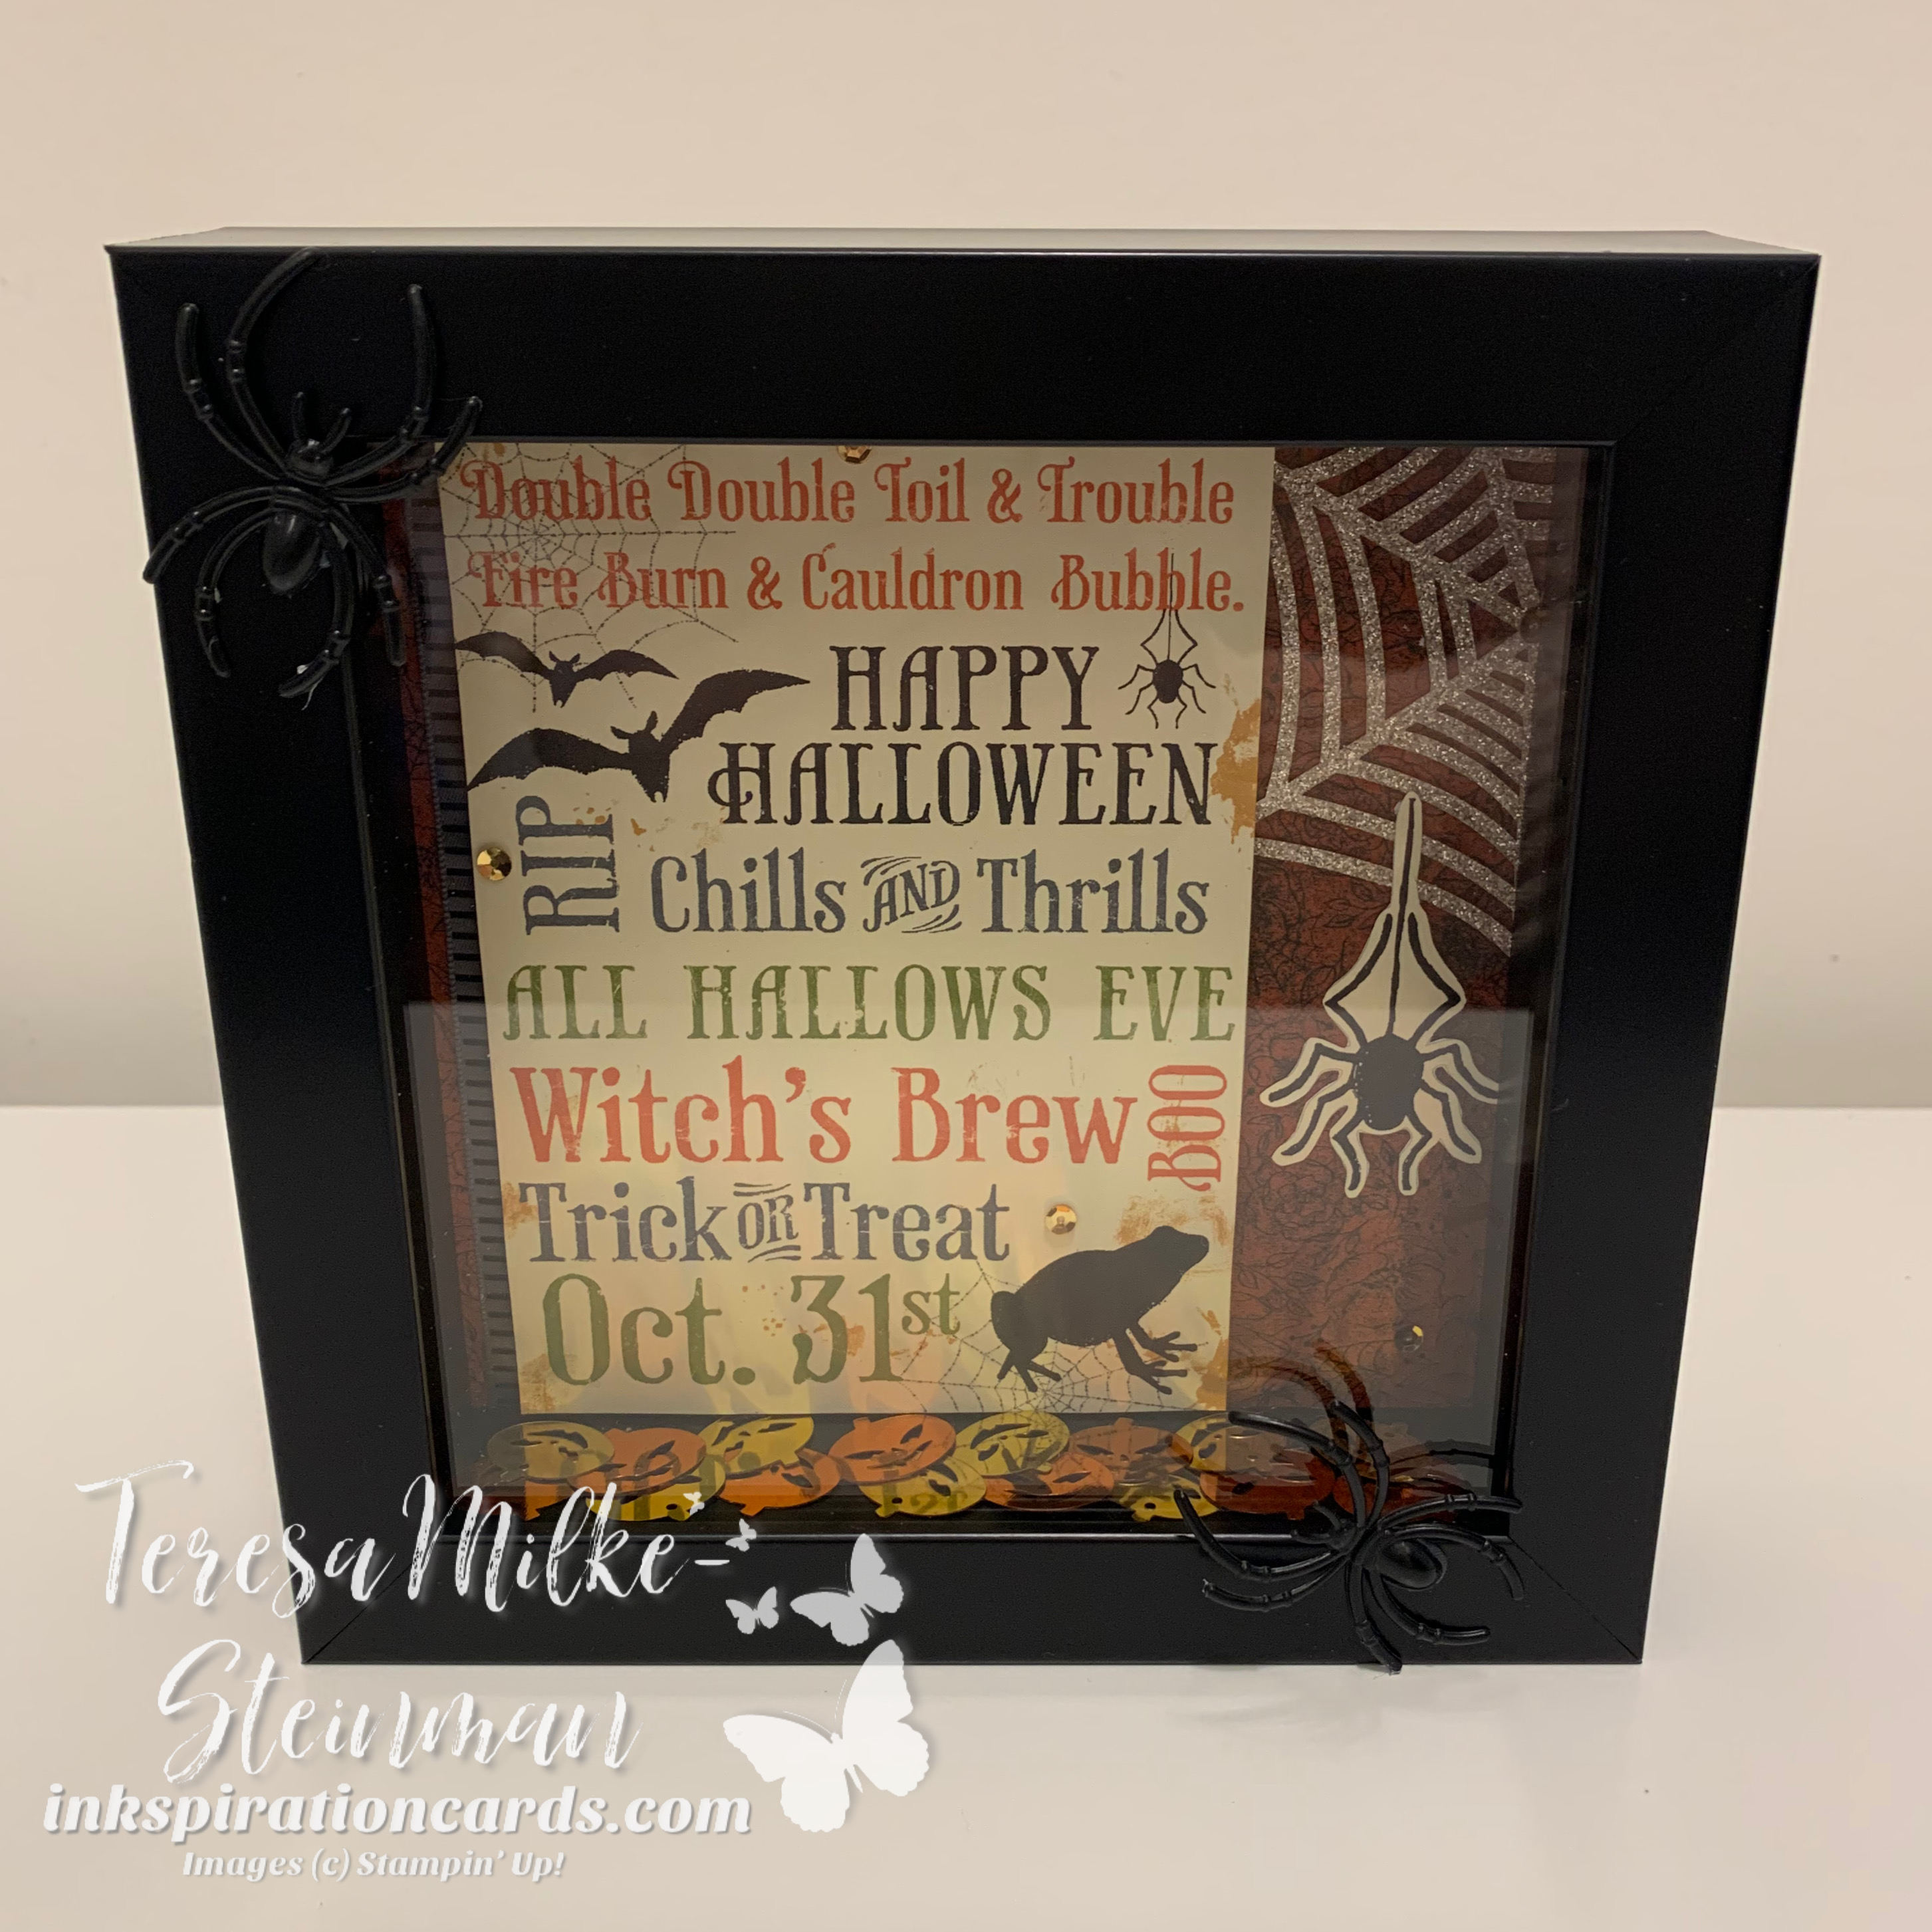
Even though Halloween is looking a little different this year, we’re trying to make the best of it. My munchkins have been decorating inside and outside our house. Our pumpkins were carved earlier this week and I’m putting some treats together. I’ve also been having fun creating different projects for Halloween. Usually I’m not much for Halloween cards so I’ve been making treat boxes and other things. My last “big” project for Halloween this year is a Halloween shadow box.

I’ve had some of these supplies for a while and have used them in different projects. Recently when I was cleaning up my craft stash I found them and decided I’d pull them together to make a home decor piece. Then about a week ago when I was at a local Michael’s picking up some stuff for my daughter’s birthday I saw that they had shadow boxes and frames on sale. So of course I grabbed a shadow box, black of course, for my other pieces.

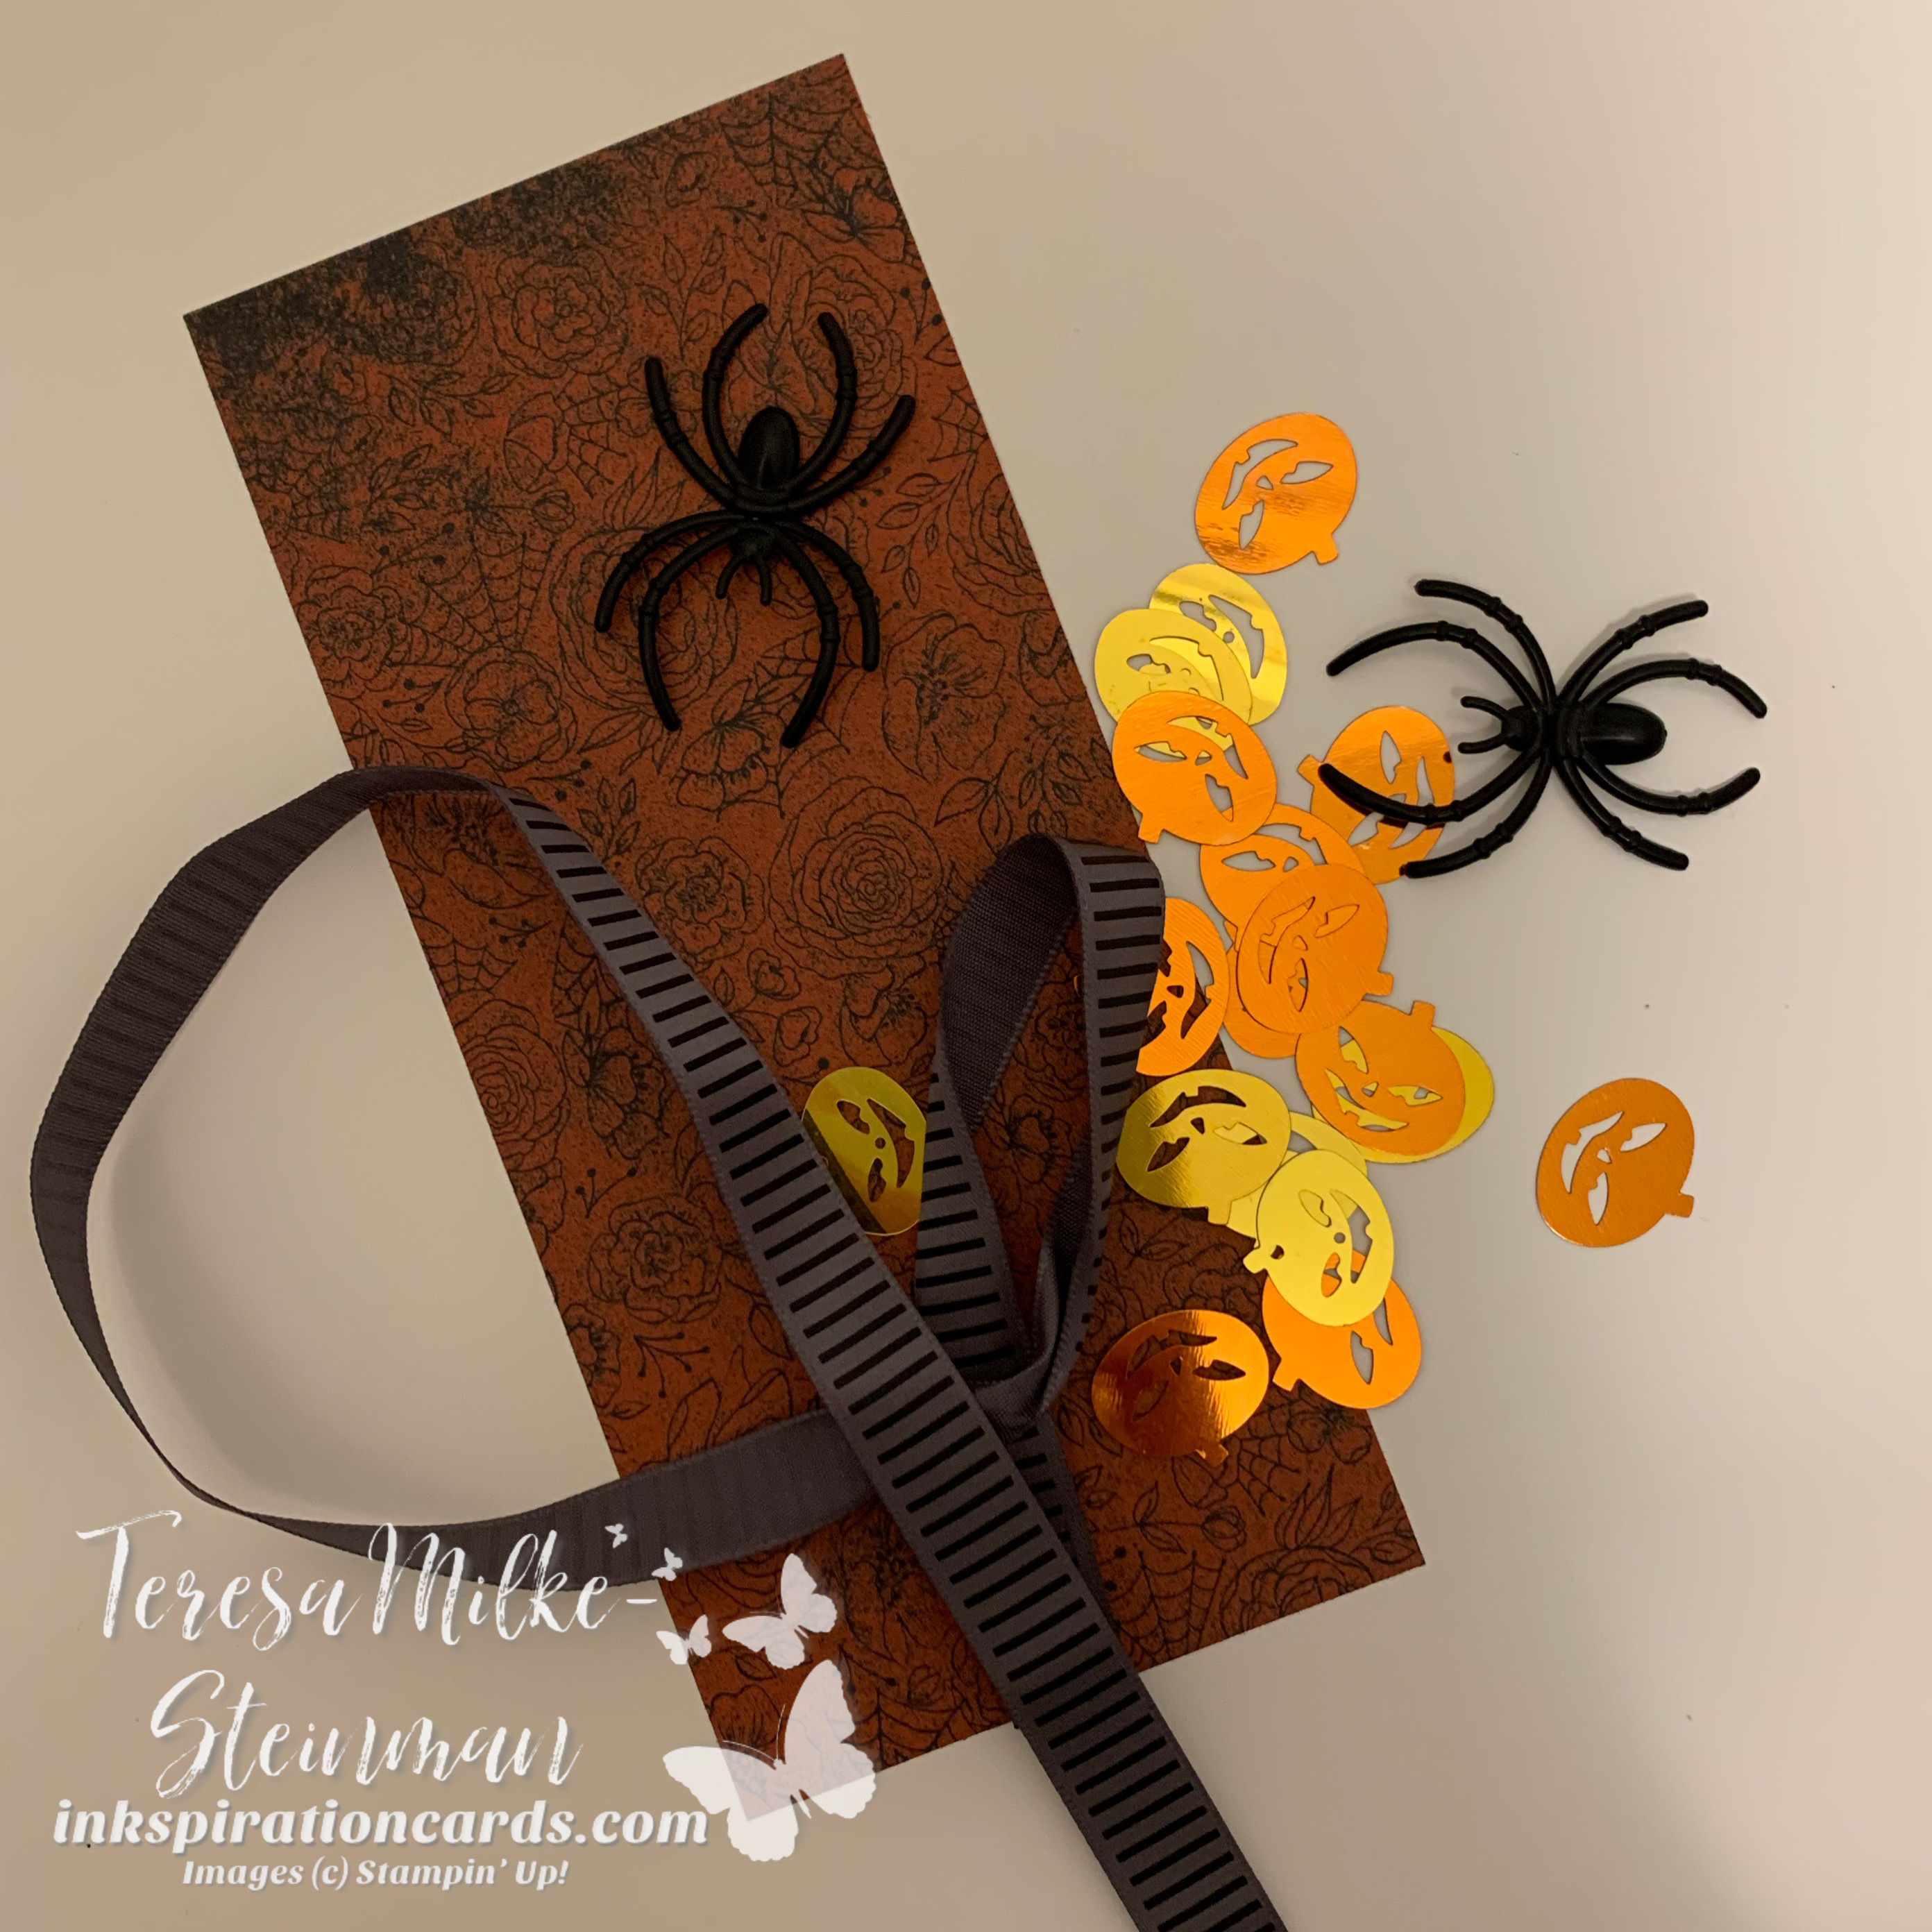
Here are some of the supplies I used…

Halloween Shadow Box

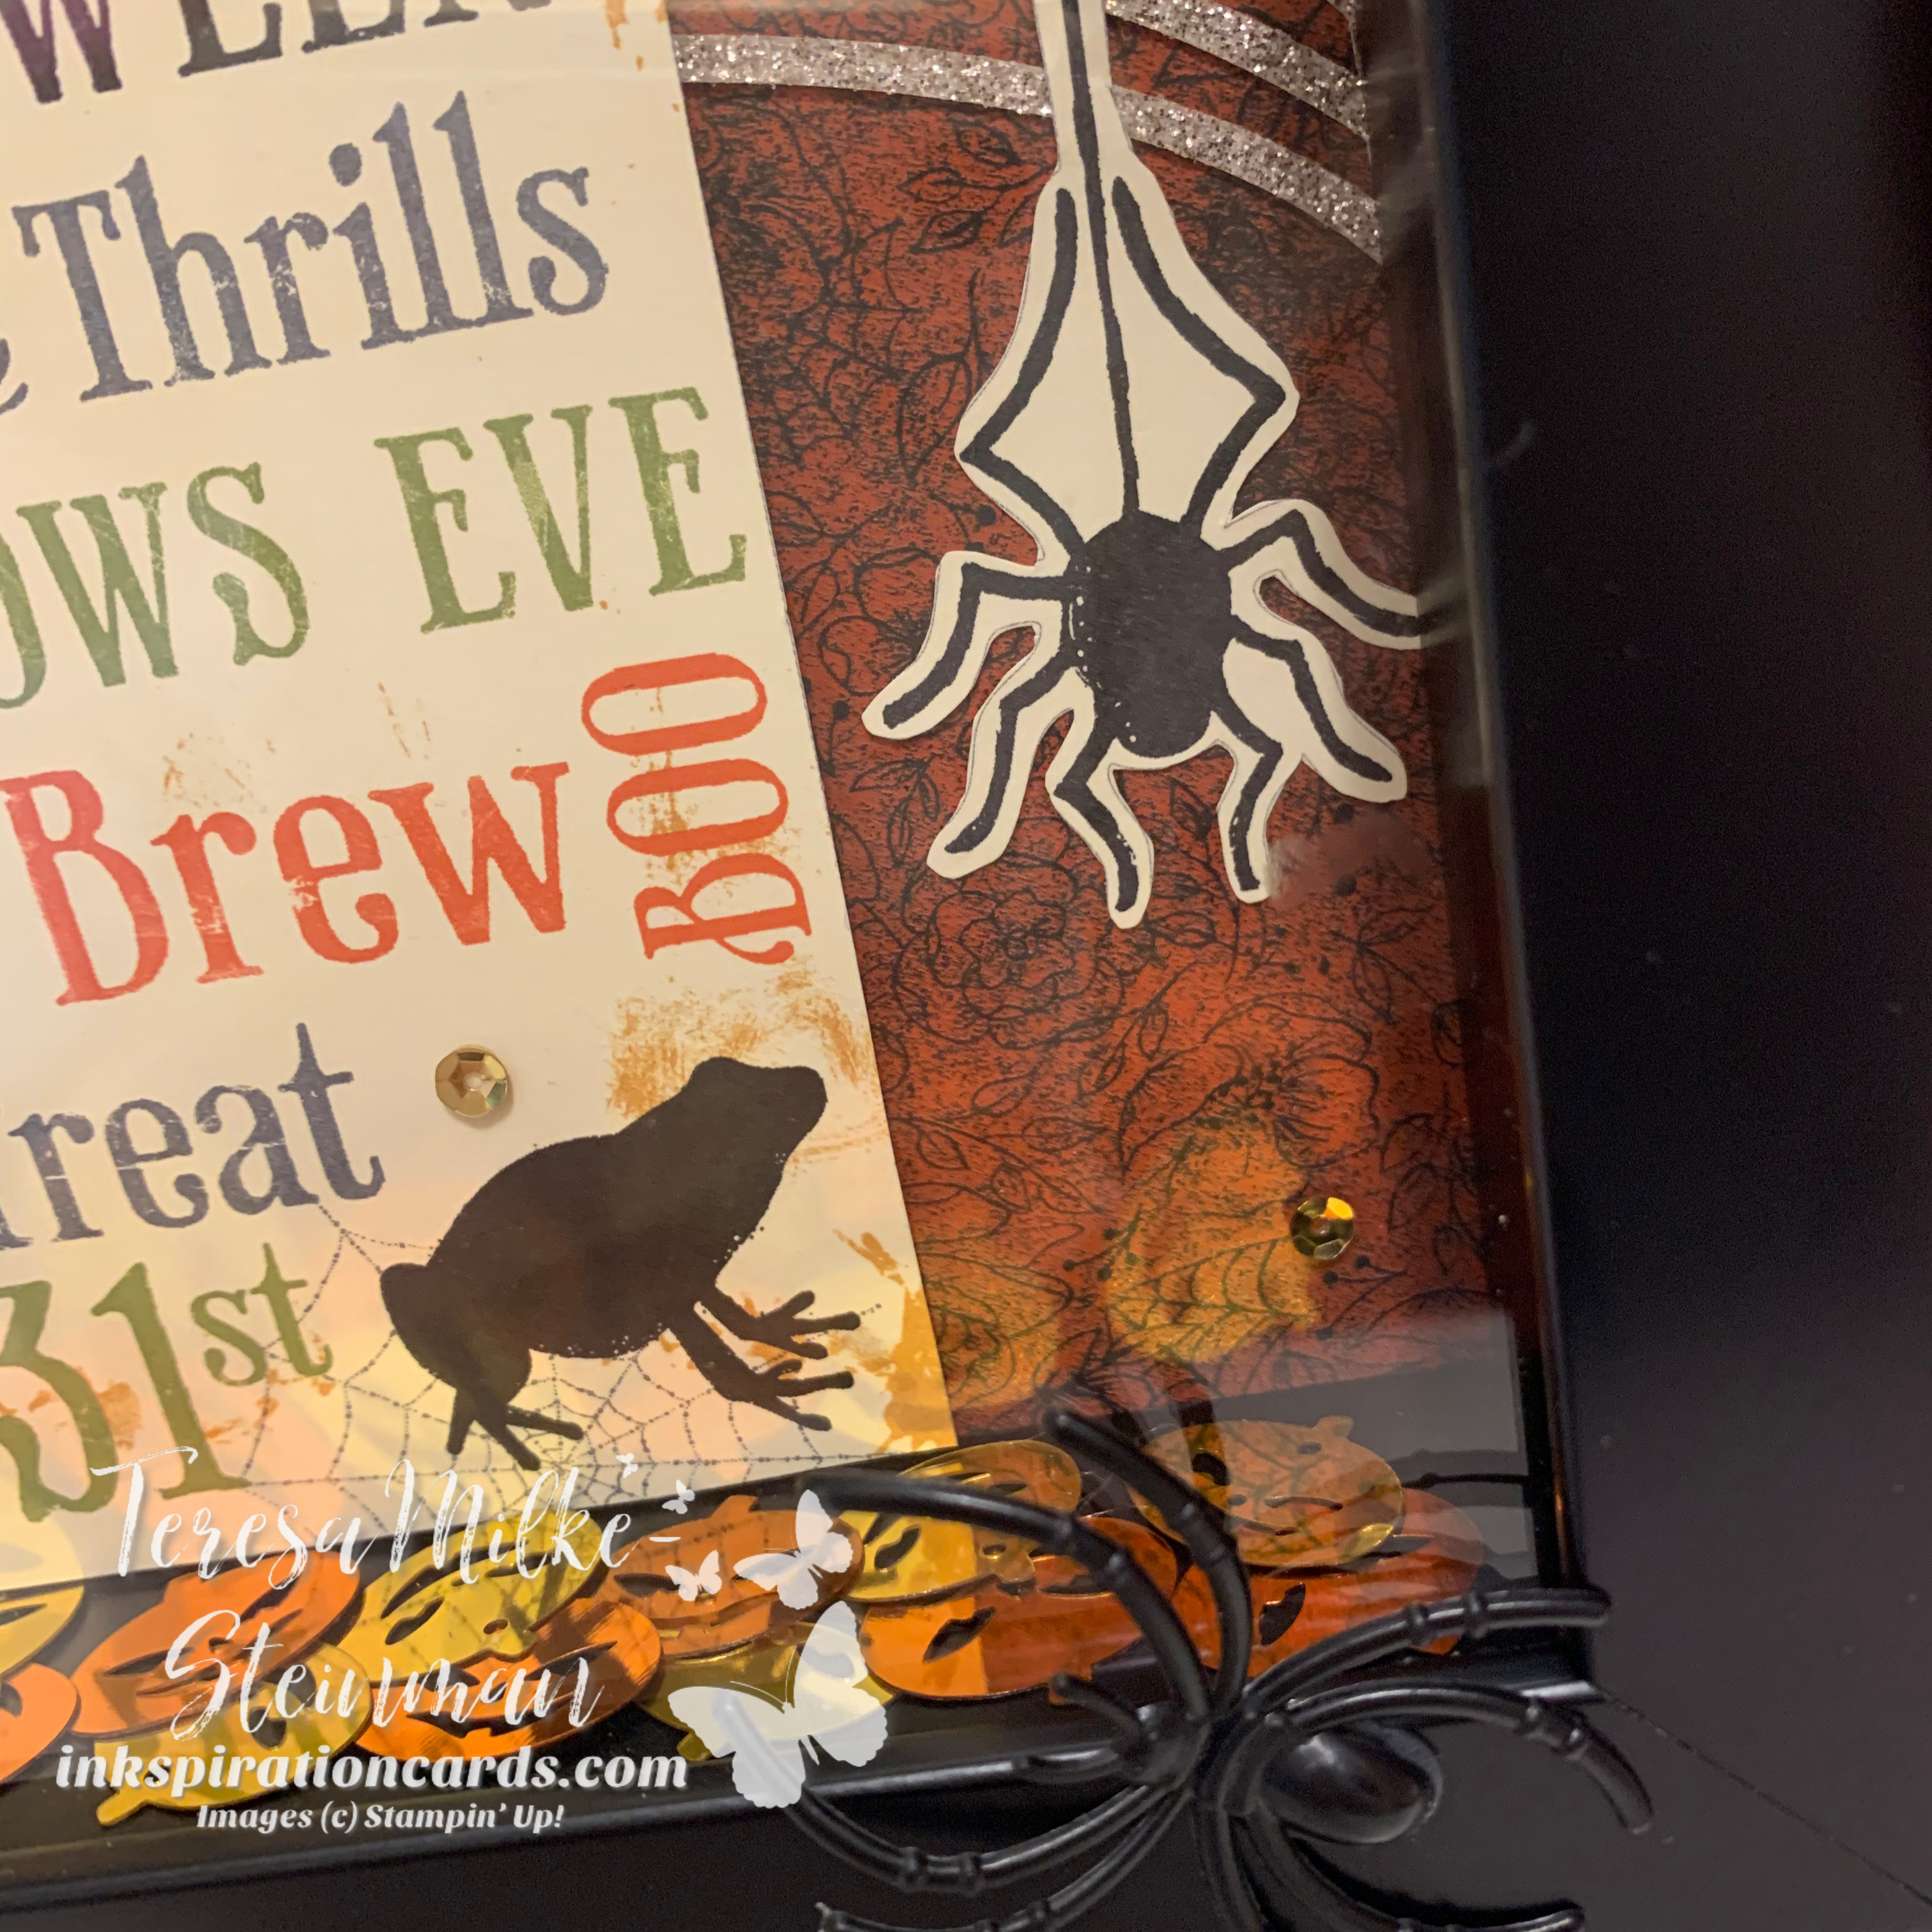
The Designer Series Paper I used came from the Magic in the Night pack, which is on sale until tomorrow. The spiders are ones that have usually ended up on our front porch with webs for decoration. The shiny pumpkins came from a local Dollarama and the ribbon was from a previous project.

Halloween Shadow Box

The other pieces came from project kit I got when I joined the Stampin’ Up! family. It came with a black tray, some other Halloween themed patterned paper and the ribbon I mentionned. The tray has recently been painted white because I decided I want to use it for something else. So I was left with the other pieces. I think the pieces I used worked really well together.

Halloween Shadow Box

I love how the Halloween shadow box turned out and I hope you do too. If you’re interested in how to make some easy Halloween themed treat boxes then you’ll definitely want to check out this post from a couple of weeks ago!

Halloween Treat Boxes

I decided this week that I needed to make some Halloween treat boxes. At this point I still don’t know what Halloween is going to look like for us this year… hopefully they’ll say something soon. In the meantime though I’m doing some things for my munchkins so that they still enjoy it no matter what it looks like.

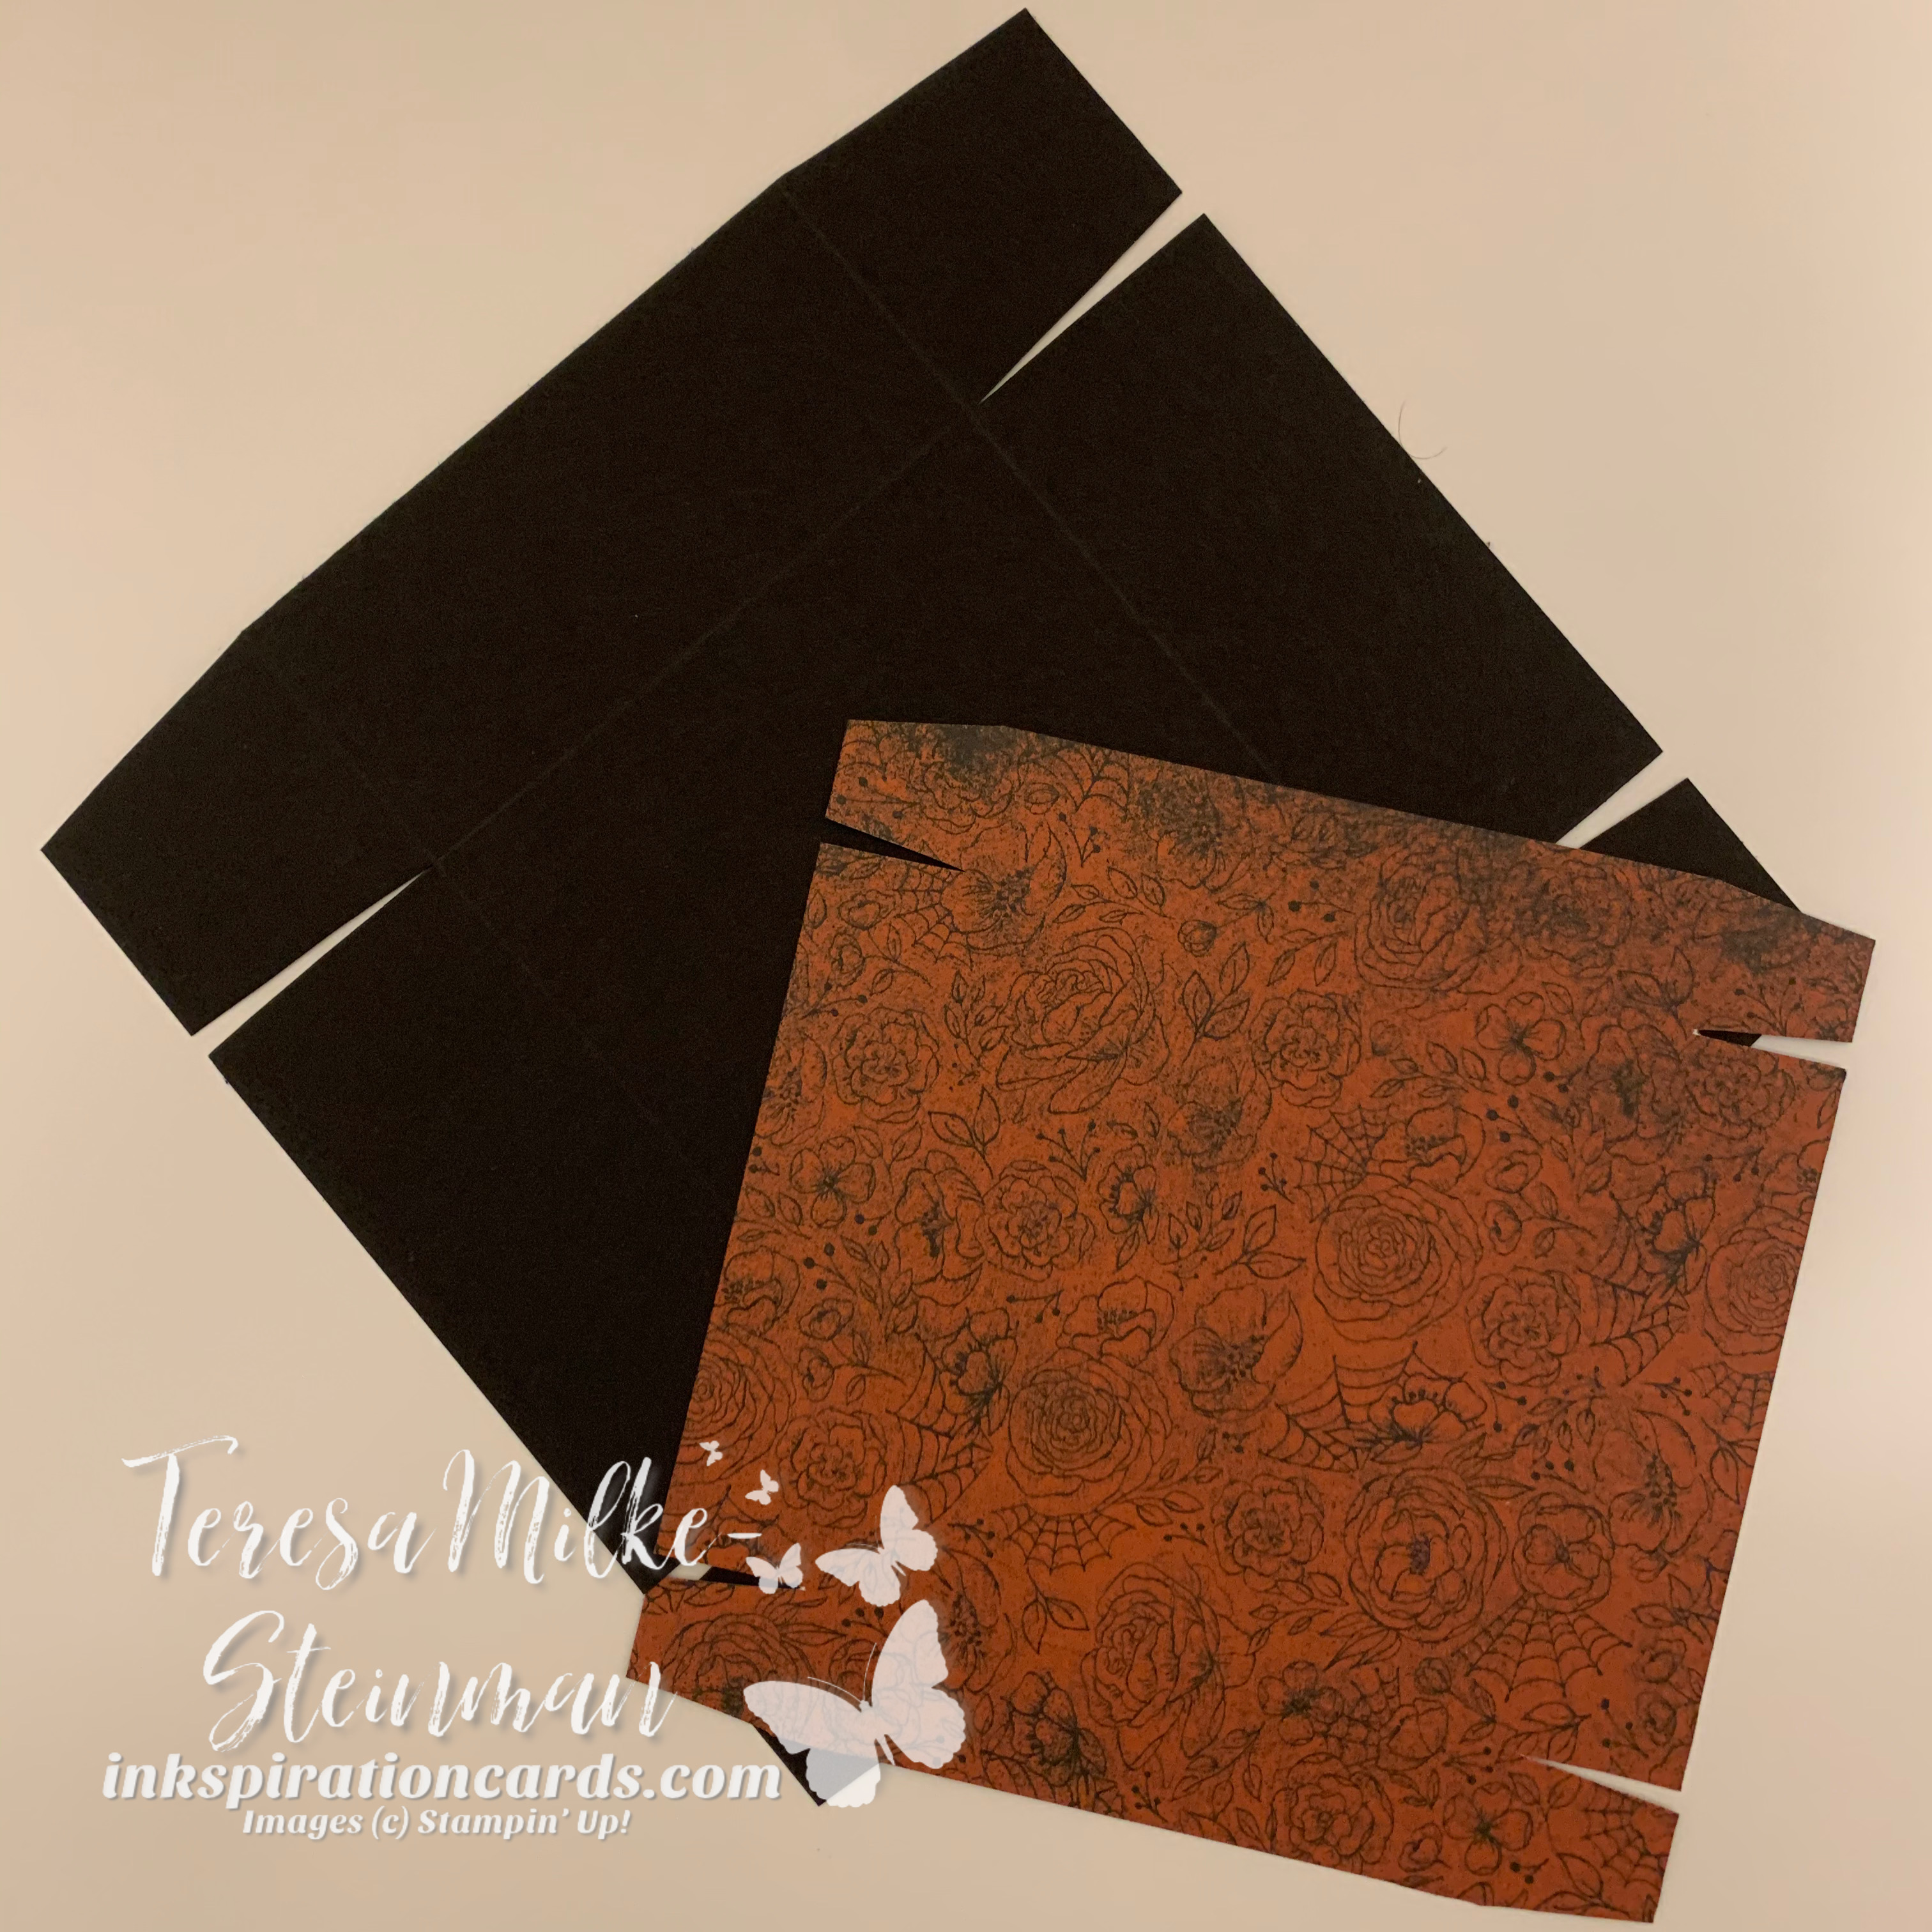
For the boxes I used Basic Black cardstock for the base, of course, and Magic in this Night Designer Series Paper. I love this pack of patterned paper and am excited to make some other projects with it! Since I have 2 munchkins I made 2 treat boxes, but I used 2 different designs. I also wanted them to hold a good number of treats so I made them 3 1/2″ x 3 1/2″.

Here are the full measurements…

  • cardstock base: 6 1/2″ x 6 1/2″, scored at 1 1/2″ on all sides
  • patterned paper lid: 5 1/8″ x 5 1/8″, scored at 3/4″ on all sides
Halloween Treat Boxes

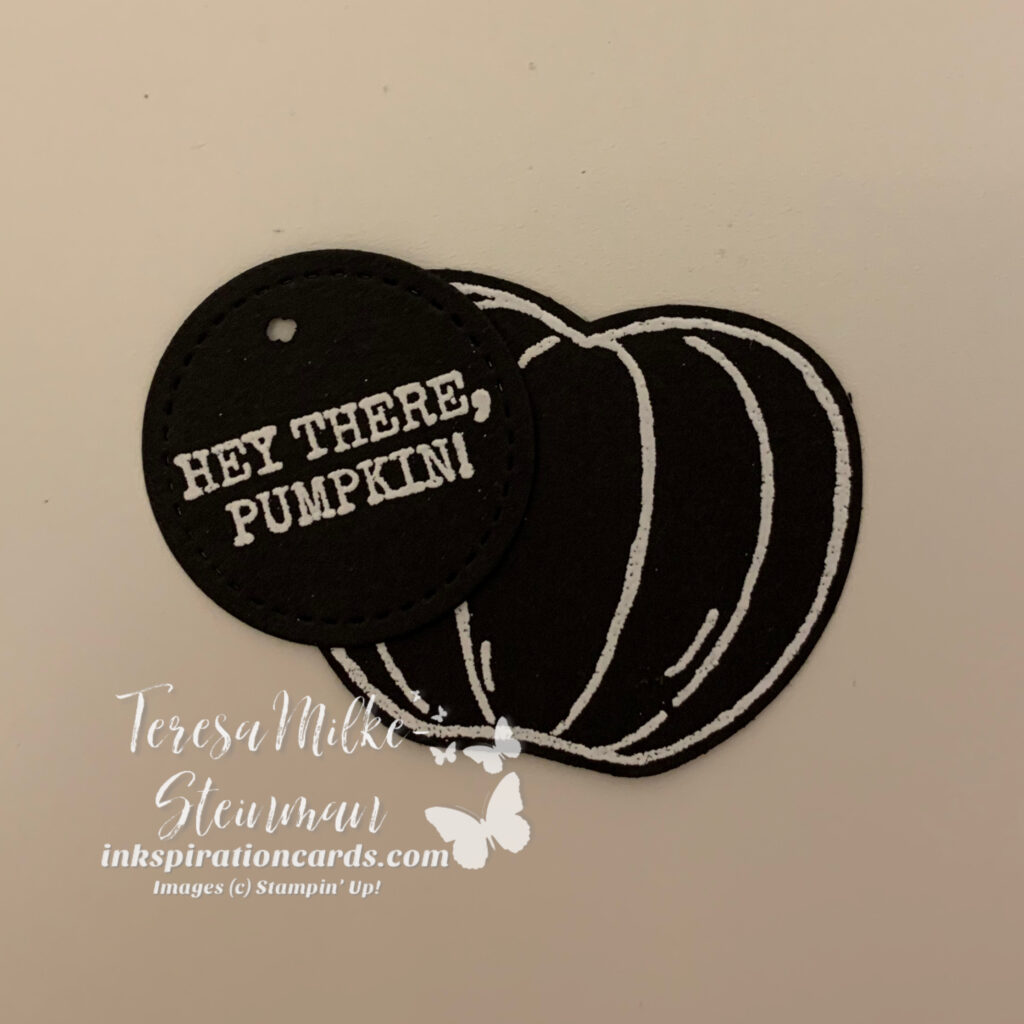
Before I folded the base of the box I stamped a few pumpkins, etc. from the Harvest Hellos stamp set using Whisper White ink. I debated about heat embossing with white, but liked how the images look a little faded. I did heat emboss the tags for the boxes though.

Halloween Treat Boxes

From there it was a quick fold and stick; I used the Multi-Purpose Liquid Glue to hold the base and lid together. Then I tested the size of the box with a few treats. It looks like it will hold about 6 of the Halloween sized chocolate bars. You can put in any kind of candy you like.

Halloween Treat Boxes

To finish it off I used some Linen thread to secure the lids and tags to the base of the boxes. I really liked how these turned out. Plus they were super easy to make!

Halloween Treat Boxes

If you want to make your own Halloween treat boxes, now is a great time. The Magic in this Night DSP is 15% off! Check it out here along with the other Designer Series Paper packs that are on sale this month. Crafting with patterned paper is an easy way to step up any project. Check out this card I made using one of Stampin’ Up!s other Designer Series Paper packs.