The Challenge of #SimpleStamping

I finally got around to this month’s #SimpleStamping challenge from Stampin’ Up! The last couple of weeks have been pretty hectic, but I’m glad I decided to give it a go. I always enjoy the challenge of #SimpleStamping. Even though I don’t tend to use a lot of layers on my cards it still takes me a little bit to figure out these designs. This month the challenge was to make a “just because” card using stamps, ink and paper. AND we could use a punch as well.

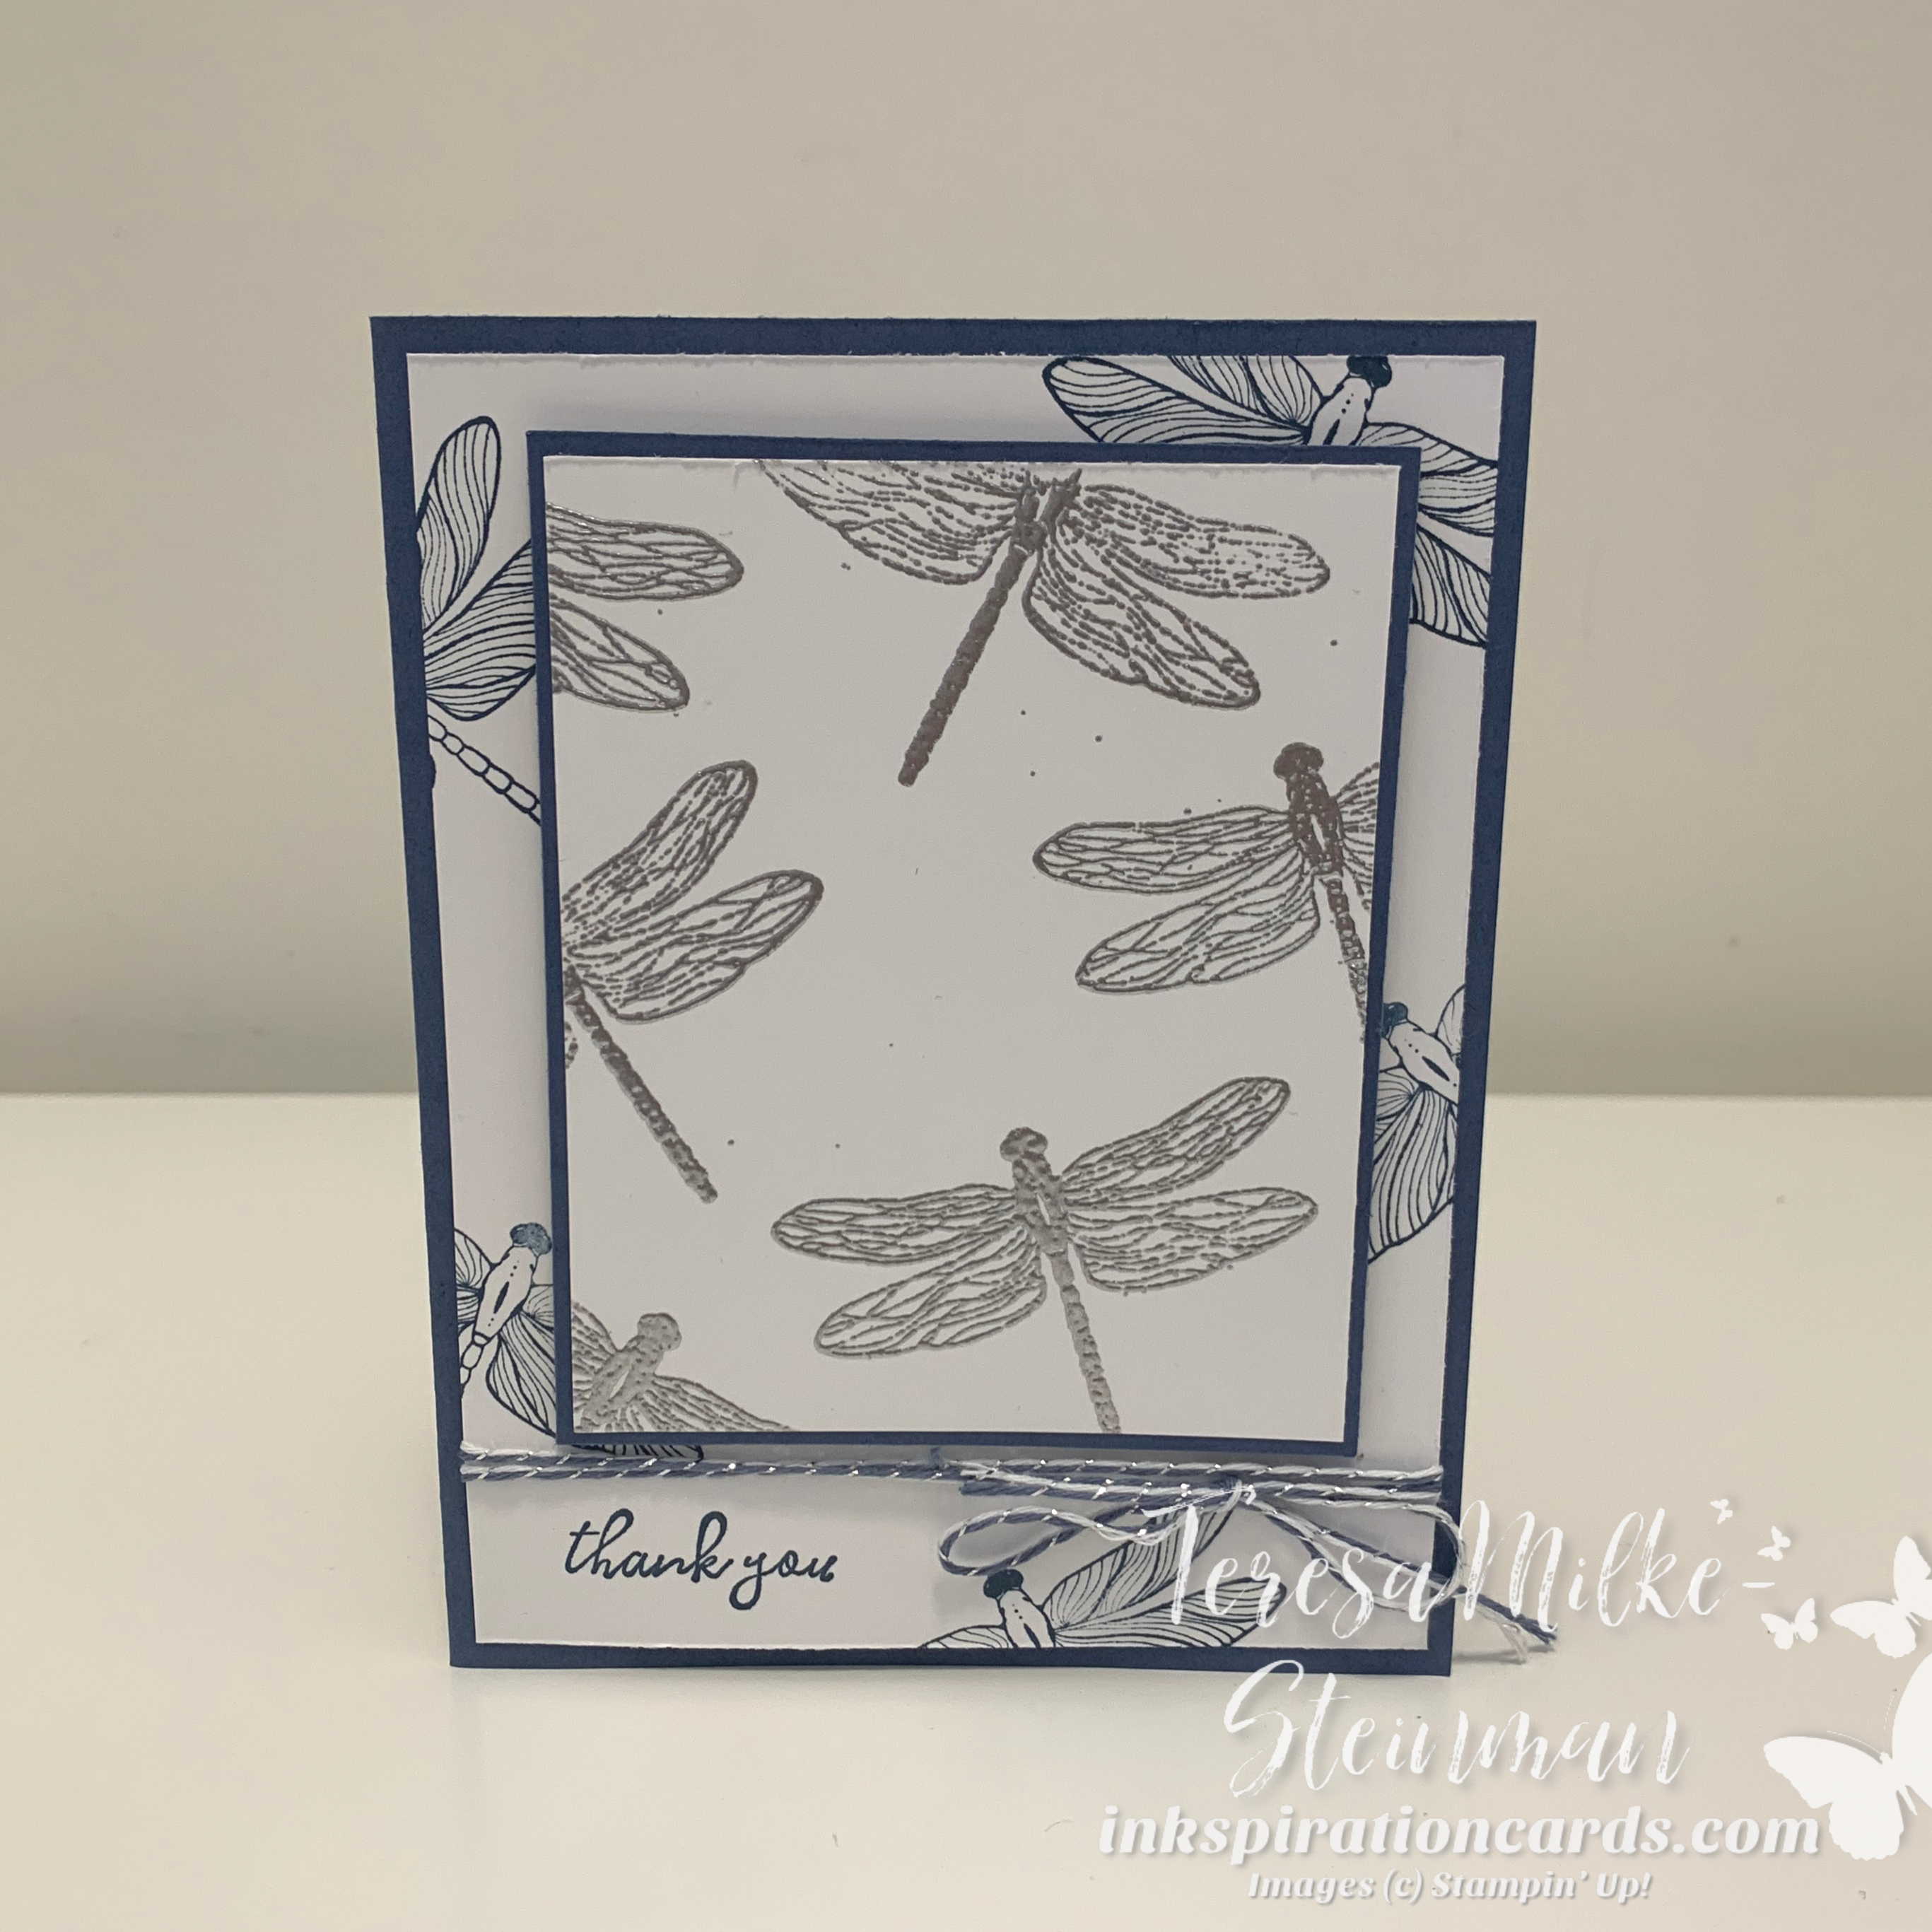
To kick off the design I grabbed the new Double Oval punch. Then came the stamp set. I’ve been creating a few cards lately with the Beauty of Friendship stamp set. So I thought I’d give it a try. The colour combination was a natural choice (pun intended, lol). I used Early Espresso and Mossy Meadow for my main colours; cardstock and ink. I also threw in a bit of Old Olive ink.

For the images I stamped a series of trees. And to create a bit of depth I stamped each trunk and initial bunch of leaves a second time before re-inking. Then I stamped all the trees with some Old Olive. Again stamping a second time before re-inking.

I kept it pretty simple with the phrase and just stamped it in Mossy Meadow. Then I used the punch to cut out the phrase and give it a Mossy Meadow border. And here’s where the challenge of #SimpleStamping plays with me… I always want to add just a little something more. Instead I just popped up the phrase with some Stampin’ Dimensionals.
The Challenge of #SimpleStamping

To add something more and make it a little less simple you could add some Linen Thread to the card. Or you could add some of the Beauty of the Earth Designer Series Paper. I don’t know if I would add some Rhinestone Basic Jewels or some Wink of Stella. If you did still want to add something more maybe the Clear Epoxy Essentials.

Check out my last #SimpleStamping challenge here. And if you want to give this a try for yourself, stock up in my online store with all the stamps, ink and paper you need.
Step it up with Heat Embossing

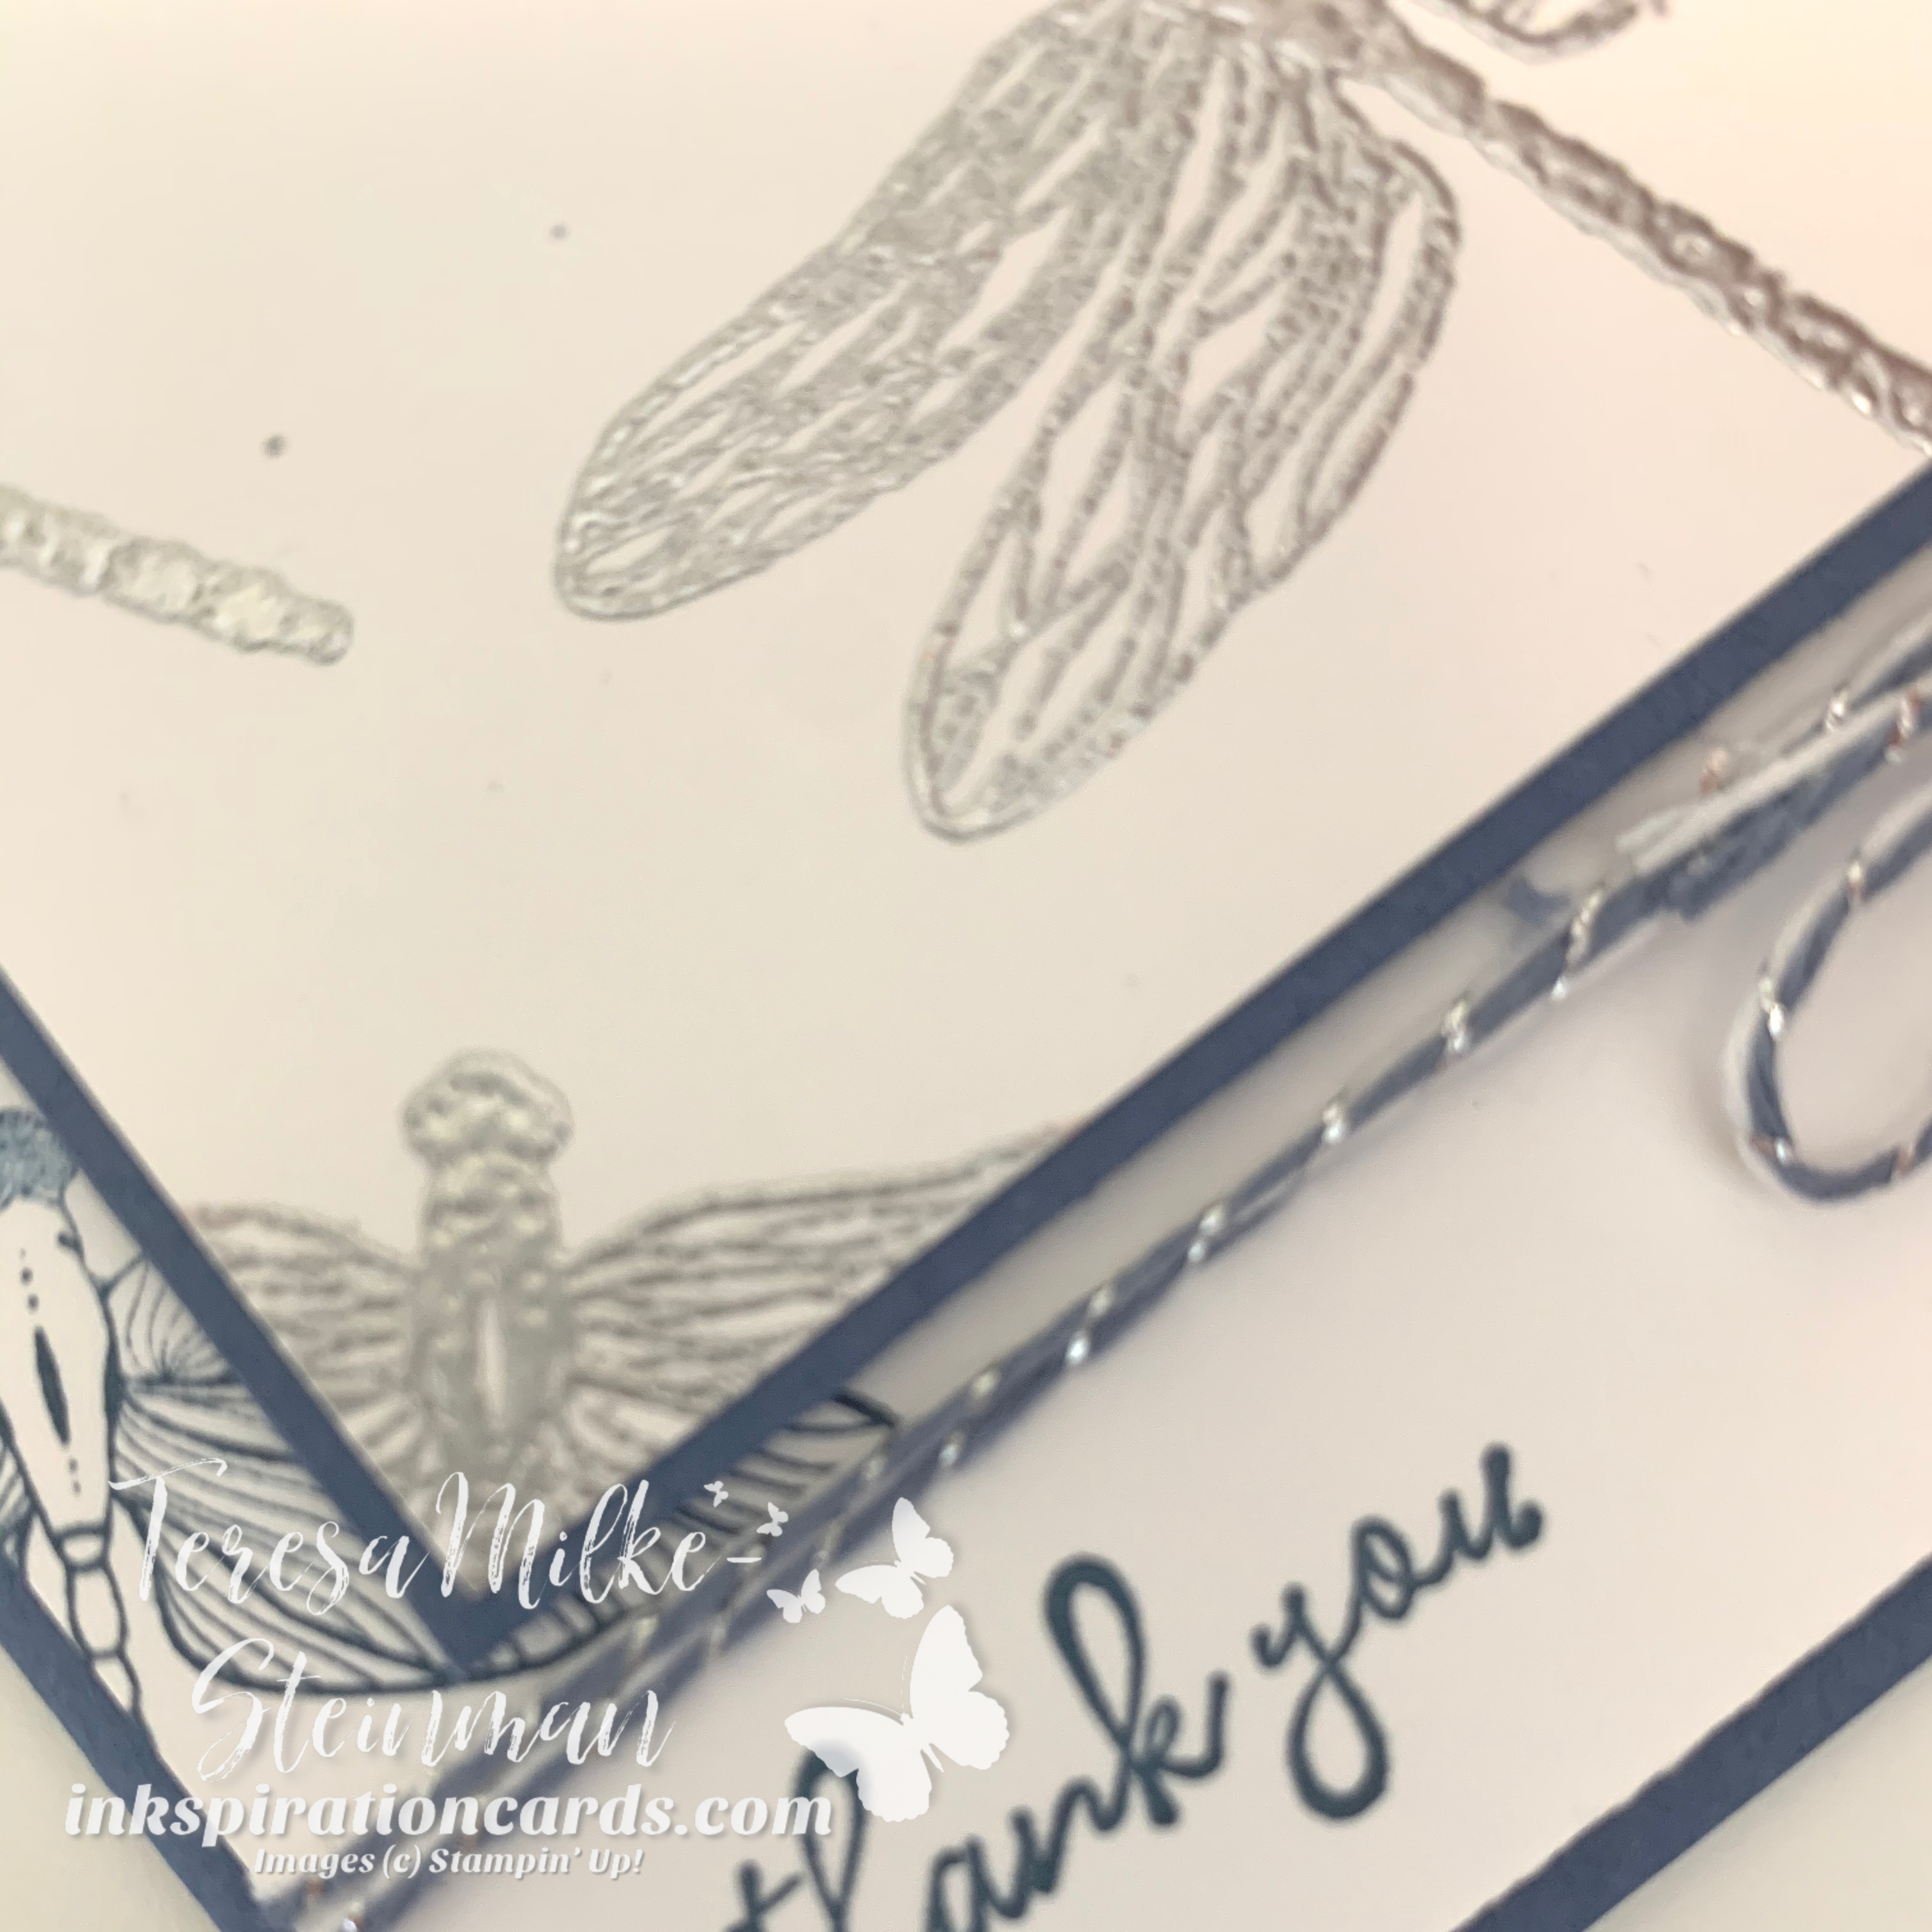
For the most part my card designs are fairly simple. While I enjoy looking at other cards with multiple layers, etc. I always come back to simple with just a little bit of something to step it up. This time around I decided to step it up with heat embossing. Heat embossing was one of the very first techniques that I learned and it’s so much fun. I love using it because it’s such an easy way to add something more to your projects. All you need is some Versamark ink, some embossing powder and a heat tool. Although I would also recommend keeping a pair of tweezers with your heat embossing supplies. Your fingers can get pretty toasty while you’re waiting for the embossing powder to set!

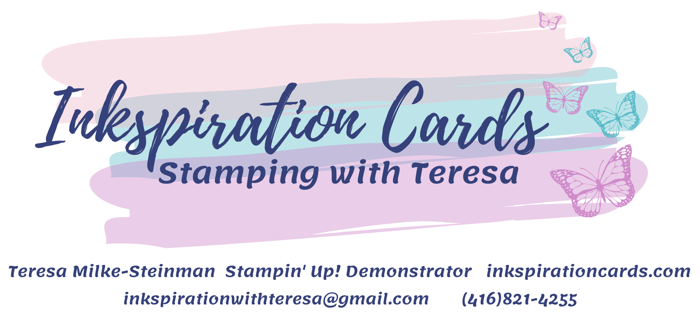
Lately I’ve been having a lot of fun creating with the Dragonfly Garden stamp set. Dragonfly wings are always so shiny and shimmery and so the idea for this design popped up pretty easily. I wanted to do a combination of stamped and embossed dragonflies. Silver is my favourite when heat embossing and so I thought Misty Moonlight would be a nice complimentary colour. Plus there’s some silver mixed in with the Misty Moonlight twine from the Forever Greenery Ribbon Combo pack. So this was an easy colour combination choice.

Step it up with heat embossing

In the Dragonfly Garden stamp set there are 2 different dragonflies. One with the body simply outlined and the other with the body coloured in. For the stamped dragonflies in the background I used the one with the outlined body. This way I could use the other dragonfly for my embossed dragonflies. Then I framed the embossed dragonflies with a bit of Misty Moonlight cardstock and popped it up with some Stampin’ Dimensionals.

The “thank you” down in the corner comes from the Free as a Bird stamp set. And I kept with the Misty Moonlight ink to match the dragonflies on that piece of cardstock.

Step it up with heat embossing

To step this card up even more, you could cut out the smaller rectangle(s) with the Stitched Rectangles dies. For whatever reason I decided not to. But I like the simple step it up with heat embossing technique. Check out one of my other projects using this simple stamping technique here.