Handmade Easter Treat Boxes

Handmade Easter treat boxes are definitely more my thing than Easter cards. My munchkins always get a little something from the Easter bunny. And so of course the Easter Bunny (aka me, lol) likes to make something pretty to put them in.

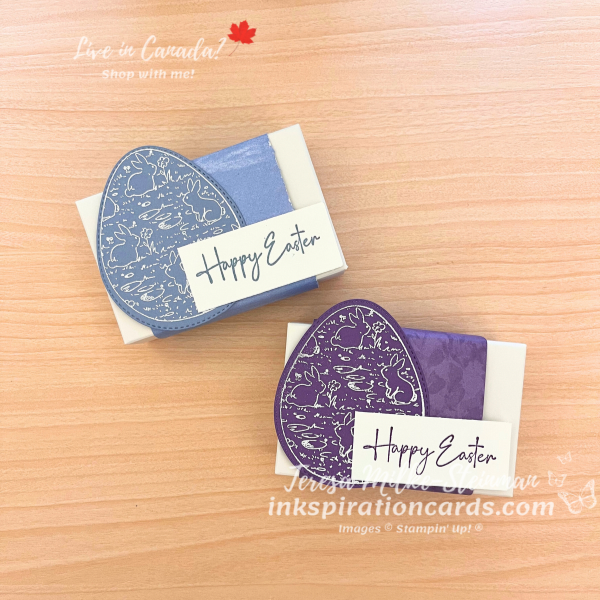
For these cute boxes I’m using my favourite image from the Excellent Eggs stamp set from the January-April Mini catalogue. Although I do love the bunny too, he’s super cute! Anyway… instead of making them all just one colour I thought I’d use 2. And to pick my colours I needed to pick my patterned paper first. I wanted a simple design to show off the detail in the egg. So I used a Boho Blue design from the Fresh like a Daisy Designer Series Paper pack. And a Gorgeous Grape design from the Perennial Lavender Designer Series Paper pack.

From here, I heat embossed the bunny egg design on the coordinating cardstock using white embossing powder. Then I die cut the eggs with the coordinating die. Next I stamped “Happy Easter” in the same ink colours (Boho Blue and Gorgeous Grape) on some Basic White cardstock.

To put it all together I wrapped the strips of Designer Series Paper around the Envelope Treat Boxes to make a belly band. Then I added on the white embossed eggs and stamped sentiment. Just make sure to be careful where you put your adhesive! Otherwise you might end of with the pieces sticking to the box which would make it hard to slide the belly band off.
Handmade Easter Treat Boxes

I’ll be posting a video on my YouTube channel showing off these cute handmade Easter treat boxes in about a week. So check out my channel or watch here for an update.

In the meantime, check out a cute card I made using the Excellent Eggs bundle here.

Product List
Handmade Easter Cards

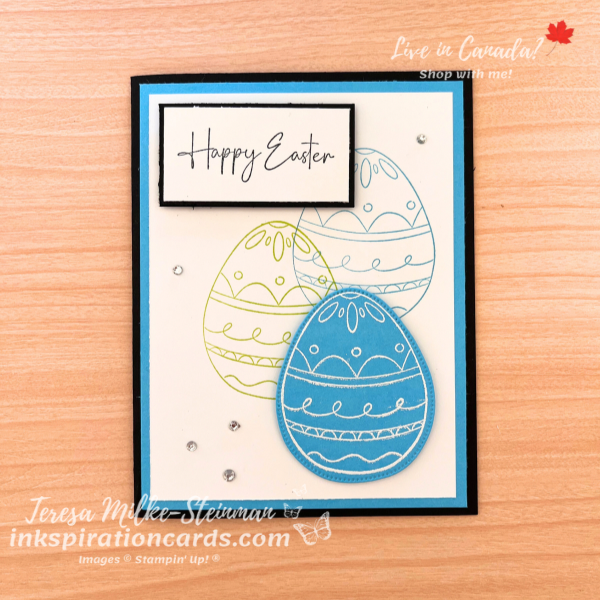
While I don’t do as much crafting for Waster as I used to, I still enjoy this time of year. And when I saw the Excellent Eggs bundle in the January-April Mini catalogue I got excited. It’s super cute! Perfect for some handmade Easter cards!

And for this card I’m using some not so traditional Easter colours. But I am sticking with bright colours for the most part. I’m using 2 In Colours, Tahitian Tide and Parakeet Party. Then for the card base I’m using Basic Black to really help those colours pop.

To start I stamped a couple eggs in the background using Tahitian Tide and Parakeet Party. Then I heat embossed another egg with white embossing powder on a piece of Tahitian Tide cardstock. I die cut it with the coordinating die and then popped it up with a couple of Stampin’ Dimensionals. Next I stamped my “Happy Easter” with Tuxedo Black Memento ink. Then I framed it with a little bit more Basic Black cardstock and popped it up with a few more dimensionals. And to finish it off I added a few Rhinestone Basic Jewels.

Handmade Easter Cards

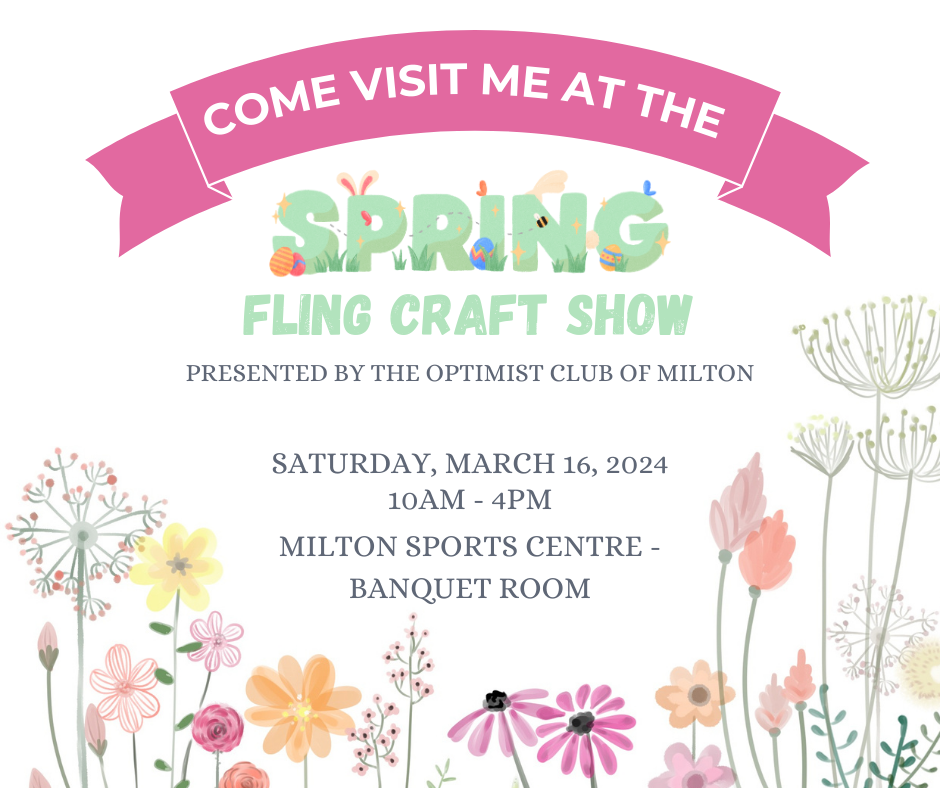
I actually have a few more handmade Easter cards to make because I’ll be at a Spring craft show next weekend in Milton. If you’re in the area come by and say “hi!”

Handmade Easter Cards

In the meantime if you want some more Spring inkspiration, check out this cute spring basket I made a few years ago here.

Product List

OnStage Card Swap

As you read this I’ll be on my way to Montreal! This weekend is the first OnStage event I’ve been able to attend in person since the pandemic started. I’m really excited to go and knew I wanted to join in the unofficial OnStage card swap! This is one of my many favourite things about OnStage. There’s also the sneak peeks, the free products and meeting demonstrators from all over! To name just a few.

At just about every Stampin’ Up! event there are demonstrators that make cards and other projects just to swap with one another. Card swaps are a great way to get inkspiration and to see how other demonstrators design their cards. I enjoy doing card swaps with my team and so it’s really nice to get cards from people outside of my team! Plus it gives me the chance to meet other demonstrators that I wouldn’t see otherwise.

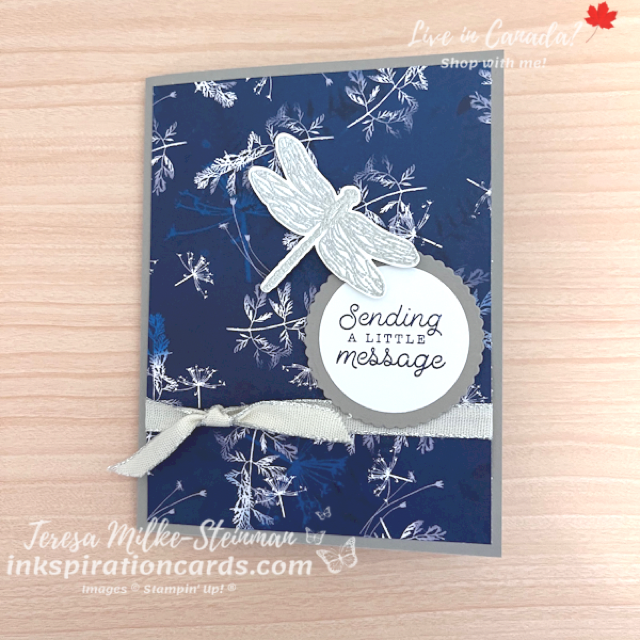
For my card design I kept it simple. I used some of the Sunprints Designer Series Paper for my card mat on a Gray Granite card base. Then I layered a few things on top. Running across the bottom is a piece of Silver Metallic Edge Cotton ribbon. On top of that is a phrase from the Bottled Happiness stamp set that I framed using the Layering Circles dies and popped up with Stampin’ Dimensionals. And last but not least, I silver heat embossed a dragonfly from the Dragonfly Garden stamp set and punched it out with the coordinating punch.

OnStage Card Swap

I hope the other demonstrators like my OnStage card swap! I’ll post some of my favourites here next week so stay tuned. In the meantime you can check out the card I made for my team’s most recent card swap here.

And you can always stock up on stamping supplies in my online shop!

Feminine Birthday Cards

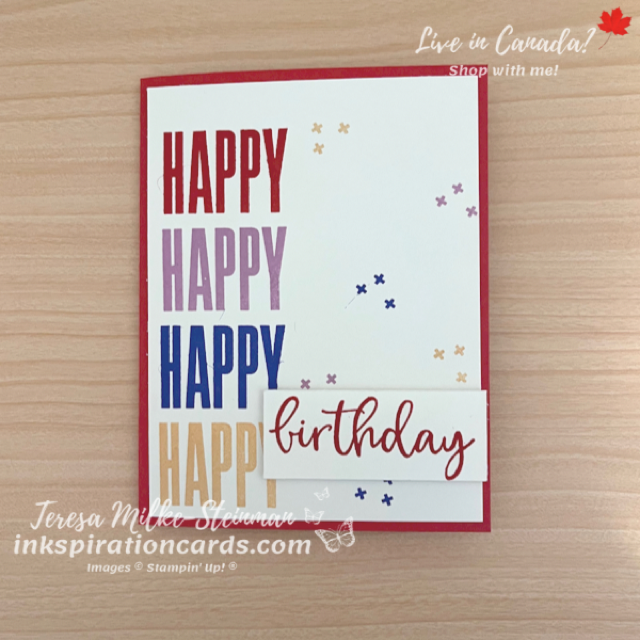
This month marks the start of a busy season of gifting for us. From now until Christmas there are 6 birthdays to celebrate, plus we have Hannukah too. To kick things off I need 2 feminine birthday cards. One for my mom and one for my daughter. I’m using the same stamp set for both cards; Biggest Wish. I haven’t used it since I got it during Stampin’ Up!s flash stamp sale, so I’m excited to use it!

For my mom’s card I using some of the In Colours; Sweet Sorbet, Orchid Oasis, Fresh Freesia and Pale Papaya. The card base is Sweet Sorbet, then I used all of these colours to stamp “happy” down the left hand side of the card front. I also used Sweet Sorbet for stamping “birthday” and popped it up with some Stampin’ Dimensionals. And then for a celebratory kind of background I randomly stamped the small x’s using the other colours. At first I thought I would use some of the In Colour Dots, but the x’s almost look like confetti.

Feminine Birthday Card

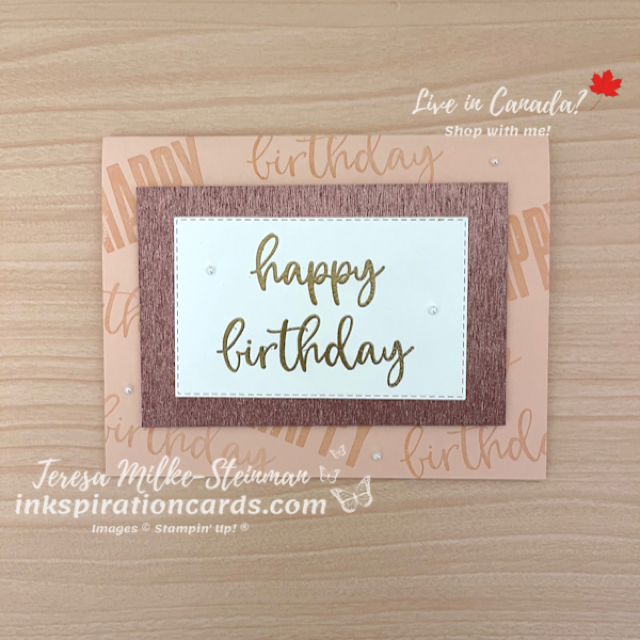
For my daughter’s card I used Petal Pink for my card base. I did some tone on tone stamping to create a simple background. Rose gold is the “theme” for her party this year, so I used some of the Rose Gold Metallic Specialty Paper for the card mat. Then I layered a piece of Basic White cardstock on that I did some heat embossing on in gold. Too bad Stampin’ Up! doesn’t have rose gold embossing powder. I’d be all over that! To add a little something more to the card I used the Stitched Rectangles dies to cut out the phrase. Then I popped up these layers with Stampin’ Dimensionals and added a few Iridescent Pearl Basic Jewels.

Feminine Birthday card

I usually find making feminine birthday cards so much easier than masculine birthday cards. But with these cards it’s pretty easy to give them a more masculine look… all you need to do is swap out the colours.

If you’re stuck for ideas for the guys in your life, check out my post using the He’s All That bundle here. And you can find both the He’s All That bundle and the Biggest Wish stamp set in my online store.

Step it up with Heat Embossing

For the most part my card designs are fairly simple. While I enjoy looking at other cards with multiple layers, etc. I always come back to simple with just a little bit of something to step it up. This time around I decided to step it up with heat embossing. Heat embossing was one of the very first techniques that I learned and it’s so much fun. I love using it because it’s such an easy way to add something more to your projects. All you need is some Versamark ink, some embossing powder and a heat tool. Although I would also recommend keeping a pair of tweezers with your heat embossing supplies. Your fingers can get pretty toasty while you’re waiting for the embossing powder to set!

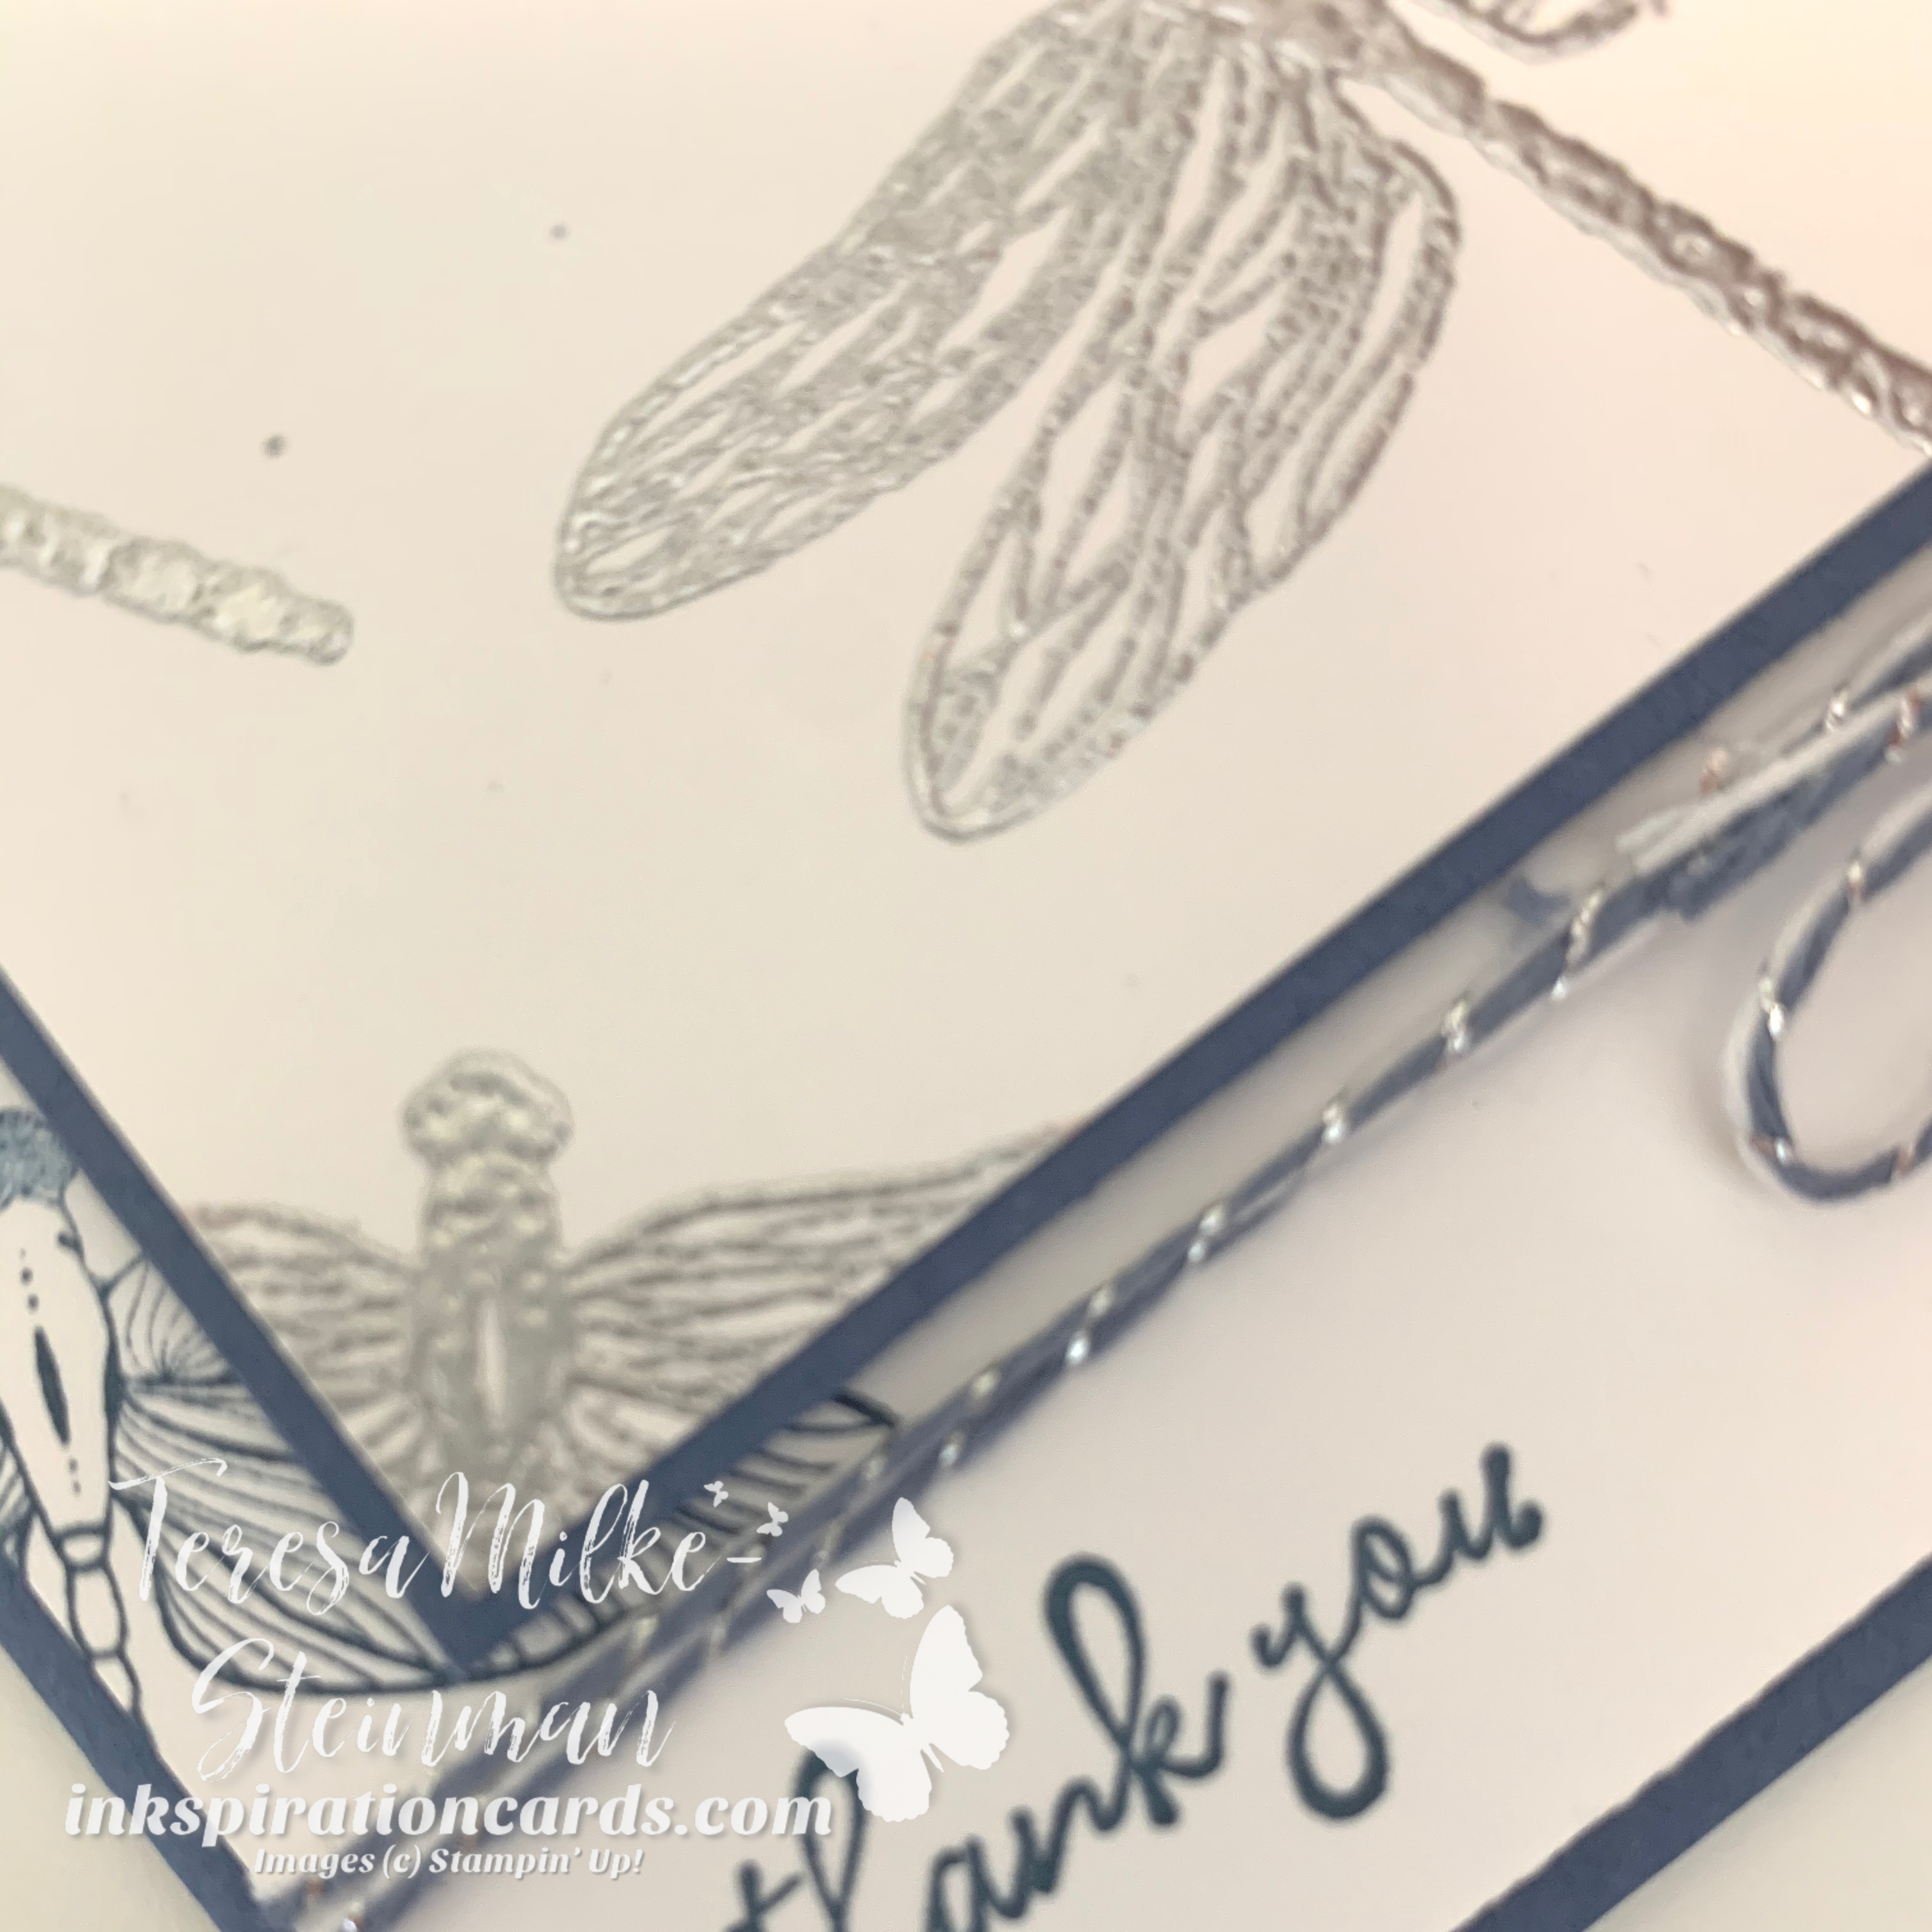
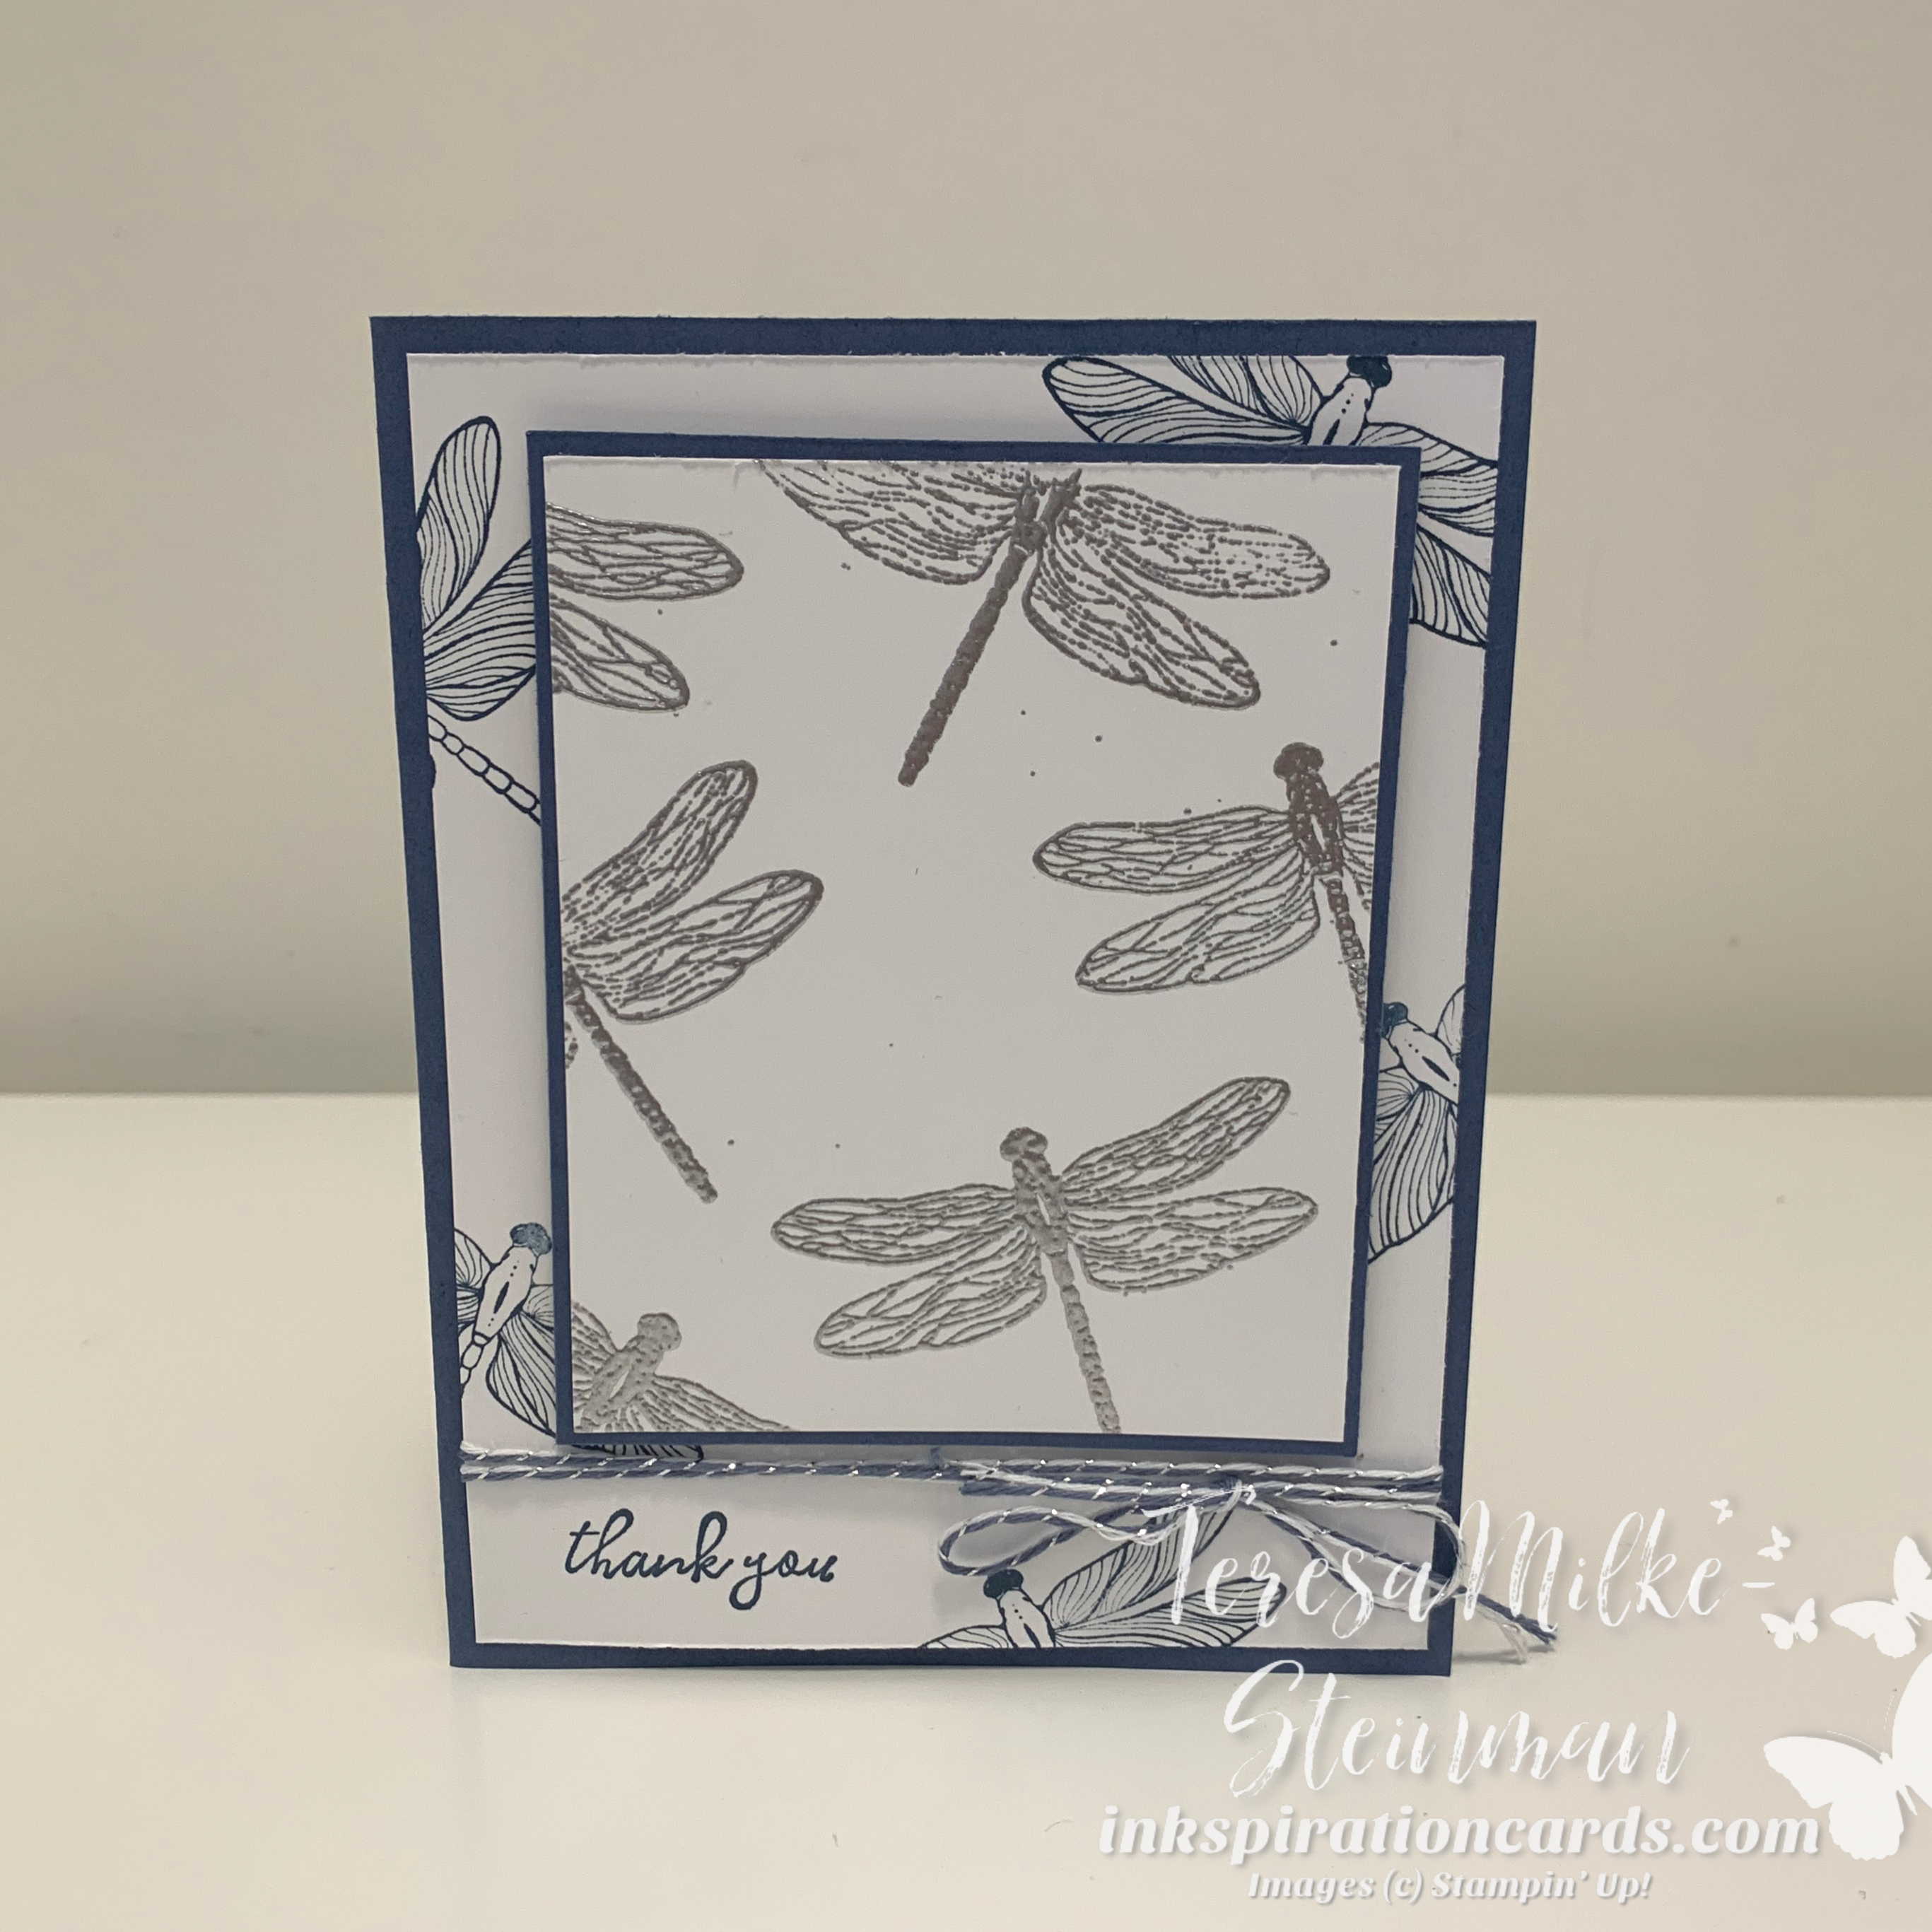
Lately I’ve been having a lot of fun creating with the Dragonfly Garden stamp set. Dragonfly wings are always so shiny and shimmery and so the idea for this design popped up pretty easily. I wanted to do a combination of stamped and embossed dragonflies. Silver is my favourite when heat embossing and so I thought Misty Moonlight would be a nice complimentary colour. Plus there’s some silver mixed in with the Misty Moonlight twine from the Forever Greenery Ribbon Combo pack. So this was an easy colour combination choice.

Step it up with heat embossing

In the Dragonfly Garden stamp set there are 2 different dragonflies. One with the body simply outlined and the other with the body coloured in. For the stamped dragonflies in the background I used the one with the outlined body. This way I could use the other dragonfly for my embossed dragonflies. Then I framed the embossed dragonflies with a bit of Misty Moonlight cardstock and popped it up with some Stampin’ Dimensionals.

The “thank you” down in the corner comes from the Free as a Bird stamp set. And I kept with the Misty Moonlight ink to match the dragonflies on that piece of cardstock.

Step it up with heat embossing

To step this card up even more, you could cut out the smaller rectangle(s) with the Stitched Rectangles dies. For whatever reason I decided not to. But I like the simple step it up with heat embossing technique. Check out one of my other projects using this simple stamping technique here.