If you’ve seen some of my previous posts you know that my craft area is a bit of a mess! I think that’s true for most of us crafters. But I like to have things organized so it’s like my craft area is a bit like the Bermuda Triangle. I love shopping for containers and things to organize my craft stash. And I enjoy DIY organization projects. I reorganized my inkpads not that long ago, check that out here. Now I’m sharing the tool and embellishment organization I did recently.
Just about all the larger pieces I use to organize my craft supplies are from IKEA. I love going there and to the local dollar store! There’s always lots of great colourful options and it’s not going to break my budget. In my office/craft space I have a 2×2 KALLAX unit. I already have my stamp sets organized into a 2 drawer unit in one of the squares. The challenge has been to figure out the other 3 squares.
I knew that I wanted to split the 2 bottom squares in half, but it took me a while to find what I needed. Eventually I found it at IKEA, of course. Somehow I missed these when I first got the unit or maybe they didn’t have them… who knows?! But they work perfectly.
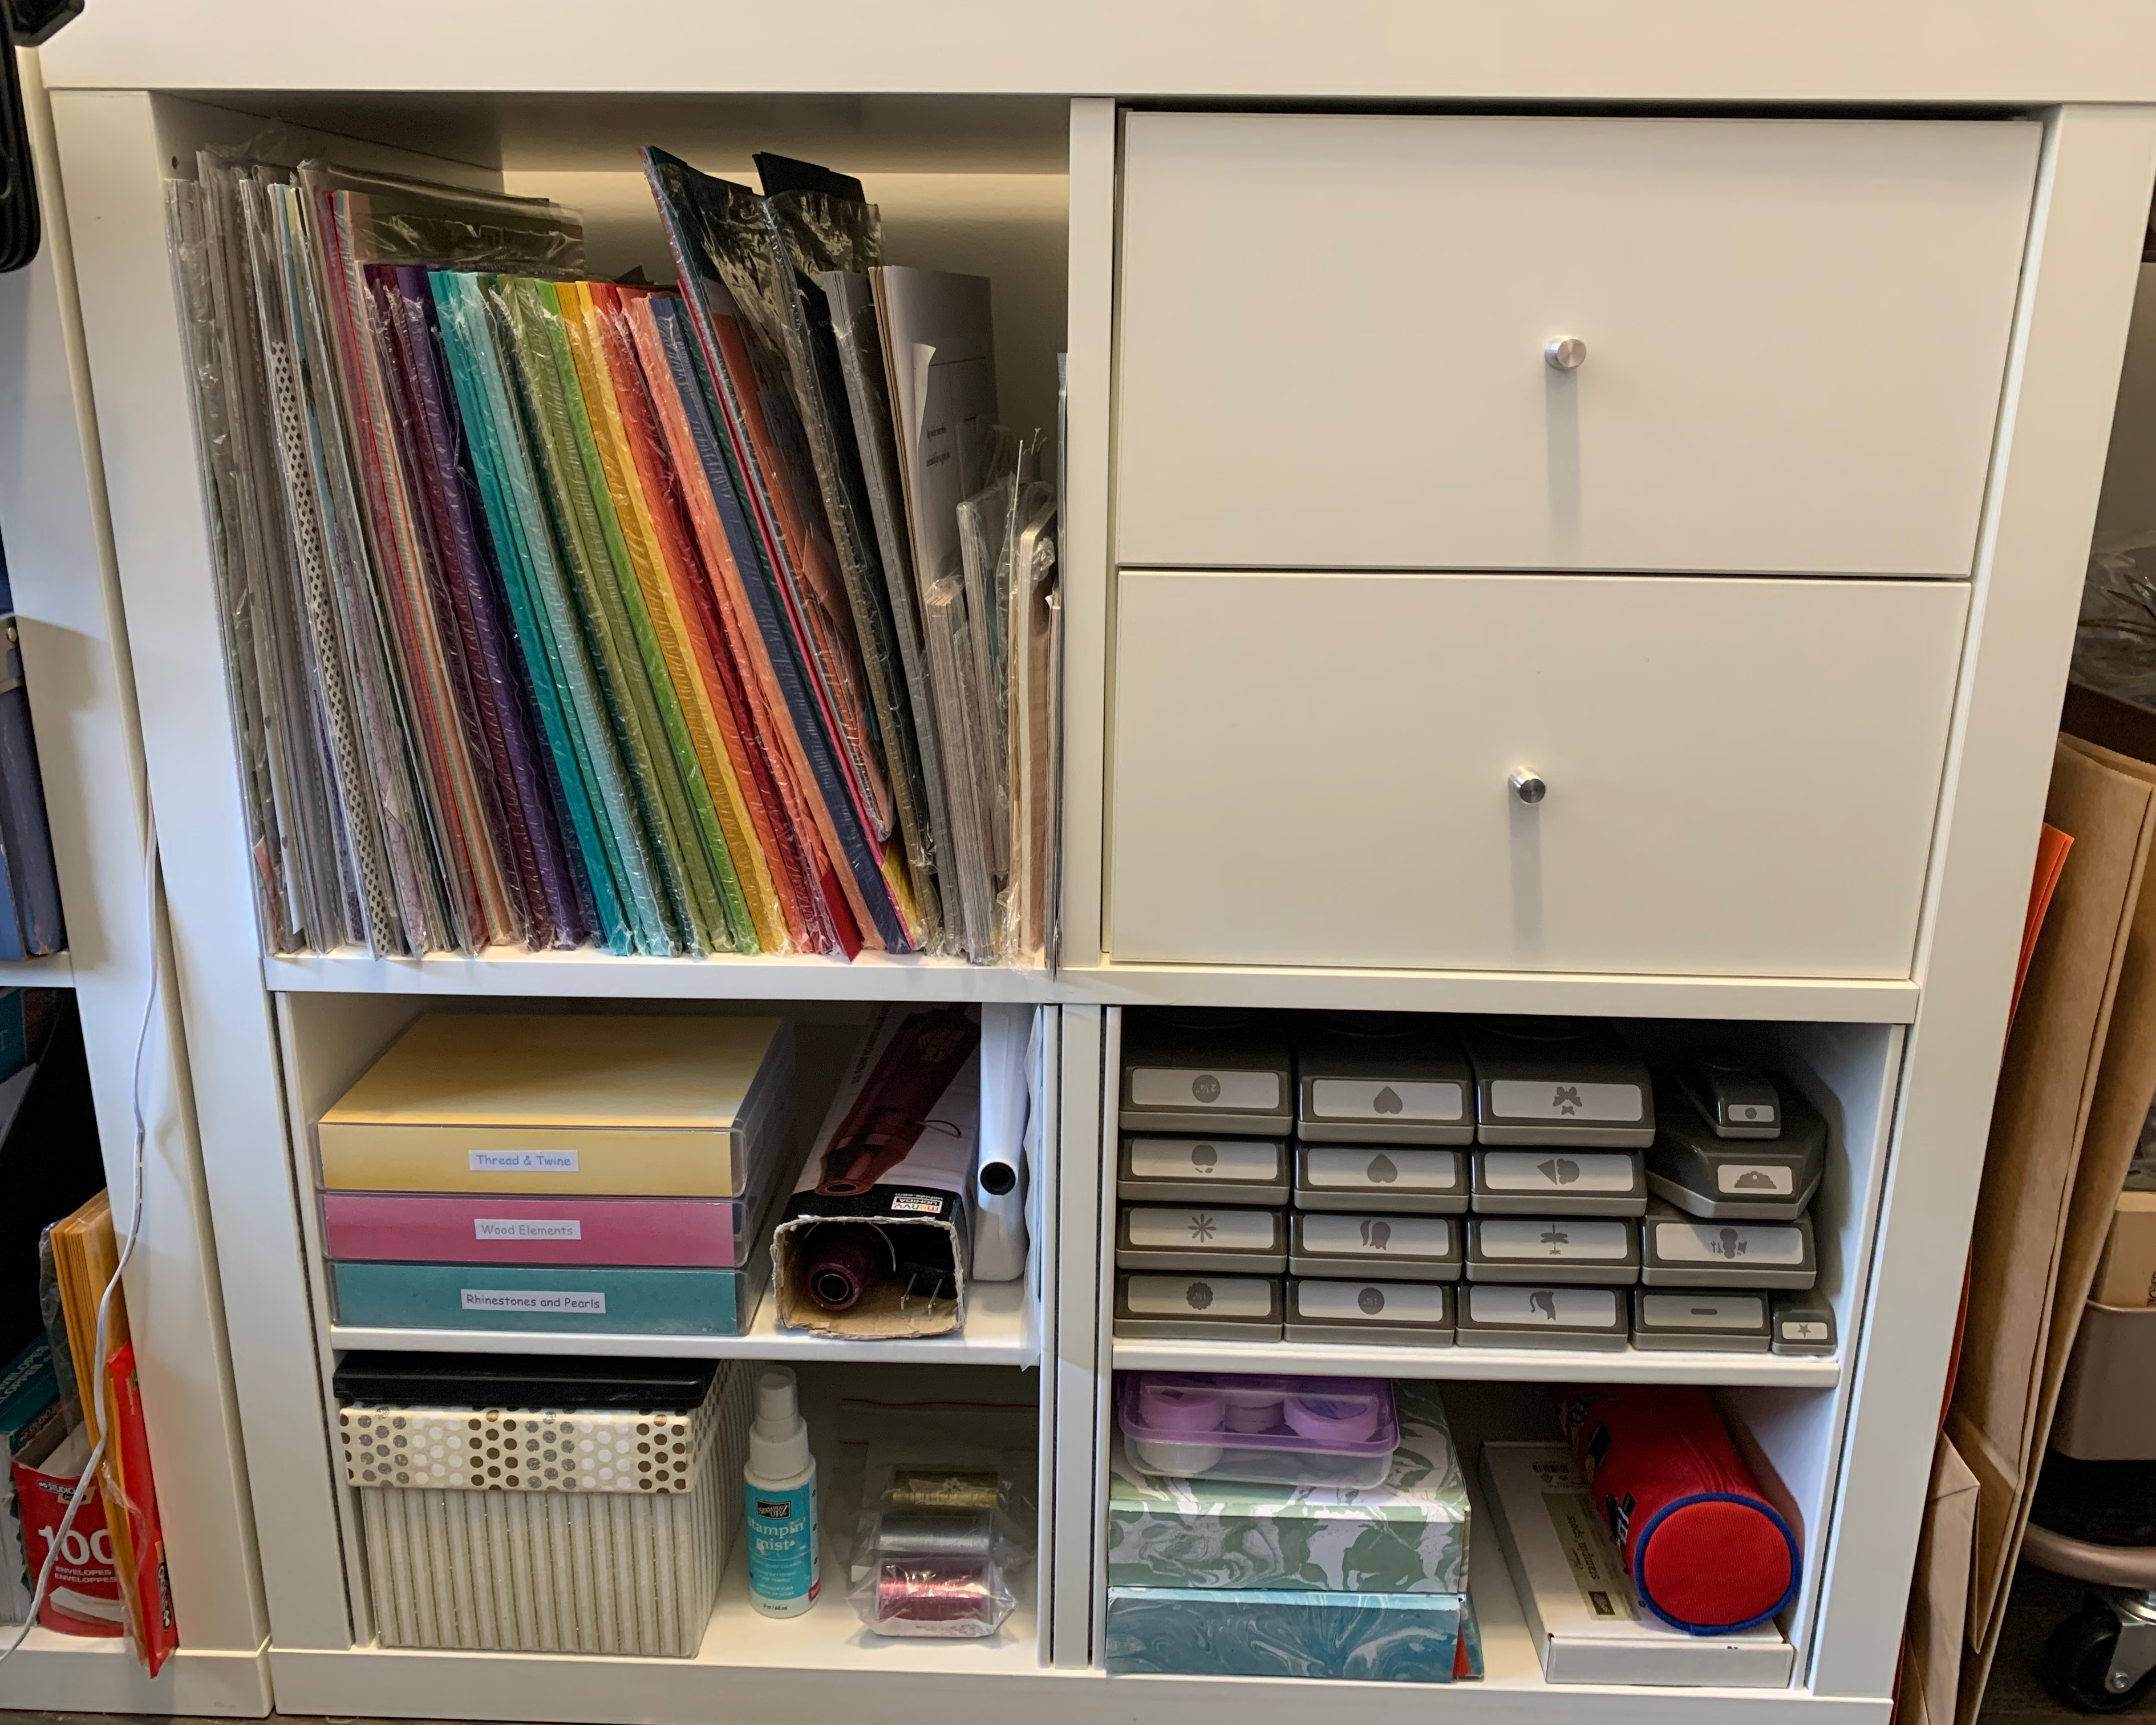
For the one shelf with my punches, I glued some white felt to the top of the shelf. The punches are pretty heavy duty and so I wanted an extra layer of protection. Then I’ve got my Stampin’ Blends, adhesives and embossing powders underneath, along with some of my Stampin’ Spots and pencil case.
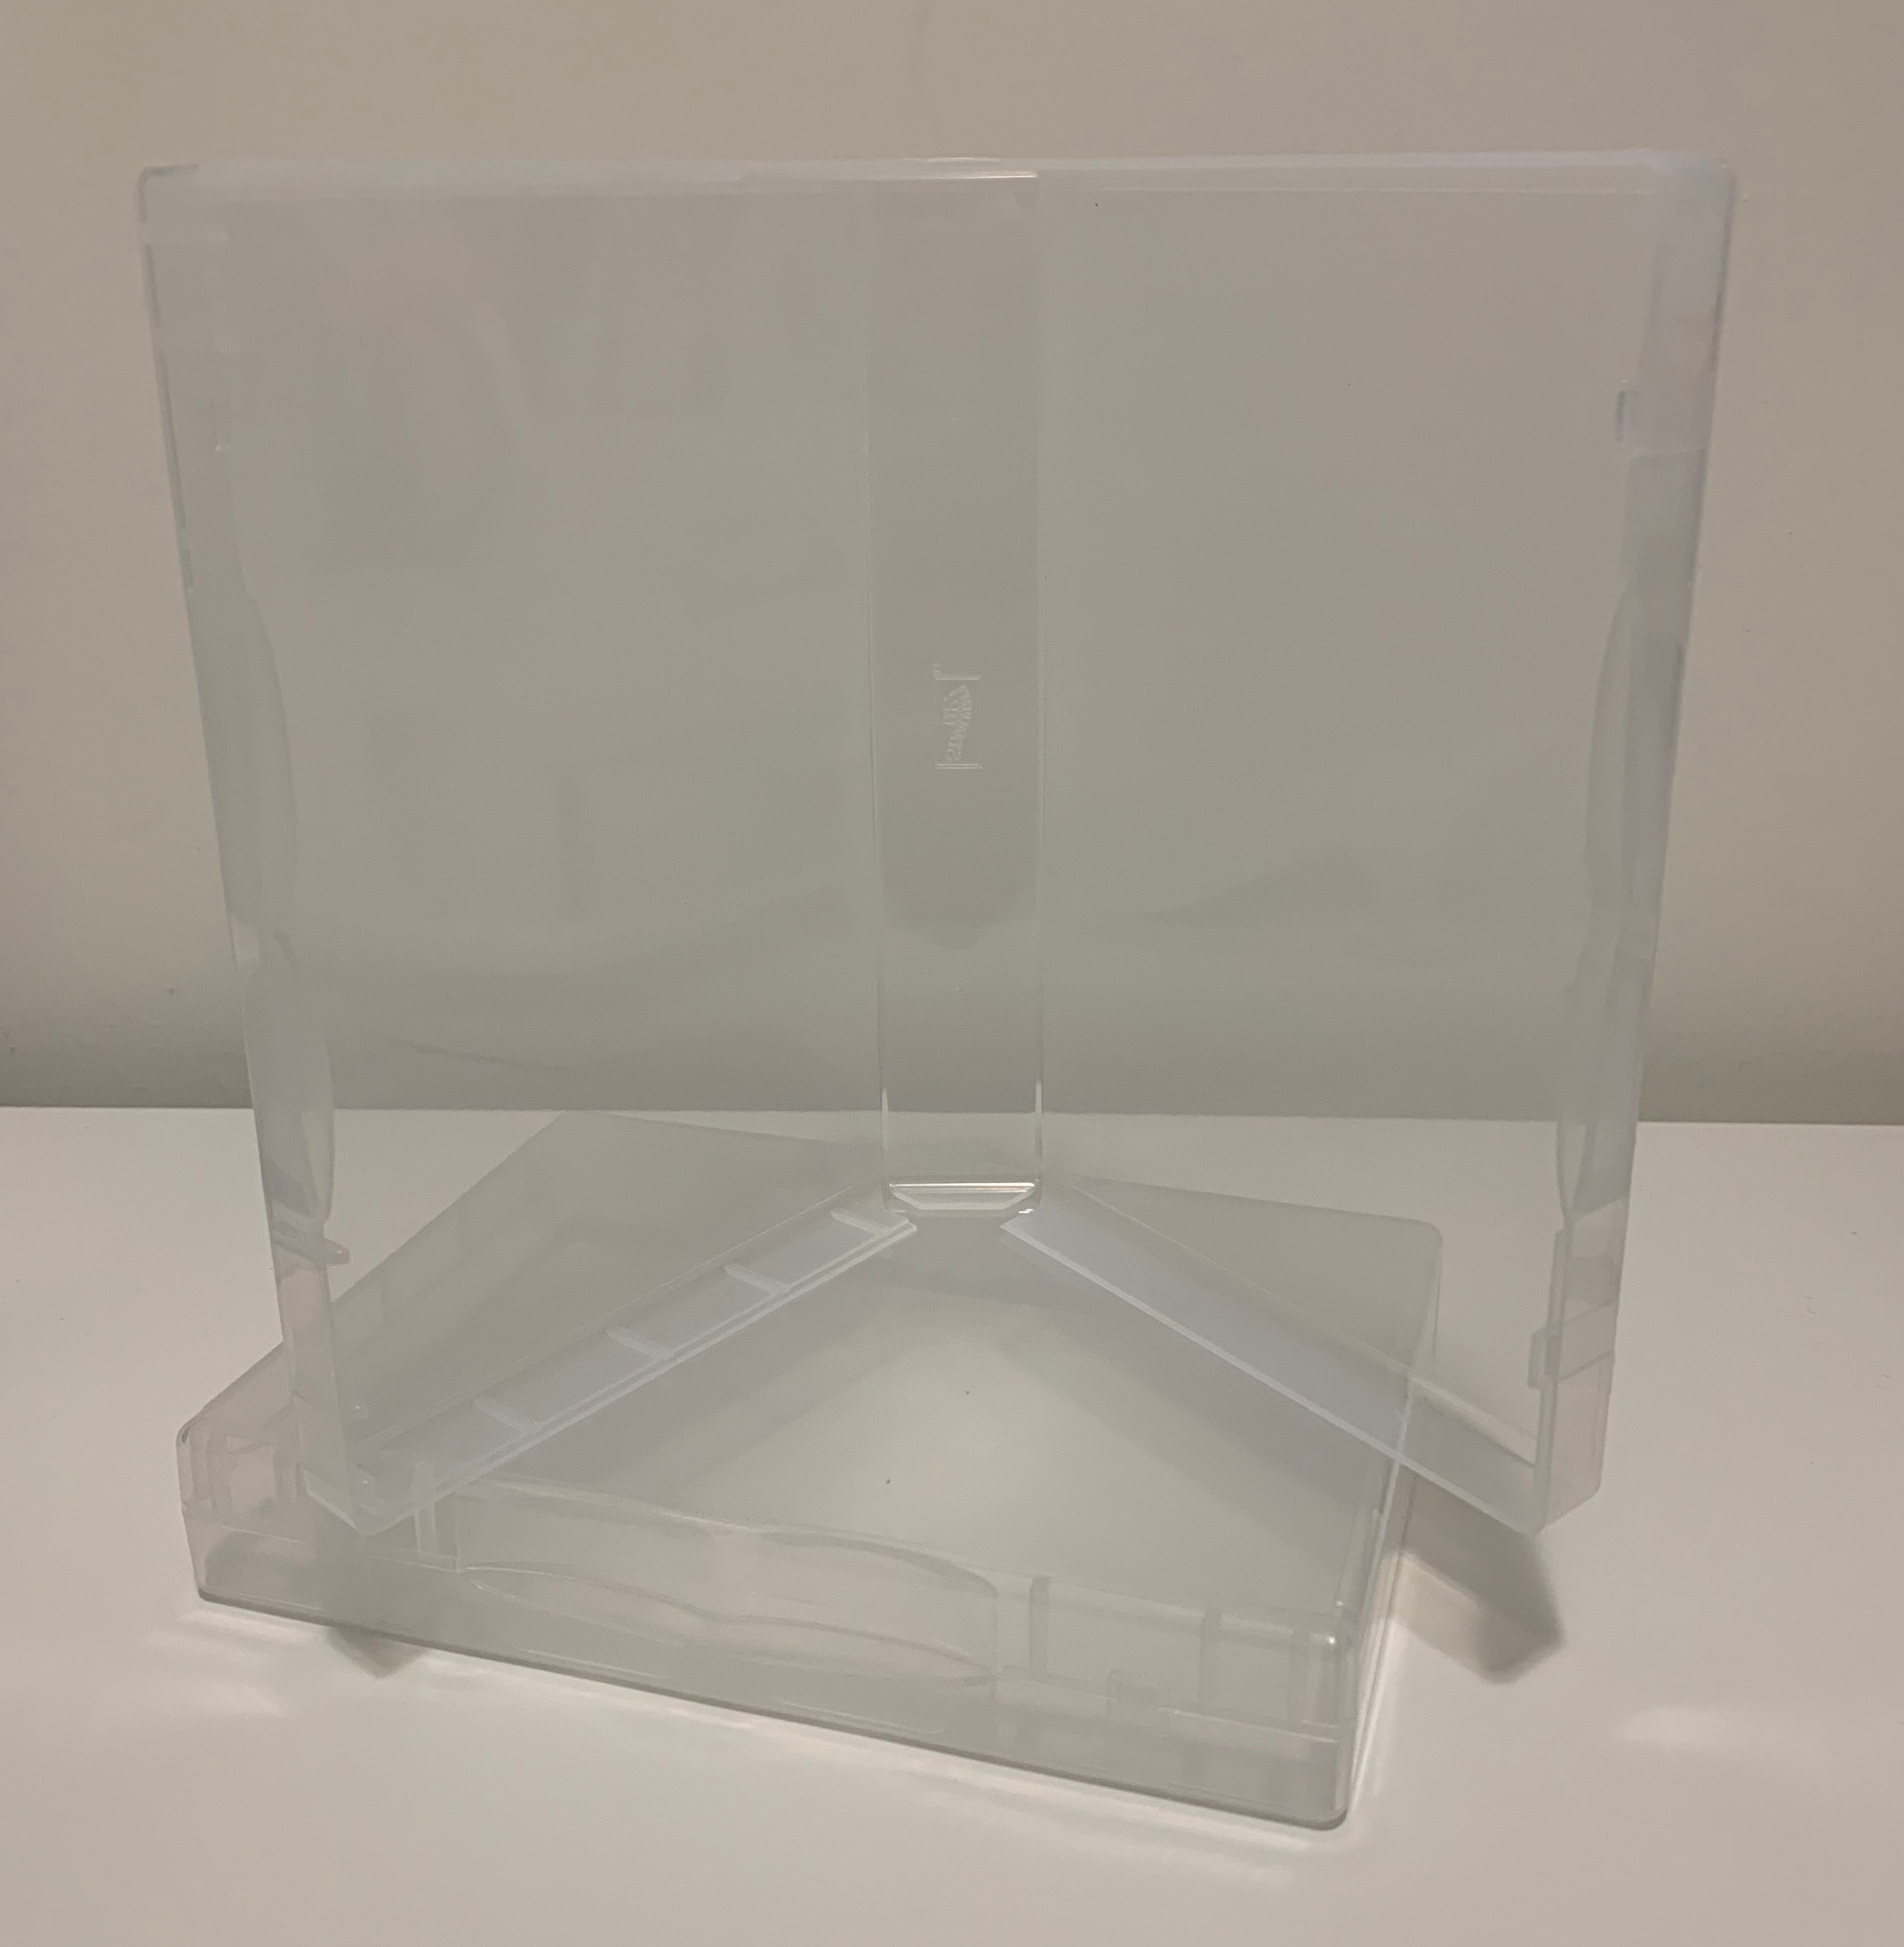
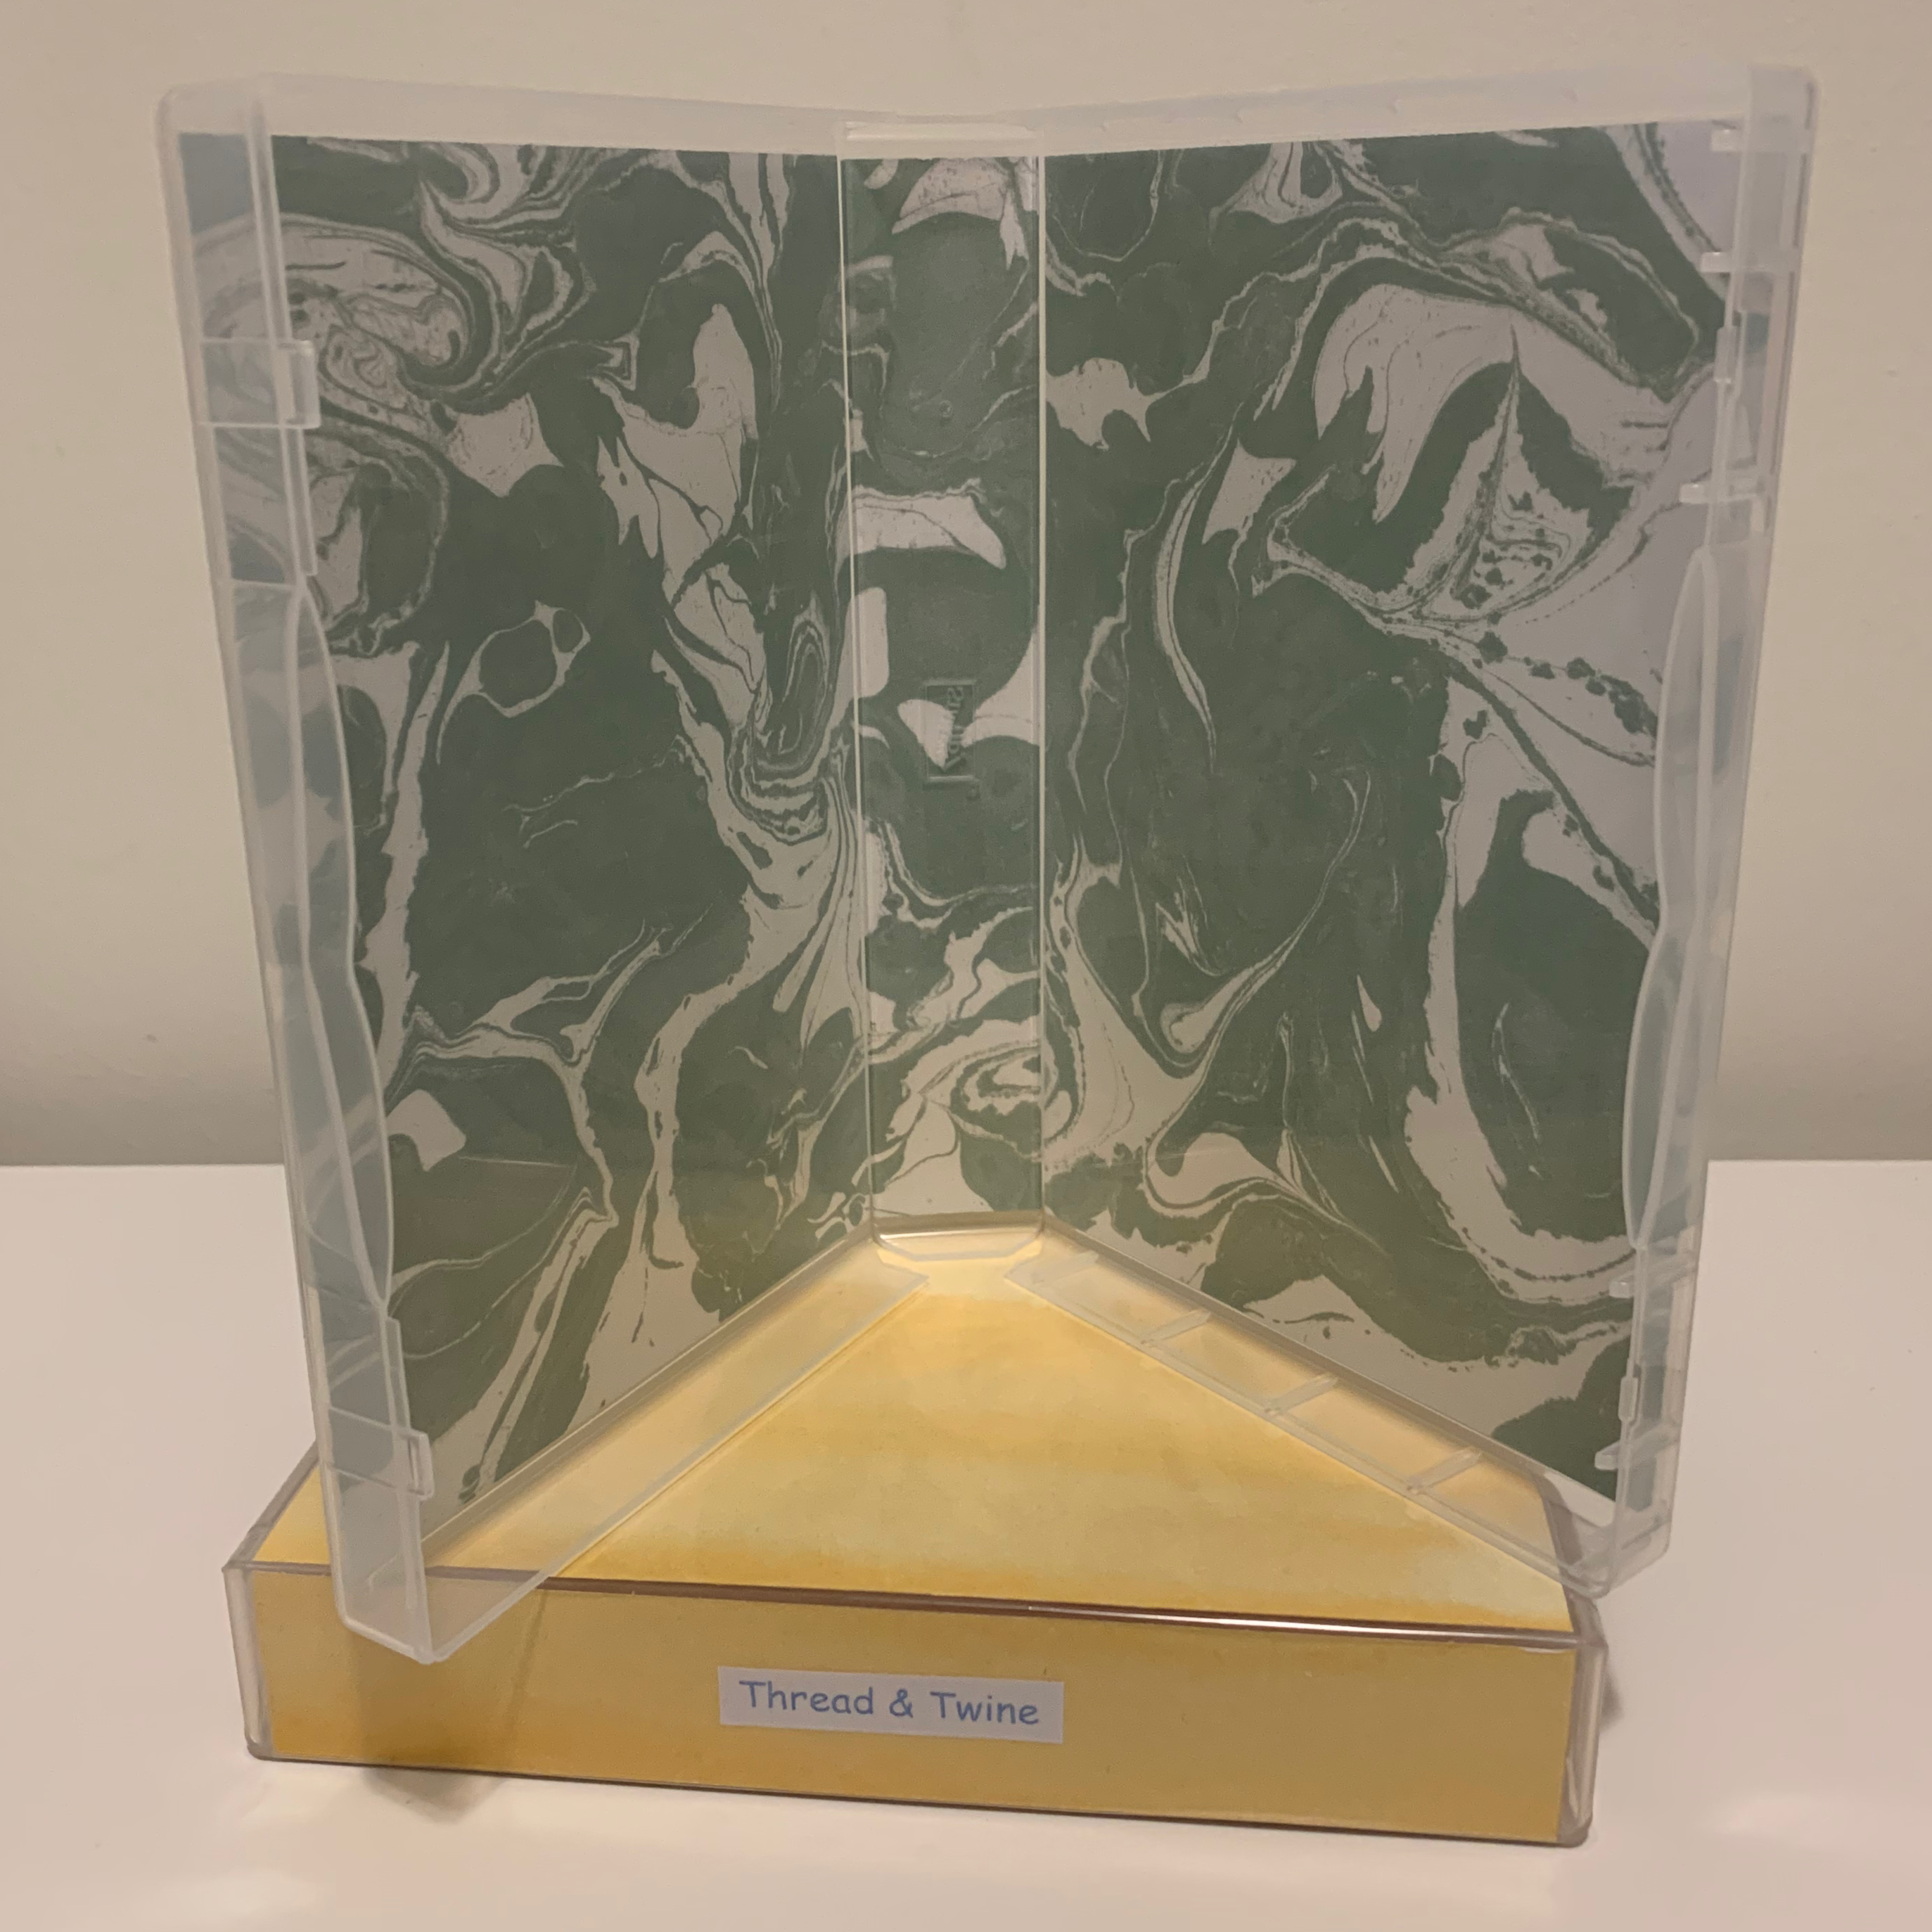
On the other side I’ve got a box full of stationary stuff… post it notes, extra note pads, etc. Above that I put my Heat Tool and tray and paper piercing templates. The colourful boxes next to my Heat Tool are different embellishments. Those are a DIY storage project using some retired Designer Series Paper and the full sized wood cases. I so wish I would have grabbed some more before they were gone!
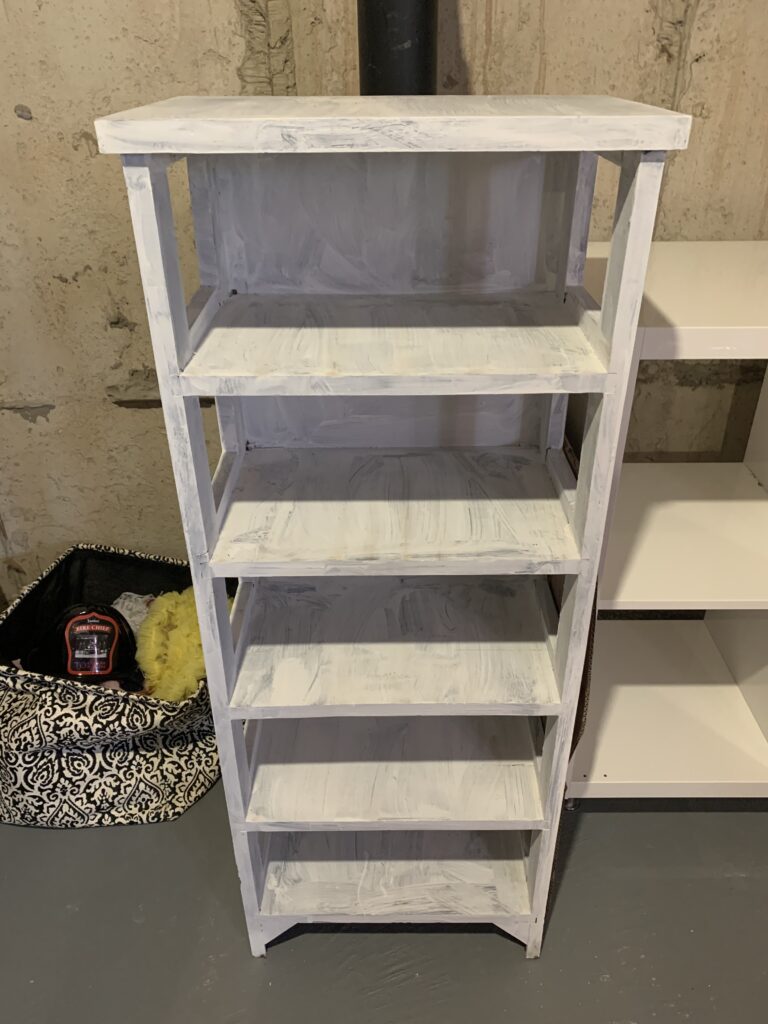
It was really easy to do once I had the measurements for the case pockets. Now that I’ve done my tool and embellishment organization, it’s on to my paper. I think I’ve left that til last because I know it’s going to be a thing. I’m hoping that I can find someone local who can make what I want instead of having to spend a bunch to ship something from the US. Wish me luck!
