How to Sponge your Projects

I’ve been having a lot of fun creating with the March Paper Pumpkin kit Here’s to You! To celebrate Paper Pumpkin’s birthday everyone who subscribed in March also received four 4×4 stencils and a Stampin’ Sponge. So I’ve been doing a lot of sponging with my stencils. And so I thought I’d share a project here to show you how to sponge your projects. It’s really easy, but there are a few tips to help make it even easier.

To help with this I shared a video on my YouTube channel on just how to do it. There are two important things to remember when you’re sponging. The first is to use circular motions with your sponge. This will help spread the ink more smoothly and evenly. And the other important thing to remember is to always start off the cardstock, or whatever it is that you’re sponging. You don’t want to end up with a blob of ink on your project!

In my video I sponged a piece of Basic White cardstock with Pool Party ink. So from there I picked a darker colour of cardstock that would help the sponged piece stand out. In this case I went with Misty Moonlight for the card mat and of course Pool Party for my card base. And the piece of Basic White in the centre of the card also helps show off the sponged piece of cardstock.

The phrase and images all came from the Tasteful Touches stamp set. Which is thankfully carrying over to the new Annual Catalogue. I stamped the phrase and feathers with Pool Party. And the blooms with Misty Moonlight. I cut out the phrase with the Stitched Nested Labels dies, which sadly are retiring soon. I also wrapped some of the Misty Moonlight/Silver Baker’s Twine from the Flowers for Every Season ribbon combo pack around the sponged cardstock. And to finish it off I add a few Rhinestone Basic Jewels. Here’s the finished card…
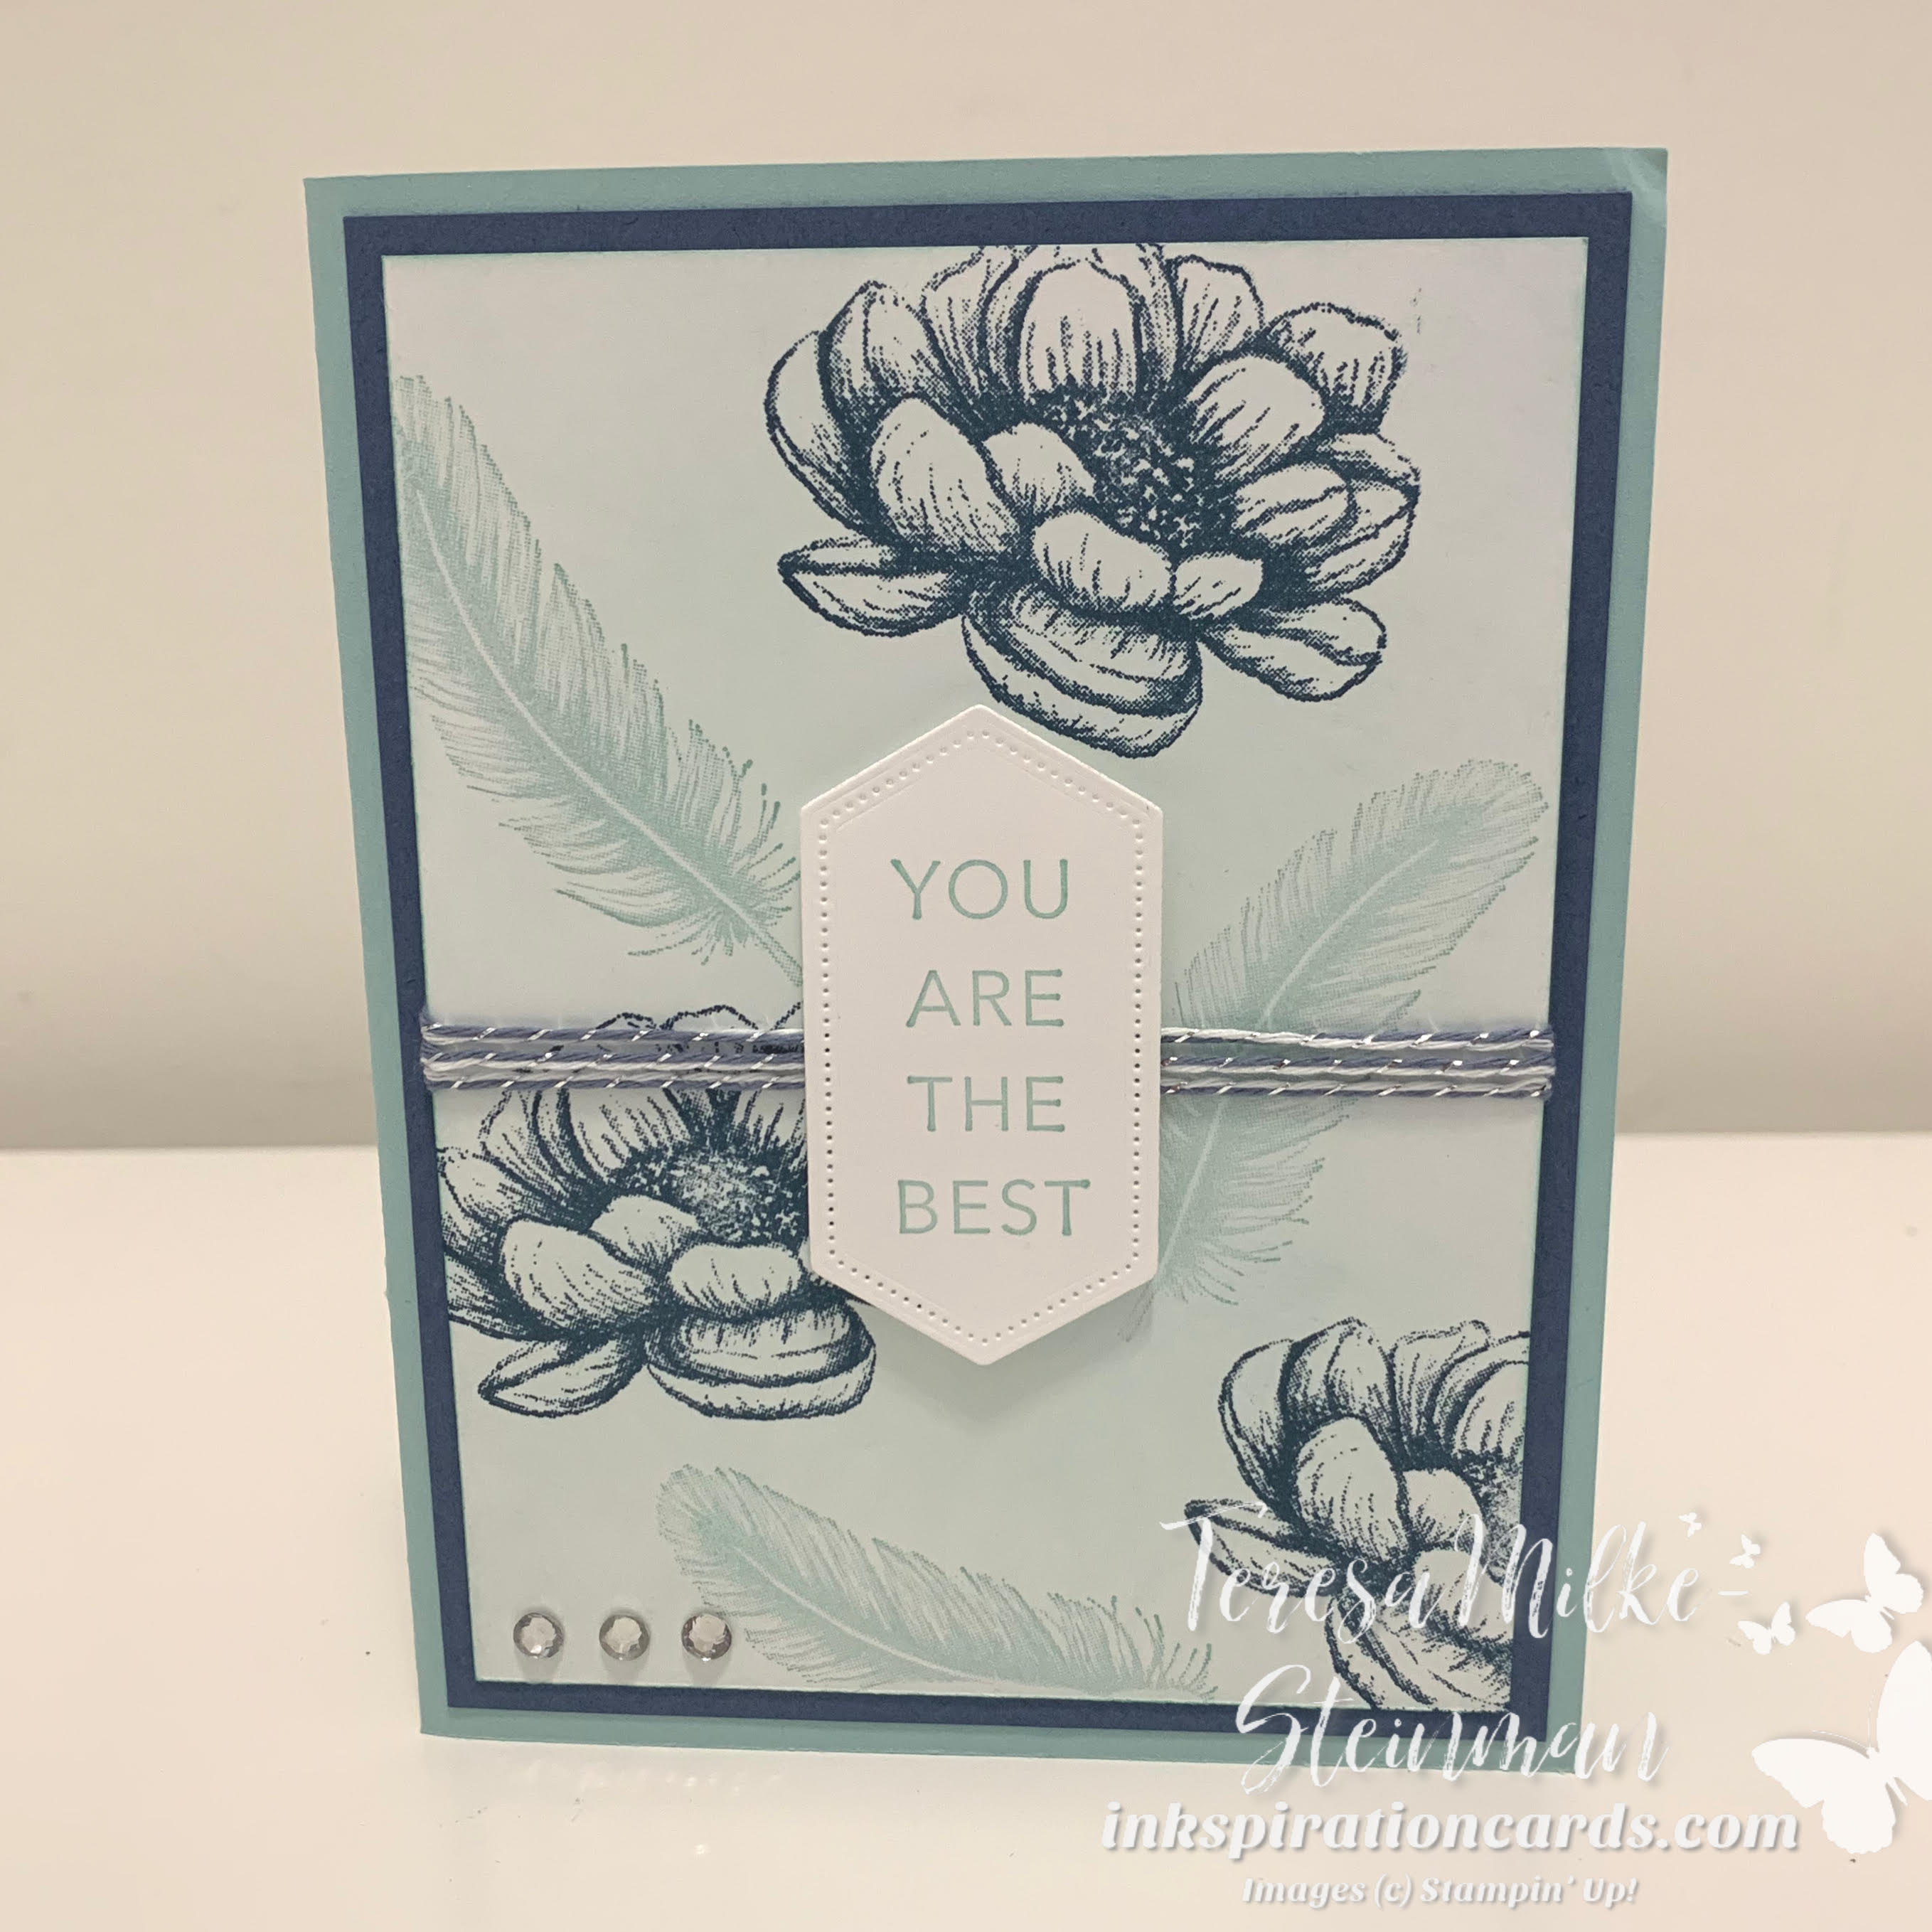
How to Sponge your projects

It’s been a while since I’ve done any sponging. And so it’s been nice to get back into it. I hope you found these how to sponge your projects tips helpful. And I’d love it if you’d share your sponging projects in the comments.

One last important thing… the Stampin’ Sponges are also on the list of products retiring May 3rd, if they last til then. So if you want to check out the full list of what’s retiring to see what else you want to grab before it’s gone, then check out my last chance post.
Blending Brushes

I totally have a new favourite tool! Before this I liked the idea of sponging and blending to create great projects, but didn’t do it very often. I think that’s going to change now. I’ve only used Stampin’ Up!s new Blending Brushes twice now, but I’ve fallen in love with them! The first time I used one of them I made my own Shimmer paper. This time I used them with our ink pads.

These are super easy to use and even easier to clean, if you choose to. I’ve heard some of my team members clean them like the Blender Pens. So you rub it on paper until no more colour comes off. When I made my shimmer paper I decided to clean it with just some water. I didn’t like the idea of Shimmer Paint drying onto my brush. It came off very easily and the brush was just as soft once it dried as it was before I used it.

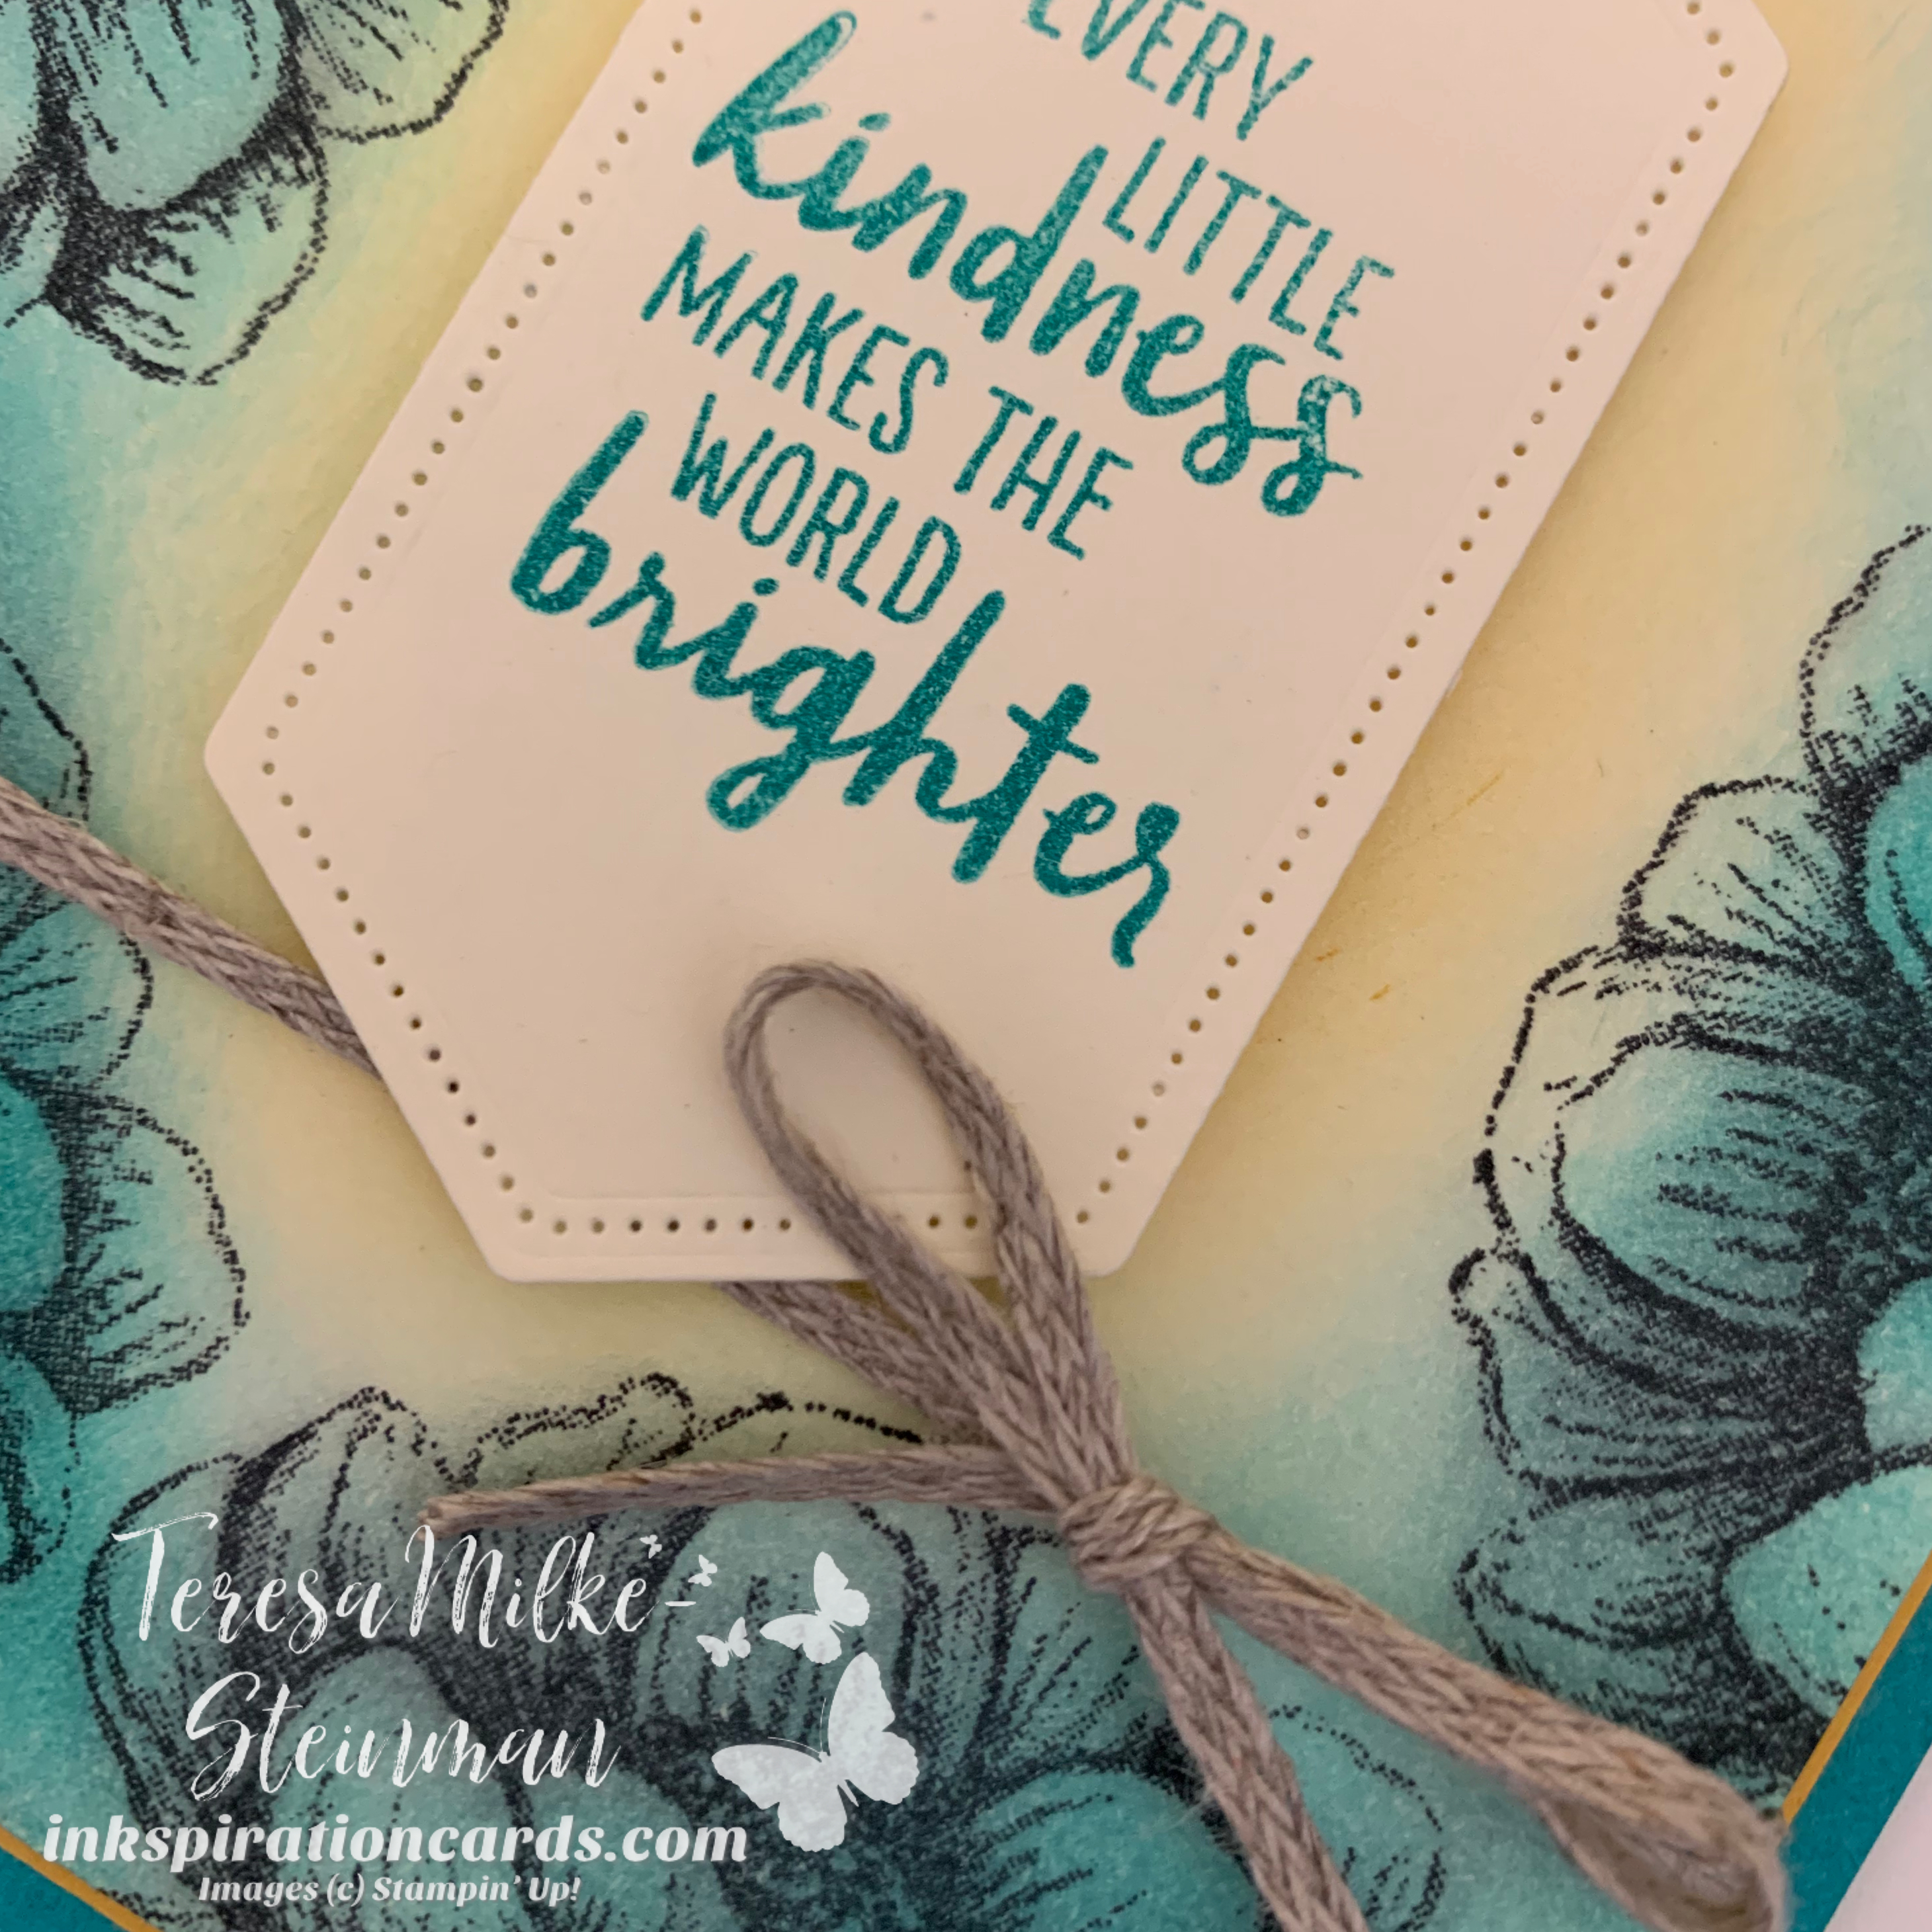
For this card I thought it would neat to create a border around the edge of a piece of Basic White cardstock using the flower from the Tasteful Touches cling stamp set. I used Tuxedo Black Memento ink and gave it some time to dry before I started to blend with the brushes.

In terms of colours I thought of using a bright blue and then a yellow like the centre of a flower. So I went with Bermuda Bay and Bumblebee. I haven’t used this colour combination before and I think they work really nicely together. Definitely going to have to file this combination away!

Blending Brushes

So once my stamped flowers were dry I used my ink pad lids to hold the ink for my brushes. All you have to do to do that is squish the lid towards the ink pad while it’s still mostly closed. Once the ink is on the lid you just rub the brush in the ink. Make sure to dab off some of the colour onto another piece of paper before blending. You can even start blending off the cardstock and move in. To blend just move the brush in circles wherever you want that colour to go.

The phrase came from the Waterfront stamp set. I cut it out with one of the Stitched Nested Labels dies and then popped it up using a couple of Stampin’ Dimensionals. To finish it off I added some Braided Linen Trim. Here’s the full card…

Blending Brushes

I LOVE how this card turned out! And I can’t wait to do more with Stampin’ Up!s Blending Brushes. So stay tuned for future projects.