Collage Stamping with Happiness Abounds

I don’t know if you can call this a technique. But I think it kind of is. And it’s a great one to use if you’re into making more simple cards without lots of die cuts and embossing. I’m talking about Collage Stamping! And I’m doing some collage stamping with Happiness Abounds. This is such a great stamp set for this! Lots of sentiments to choose from and a variety of images to create your collage. Of course you can always mix and match different stamp sets if you like.

Since I’m crafting with Pale Papaya that was the first colour in my combination. This is one of my favourites from the 2021-2023 In Colours and am definitely going to miss it when it retires in a couple of weeks! And since I’m using the Happiness Abounds stamp set I chose Pear Pizzazz as my second colour. Then for my third colour I went with Crumb Cake. I always like at least 3 colours for a card like this and Crumb Cake is a nice subtle, neutral colour.

To create my collage for the background I started with the larger flower image with Pale Papaya ink. Then I stamped the ink splatter image from Quiet Meadow with Crumb Cake ink. And to fill in any open spaces I used Pear Pizzazz ink with one of the leaf images.

For the next layer I simply stamped a sentiment with Pear Pizzazz ink and then stamped a few of one of the smaller flowers around it. Then I die cut it with the Stitched Rectangles dies and did the same with the next larger die to create a Pale Papaya frame. I popped this up with some Stampin’ Dimensionals. And then to finish it off I added a few Brushed Brass Butterflies.
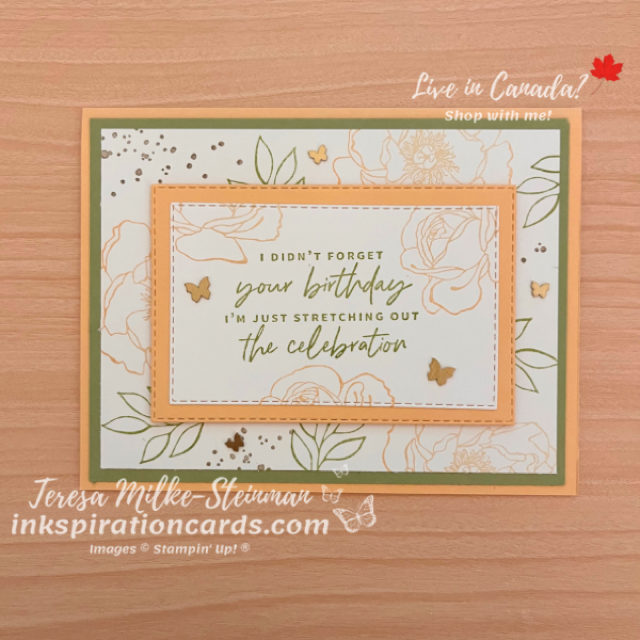
Collage Stamping with Happiness Abounds

I just love this card using Collage Stamping with Happiness Abounds! Check out my card from earlier this week using Pale Papaya and Happiness Abounds here.

And be sure to check out my online shop! Some of he 2021-2023 In Colour products are already low inventory!
Masking Technique

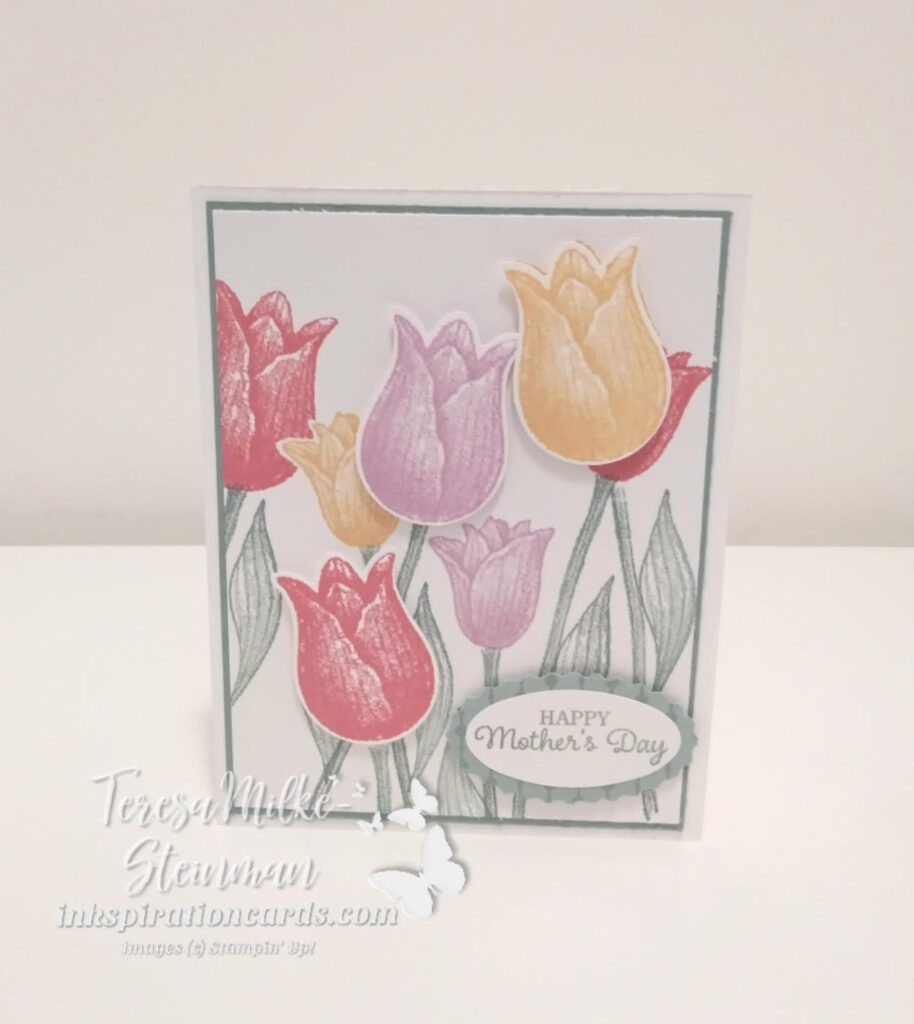
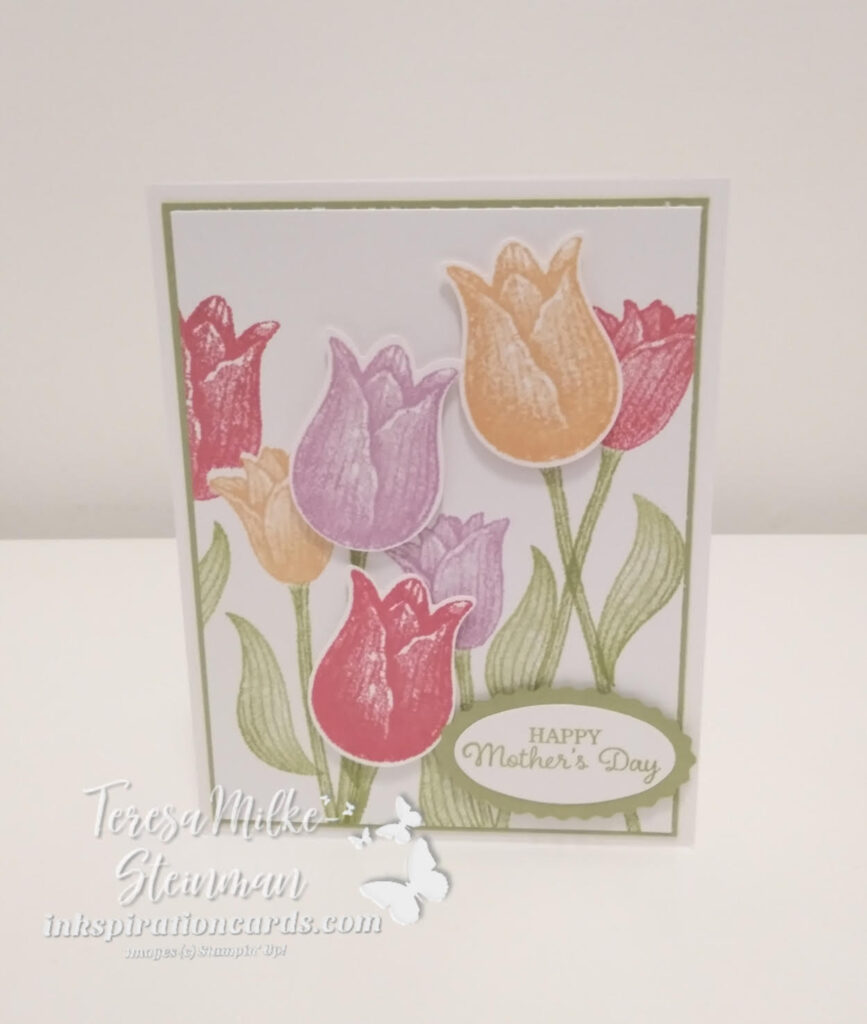
Spring is less than one week away! Although as I’m typing this it’s snowing outside my window. I’m definitely looking forward to the warmer temperatures and brighter colours. I think that’s where the inkspiration for this card came from. While I love how pretty everything looks covered in snow, it’s time to for a change. And what better way to do that than with the Timeless Tulips stamp set. This is such a great stamp set and such a good one to use with the masking technique.

If you’re not sure what that is, here’s a brief explanation. The masking technique is when you create the illusion of overlapped images without actually stamping on top of the images. And how to do that is by making a mask. This is super easy to do! All you need is a sticky note, or a small piece of printer paper, the image(s) you want, ink and scissors. I don’t recommend using anything thicker than this because it often creates an extra outline around the stamped images that you want to keep as small as possible. Once you’ve stamped and cut out your mask you’re ready to get stamping!

For my card I wanted to use a variety of colours to keep it nice and bright. I also wanted to have a number of tulips on my card so using a mask definitely helped. To start I stamped the medium tulip where I wanted them and then I placed the mask on top when I stamped the large tulips. Then to add some extra layers I punched a few large tulips and popped these up with Stampin’ Dimensionals.

Masking Technique

The phrase comes from the Timeless Tulips stamp set as well. This is one of the reasons why I love this stamp set… the variety of sentiments is great! I punched out the phrase and the border using the Double Oval Punch from the Annual catalogue. In the first card I just used some Pear Pizzazz cardstock for the border, pulling from the ink colour of the stems and leaves. For the second card which I shared last night live on my Facebook page, I used some of the 2021-2023 In Colour Designer Series Paper because I used Soft Succulent as my green for that one.

Masking Technique

The masking technique is a great one if you’re just starting out. And I hope you found my simple explanation helpful. If you have any other questions just send me an email at inkspirationwithteresa@gmail.com. If you’d like to check out another card I created using the Timeless Tulips bundle you can check that out here!

Time to Say Goodbye

I can’t believe it’s already the end of Februaury! This winter seems to be going by so fast… or maybe it’s just me. Either way though it’s almost time to say goodbye to the Sale-a-bration catalogue. This Tuesday is the last day you can place an order and get your choice of a free Sale-a-bration product or two. If you want to know more about how Sale-a-bration works then check out my post here. It has everything you need to know!

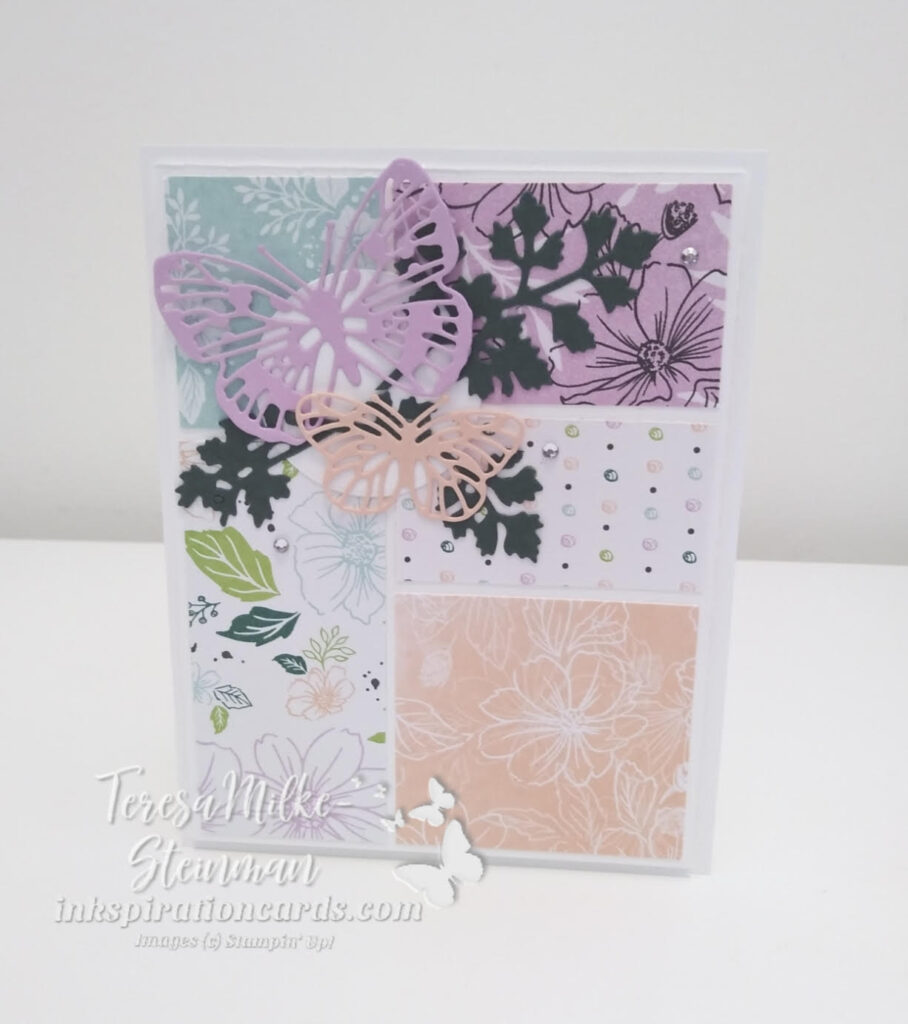
I’ve had a lot of favourites this Sale-a-bration. But I think the Designer Series Paper packs are my most favourite. I’ve been having so much fun crafting with them! The Friendly Hello stamp set and DSP pack I think might be favourite… aka the one I’ll miss the most. So I wanted to share one more card using it with you. The idea for this card came from a couple of different cards I saw recently using the Stack & Shuffle technique. One from Stampin’ Up! and the other from fellow demonstrator Debbie Beaulieu Henderson. This is such a great way to share a bunch of different patterned paper!

To make it I simply chose the designs I wanted and cut them into different sized rectangles. Then I stuck them on a piece of Basic White cardstock which I popped up with some Stampin’ Dimensionals. I used a Basic White card base because I wanted the colours/designs from the DSP to be the focus.

Then I die cut a couple of butterflies using the Brilliant Wings dies. The colours came from the colours in the DSP. And then I added some foliage in Evening Evergreen. This piece is one from the Meadow dies that I cut into 3 pieces to put behind the butterflies. Then to finish it off I added a few Rhinestone Basic Jewels.

Time to Say Goodbye

I really like how this card turned out! I don’t make no stamping cards very often. But when I do I really enjoy it. I’m definitely going to use this technique again. And next time I’ll be using some vellum behind my die cut pieces.

Check out the Friendly Hello bundle in my online shop before Tuesday. Remember it’s time to say goodbye to Sale-a-bration!

Spotlight Technique

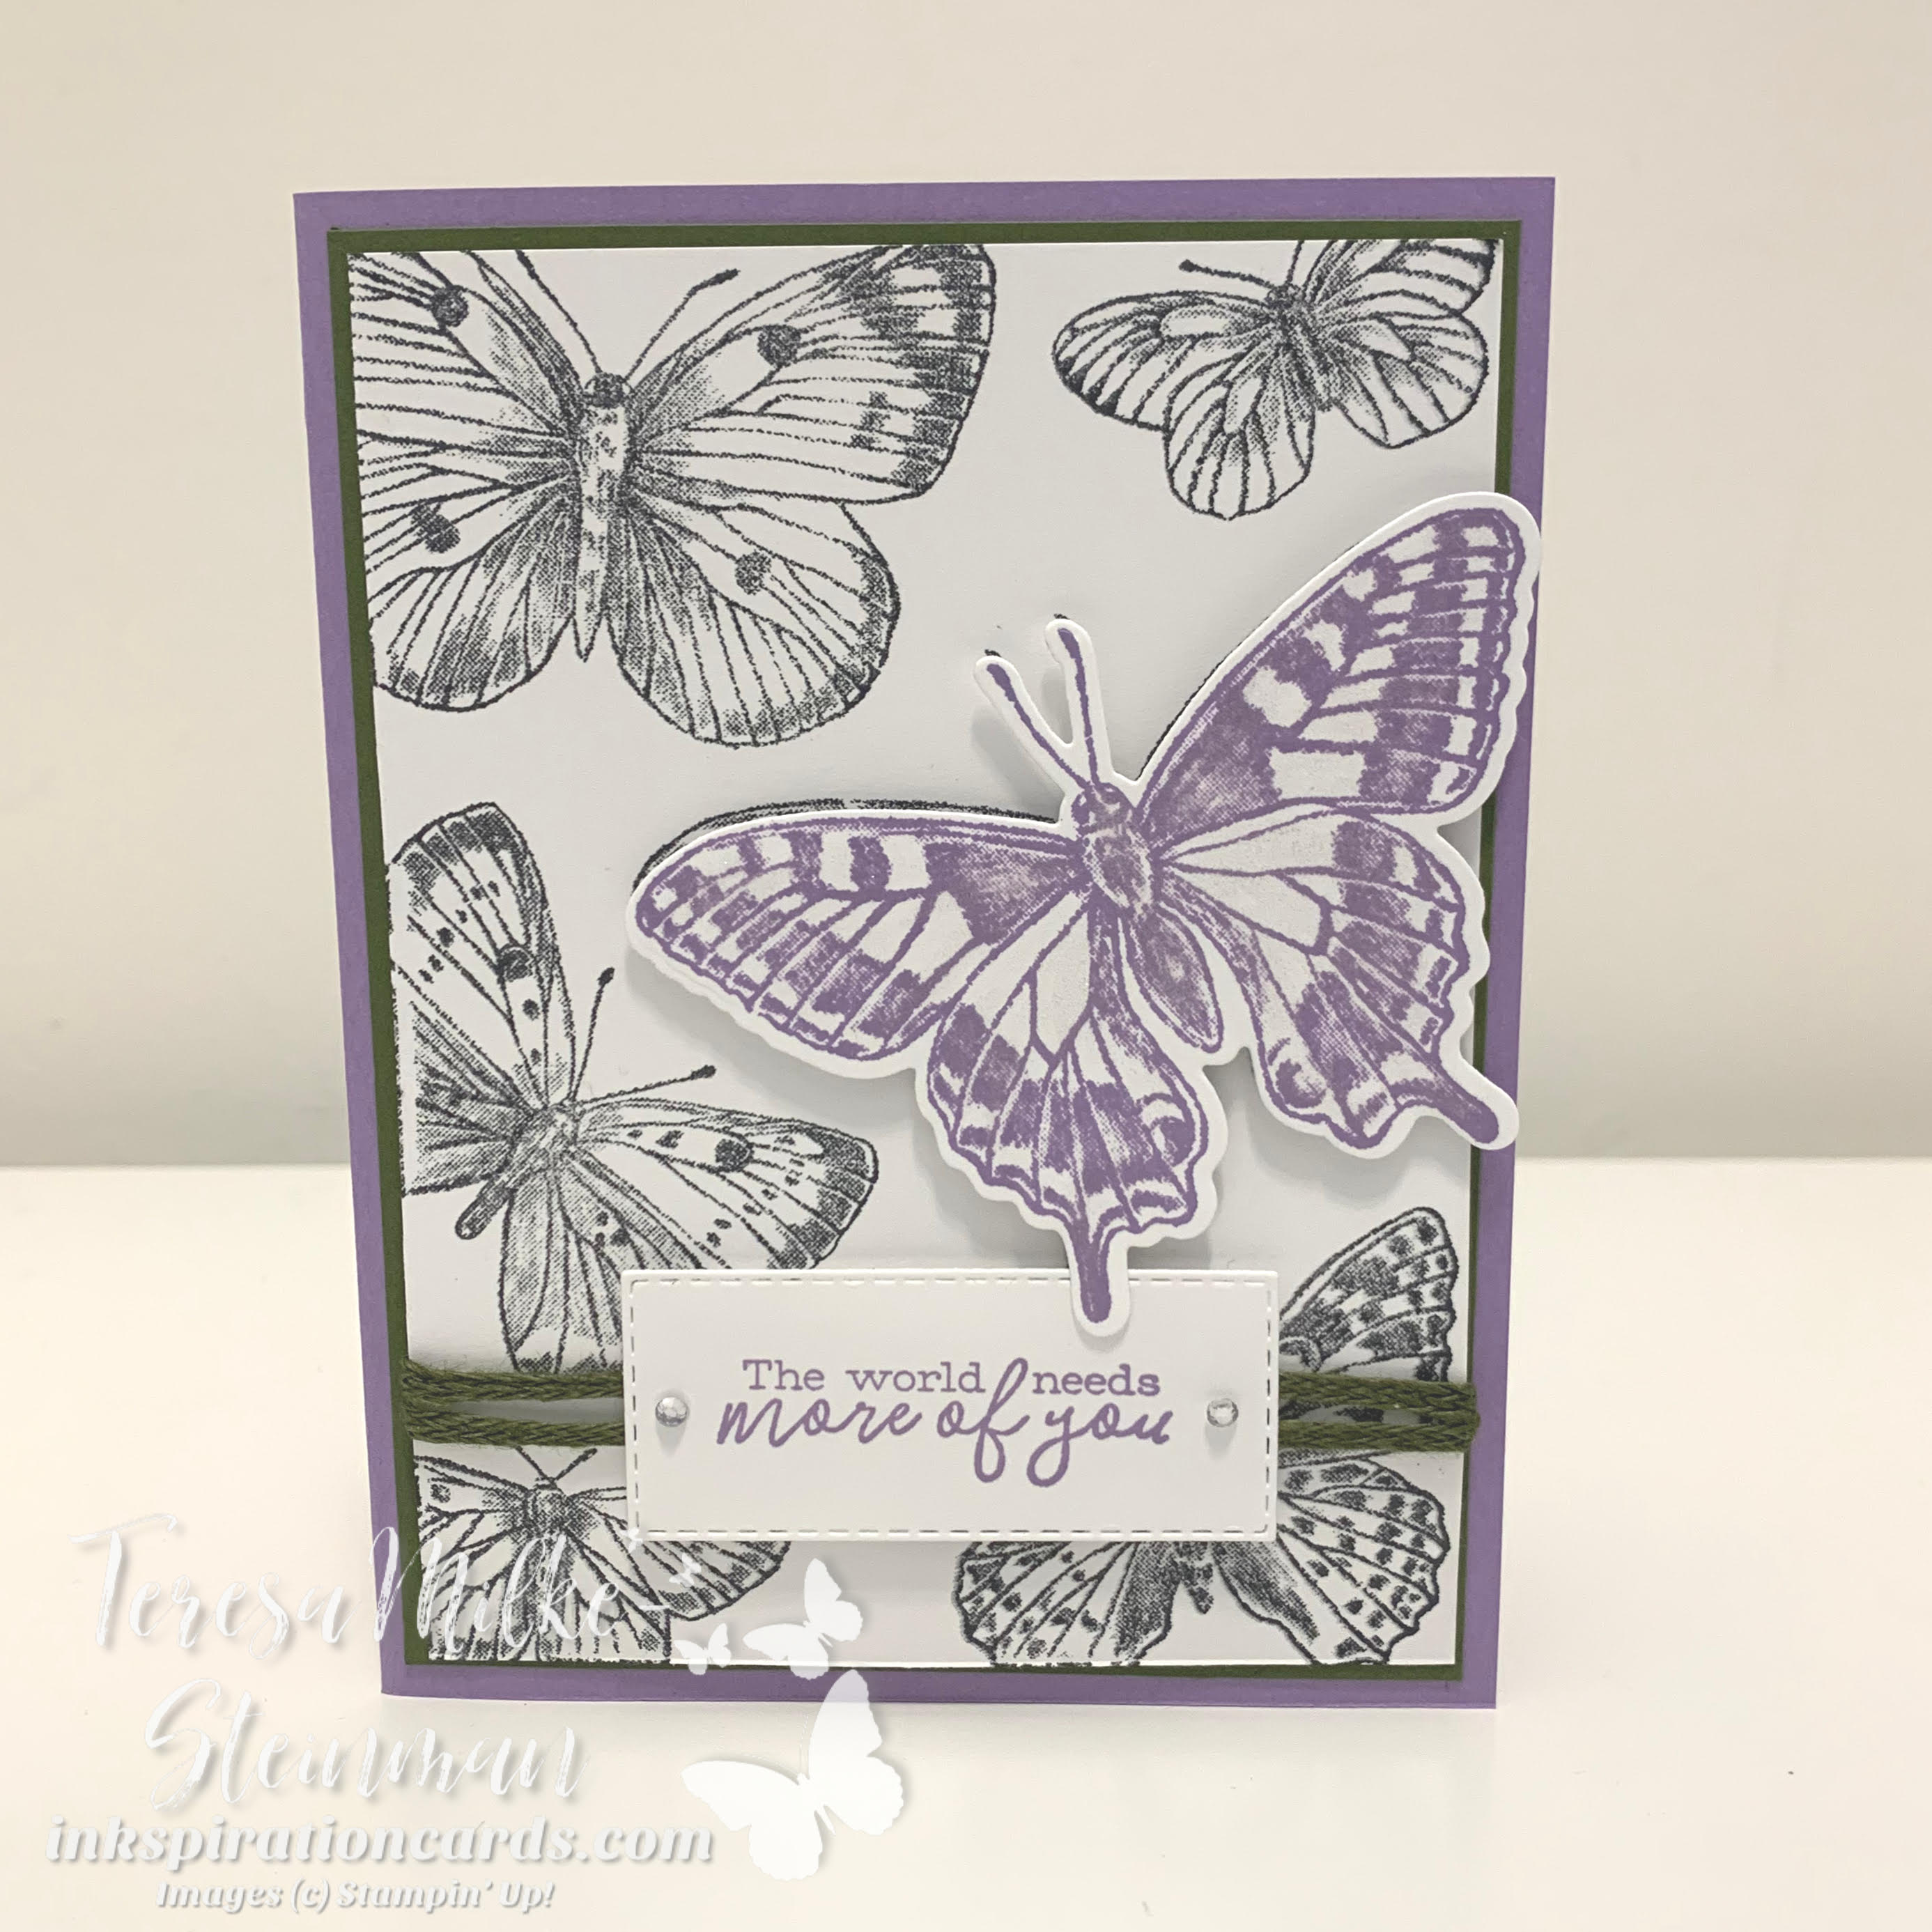
I just LOVE butterflies! So I keep getting pulled back to craft with the Butterfly Bouquet products. And that’s how this card design started… I just wanted to create something with the Brilliant Butterflies and coordinating dies. From there it evolved into a card using the spotlight technique. This technique is a simple one gives a really beautiful effect. The basic idea is to choose an image that you stamp in a neutral colour and then you “spotlight” part of the image. And how you do that is by stamping the same image in a colour that coordinates with your project, cut that image out and then add it right on top of the neutral image with a piece of coordinating cardstock. Amanda Fowler, a demonstrator from the UK, has a great video that shows off how to do it.

For my card design I knew what stamps and dies I wanted to use and so the next step was to pick my colour combination. With Spring here I went with one of my favourites, purple and green. In this case I chose Highland Heather and Mossy Meadow. I haven’t used this combination before and really like how they work together. For my butterflies though I used Highland Heather and Tuxedo Black Memento ink. I used Mossy Meadow for my card mat and as an embellishment with a bit of the Braided Linen Trim.

Spotlight Technique

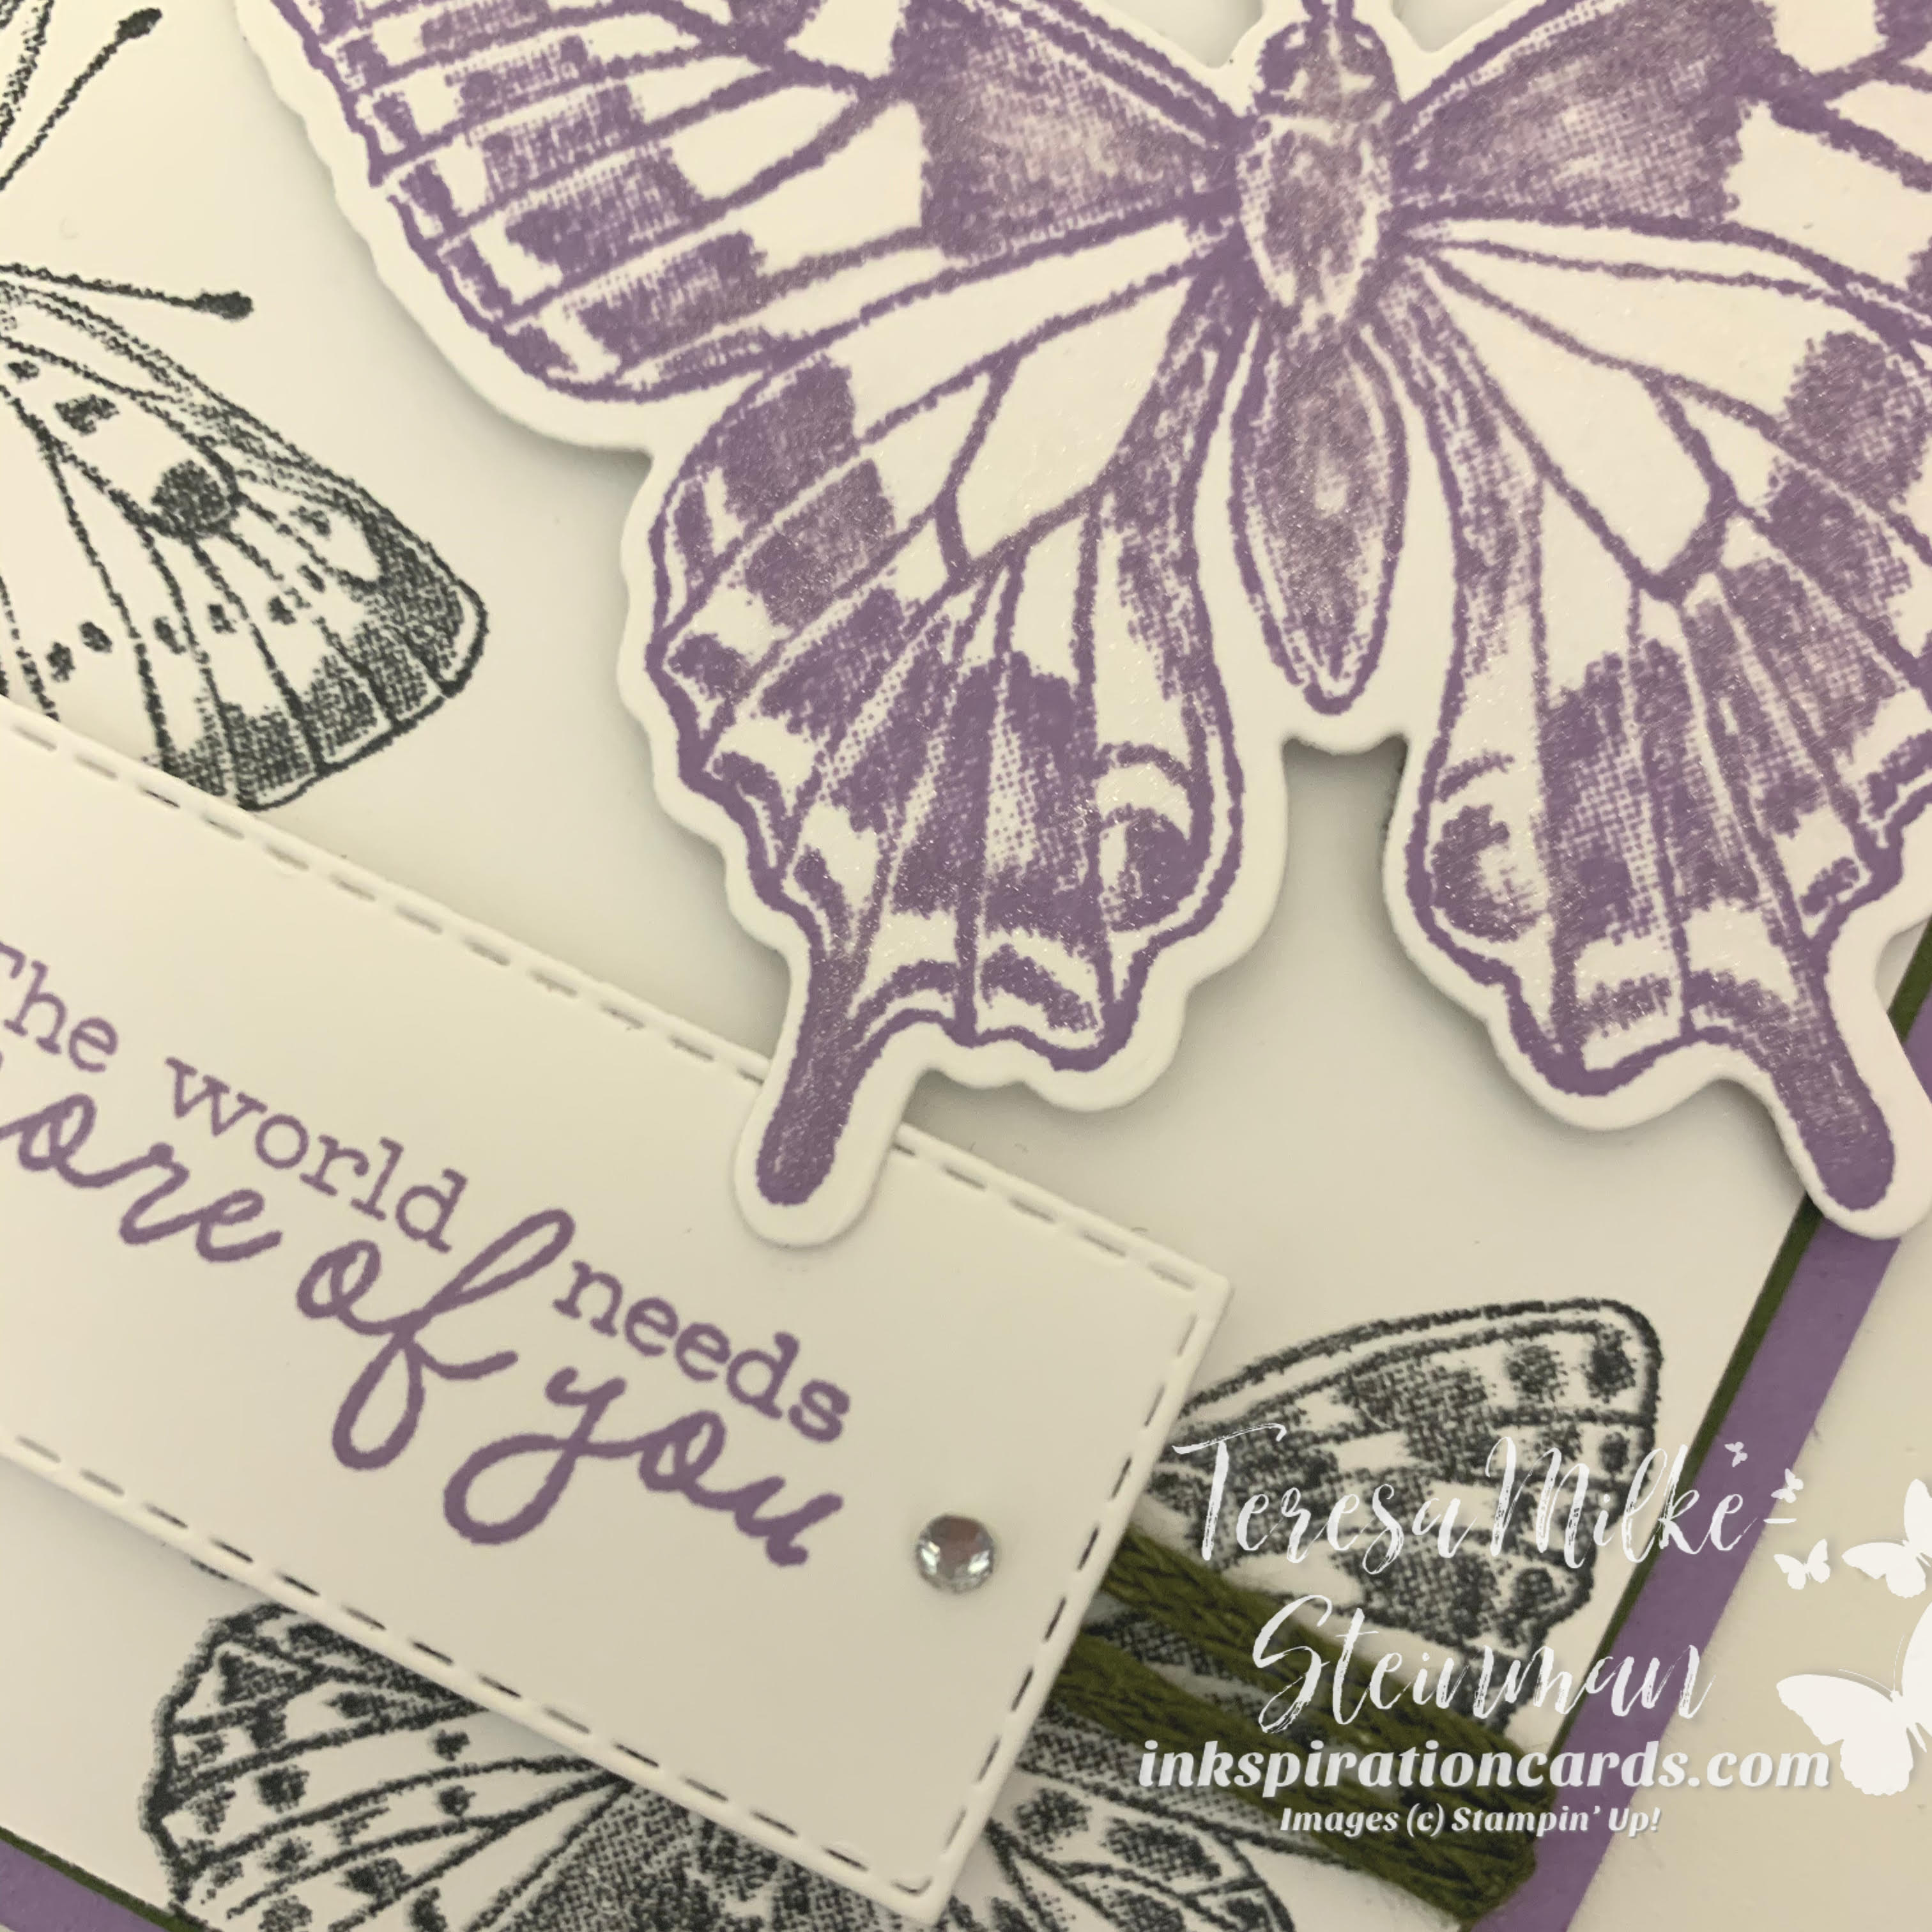
For my spotlight I used the Brilliant Wings dies, instead of die cutting a circle around one of the butterflies and then layering it with another piece of cardstock. Using the dies made this technique even easier. And I popped up the Highland Heather butterfly with some Stampin’ Dimensionals. I also added some Wink of Stella to this butterfly.

The phrase for this card comes from the Free as a Bird stamp set. Which I cut out using one of the smallest Stitched Rectangles dies and a couple of the medium sized Rhinestone Basic Jewels on either side. I also popped the phrase up with some Dimensionals.

Spotlight Technique

I love how this card turned out. And I especially love how easy it was to make. I’m definitely going to have to use the spotlight technique more often! I hope you like this card too. And if you like butterflies as much as I do you should check out one of my recent projects using these products. In this post I shared a 4 Panel card that I made using the stamps, dies and (unfortunately sold out) Butterfly Bijou DSP.

How to Sponge your Projects

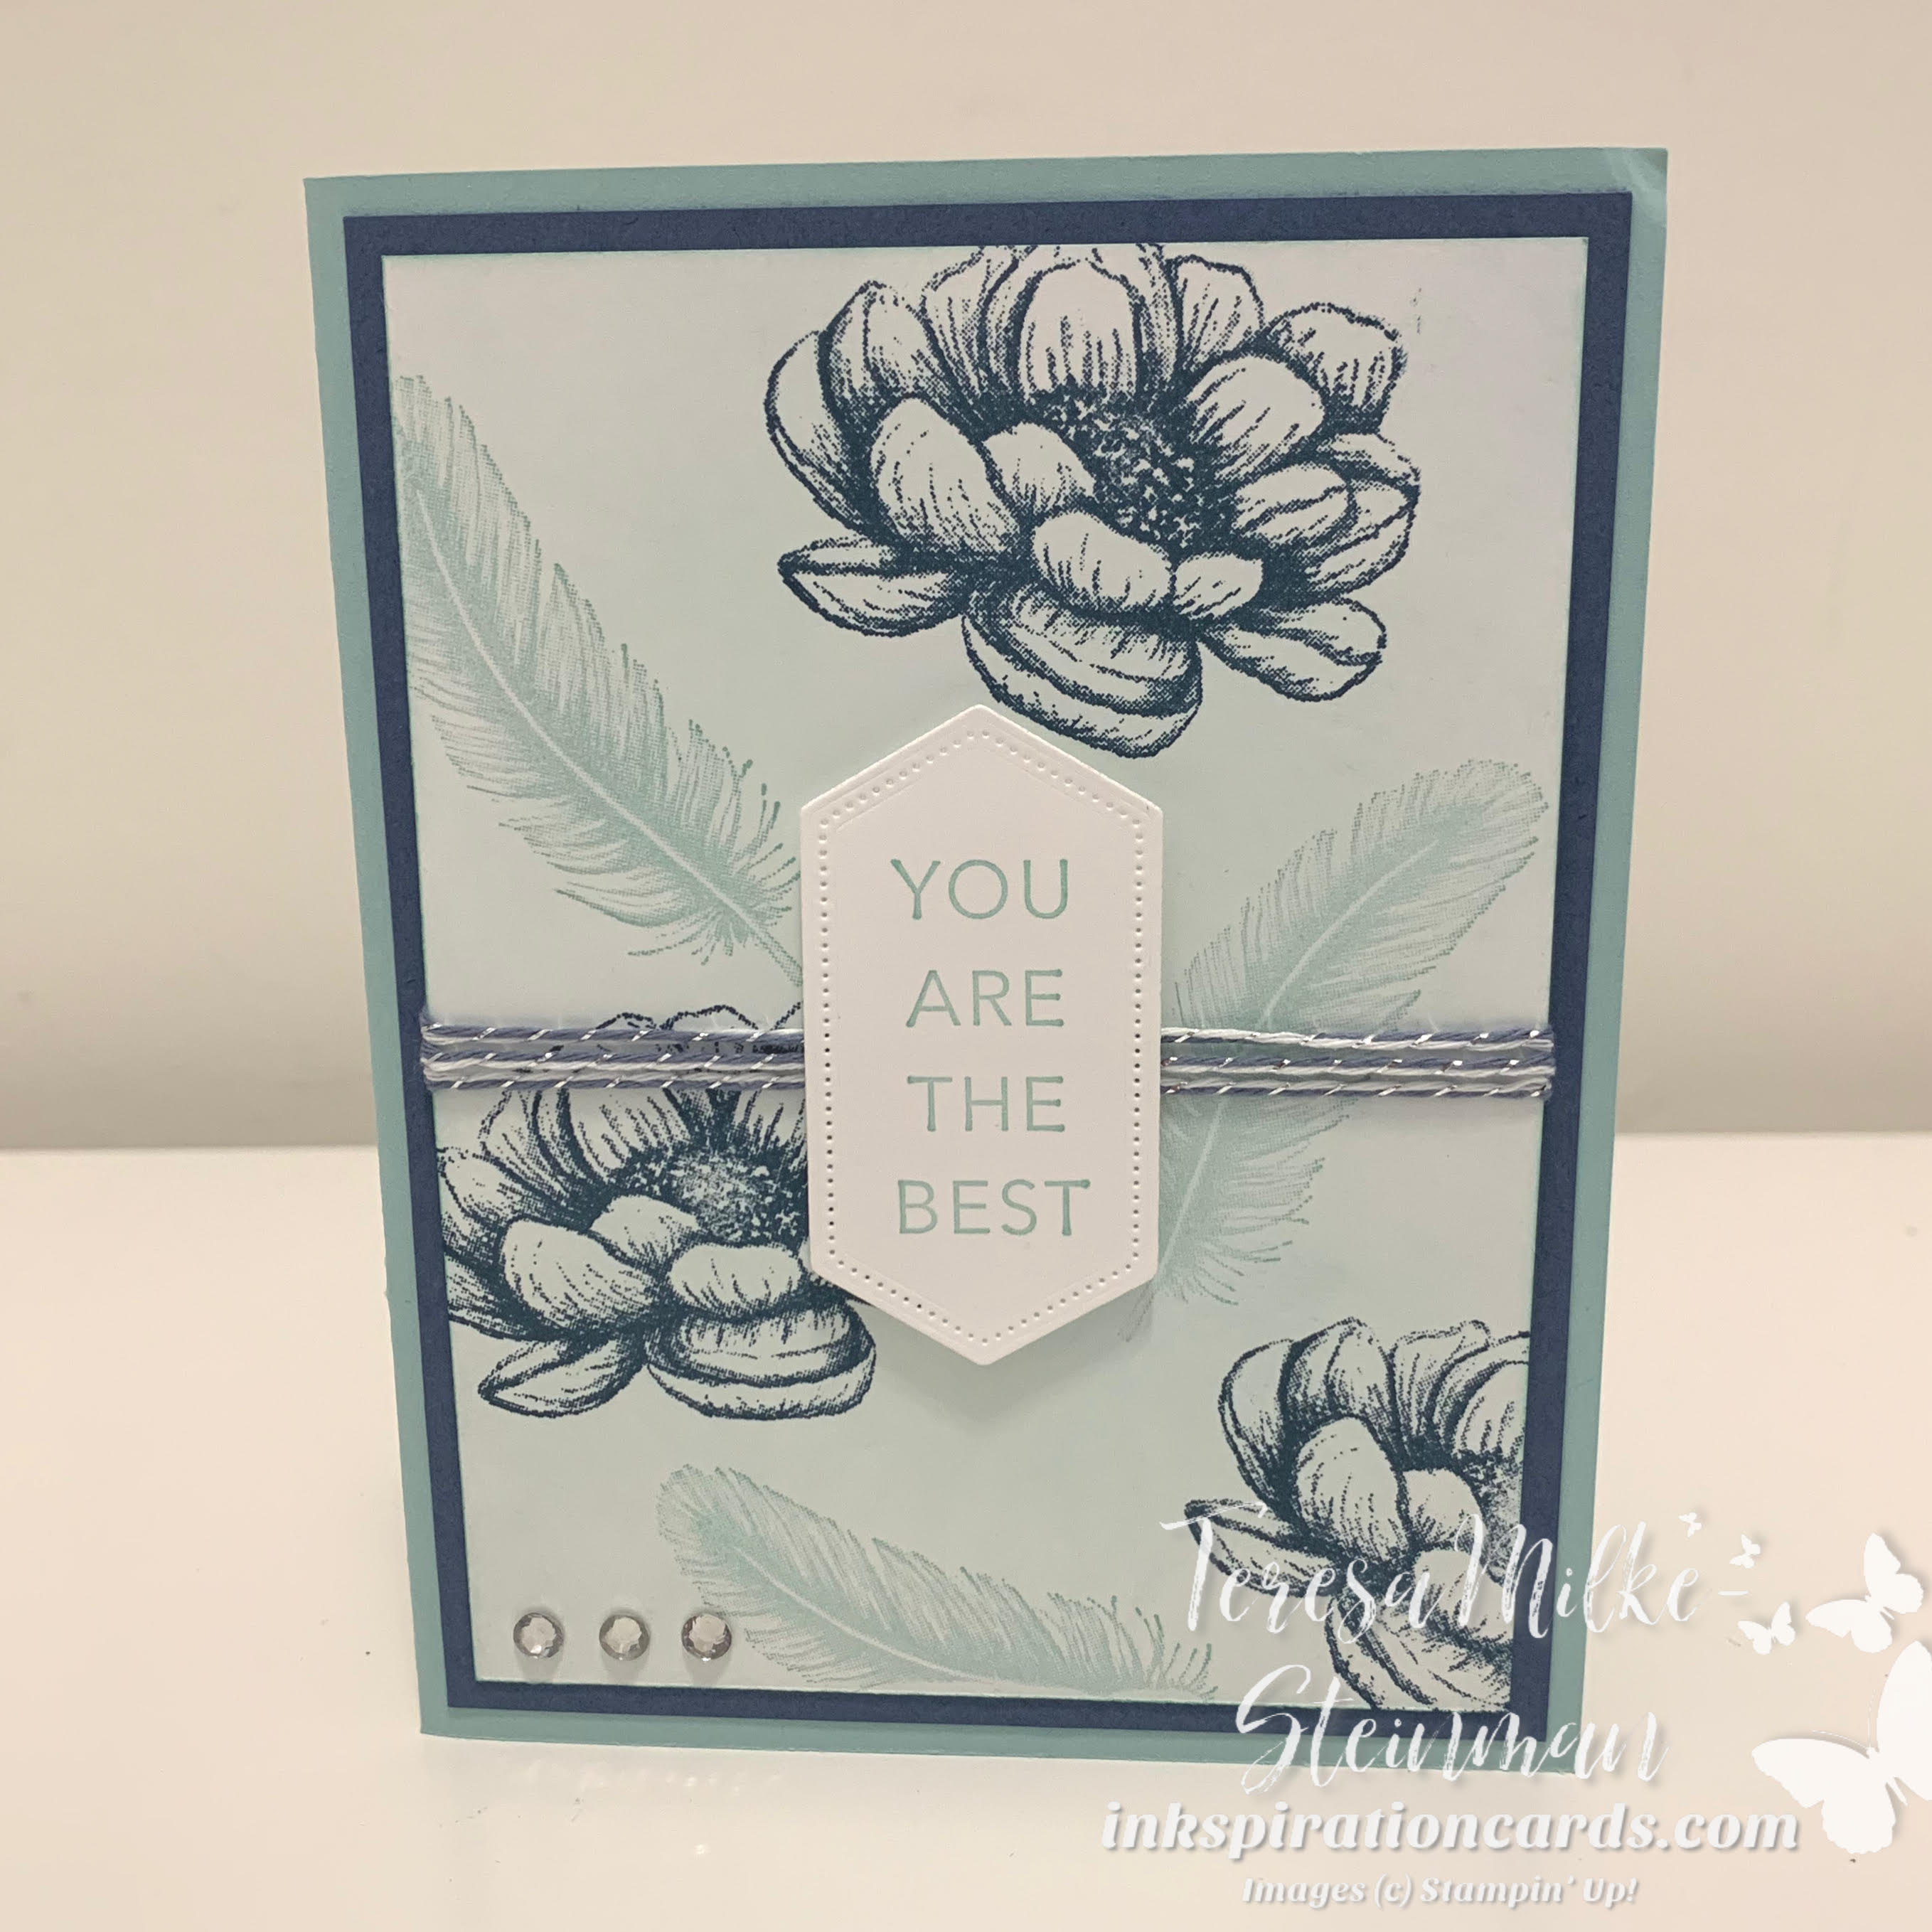
I’ve been having a lot of fun creating with the March Paper Pumpkin kit Here’s to You! To celebrate Paper Pumpkin’s birthday everyone who subscribed in March also received four 4×4 stencils and a Stampin’ Sponge. So I’ve been doing a lot of sponging with my stencils. And so I thought I’d share a project here to show you how to sponge your projects. It’s really easy, but there are a few tips to help make it even easier.

To help with this I shared a video on my YouTube channel on just how to do it. There are two important things to remember when you’re sponging. The first is to use circular motions with your sponge. This will help spread the ink more smoothly and evenly. And the other important thing to remember is to always start off the cardstock, or whatever it is that you’re sponging. You don’t want to end up with a blob of ink on your project!

In my video I sponged a piece of Basic White cardstock with Pool Party ink. So from there I picked a darker colour of cardstock that would help the sponged piece stand out. In this case I went with Misty Moonlight for the card mat and of course Pool Party for my card base. And the piece of Basic White in the centre of the card also helps show off the sponged piece of cardstock.

The phrase and images all came from the Tasteful Touches stamp set. Which is thankfully carrying over to the new Annual Catalogue. I stamped the phrase and feathers with Pool Party. And the blooms with Misty Moonlight. I cut out the phrase with the Stitched Nested Labels dies, which sadly are retiring soon. I also wrapped some of the Misty Moonlight/Silver Baker’s Twine from the Flowers for Every Season ribbon combo pack around the sponged cardstock. And to finish it off I add a few Rhinestone Basic Jewels. Here’s the finished card…

How to Sponge your projects

It’s been a while since I’ve done any sponging. And so it’s been nice to get back into it. I hope you found these how to sponge your projects tips helpful. And I’d love it if you’d share your sponging projects in the comments.

One last important thing… the Stampin’ Sponges are also on the list of products retiring May 3rd, if they last til then. So if you want to check out the full list of what’s retiring to see what else you want to grab before it’s gone, then check out my last chance post.