Suspended Book Fold Card

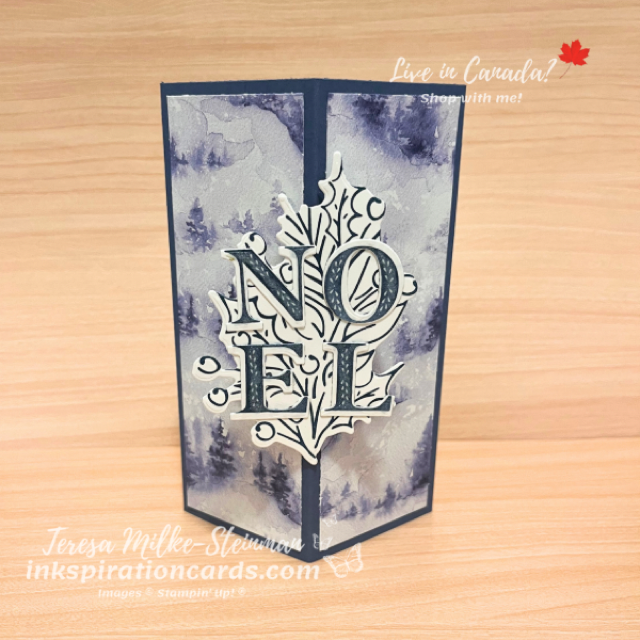
It’s been quite a while since I shared a fancy fold card and so when I saw this one I couldn’t resist! It’s a Suspended Book fold card. Now this card is a little bigger than I usually make. It’s 5″ x 7″ instead of 4 1/4″ x 5 1/2″. But I love how this card looks!

I’m still deep into my Christmas crafting, so my card design is Christmas themed. Although I did go in a little bit of a different direction with some of my colours. My main colour is Misty Moonlight. I’m using that colour because I wanted to use the Winter Meadow Designer Series Paper pack. I just love the designs in this pack of patterned paper. And I’m so glad that it’s not retiring!

For my sentiment and images I’m using the Joy of Noel bundle. I used Misty Moonlight ink for the berry branches and “Noel”. And for the pine boughs I used Garden Green cardstock. I stuck the pine boughs and berry branches to the back of the sentiment first. That made it so much easier to then stick it all to the strip of window sheet.

Here it is….
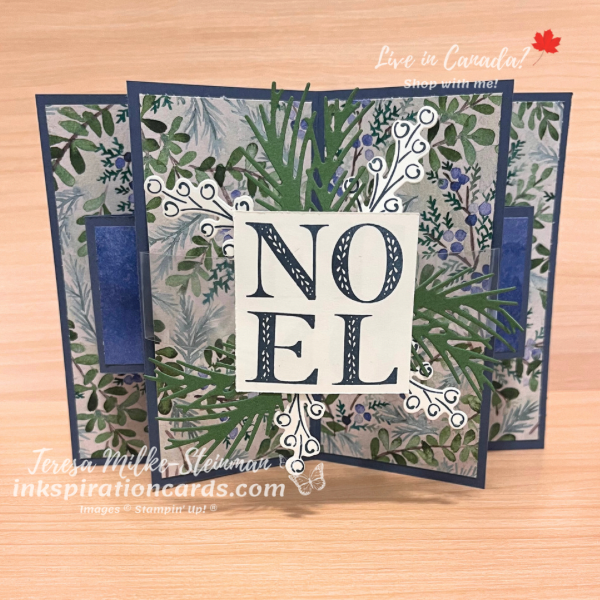
Suspended Book Fold Card

The Suspended Book fold card is probably one of my favourites! I might need to make another version of this.

Check out another card I made using the Joy of Noel bundle here.

And just in case you love this bundle as much as I do, you’ll want to grab it before it retires on January 3rd… or sooner if it sells out. You can find it in my online shop.
A Walk in the Forest

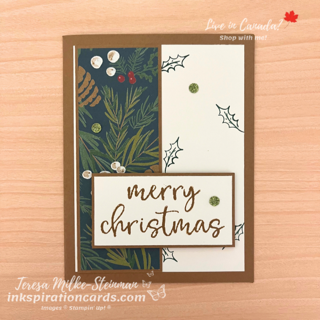
Can you believe there’s only about 5 weeks left until Christmas?! I feel like I’m only just starting to get into my Christmas crafting groove. Thankfully I think I finally figured out my designs for the card I’ll be sending to my friends and family. And while this isn’t it, it is using this pack of Designer Series Paper… A Walk in the Forest.

For this card I’m pairing up the Joy of Noel and More Wishes stamp sets. I think the holly leaf image from the Joy of Noel stamp set goes nicely with the design I chose. And to play up the pine cones in this design I’m using Pecan Pie for my card base and as a frame for the DSP and sentiment.

I stamped the holly leaves in Garden Green. And I stamped the “Merry Christmas” from the More Wishes stamp set in Pecan Pie. Then I popped up the sentiment with a few Stampin’ Dimensionals. And then to finish it off I added a few of the green Adhesive-Backed Glitter Sequins.

A Walk in the Forest

Stay tuned for the designs I use for my family and friends!

In the meantime, check out another Christmas card I made using the Snowflake Magic Specialty Designer Series Paper here.

You can find both packs of patterned paper in my online shop. And when you buy the A Walk in the Forest DSP pack Stampin’ Up! will donate $4 to support organizations dedicated to spreading cheer and providing support to those who need it.

Lost Lagoon Christmas Card

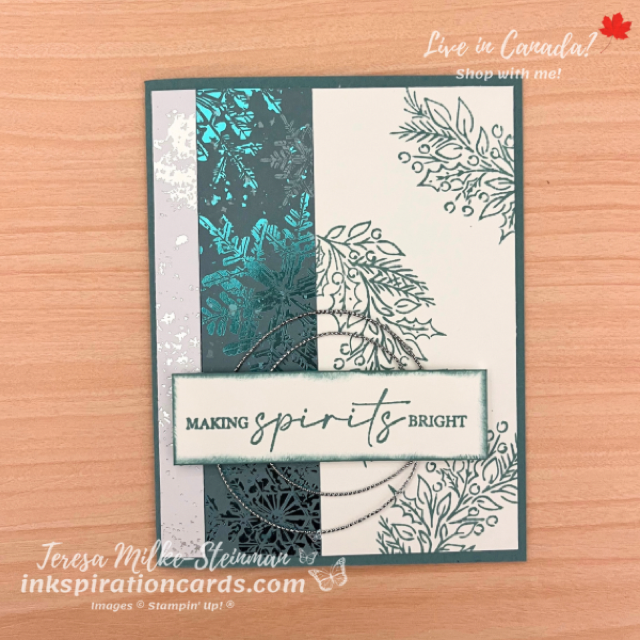
I don’t remember liking Lost Lagoon this much last time Stampin’ Up! had it. But since the colour refresh, it’s become one of my favourite colours! So much so that I decided to make a Lost Lagoon Christmas card. It’s definitely not a traditional Christmas colour, but I do like to try some non-traditional colours every once in a while.

For this card I’m using Lost Lagoon for the card base and ink colour. I stamped some holly and berries from the Joy of Noel stamp set on a piece of Basic White cardstock. Next to that I layered in two of the designs from the Snowflake Magic Specialty Designer Series Paper pack. Then on top of that I added a sentiment that I sponged the edges of the cardstock with using more Lost Lagoon ink. And behind that I put a little bit of silver Simple Elegant trim.

Lost Lagoon Christmas Card

This Lost Lagoon Christmas card is what I made for my large team’s September to December Mini Catalogue card swap. I just love doing card swaps with my team! The cards I get are so pretty and such a great way to see samples with products I don’t have.

Check out another Christmas card I made using the Joy of Noel stamp set here.

And check out my online shop to stock up on all your Christmas card making supplies!

Christmas Card with Winter Meadow

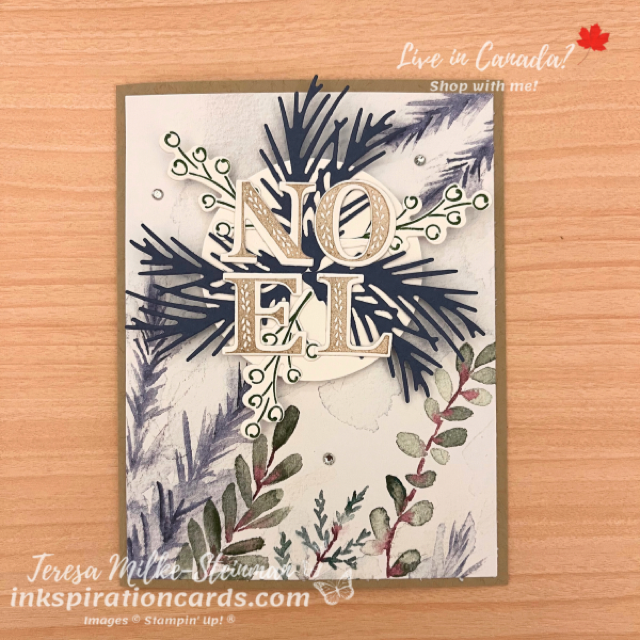
Patterned paper can make it so easy to create beautiful handmade cards! And the Winter Meadow Designer Series Paper pack is no exception. The colours and designs are so pretty. And one thing I really like about this pack is that it’s not your typical Christmas patterned paper. I really didn’t need to add much to craft this beautiful Christmas card with Winter Meadow DSP.

I started with choosing the design from the pack of patterned paper. And this one is great just on it’s own. So I decided to use it as my card mat. For the card base I went neutral… Crumb Cake. The other colours came from the patterned paper; Misty Moonlight and Garden Green.

I paired it with the Joy of Noel bundle. The pines branches are Misty Moonlight cardstock. And the berries I stamped in Garden Green. Then for NOEL I used Crumb Cake. To make it easy to pop all this up with some Stampin’ Dimensionals I punched out a Basic White circle and layered them on. And to finish it off I added some Wink of Stella to the NOEL, along with a few Rhinestone Basic Jewels.

Christmas Card with Winter Meadow

I really like this Christmas card with Winter Meadow DSP. And I can’t wait to craft some more!

Check out a fun fold card I made using the Joy of Noel bundle here.

And if you want to see all the different designs in the Winter Meadow DSP pack, then head over to my online shop.

Corner Box Card

Fancy Folds Design Team

This month the Fancy Folds Design team is making a Corner Box card. It’s such a simple card to make and it’ll fit in a typical envelope… which is always nice! For my card design I’m taking advantage of the upcoming holiday season for my inkspiration. Plus I recently got the Winter Meadow Designer Series Paper pack and am excited to get crafting with it!

I started with choosing my patterned paper. I wanted one design that was fairly simple, so I can write a little note on it. And I wanted the other to have a bit more to it. I chose a Misty Moonlight design from the pack. And what was perfect is that this sheet of DSP worked for both! So for the card base I used Misty Moonlight cardstock.

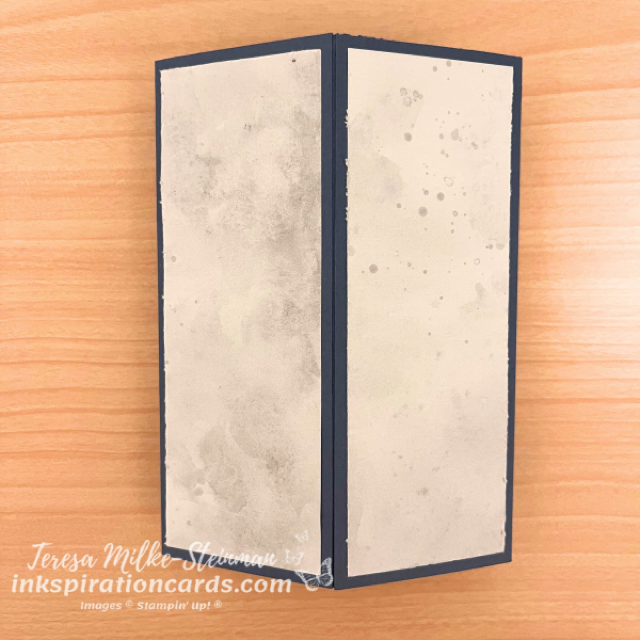
To make the card base, I used a piece that was 5 1/2″ x 8 1/2″ and scored along the long side at 2 1/8″, 4 1/4″ and 6 3/8″. Then I also needed a strip that was 1″ x 5 1/2″ and 2 1″ circles. And both of these needed to be scored in half. The strip holds the card base together so that it stands up. I used Tear & Tape Adhesive to hold it all together. Then the 2 circles held up my image and sentiment.

I used the Joy to Noel stamps and dies bundle for my image and sentiment. I stamped both with Misty Moonlight ink. And then used the coordinating dies to cut them out. Once I got them all stuck to my card base I added some Wink of Stella to my “NOEL”.

Here’s the front and back of my Corner Box card…

Remember to keep hopping to see all the Corner Box card designs! Up next is Mette Nordling Shaw and you can check out her card here.

And if you want to check out last month’s hop you can do that here. Last month we made a Pop Out Fun Fold card.