Christmas Card with Winter Meadow

Patterned paper can make it so easy to create beautiful handmade cards! And the Winter Meadow Designer Series Paper pack is no exception. The colours and designs are so pretty. And one thing I really like about this pack is that it’s not your typical Christmas patterned paper. I really didn’t need to add much to craft this beautiful Christmas card with Winter Meadow DSP.

I started with choosing the design from the pack of patterned paper. And this one is great just on it’s own. So I decided to use it as my card mat. For the card base I went neutral… Crumb Cake. The other colours came from the patterned paper; Misty Moonlight and Garden Green.

I paired it with the Joy of Noel bundle. The pines branches are Misty Moonlight cardstock. And the berries I stamped in Garden Green. Then for NOEL I used Crumb Cake. To make it easy to pop all this up with some Stampin’ Dimensionals I punched out a Basic White circle and layered them on. And to finish it off I added some Wink of Stella to the NOEL, along with a few Rhinestone Basic Jewels.
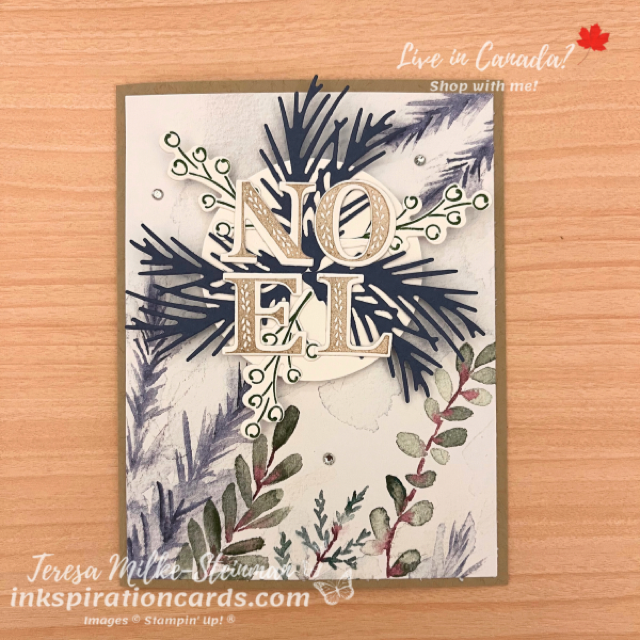
Christmas Card with Winter Meadow

I really like this Christmas card with Winter Meadow DSP. And I can’t wait to craft some more!

Check out a fun fold card I made using the Joy of Noel bundle here.

And if you want to see all the different designs in the Winter Meadow DSP pack, then head over to my online shop.

Corner Box Card

Fancy Folds Design Team

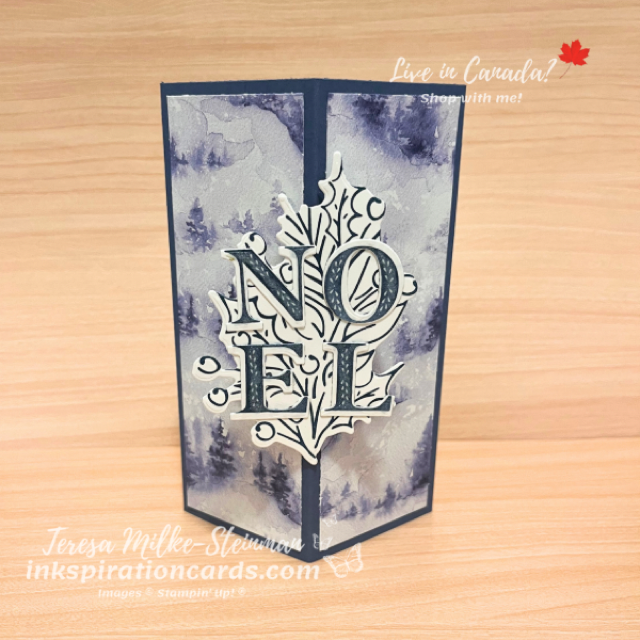
This month the Fancy Folds Design team is making a Corner Box card. It’s such a simple card to make and it’ll fit in a typical envelope… which is always nice! For my card design I’m taking advantage of the upcoming holiday season for my inkspiration. Plus I recently got the Winter Meadow Designer Series Paper pack and am excited to get crafting with it!

I started with choosing my patterned paper. I wanted one design that was fairly simple, so I can write a little note on it. And I wanted the other to have a bit more to it. I chose a Misty Moonlight design from the pack. And what was perfect is that this sheet of DSP worked for both! So for the card base I used Misty Moonlight cardstock.

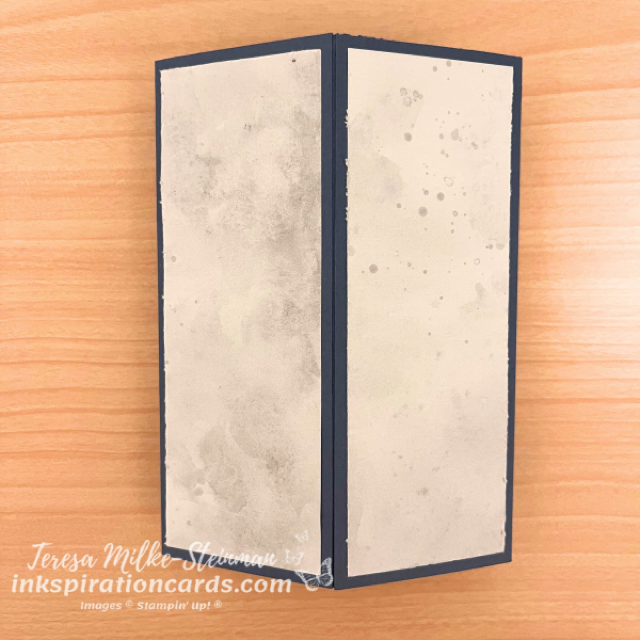
To make the card base, I used a piece that was 5 1/2″ x 8 1/2″ and scored along the long side at 2 1/8″, 4 1/4″ and 6 3/8″. Then I also needed a strip that was 1″ x 5 1/2″ and 2 1″ circles. And both of these needed to be scored in half. The strip holds the card base together so that it stands up. I used Tear & Tape Adhesive to hold it all together. Then the 2 circles held up my image and sentiment.

I used the Joy to Noel stamps and dies bundle for my image and sentiment. I stamped both with Misty Moonlight ink. And then used the coordinating dies to cut them out. Once I got them all stuck to my card base I added some Wink of Stella to my “NOEL”.

Here’s the front and back of my Corner Box card…

Remember to keep hopping to see all the Corner Box card designs! Up next is Mette Nordling Shaw and you can check out her card here.

And if you want to check out last month’s hop you can do that here. Last month we made a Pop Out Fun Fold card.

Mirror Fold Card

Fancy Folds Design Team

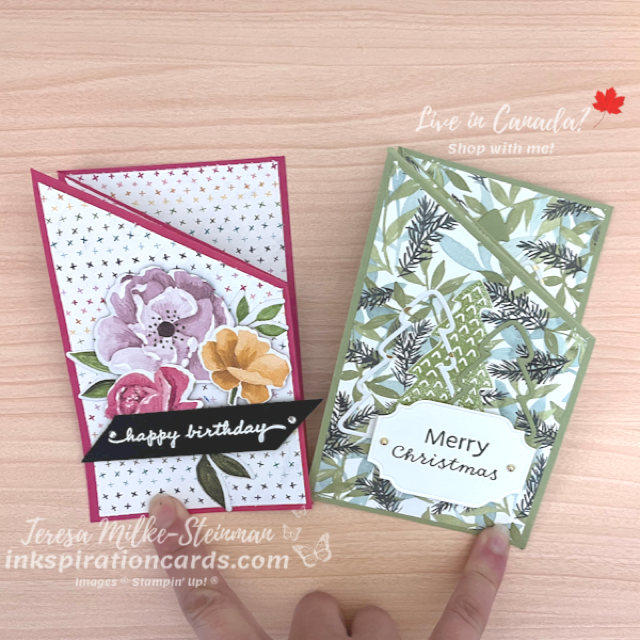
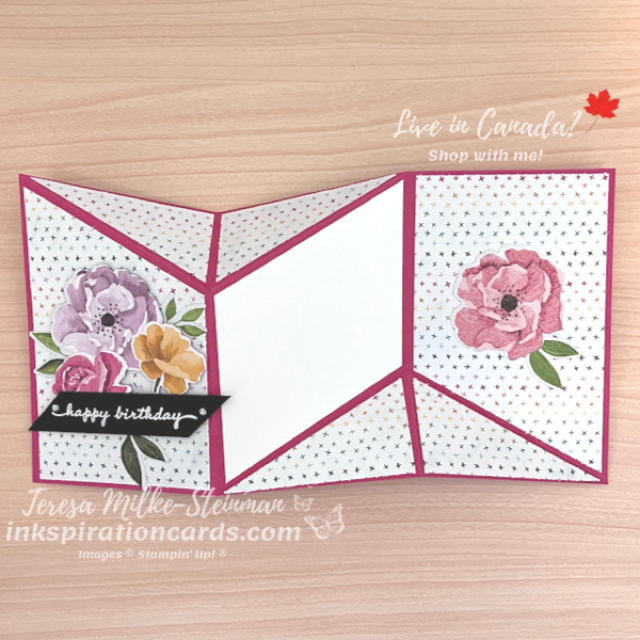
It’s blog hop time again! And this month the Fancy Folds Design Team is making a Mirror Fold Card. I saw this card a little while ago and am excited to share it with you. For measurements and steps to try this yourself check out my YouTube video. Just as a heads up there were a couple of parts that were a bit tricky, but I still love how these cards turned out.

For whatever reason I decided to make two different versions of this card. Maybe it’s the excitement from the newly launched July-December mini catalogue. Who knows?! Anyway… I made one version using the Hues of Happiness suite of products to make a birthday card. And the other version is a Christmas card using the All Spruced Up bundle.

For the birthday card I used Melon Mambo for the card base and a simple design for my patterned paper. The Hues of Happiness Designer Series Paper is sssooo pretty, but I wanted a simple design so the the flowers would be the focus. I cut out the flowers using the coordinating dies. Don’t you just love it when the dies work for both the stamped images AND the images in the DSP pack? I know I do! I popped up the flowers on the front panel using some Stampin’ Dimensionals and then heat embossed “happy birthday” in white on a piece of Basic Black cardstock. Then to finish it off I added a couple of Rhinestone Basic Jewels.

Mirror Fold Card

For the Christmas card I used Pear Pizzazz for my card base and the Painted Christmas Designer Series Paper. I’m so glad this pack of patterned paper is back! The designs are so pretty and some can be used for occasions other than Christmas too. To decorate this version I used the All Spruced Up dies with a few different papers, including the Gold & Silver Foil DSP from the Sale-a-bration catalogue. I cut out the phrase with one of the He’s All That dies and popped it up with some Stampin’ Dimensionals. And when I finally found my Festive Pearls I added a couple of the gold ones to the card to finish it off.

Mirror Fold Card

I hope you enjoy this month’s fun fold! Keep hopping around the world and check out the next Mirror Fold Card from Mette Nordling Shaw here.

And you can always check out what we made last month, which was a Diamond Z Fold card. Check out that hop starting here.