Handmade Card for Spring

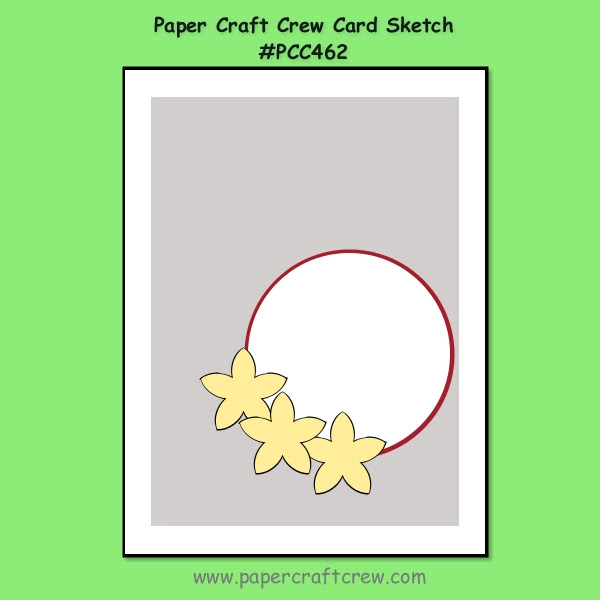
I couldn’t resist when I saw this week’s vertical sketch challenge from the Paper Craft Crew (PCC 462). As soon as I saw it I knew I had to use the Dahlia Days stamp set to make a handmade card for Spring. Here’s the sketch…
Handmade Card for Spring

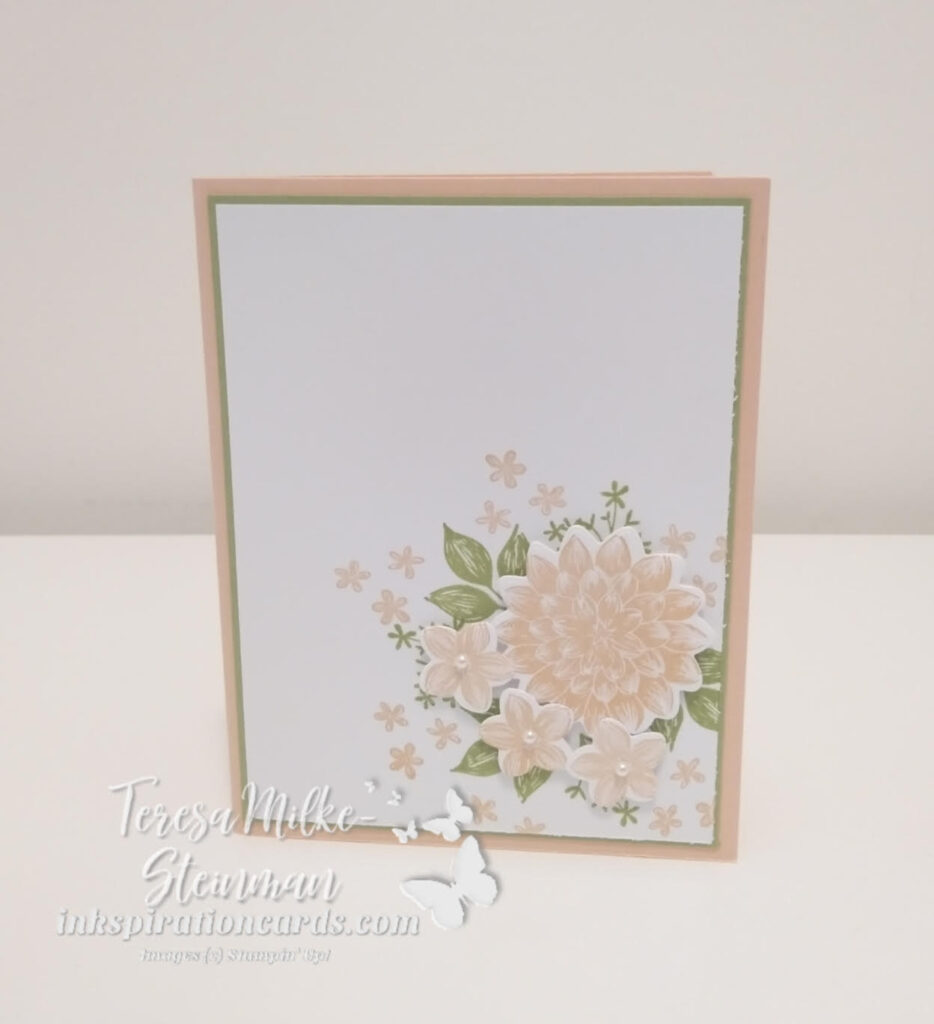
For my colours I chose Petal Pink and Pear Pizzazz. That’s a lot of Ps, lol! These are such nice, bright Spring colours, so I thought they’d work well. I knew I wanted to use the large dahlia image for the main focus. But for the other pieces in the sketch I went back and forth between using smaller flowers or leaves. In the end I decided to use the leaves and some other foliage as a kind of background. Then I added a few more small bunches of flower to bring in more Petal Pink.

To really make the larger flowers pop I die cut them using the coordinating dies and then used some Stampin’ Dimensionals to pop them up. Then I added some Pearl Basic Jewels to the centres of the smaller die cut flowers. I debated about adding a phrase to the card, but thought I’d keep this a simple handmade card for Spring. Here’s my card…
Handmade Card for Spring

Check out all the other cards for this week’s Paper Craft Crew Challenge (PCC462) here. And you can check out one of my other cards for a previous Paper Craft Crew Challenge here.
Simple Handmade Cards

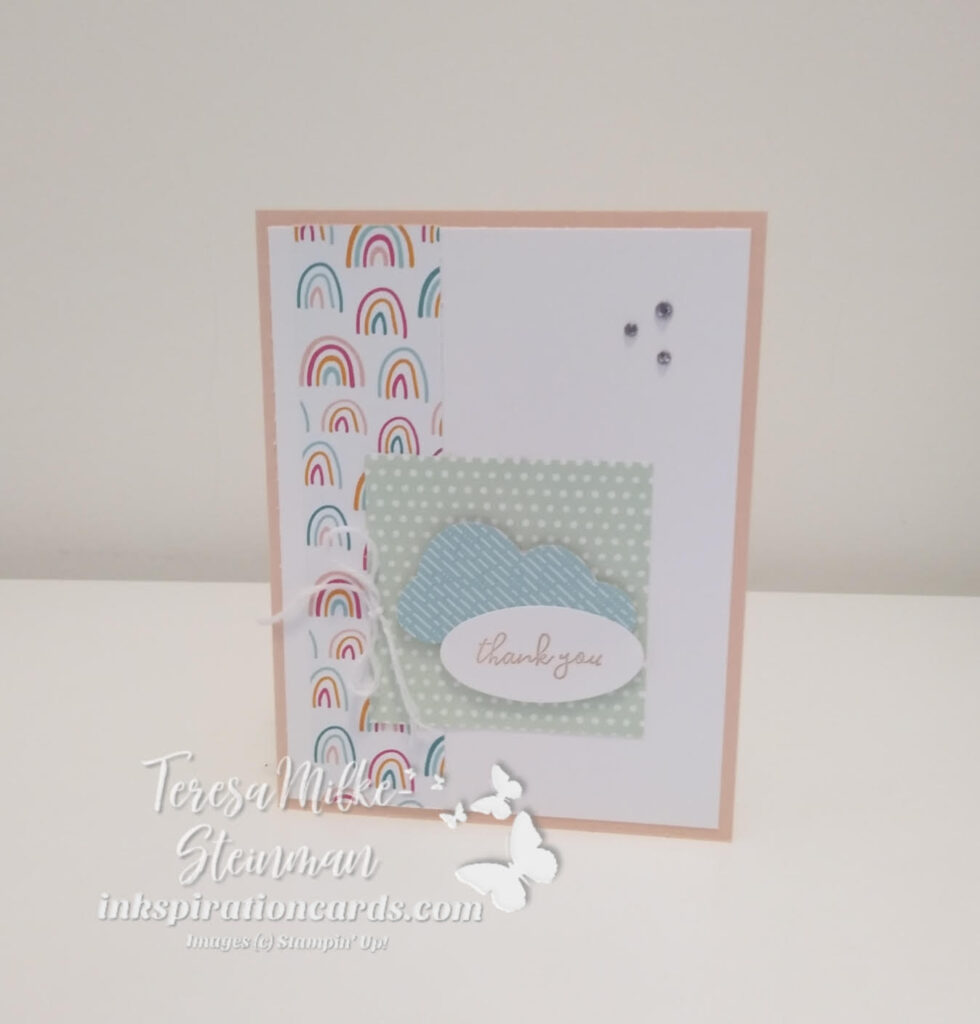
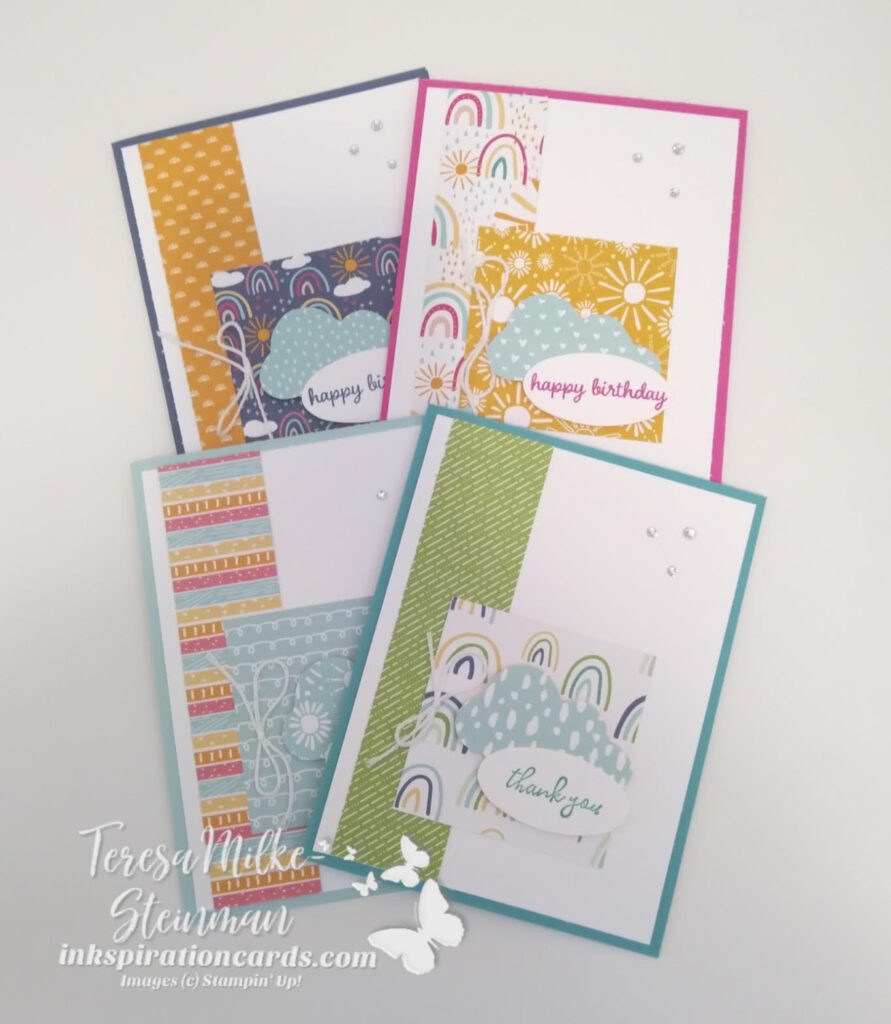
Today is the last day of Sale-a-bration! I’m going to miss a lot of these producs. There are so many great options in this catalogue. And I’ve had so much fun crafting with them. The Sunshine & Rainbows Designer Series Paper is one of my favourites. So I thought I’d share some simple handmade cards featuring this pretty patterned paper!

The inkspiration for these cards came from Shannon West. I love how she layered the different designs! The colours for the card bases came from the DSP designs i used. I used Magenta Madness, Misty Moonlight, Bermuda Bay, Petal Pink and Pool Party. And the DSP designs worked out really well because for all the cards I just flipped the sheet over for the other design.

Simple Handmade Cards

Since I don’t have the Cloud Punch, I fussy cut the clouds. Thankfully that was pretty easy! And the phrases came from Free as a Bird (thank you) and Timeless Tulips (happy birthday). The ink colours came from the card base colours. Then I punched out the phrase with the plain oval from the Double Oval Punch. And added a few Stampin’ Dimensionals behind them both to pop them up. To finish it off I added a few Rhinestone Basic Jewels and a simple bow using the white twine from the Baker’s Twine Essentials pack.

Simple Handmade Cards

I just love these simple handmade cards! And I’m going to miss a lot of the products from the Sale-a-bration catalogue. Especially the Sunshine & Rainbows DSP. Check out another project I made with this great patterned paper here.

Stampin’ Up! will have some new Sale-a-bration products in the summer, but these ones will be gone after today. So if there’s something you’ve had your eye on now is the time! Head over to my online shop and get yours before they’re gone!

Time to Say Goodbye

I can’t believe it’s already the end of Februaury! This winter seems to be going by so fast… or maybe it’s just me. Either way though it’s almost time to say goodbye to the Sale-a-bration catalogue. This Tuesday is the last day you can place an order and get your choice of a free Sale-a-bration product or two. If you want to know more about how Sale-a-bration works then check out my post here. It has everything you need to know!

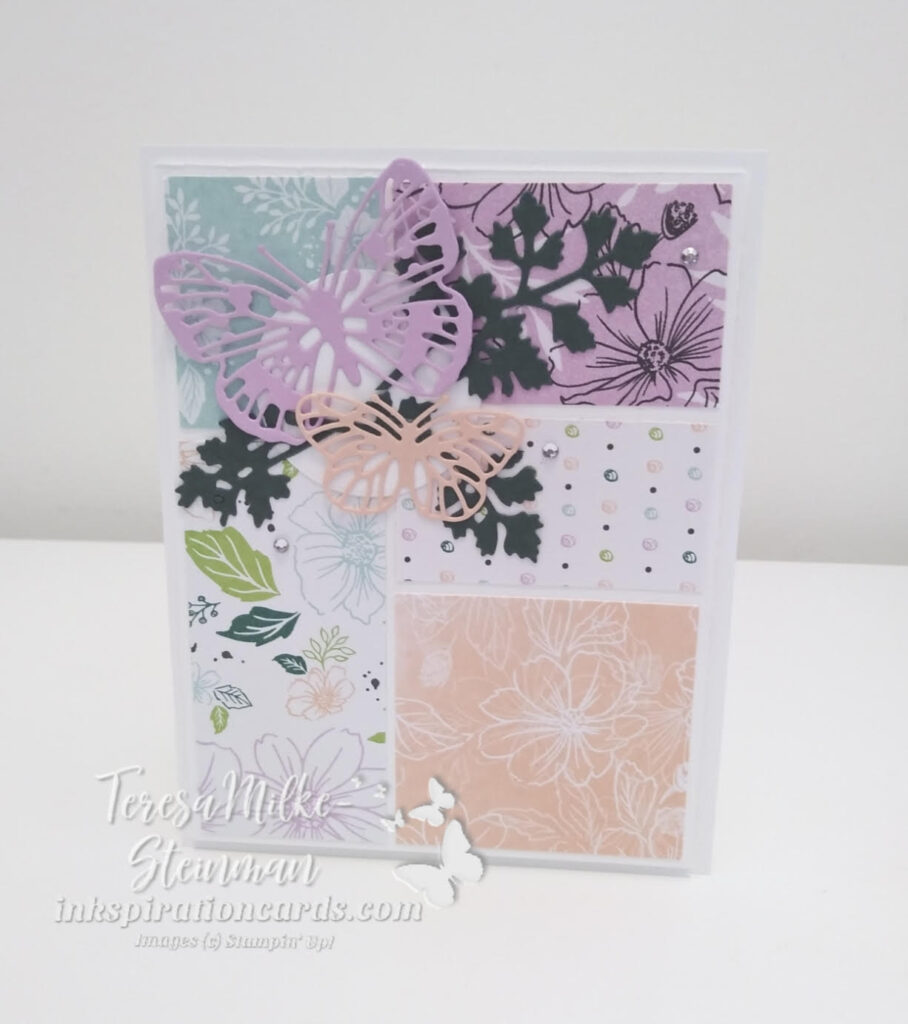
I’ve had a lot of favourites this Sale-a-bration. But I think the Designer Series Paper packs are my most favourite. I’ve been having so much fun crafting with them! The Friendly Hello stamp set and DSP pack I think might be favourite… aka the one I’ll miss the most. So I wanted to share one more card using it with you. The idea for this card came from a couple of different cards I saw recently using the Stack & Shuffle technique. One from Stampin’ Up! and the other from fellow demonstrator Debbie Beaulieu Henderson. This is such a great way to share a bunch of different patterned paper!

To make it I simply chose the designs I wanted and cut them into different sized rectangles. Then I stuck them on a piece of Basic White cardstock which I popped up with some Stampin’ Dimensionals. I used a Basic White card base because I wanted the colours/designs from the DSP to be the focus.

Then I die cut a couple of butterflies using the Brilliant Wings dies. The colours came from the colours in the DSP. And then I added some foliage in Evening Evergreen. This piece is one from the Meadow dies that I cut into 3 pieces to put behind the butterflies. Then to finish it off I added a few Rhinestone Basic Jewels.

Time to Say Goodbye

I really like how this card turned out! I don’t make no stamping cards very often. But when I do I really enjoy it. I’m definitely going to use this technique again. And next time I’ll be using some vellum behind my die cut pieces.

Check out the Friendly Hello bundle in my online shop before Tuesday. Remember it’s time to say goodbye to Sale-a-bration!

#SimpleStamping Sympathy Card

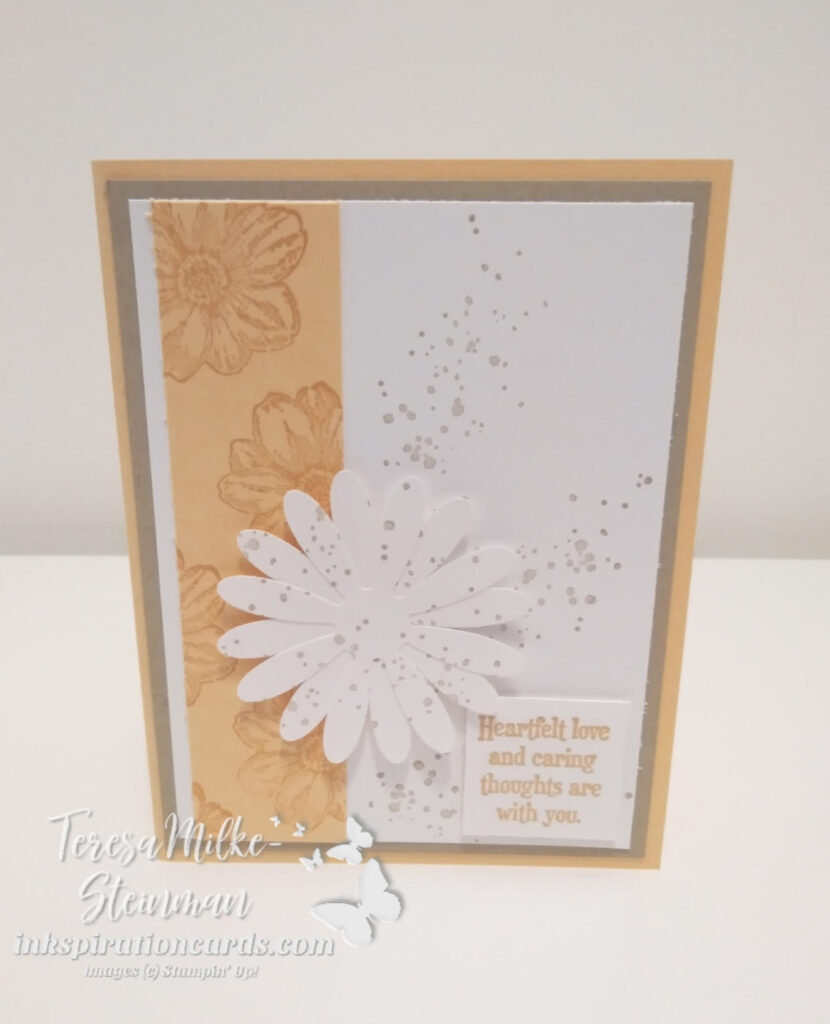
This month’s challenge from Stampin’ Up! is to create a #SimpleStamping sympathy card, or love themed. The #SimpleStamping challenges are always similar in that you can only use stamps, ink and paper. Sometimes though they offer a little something extra to use. This month we could also use a punch. At first I thought of making a love themed/Valentine’s Day card with the Heart Punch Pack. I just love how these two punches coordinate! But then I thought I’d make a sympathy card instead. It’s the kind of card you need to have, but usually never feel up to making… or at least I don’t.

So for my card I decided to pair up the Quiet Meadow stamp set and the Daisy Punch. I know it’s not the most likely combination, but I love the images and phrases from Quiet Meadow and I love layering the daisies to add more depth and layers to my cards. My colour combination is also not the most obvious either; Pale Papaya and Crumb Cake.

I did a little tone-on-tone stamping with Pale Papaya. And then used Crumb Cake to stamp some ink splatter on both the card front and the cardstock for my daisies. I layered the two daisies on top of each other and then pulled up on the petals gently. Then I popped them up with some Stampin’ Dimensionals along with the phrase.

#simpleStamping Sympathy Card

I really like how this #SimpleStamping sympathy card worked out. Bright but not too bright. Usually I add some bling to the centre of my daisies but couldn’t this time. But then I forgot to stamp one of the small flowers in the centre. I think that would have looked nice!

Check out one of my other recent #SimpleStamping projects here. And you can grab the Quiet Meadow stamp set or Daisy punch from my online store. Don’t forget there’s still a few days left to earn FREE Sale-a-bration products!

Amazing Thank Yous

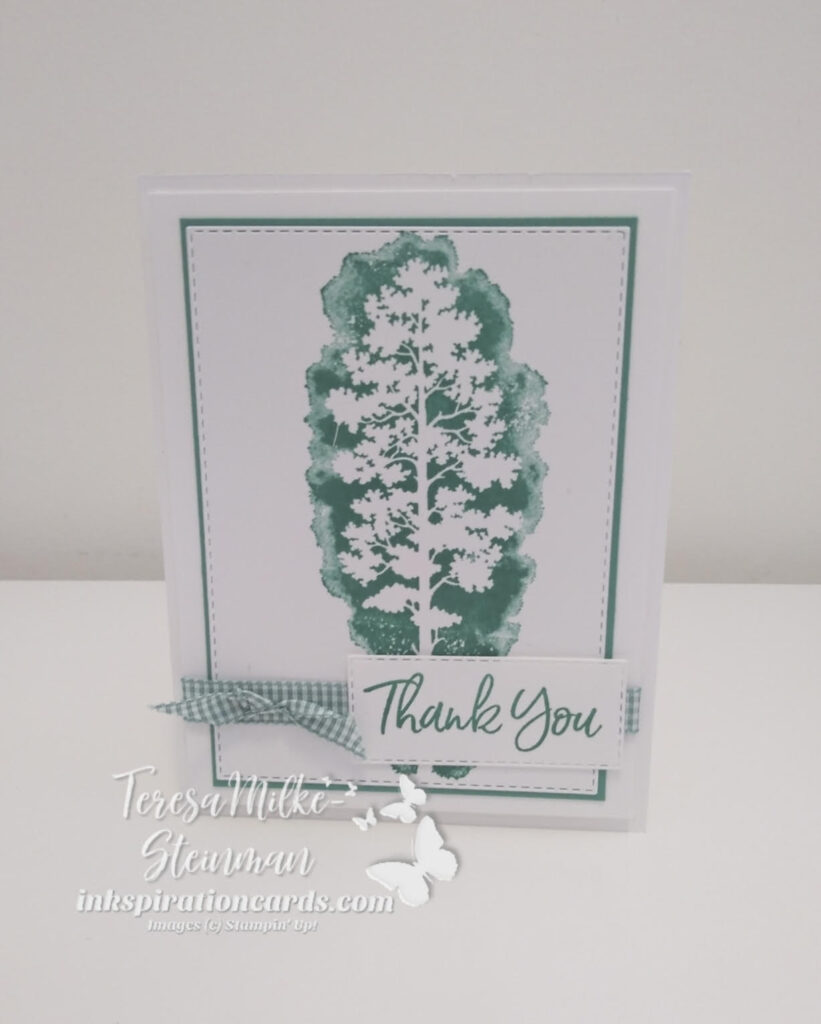
I love to share my cards with others! Handmade cards are the best way to show someone you care. And I especially enjoy thanking my customers, whether it’s with some embellishments, tags or cards. This time around I made some amazing thank yous… meaning I used the Amazing Silhouettes stamp set to make some thank you cards and tags. This stamp set still isn’t a go-to for me, but I’m warming up to it. Check out the first card I made with this set here!

For this card I got my inkspiration from someone else’s design and then added my own spin. I really liked the idea of having the tree image as the main focus. From there I decided to use Just Jade. This is such a pretty green! Plus I could used some of the Just Jade Gingham ribbon from the Flowers for Every Season ribbon combo pack. I’ll definitely miss this colour when it retires in just a couple of months!

To frame the image I used the Stitched Rectangles dies and added a bit of Just Jade cardstock behind it. Then I wrapped some of the Just Jade Gingham ribbon around that (and another piece of Basic White cardsdtock) and popped it up with some Stampin’ Dimensionals. To finish it off I used the ‘thank you’ from the Sweet Ice Cream stamp set. Which I also die cut using the Stitched Rectangles. And then I added a simple knot of the ribbon.

Amazing Thank Yous

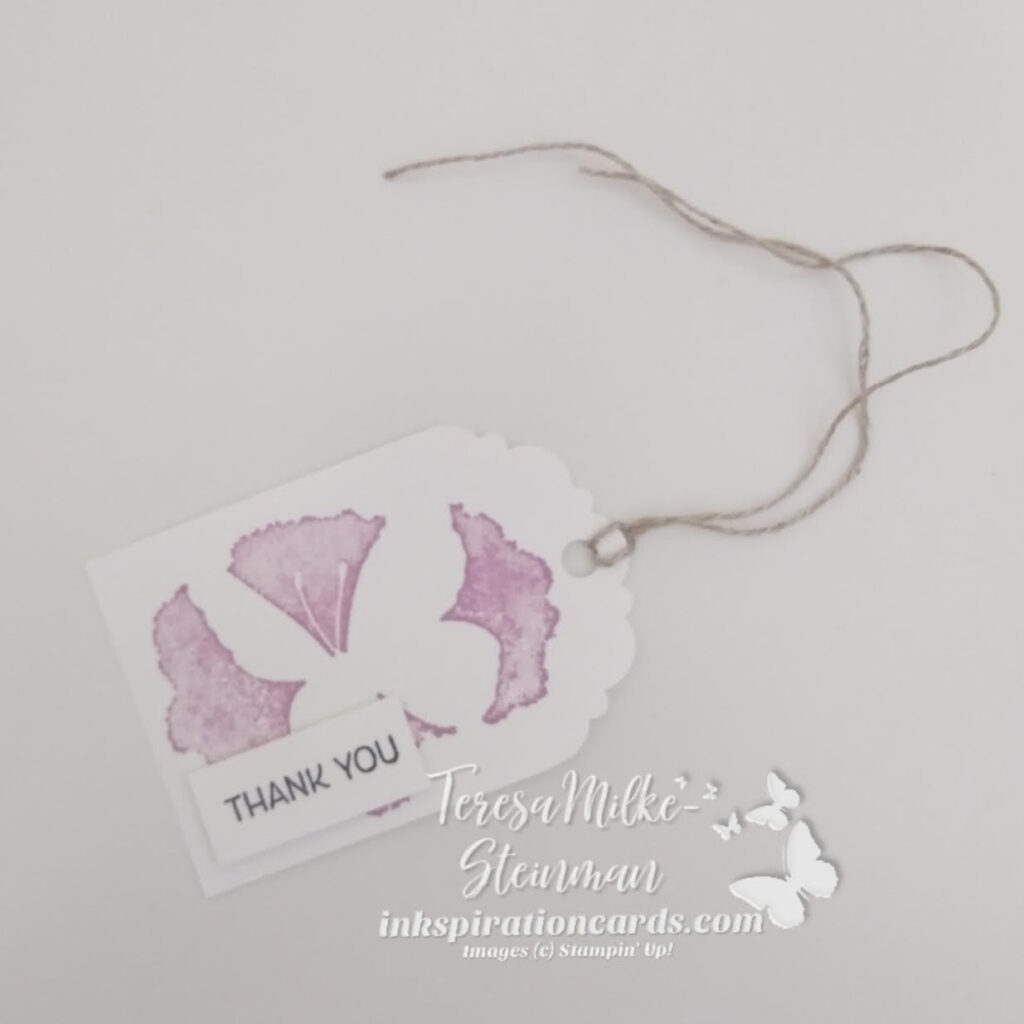
For the tag I simply stamped the butterfly image from the same stamp set using Fresh Freesia. Then I used the Delightful Tag Topper punch and added some Linen Thread. This ‘thank you’ came from the Friends are Like Seashells stamp set. Which I popped up with a couple of Mini Stampin’ Dimensionals.

Amazing Thank Yous

I hope my customers enjoy these amazing thank yous as much as I appreciate them! Check out the Amazing Silhouettes stamp set here in my online shop.

In the Moment

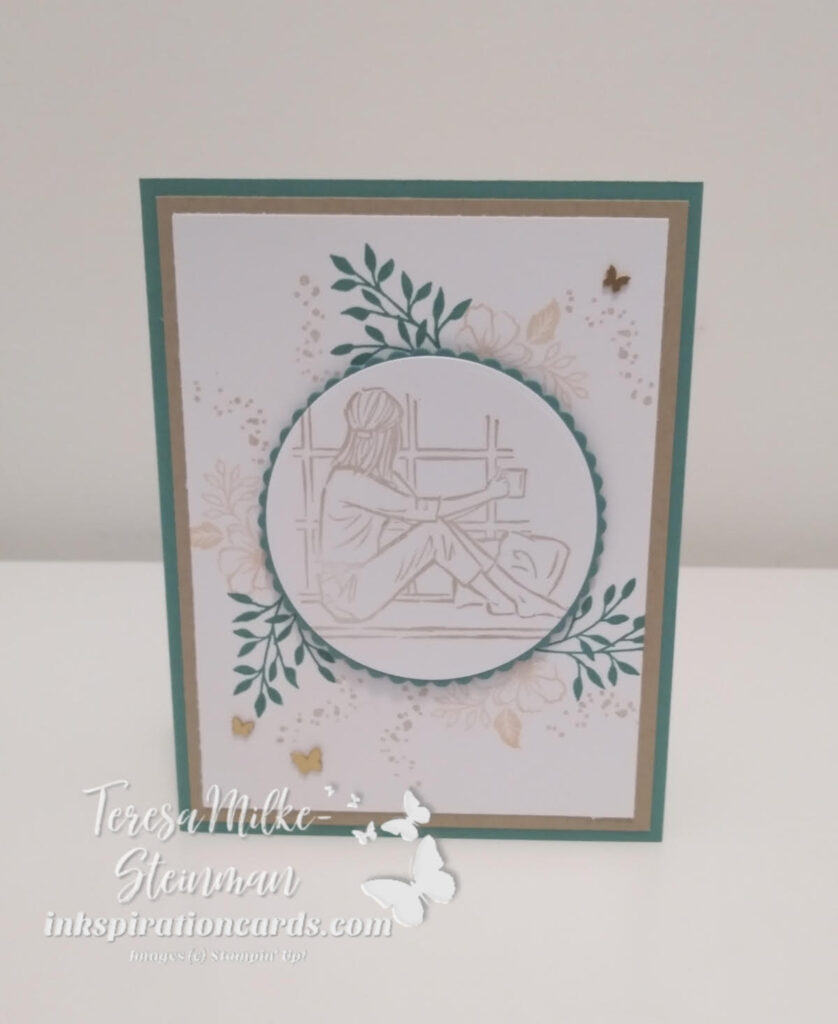
The January-June Mini catalogue is in full swing! I’m having a lot of fun with it and so are my team members. With every catalogue my team holds a card swap. I always enjoy participating in them. They’re a great chance to get a ton of inkspiration. And it’s a chance for me to see projects using products that are still on my wishlist. For this swap the main rule was to use a stamp set from the new mini catalogue. For me I decided to use the In the Moment stamp set. This is one that I got in my swag bag for OnStage@Home back in November.

I really like the images in this stamp set, especially because I love to colour. This is a great stamp set for that! But when I’m creating a card for a card swap I don’t want to have to colour 15 cards. I like to keep my design fairly simple. So for this design I had a main image in the centre and then stamped a few in the background to frame it.

The main image of course came from the In the Moment stamp set. And the background images came from the Friendly Hello stamp set from the Sale-a-bration catalogue. I used a combination of Just Jade, Crumb Cake and Petal Pink for my colours. To frame my main image even more I used the Layering Circles dies and popped it up with a few Stampin’ Dimensionals. To finish it off I added a bit of bling with a few Brushed Brass Butterflies.

In the Moment

I finally got all my card swaps in the mail and I’m excited to share some of my favourites here! So make sure to follow me and keep checking back in. In the meantime check out a fun fold card I made recently using the In the Moment stamp set here. You can also check out this stamp set and the other great products from the January-June Mini catalogue here in my online shop.

Amazing Silhouettes

Back in November I attended OnStage @ Home. Just like everyone else Stampin’ Up! switched their annual conference online. And while I do miss the in-person events, I still enjoy the online version. They do a great job! Anyway…. as part of attending OnStage I received the Amazing Silhouettes stamp set which is in the new January-June Mini catalogue. I have to admit that I wasn’t as excited as with this Prize Patrol, but did see some potential.

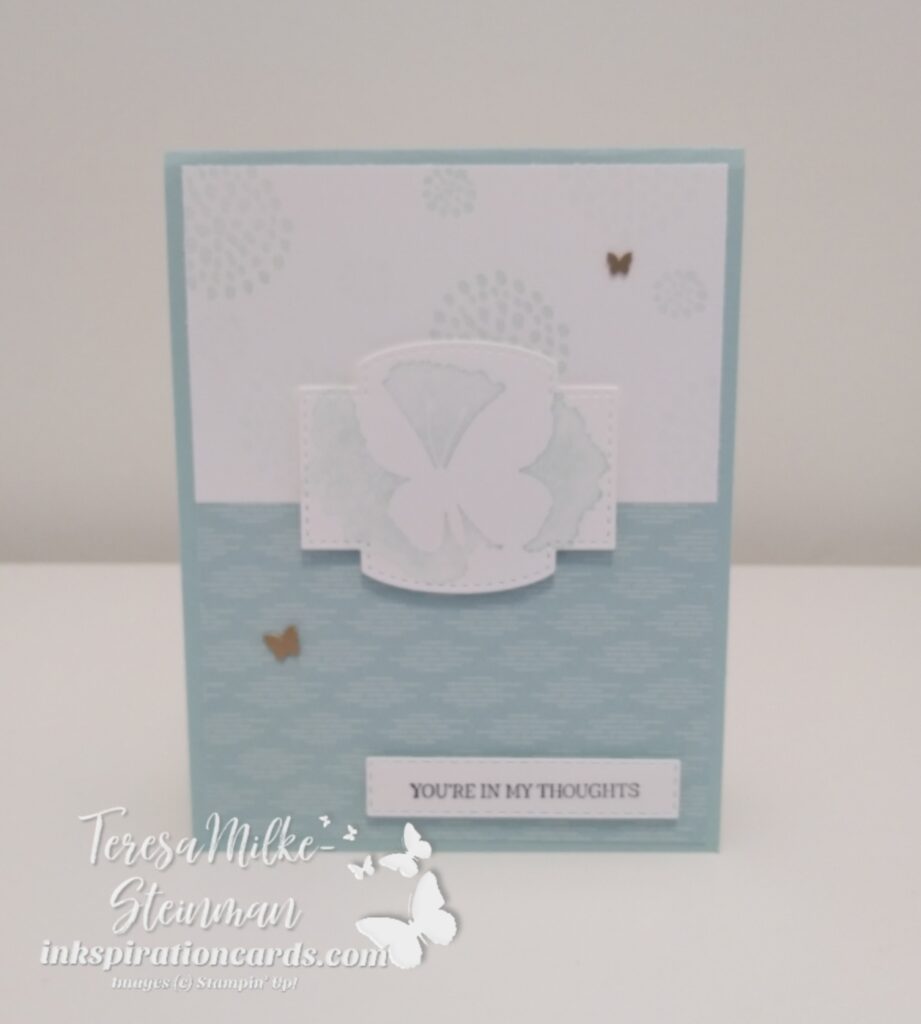
This card is my first design using this stamp set. And to ease my way into it I paired it with a few other stamp sets. I started my design thinking I would make a monochromatic card. And one of the Pool Party designs from the Sale-a-bration Sunshine & Rainbows Designer Series Paper was perfect! This one is a nice simple design and won’t overpower the other elements of the card. So Pool Party is my main colour for this card.

The central image is the butterfly from the Amazing Silhouettes stamp set. Behind that are the dotted circle images from the Sweet Conversations stamp set. Both of these I stamped with Pool Party, of course. But for the dotted circles I stamped them full strength and then once more for a faded image too. Then the phrase, which I stamped in Tuxedo Black Memento ink, came from the new In the Moment stamp set. This set also came from OnStage… I bought the swag box this time around and that was one of the goodies inside!

To highlight the phrase and butterfly I cut them out using the Stitched Rectangles and Stitched So Sweetly dies. And then I popped them up with some Stampin’ Dimensionals. To finish it off I added a couple of the Brass Brushed Butterflies. I just love these!! As soon as I saw them at OnStage I knew I had to have them. And when they ended up being one of the other Prize Patrols I was super excited. Here’s the card…

Amazing Silhouettes

The Amazing Silhouettes stamp set is definitely growing on me. I already have a couple other ideas in my head for other projects.

To fill up on supplies and make your own version of this card, head over to my online shop. Or if you want to get in on the sneak peeks and free products and join my team you can do that here. Plus when you do before February 28th you’ll get 2 extra stamp sets for free! Or if you want more info before joining the Stampin’ Up! family check out my join my team page here.

Bay Window Card

Fancy Folds Design Team

It’s time for the last Fancy Folds Design Team blog hop of 2021! I have so much fun participating in these blog hops. Even when I’m pushing myself to get it done in time. This month we’re making a Bay Window card. I’ve seen these before and they look so neat! And as usual I’m finding that it’s easier to make than you think. This one especially. You can check out LeeAnn Greff’s video here if you want to try it out yourself.

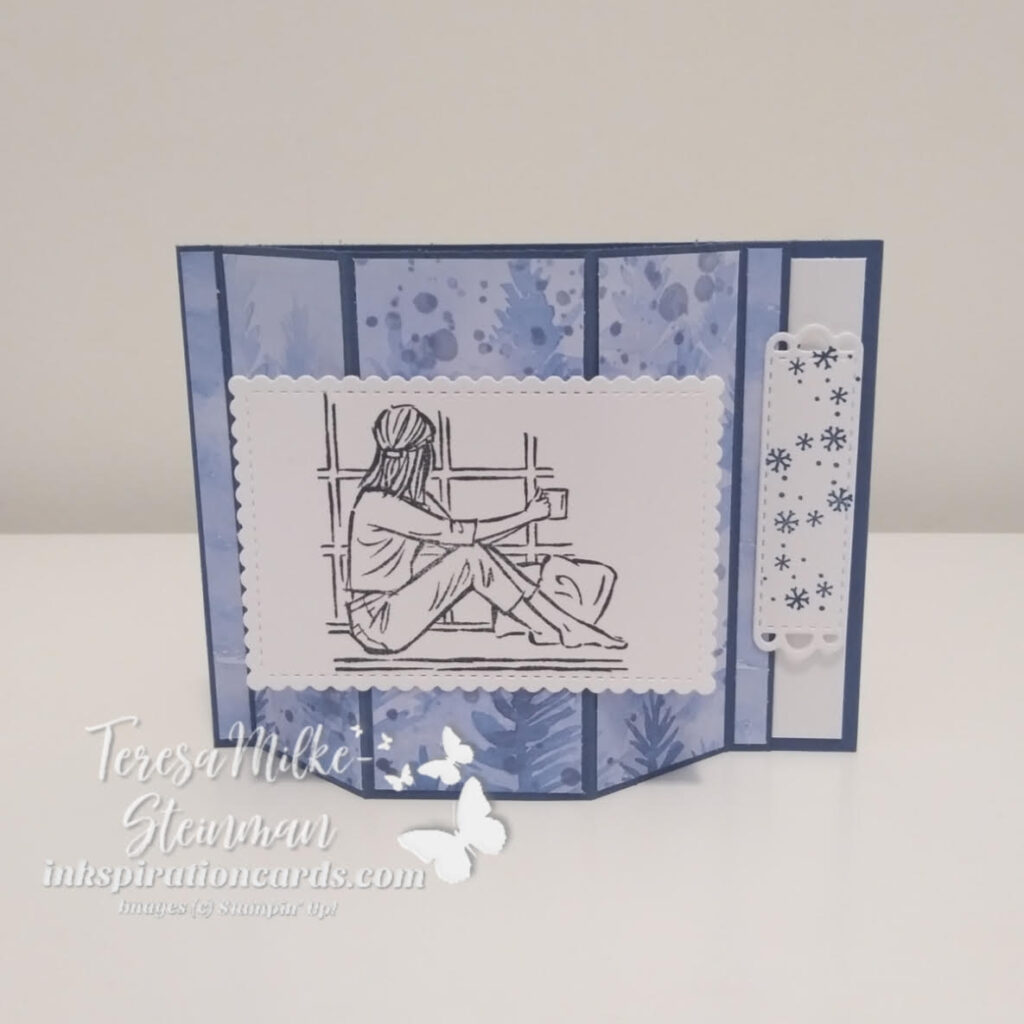
For my card design I immediately thought of the soon to be released stamp set, In the Moment. One of the images is perfect to set up so that the woman is looking out of bay window. So of course I had to use it! The next piece to my design was the Designer Series Paper. I was using the Beauty of Earth DSP for another project and one of the designs caught my eye as I was about to put it away. It’s the blue design with what looks like trees and splotches (aka snowflakes possibly).

From here I decided to use Misty Moonlight for my card base and I stamped the image and inner phrase using Tuxedo Black Memento ink. For a bit I debated about colouring the image, but decided I liked it better as is. I did add a few Misty Moonlight snowflakes from the Snowflake Wishes to prop up my window. I die cut it using one of the Meadows dies and the image using the Stitched So Sweetly dies.

If you wanted to add a little something more to this, you could add a few Rhinestone Basic Jewels. This is one time for me where I decided to not add some bling to my card. I know hard to believe right?! Here’s the card…

Misty Moonlight Bay Window card

The Bay Window card is such a simple fun fold to make! Remember to keep hopping and check out all the cards. Up next is Mette Nordling Shaw’s card which you can check out here.

Bay Window card

And if you want to check out last month’s blog hop where we made a Pinwheel Tower card, you can start that hop here!