Make Your Own Designer Series Paper

There’s only a week and a half left to get your favourite retiring products from the January-June Mini catalogue! This week I’m featuring some of the Ice Cream Corner suite of products. I love just about all of these products! My favourite, which is retiring, is the Ice Cream Corner Designer Series Paper. But for this card instead of showing off the paper I’m showing you how to make your own Designer Series Paper. (Heads up… the Sweet Ice Cream stamp set and coordinating punch isn’t a bundle in the new Annual catalogue so get your 10% while you still can!)

For this card design I started with the Sweet Ice Cream stamp set and the Gorgeous Grape Sheer ribbon. To go with the Gorgeous Grape I decided to use Bermuda Bay. This is a great colour to use with this stamp set! Actually they both are… they’re both such nice bright colours. Now to make my own DSP I had to pick a few other colours. So I went with Crumb Cake and Petal Pink. The important thing to remember when you want to make your own DSP is to start with the larger images. It’s easier to fill in any leftover spaces with smaller images. Then just randomly stamp your images over the cardstock.
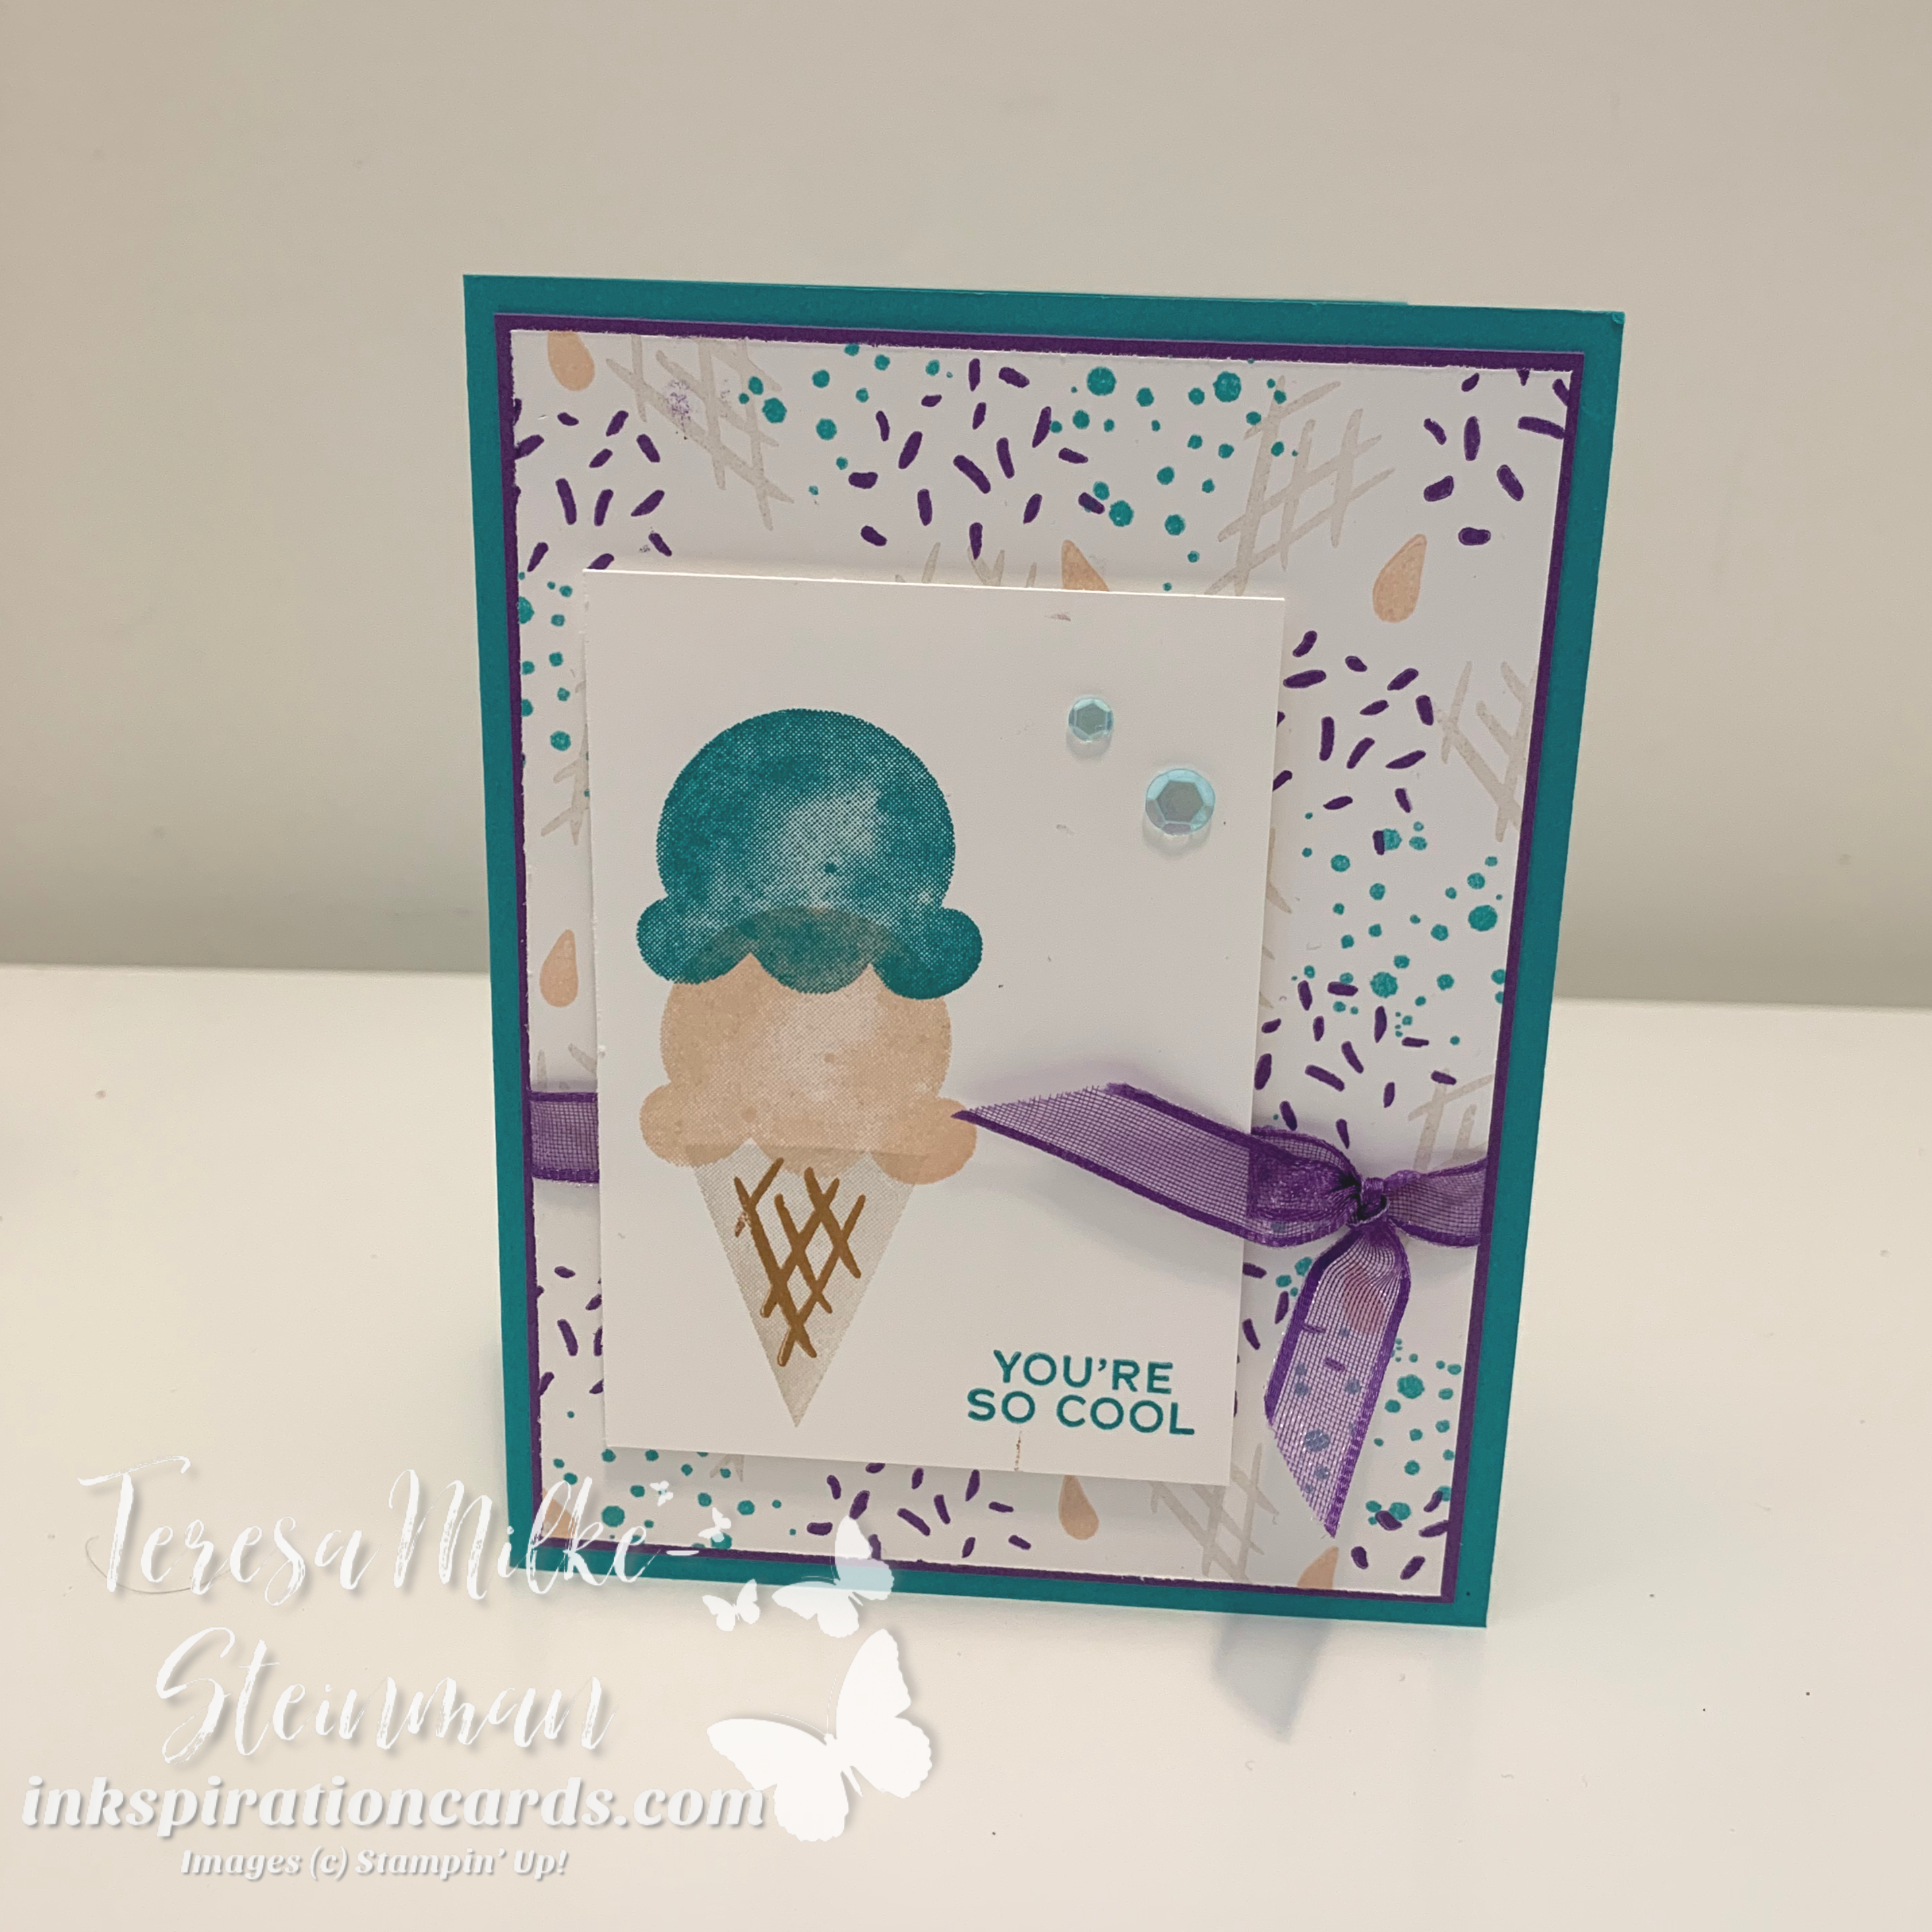
make your own designer series paper

I also used Petal Pink for my other ice cream scoop and I paired Crumb Cake with Cinnamon Cider to make my cone. The other scoop and phrase were stamped with Bermuda Bay. I popped up this piece over the sheer ribbon using a few Stampin’ Dimensionals. And for my bit of bling I added a few of the Artistry Blooms Adhesive Backed Sequins.

This was a fun card to make! I think I need to do the make your own Designer Series Paper more often. Check out my YouTube channel for a walk through of this card. This was one I made for my Stamp & Jammies online card class. You can find out about my next Stamp & Jammies class here!
DIY Shimmer Paper

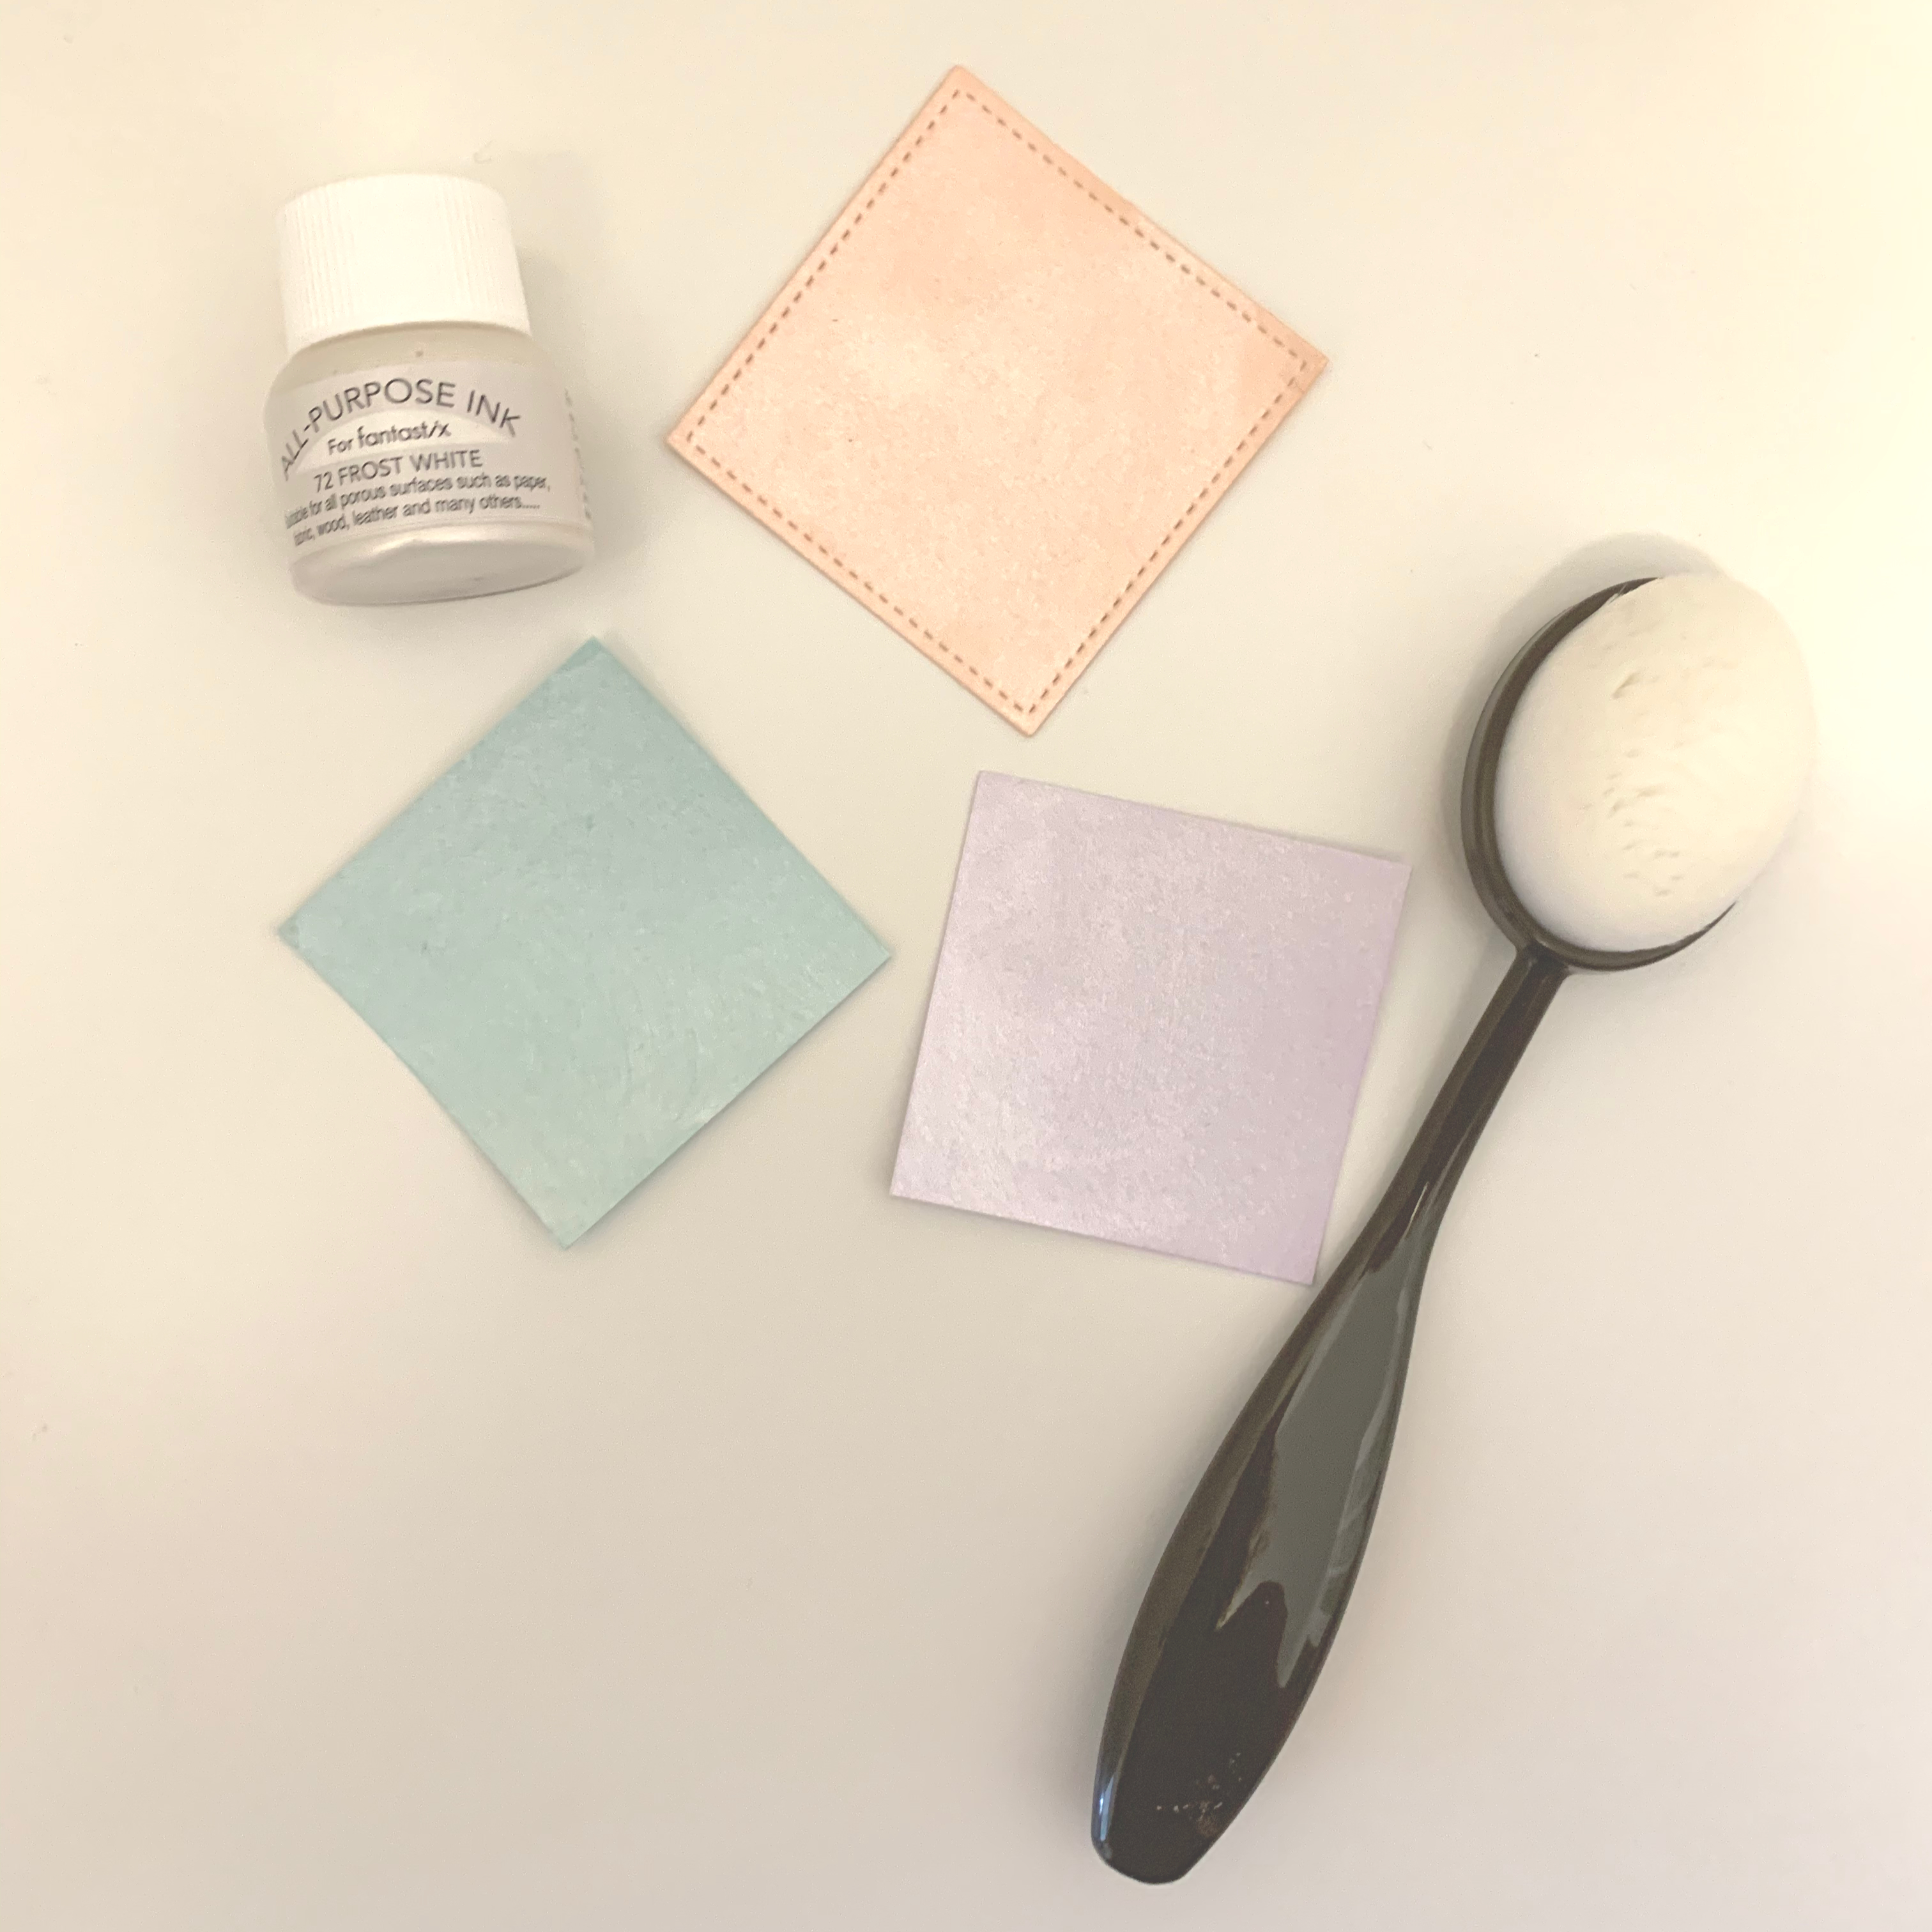
Recently I saw another demonstrator share a picture of some shimmer paper she had made. It looked so easy that I just had to try it out for myself. And it is so I decided I’d share my DIY shimmer paper project with you. All you need for this is whatever coloured cardstock you want, Frost White Shimmer paint and the new Blending Brushes. If you haven’t checked out these new brushes yet you definitely need to. They are so easy to use and easy to clean!

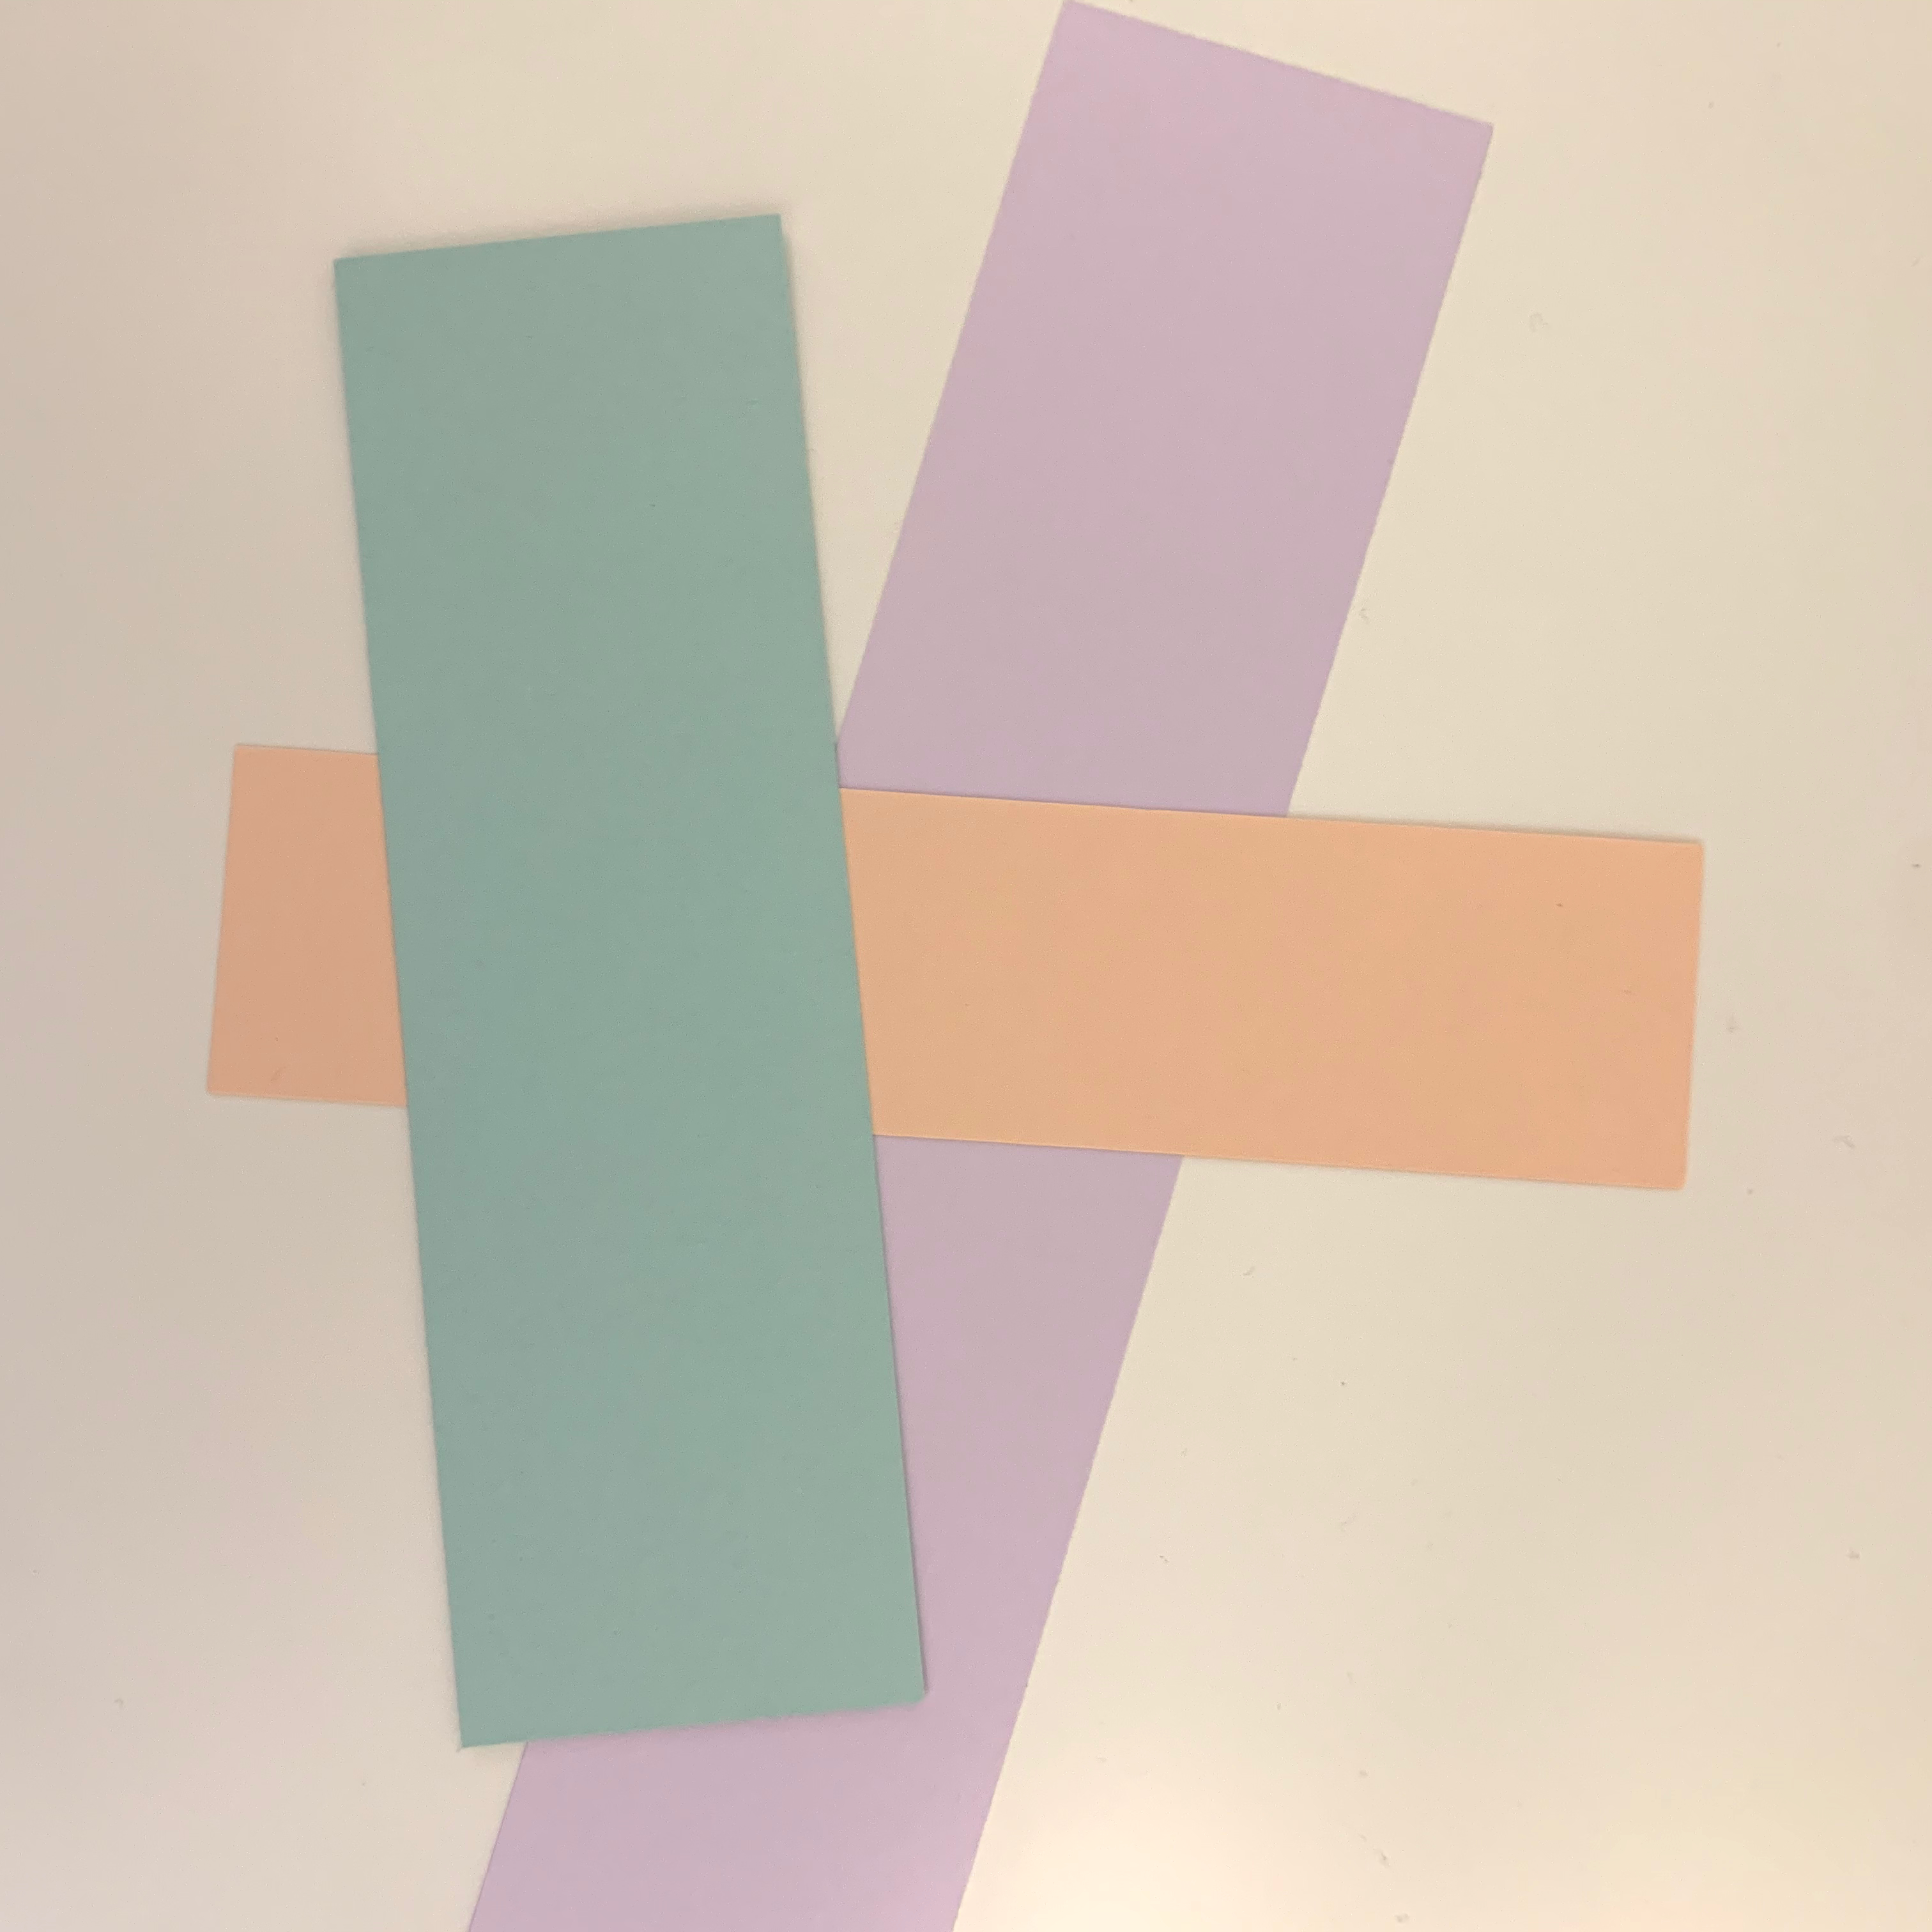
For my card I chose Petal Pink, Pool Party and Purple Posy. I love these colours and somehow didn’t even notice all the “p”s until someone on my team pointed it out to me. LOL To turn it into shimmer paper I started by pouring some of the Frost White Shimmer paint onto some paper. Then I dipped my Blending Brush into it and rubbed it onto the cardstock using a circular motion. Here’s a before and after of my cardstock…

When I saw this technique I totally thought of using the Sweet Ice Cream bundle for a card. I’ve been having a lot of fun crafting with this set. Last week I made a fancy fold using this set. You can check out my Two Fold Panel card here.

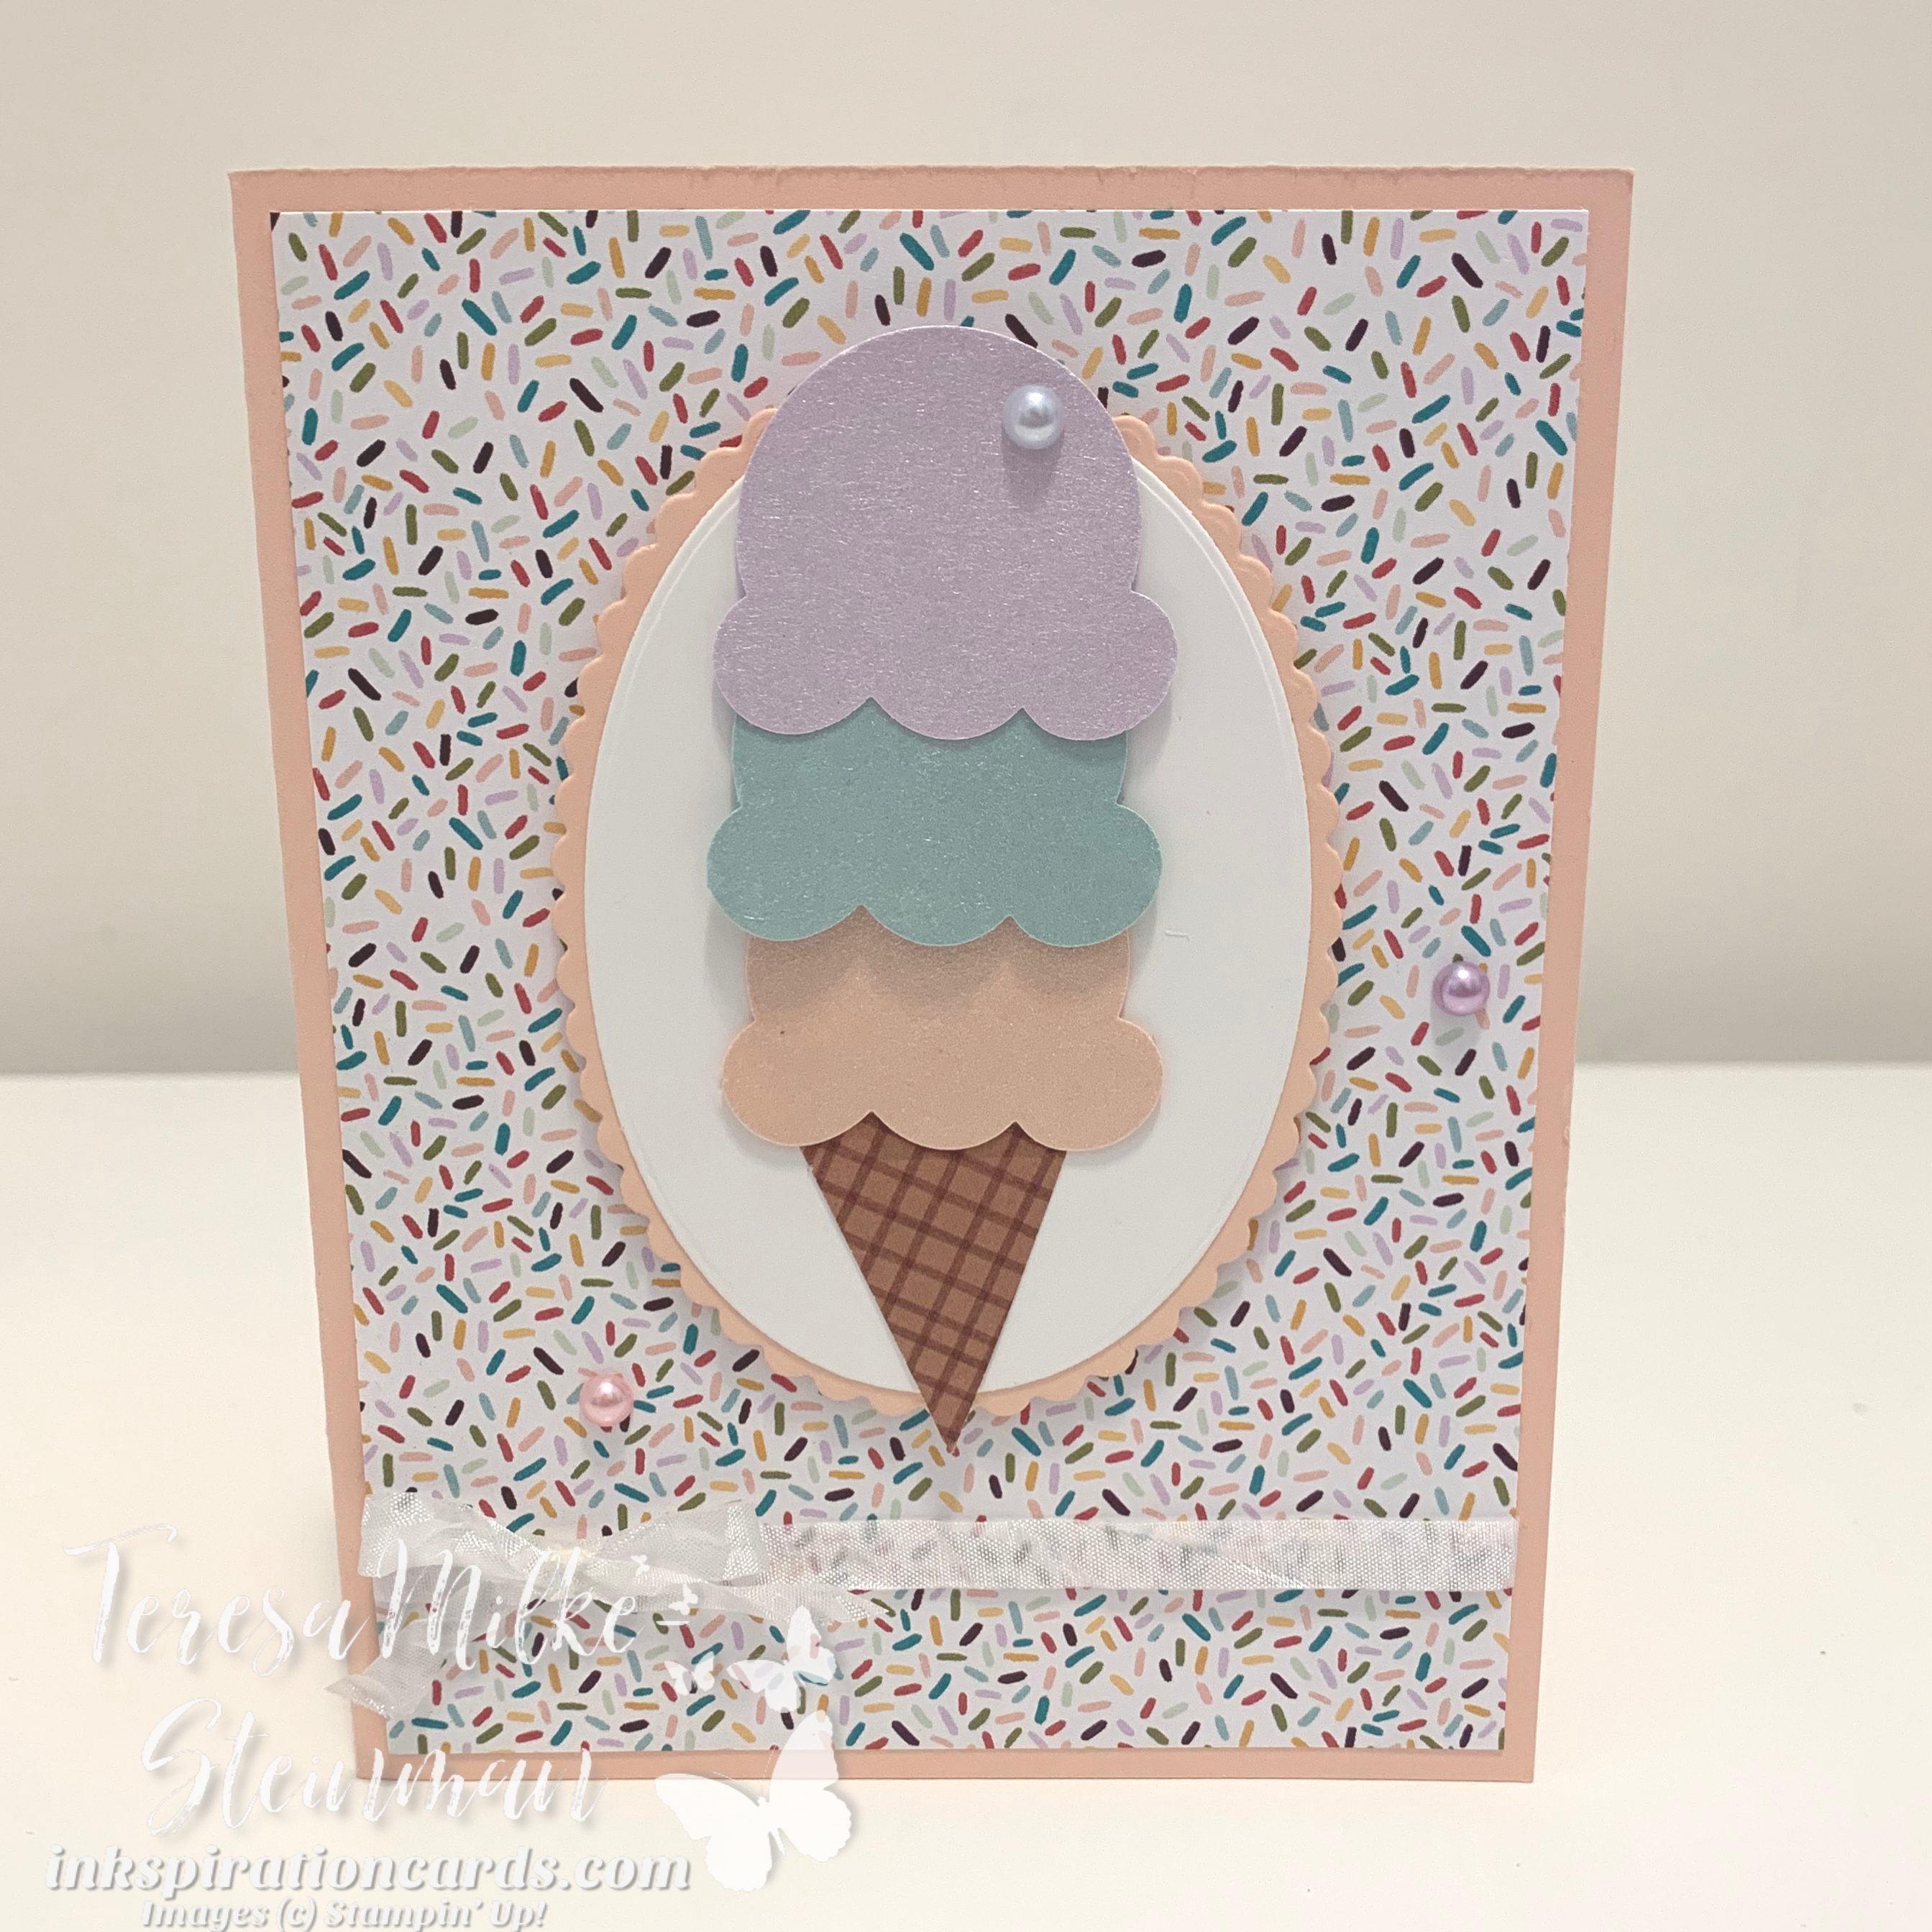
So for this card I used Petal Pink for my card base and then just added a piece of the Ice Cream Corner Designer Series Paper. Then I layered a couple of ovals using the Layering Ovals dies to frame my ice cream cone. The cone is just a piece of the DSP that I punched using the Ice Cream Cone builder punch. I also used the same punch on the shimmer cardstock I made.

To finish it off I added a few more things. I popped up the framed ice cream cone using Stampin’ Dimensionals. I also added some of the Crinkled Seam Binding Ribbon and a few of the Pastel Pearls. Here’s the final card…

DIY Shimmer Paper

I had so much fun with this DIY shimmer paper! I hope you’ll try it out and show me what you make. And if you like the Sweet Ice Cream bundle as much as I do you’ll want to check out my upcoming classes and events. In March I’ll be featuring the Sweet Ice Cream stamp set in my Stamp & Jammies online class.

Two Fold Panel Card

I’m excited to join the Fancy Fold Design Team for another bog hop this month! This month we’re making a Two Fold Panel Card. It’s an easy card to make and it looks really neat. Claire Ottaway, a UK demonstrator, shares a video to show the step by steps for this card. I’ve also created a basic PDF with the measurements and instructions if you’d like to try this yourself. Make sure to grab it at the end of this post!

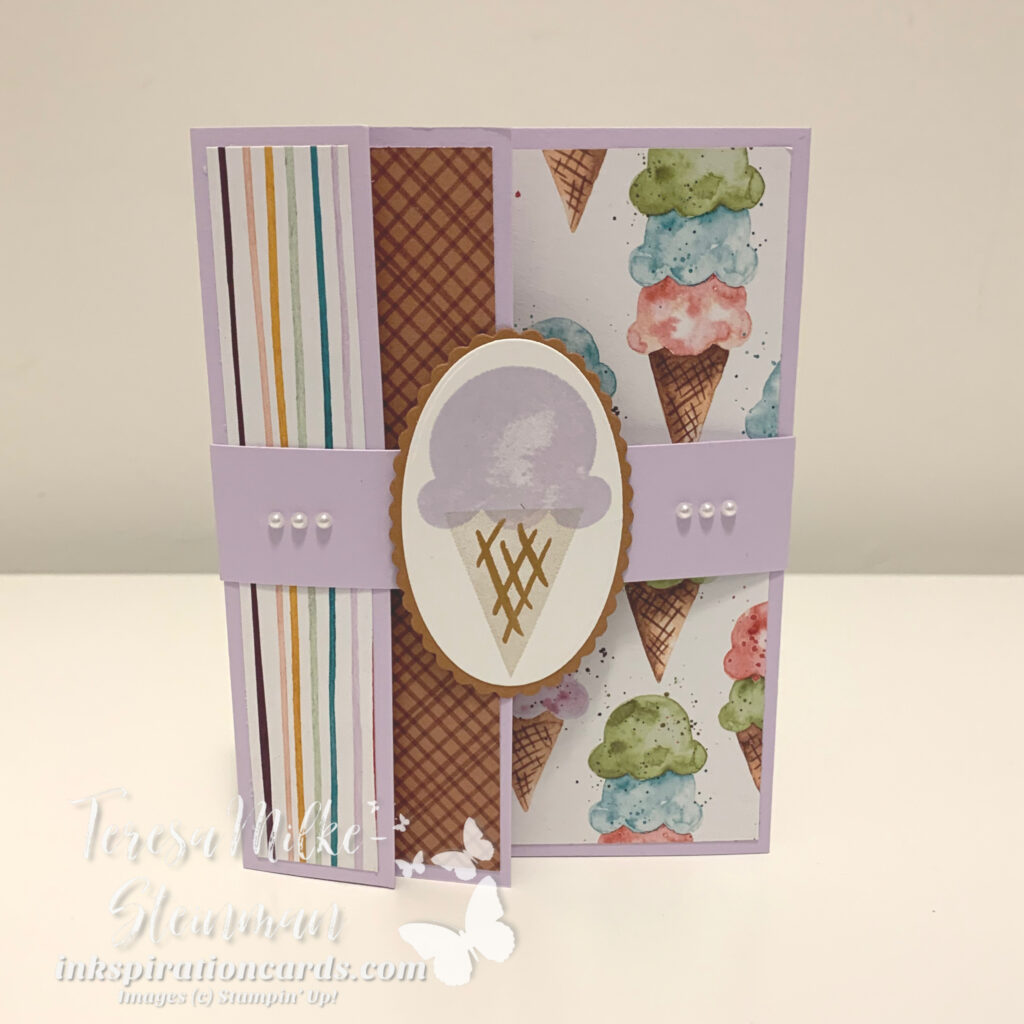
For my design I ended up using the Sweet Ice Cream stamp set and Ice Cream Corner Designer Series Paper. I’m just loving this suite of products! The paper is so colourful and there are some fun designs. Plus the stamp set with coordinating punch is so fun. Once I figured out these pieces I came up with my colour combination. I went with Purple Posy and Cinnamon Cider, both of which are current In Colours… although Purple Posy will be leaving soon 🙁

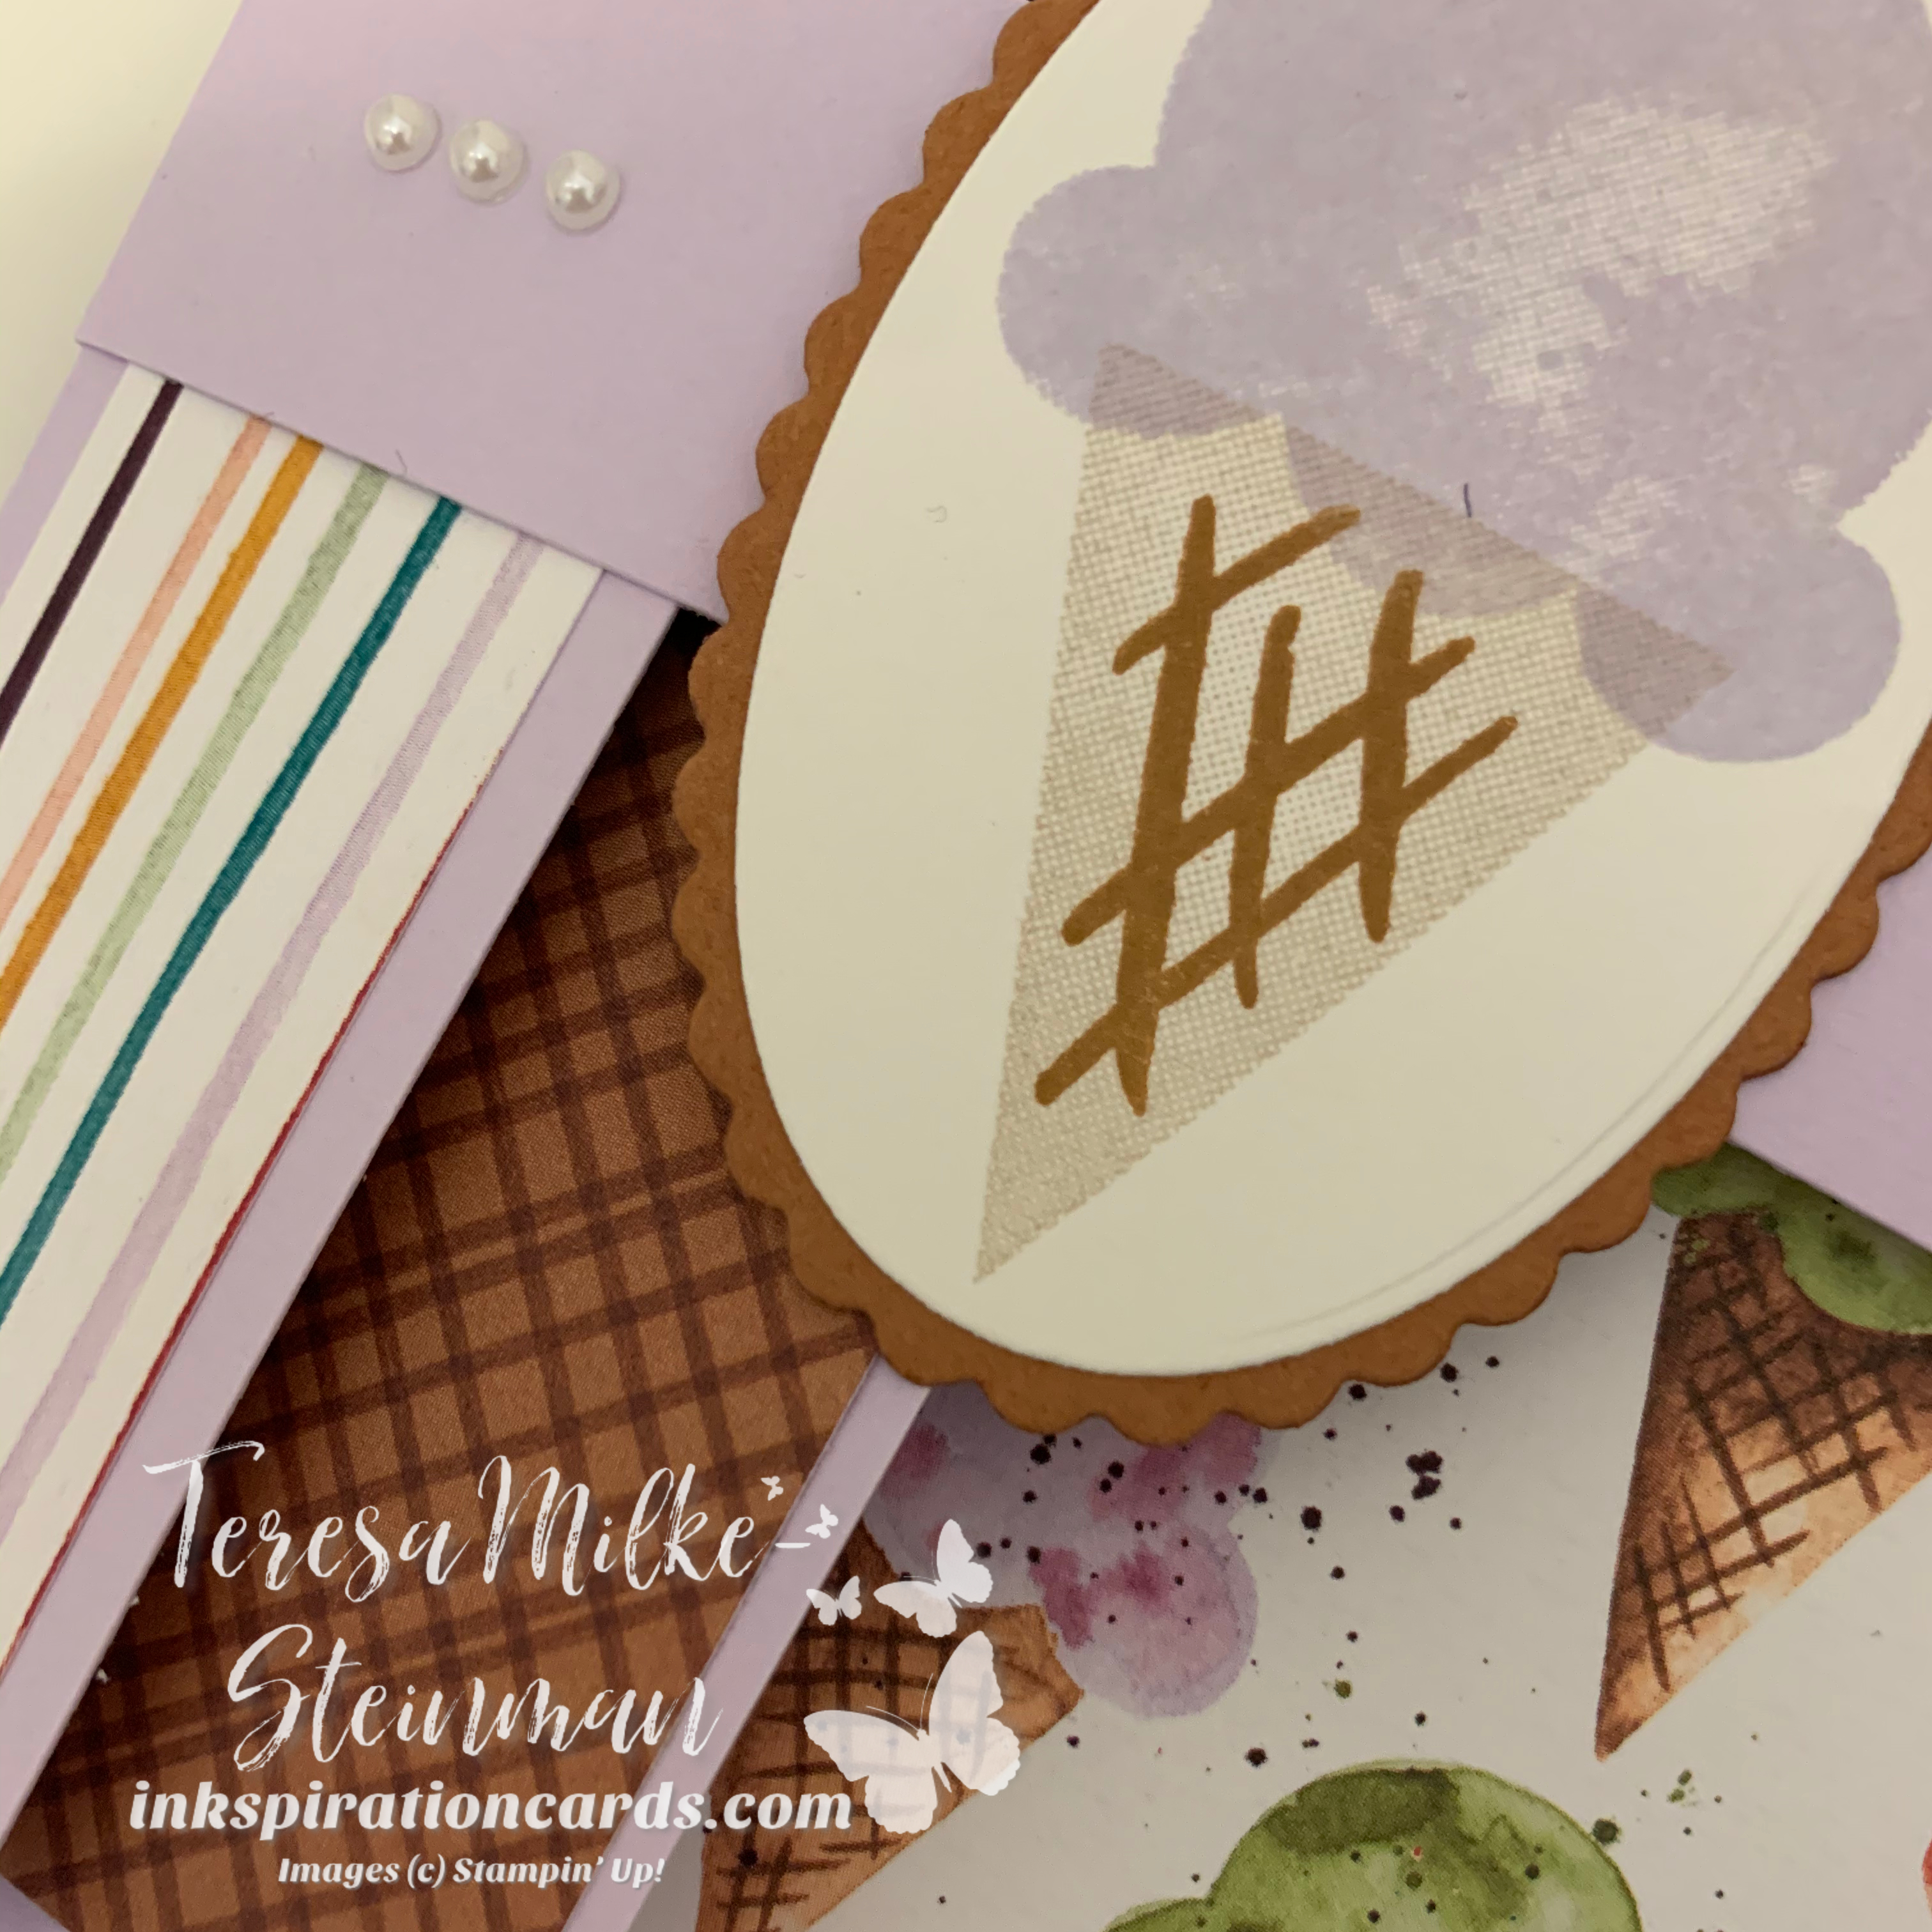
For my card base and belly band I used Purple Posy. I also used a piece of Cinnamom Cider to frame the ice cream cone on the belly band. For the ice cream cone itself I used Crumb Cake and Cinnamon Cider for the cone and then Purple Posy for the ice cream, using a Stampin’ Write Marker.

Two Fold Panel Card

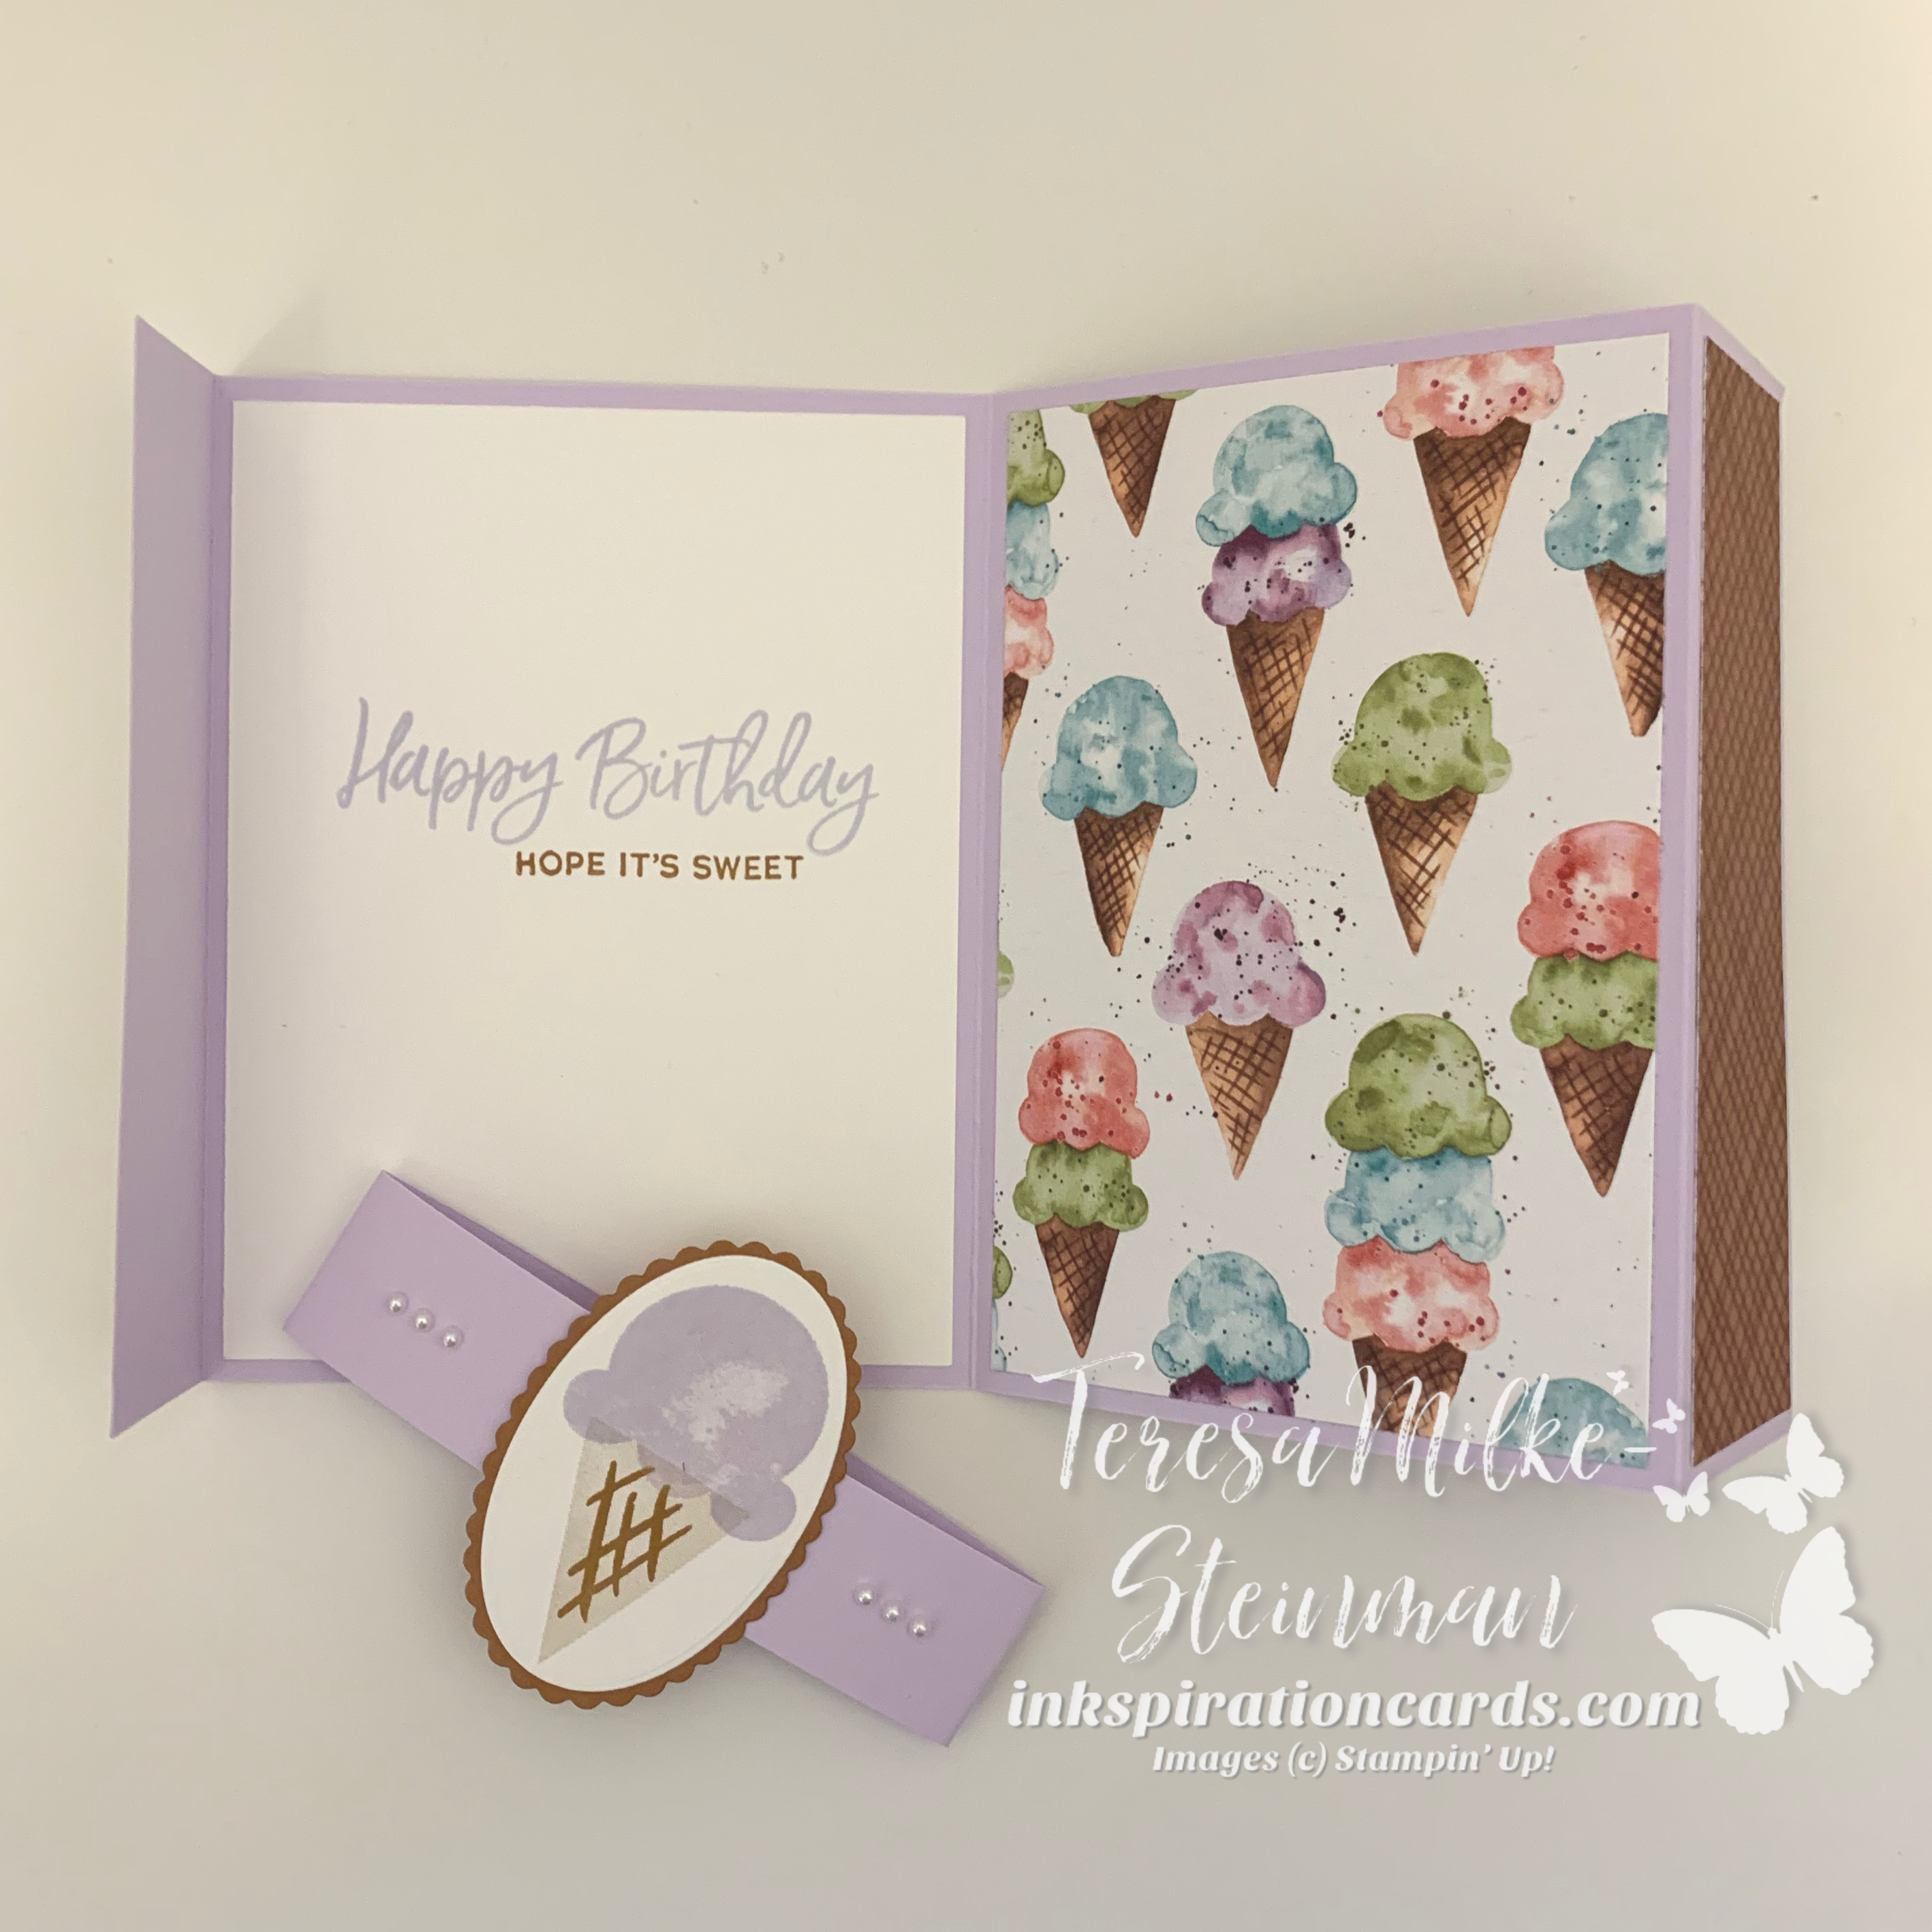
For the patterned paper, I chose 3 different designs. And I love how well they work together! I debated about adding a fourth design on the inside of the card. But I decided to use the same design filled with ice cream cones that I used on the outside.

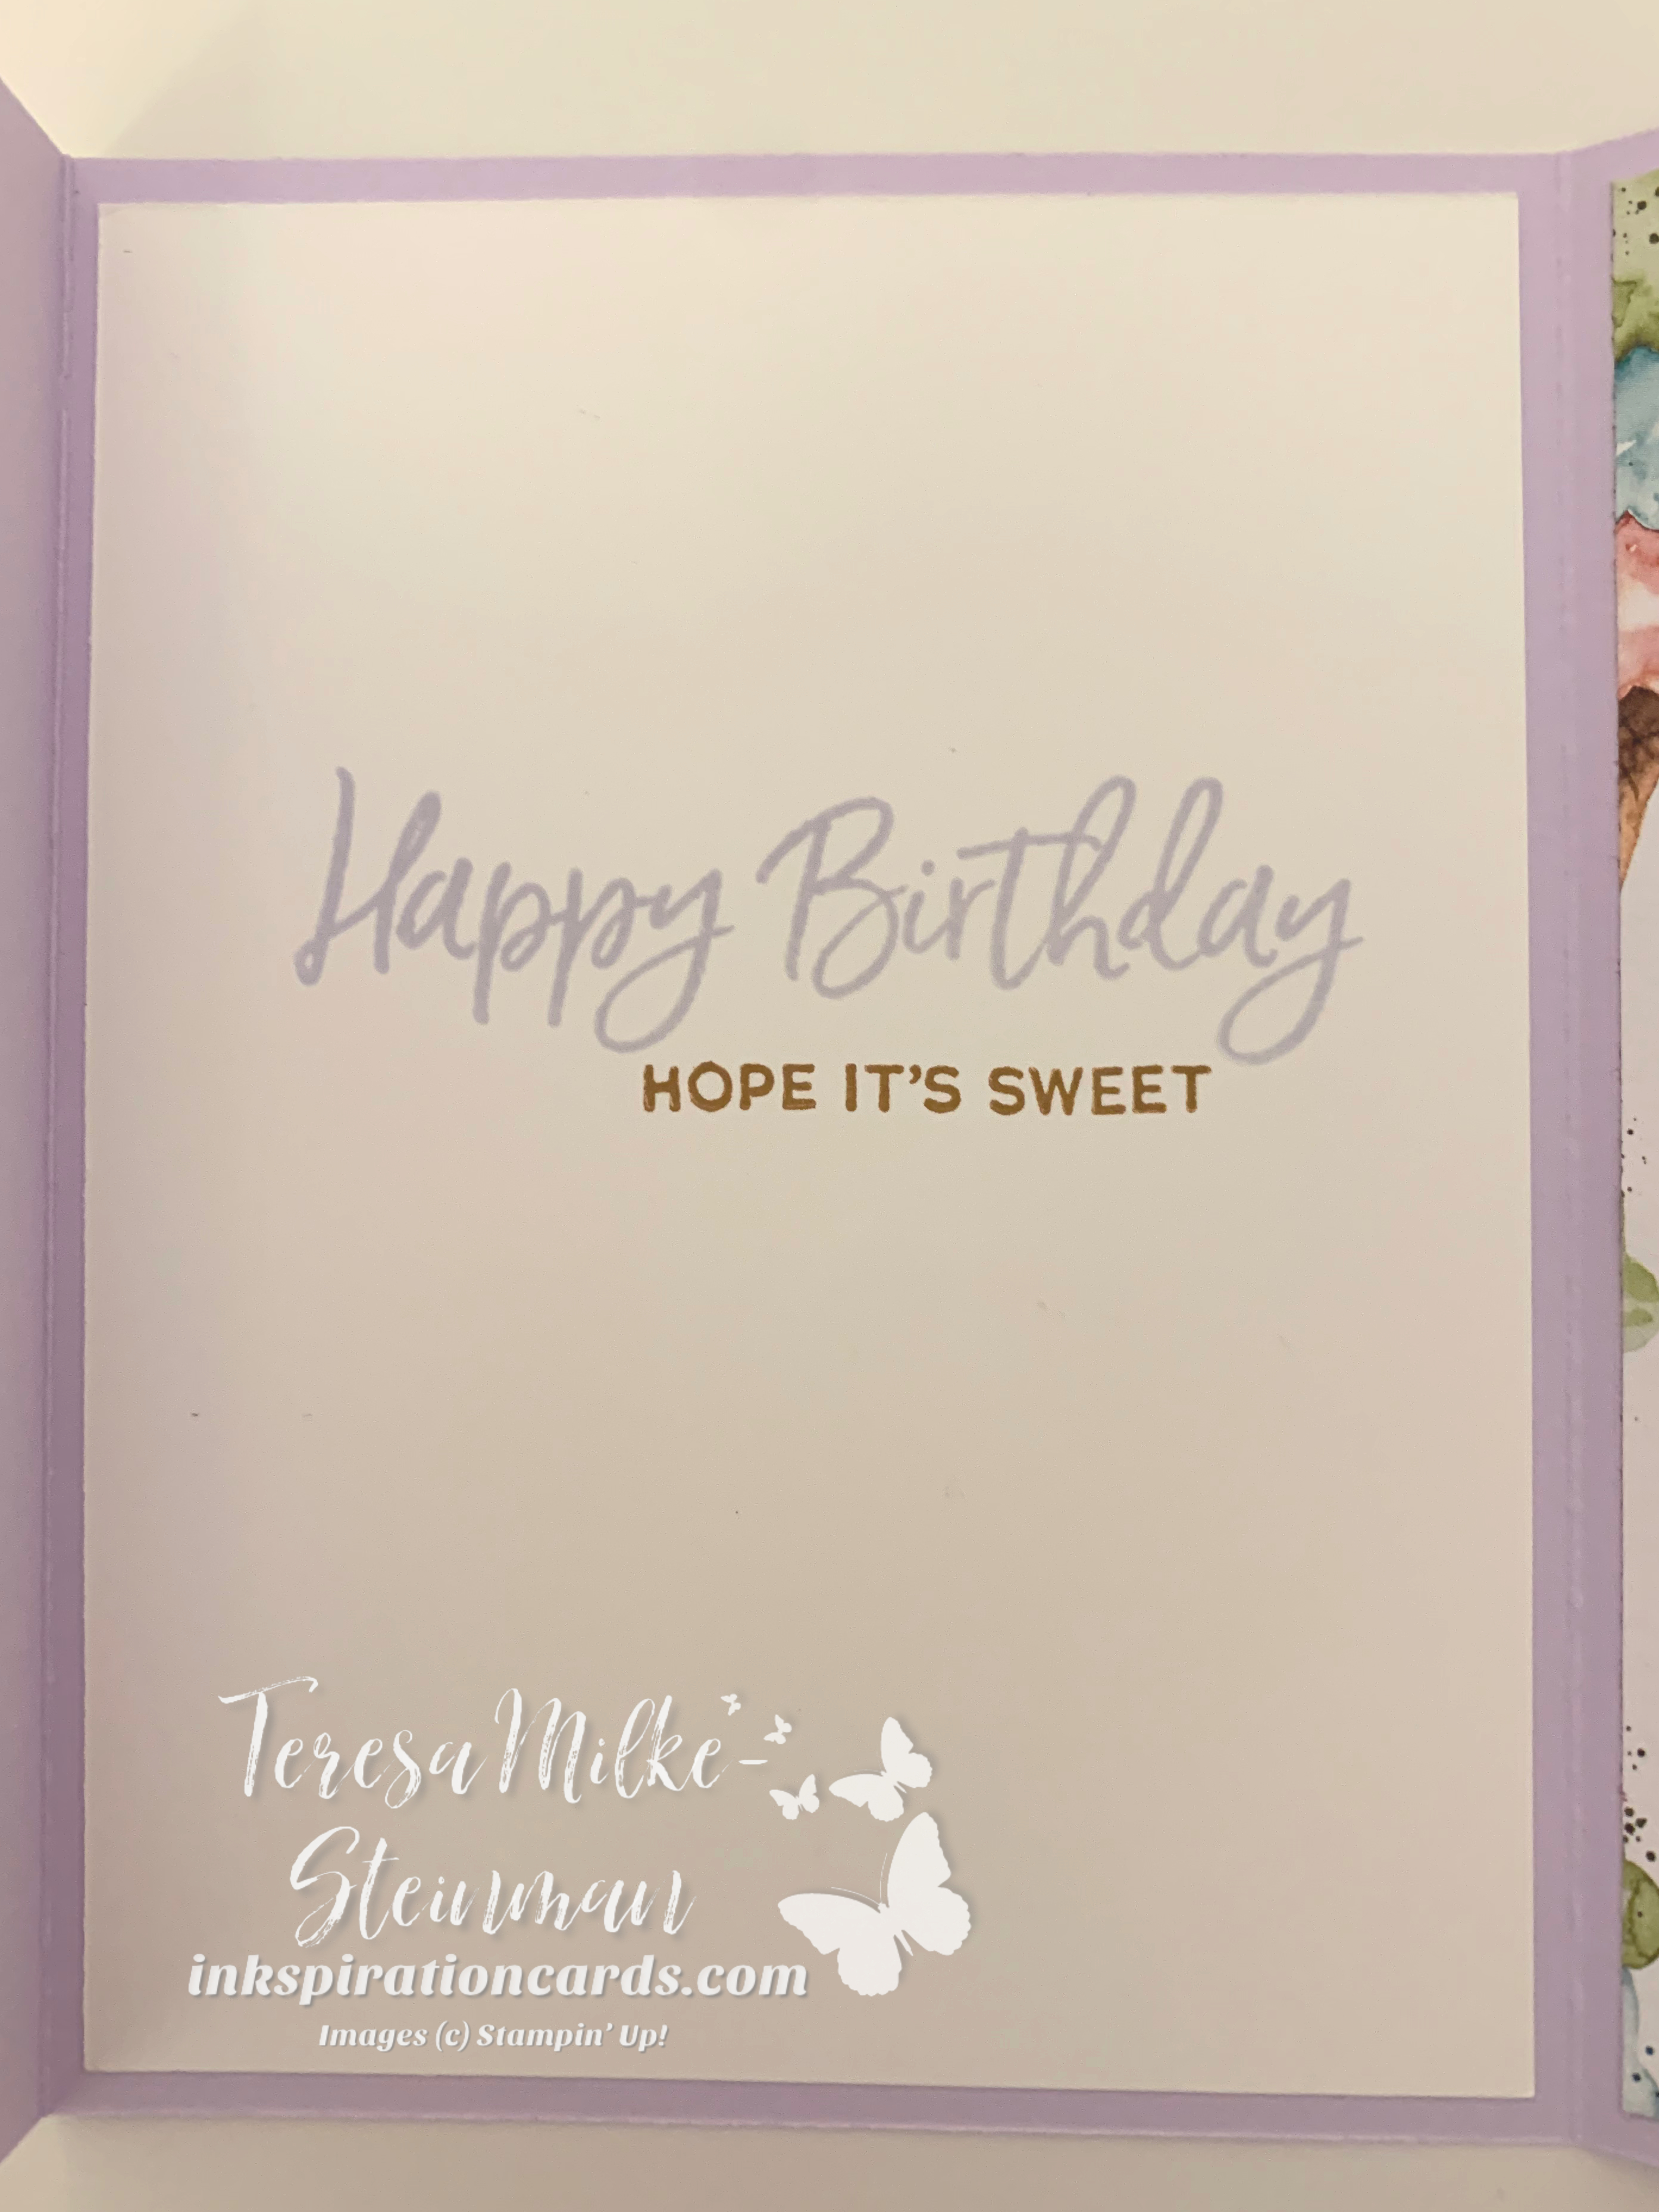
Since I went with a simple ice cream cone on my belly band I decided to add a phrase to the inside of the card. I used Purple Posy and Cinnamon Cider for the phrases.

Two Fold Panel Card

This was a really fun card to make. And I really like how this Two Fold Panel Card turned out. Here’s the full card…

If you’d like to try this out for yourself then grab my PDF.

To check out the next stop on this month’s blog hop, check out Nadine Schweda’s card. You can also check out last month’s hop which was the Surprise Window Card.

Sweet Treats

I’m slowly starting to get into my stash of products from the upcoming new catalogues. And I’m really looking forward to some time off from my “9 to 5” so that I can really have some fun! This card uses some of the sweet treats from the new Ice Cream Corner suite of products. When I saw these being demo’d at OnStage@Home this November I was totally wow’d! So of course when I did my pre-order I had to get my hands on some.

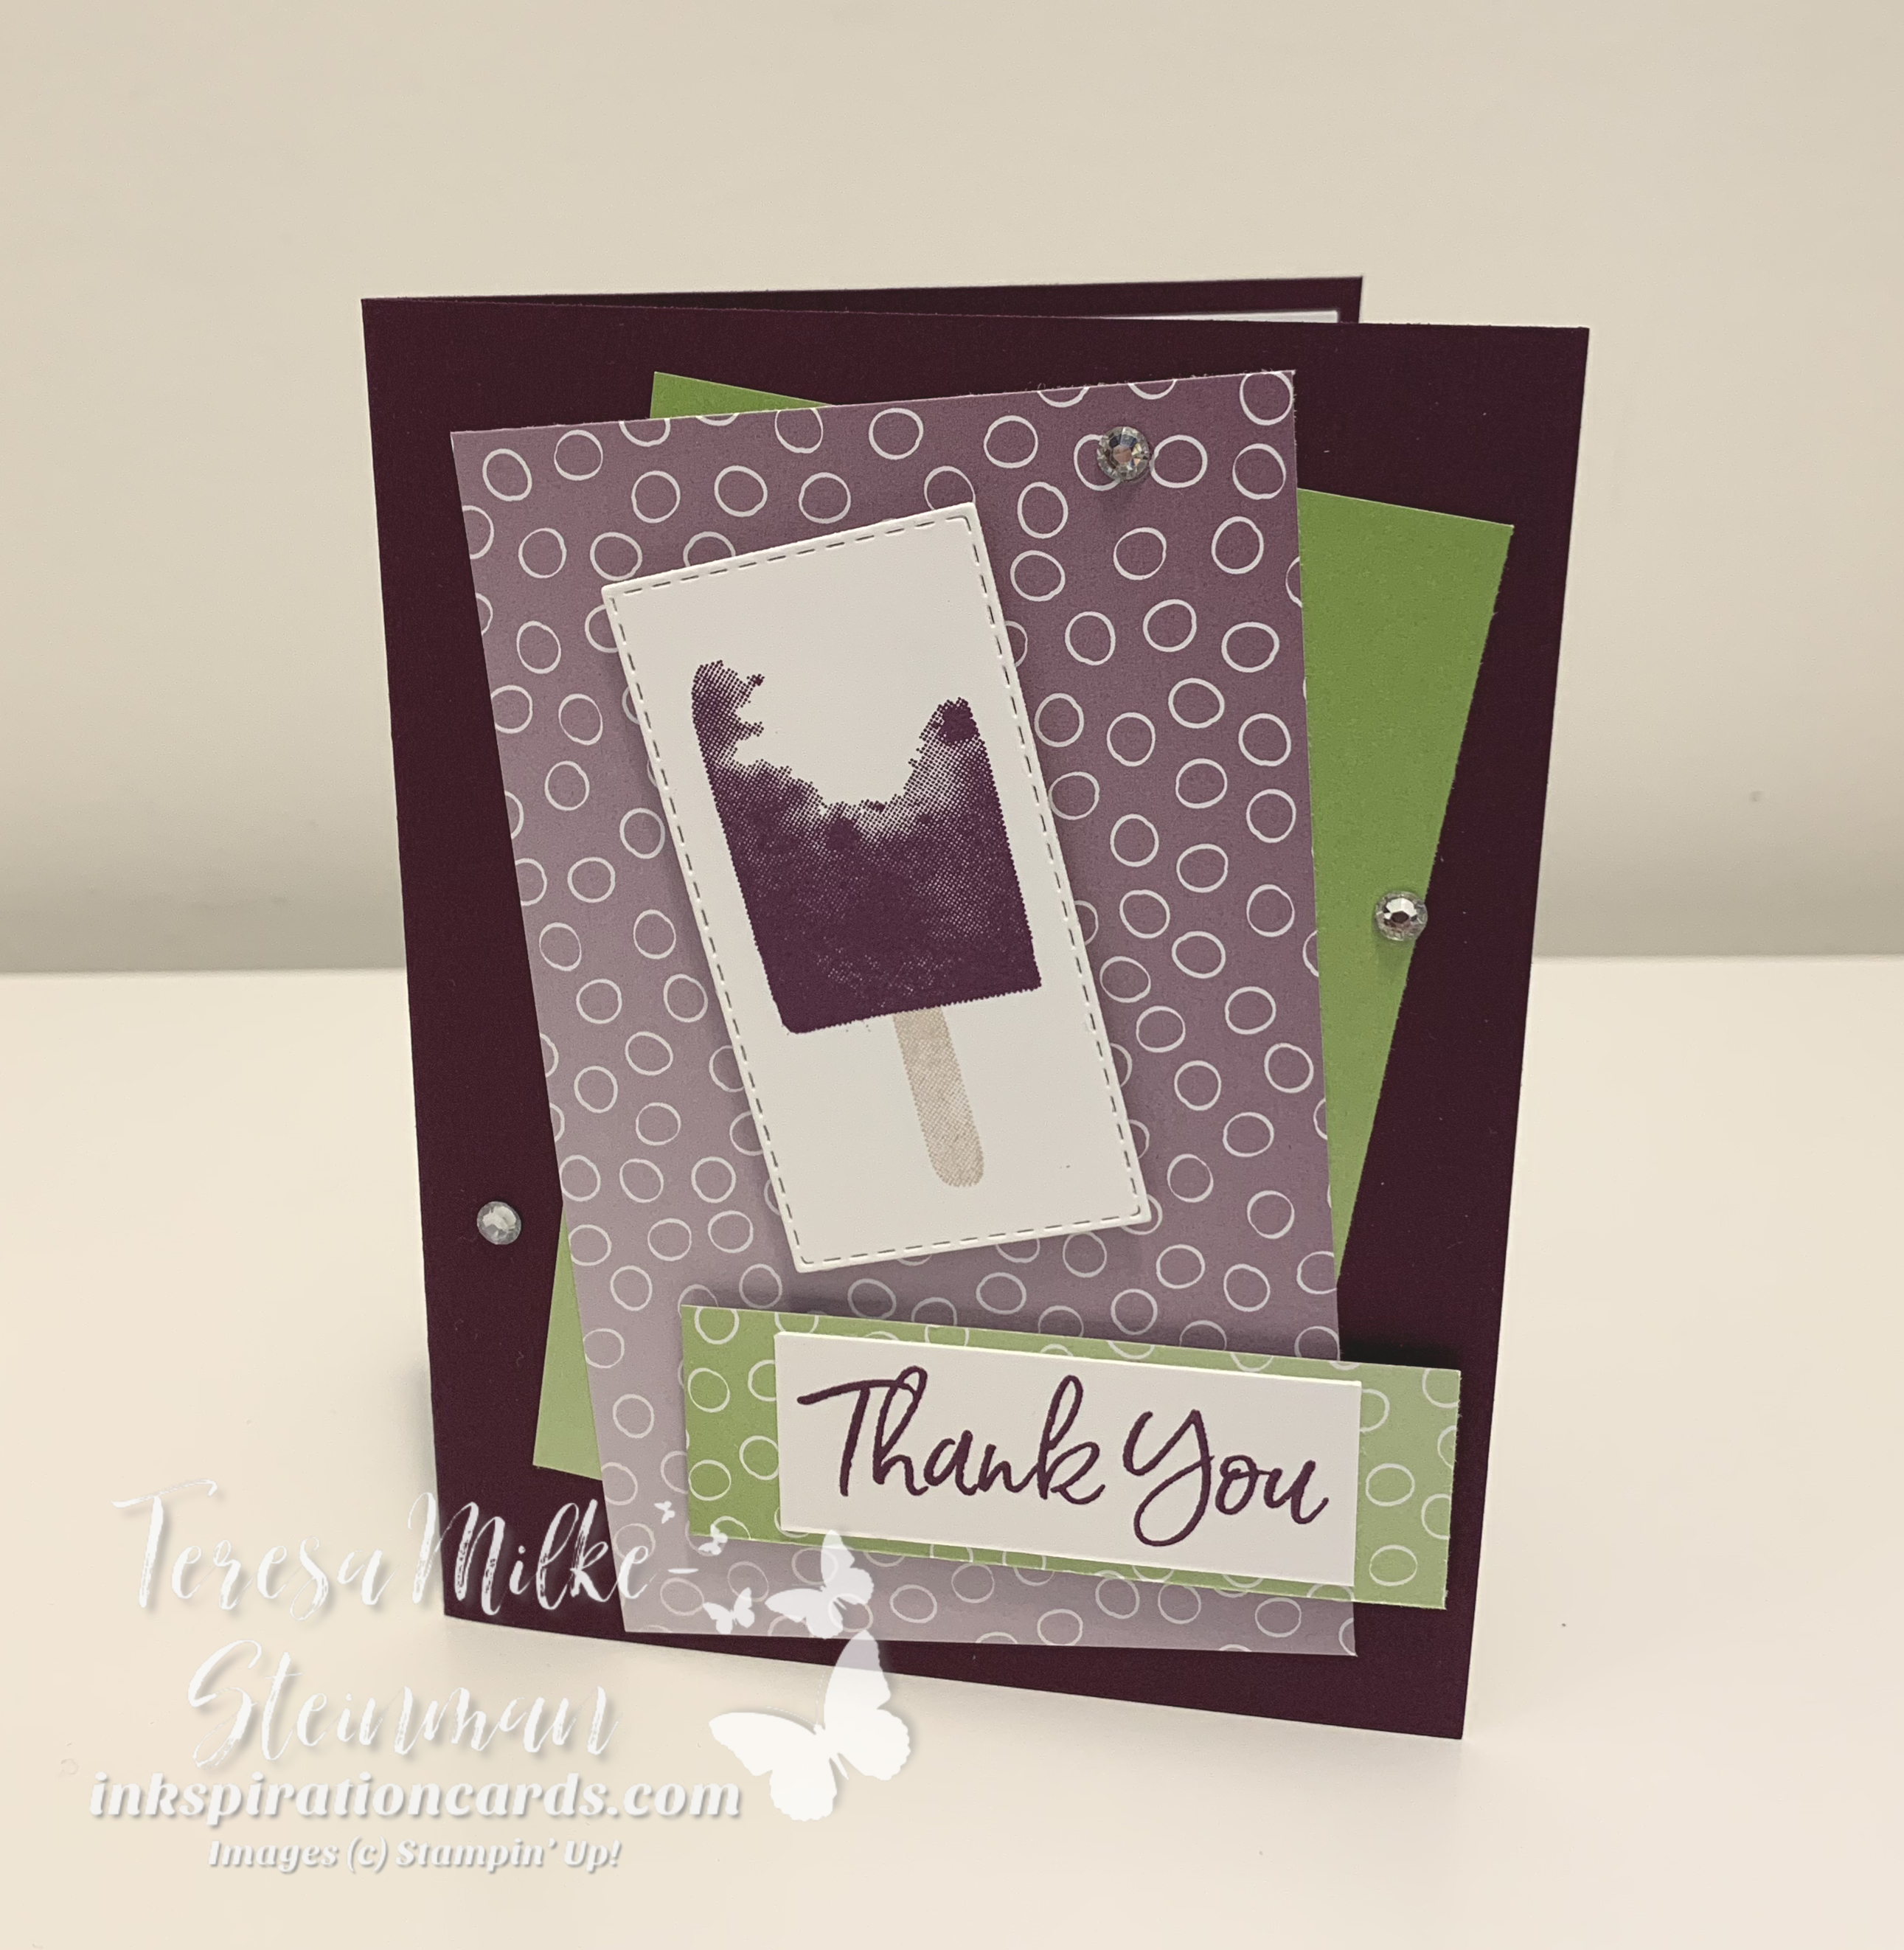
For this card design I wanted to pair the Sweet Ice Cream stamp set with the Ombre 6×6 Designer Series Paper. This pack of paper is one of the great products you can get for FREE during Sale-a-bration which kicks off next month. So that’s where I got my colour combination from. I used some of the Blackberry Bliss and Granny Apple Green DSP and so the cardstock and inks followed suit.

Sweet Ice Cream

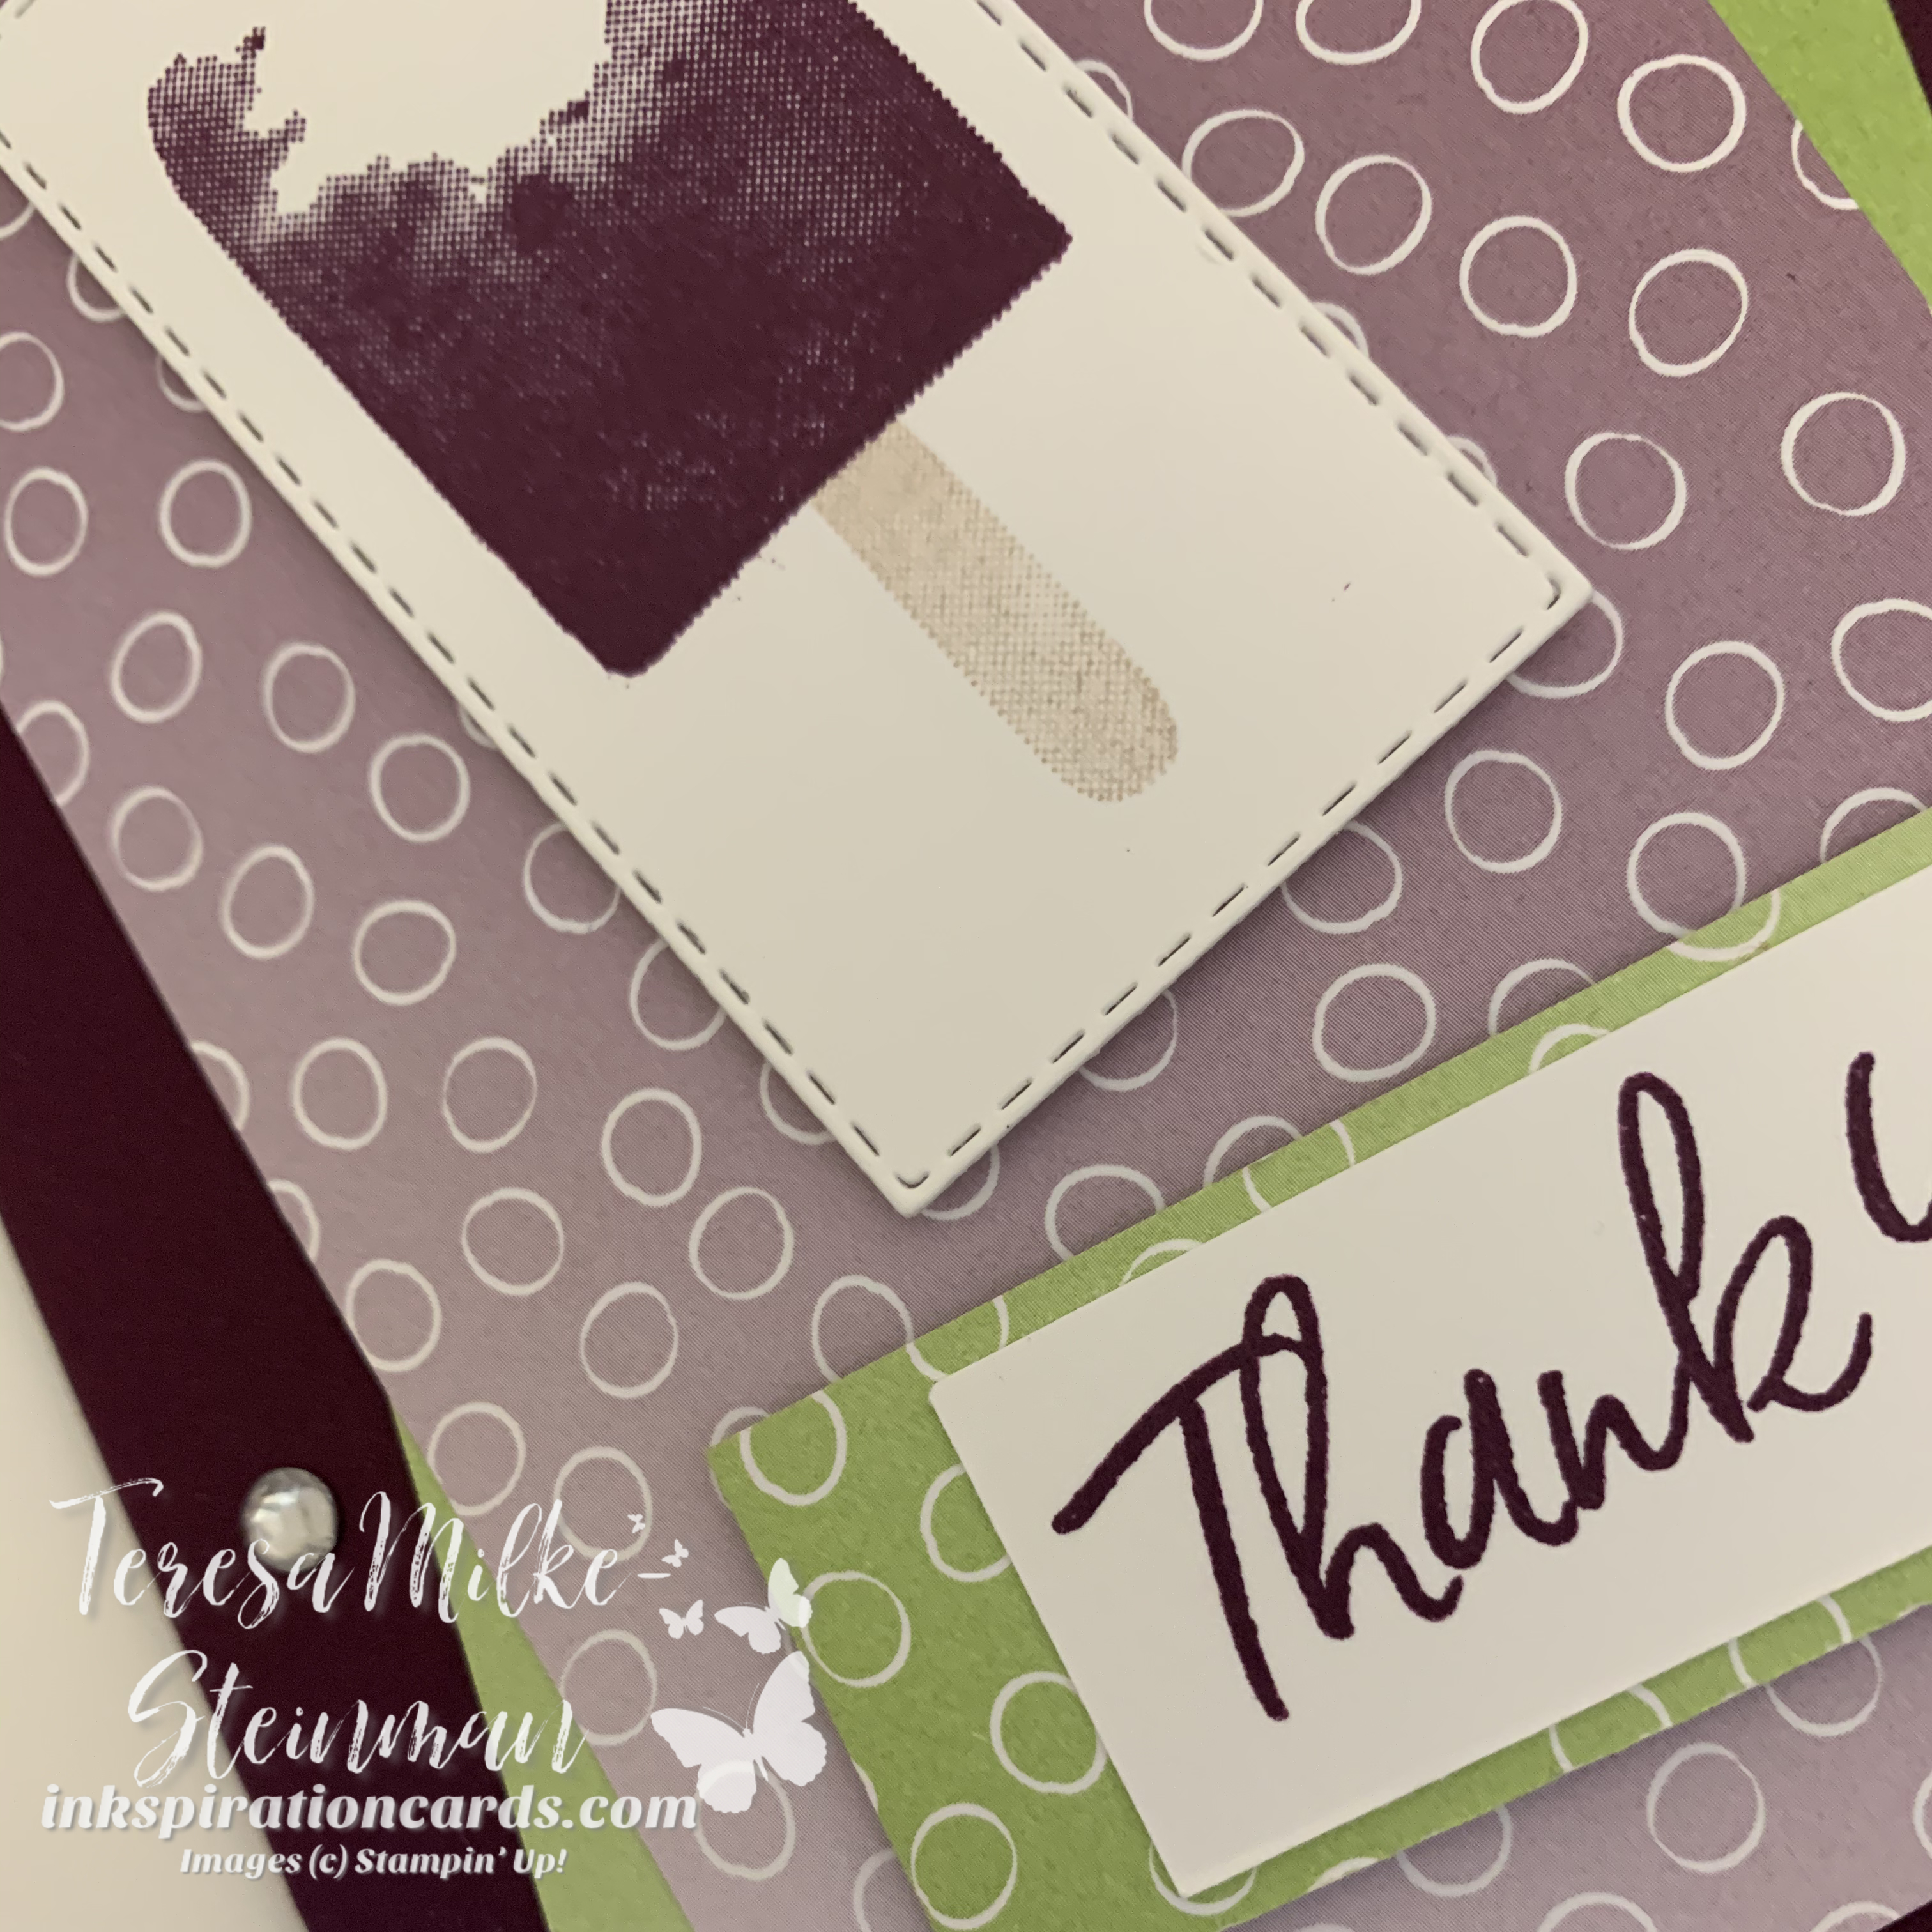
When I was going through the paper designs I decided to pick two different ones and have them be off-centre. I also liked the idea of showing a couple of the different designs. So I picked the circles and the plain ombre designs.

I added some Crumb Cake for the popsicle stick and cut it out using the Stitched Rectangle dies. Then I popped it up and the phrase using Stampin’ Dimensionals.

Sweet Ice Cream

Initially I was thinking that I would add some ribbon to this card, but when it came time it just didn’t fit. So I went with one of my other go-tos… bling! I added a few Rhinestone Basic Jewels to finish it off. I actually have a few more thank you cards to make so I may tweak this design a little bit. But overall I think it turned out nice!

If you like sweet treats and you like this card then you’ll want to sign up for my weekly email newsletter! Each week I share an exclusive PDF tutorial along with stamping tips and sneak peeks. Sign up here!