Bright & Beautiful Handmade Birthday Card

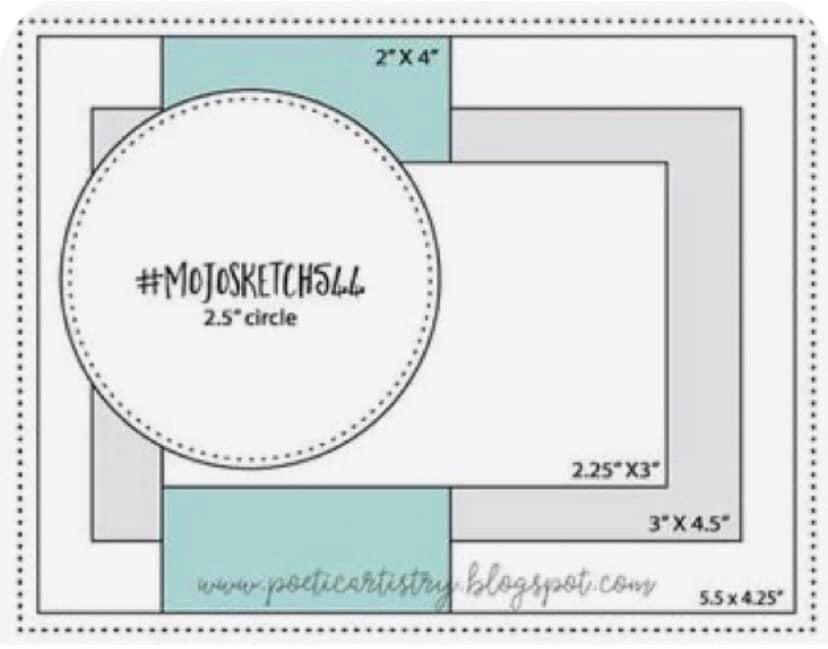
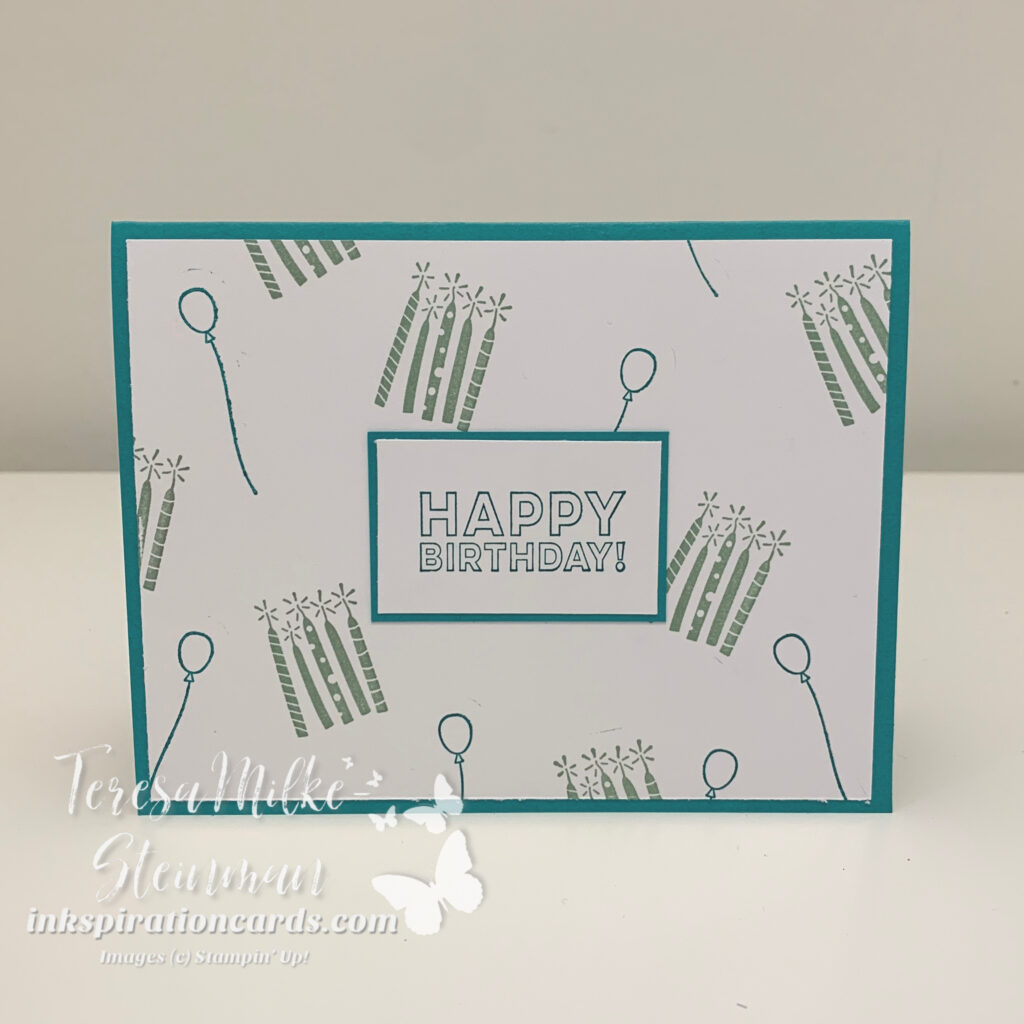
This week’s Paper Craft Crew challenge is a sketch challenge; PCC 527. At first I wasn’t sure what I wanted to do. But then I thought of the Beautiful Balloons stamps and dies… actually the whole Bright & Beautiful suite. It’s been a little while since I crafted with them, but I think this sketch works great to make a Bright & Beautiful handmade birthday card. Here’s the sketch design we’ve been given…
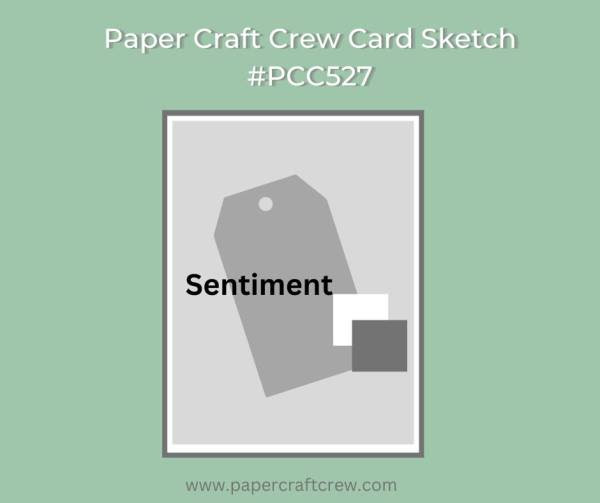
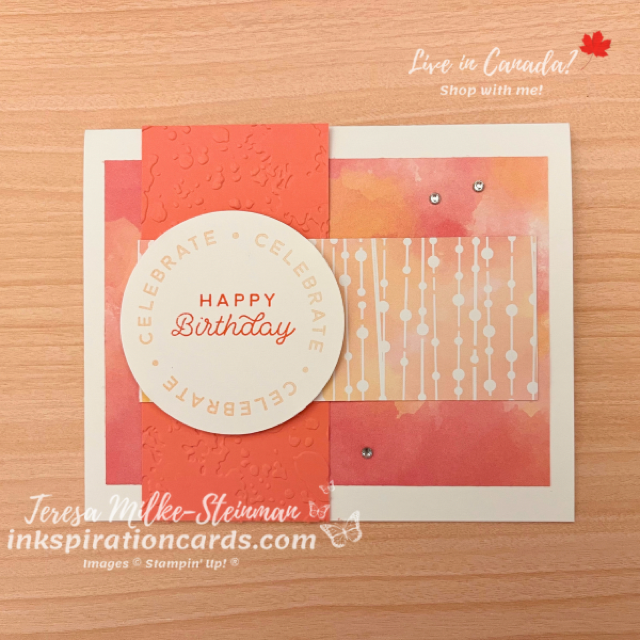
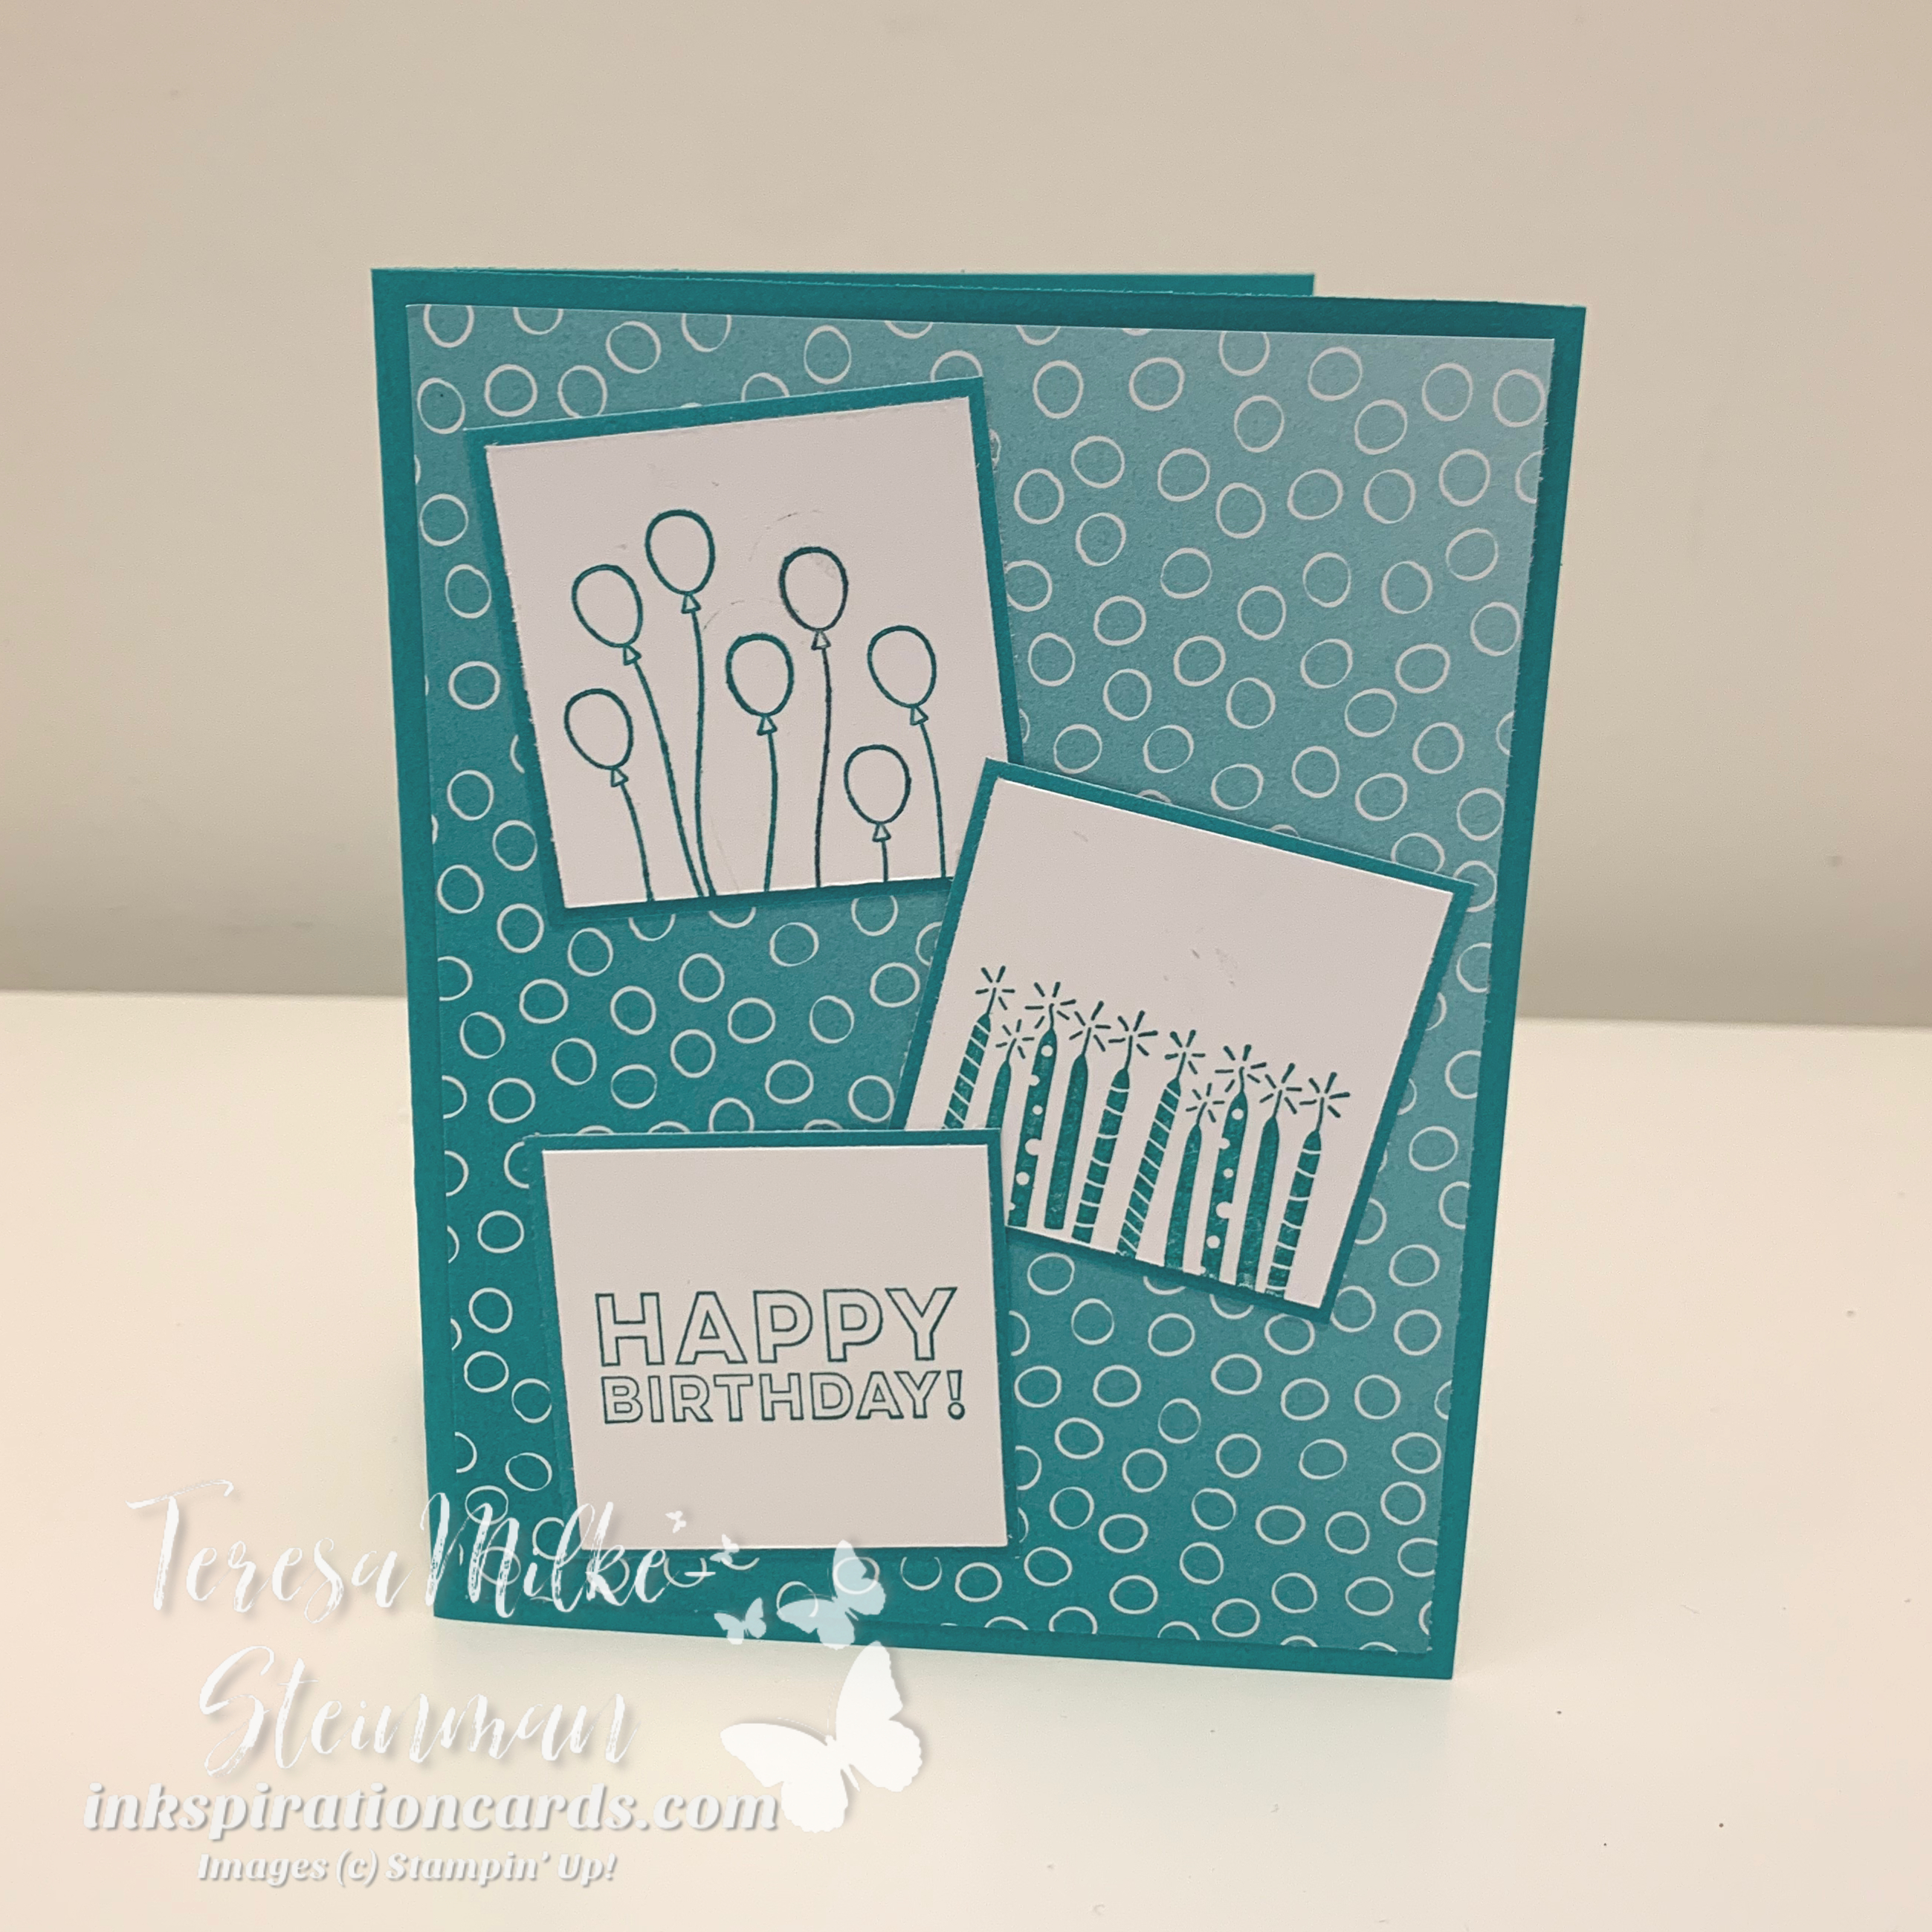
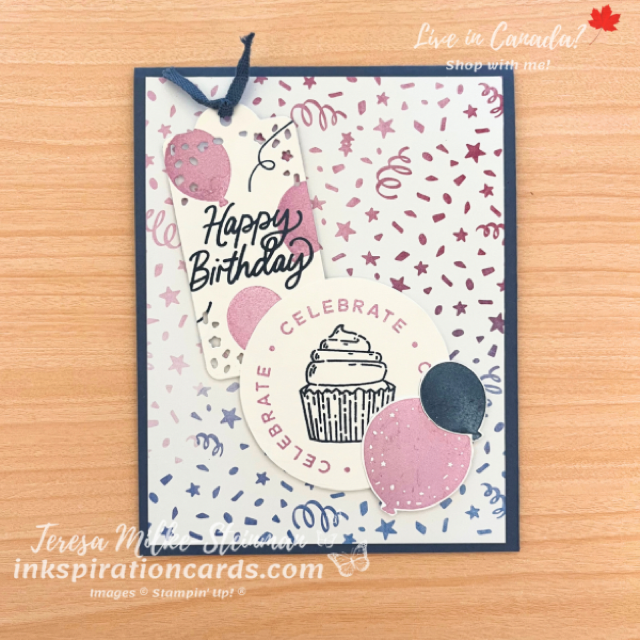
From here I picked my Designer Series Paper design. I went with one of the more simple designs that uses Misty Moonlight and Fresh Freesia. So for the card base I used Misty Moonlight cardstock. I layered on a nice big piece of the DSP for my card mat. Then I popped up a tag I made using some Fresh Freesia balloons and Misty Moonlight ribbons. I love the little confetti holes that this die makes! The ‘happy birthday’ is also in Misty Moonlight. And the ribbon is from my retired stash. I still have a little bit of the Misty Moonlight cotton trim.

Then I layered on a Misty Moonlight cupcake from the Circle Sayings stamp set. The ‘celebrate’ circle is also from this stamp set and I punched it all out with the coordinating punch. I popped this up too. Along with a couple of balloons that I stamped and die cut.
Bright & Beautiful Handmade Birthday Card

As I’m typing this I’m wondering why I didn’t add some Rhinestone Basic Jewels! You totally should! Even without them I still like this Bright & Beautiful handmade birthday card.

Check out all the other cards for this week’s Paper Craft Crew sketch challenge here.

And check out my last card for the Paper Craft Crew here.
Enchanted Butterfly Slimline Card

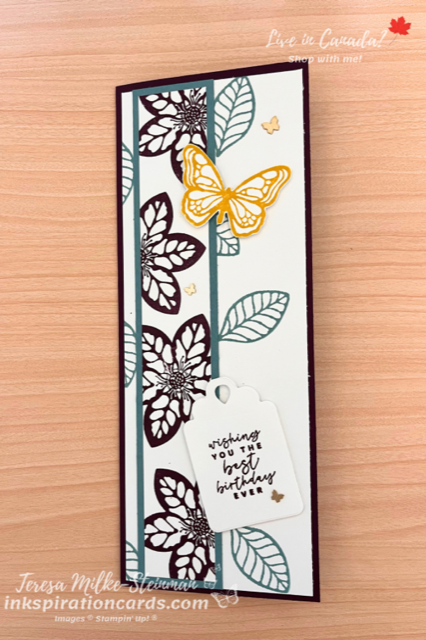
I haven’t made one of these cards in a while. And something about this stamp set told me I needed to make an Enchanted Butterfly slimline card. I’m just getting started with this new stamp set from the Annual Catalogue and can’t wait to see what I else I end up crafting! This set will definitely be used to make some thank you tags for my customers. In the meantime though this card was a lot of fun to make.

I decided to use Blackberry Bliss and Lost Lagoon for my colour combination. Since the return of Lost Lagoon I’m finding I’m using it ALOT! Plus it’s a nice compliment to the darker Blackberry Bliss. I used Blackberry Bliss for the card base and then added a strip of Lost Lagoon cardstock to frame the large Blackberry Bliss flowers.

Behind the flowers I have some Lost Lagoon leaves. Then on top of that I stamped a sentiment from the Season of Chic stamp set. I used one of the Something Fancy dies to cut out the sentiment and then popped it up with some Stampin’ Dimensionals. I had to add a butterfly of course! And this one is stamped with Crushed Curry. I kind of wish that there were coordinating dies for this stamp set, but the images aren’t too bad to fussy cut. The butterfly is popped up too. And to finish it off I added a few Brushed Brass Butterflies.

Enchanted Butterfly Slimline Card

This stamp set has a few larger images in it. So an Enchanted Butterfly slimline card, works out great!

Check out the card I shared earlier this week using the same stamp set here.

And you can find the Enchanted Butterfly stamp set in my online shop.

Enchanted Butterfly Birthday Card

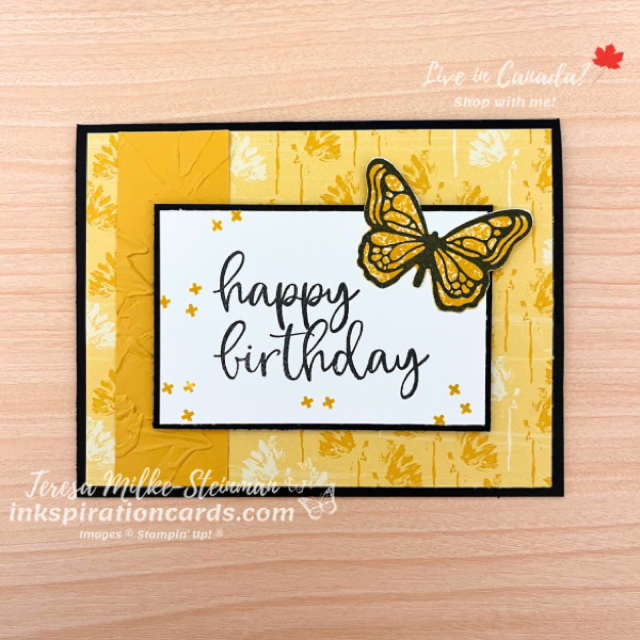
I was so excited when I saw this new stamp set from Stampin’ Up! If you’ve been following me for a while then you’ll know I LOVE butterflies and that I was pretty sad when the Butterfly Brilliance stamps and dies retired. (I’m holding on to those for sure!) Enchanted Butterfly was not part of the demonstrator pre-order back in April, so I had to wait. But I finally have it now and I’m so excited to get crafting with it! My first project is an Enchanted Butterfly birthday card.

Recently a team member shared a card in our group and I liked her design. (Thanks Diane Kent!) So I used that as my starting point and tweaked it as I went. I of course was adding a butterfly so I flipped through the Inked Botanicals Designer Series Paper pack for a design that would work for my background. Usually I don’t use a lot of yellows when I craft, but I loved this Crushed Curry design. It’s so simple and so pretty! To help it pop I’m using Basic Black cardstock for my base and for the centre frame.

On top of my DSP card mat I layered a piece of Crushed Curry cardstock that I embossed with the Painted Texture 3D embossing folder. This is one of my favourite embossing folders right now. It just adds that little something more you know. Then on top of that I used a “happy birthday” from the Biggest Wish stamp set. I stamped that with Tuxedo Black Memento ink and sprinkled some crosses around it using Crushed Curry ink.

Next I stamped the front facing butterfly image with Memento ink on a separate piece of Basic White cardstock. Once that was dry I flipped over the stamp to colour it in using Crushed Curry ink. Because this stamp set is reversible you can get nice clean images no matter what side you use. With other, non-reversible, stamp sets the image doesn’t line up when you flip them over. Then I popped up the butterfly and sentiment using some Stampin’ Dimensionals.

Enchanted Butterfly Birthday Card

If you want to add a little something more to this Enchanted Butterfly birthday card, you could add some Wink of Stella to the butterfly. Or you could add some Brushed Brass Butterflies.

You can find the Enchanted Butterfly stamp set and Inked Botanicals DSP in my online shop.

And you can check out this project I made using the recently retired Butterfly Brilliance stamp set here. I’ll be sharing another project using Enchanted Butterfly later this week, so make sure to follow my blog to get notified when I post!

Patterned Paper Birthday Card

Without even realizing it I chose a great sketch design for Designer Series Paper for my team’s monthly creative challenge! Each month I choose a sketch design, theme or colour combination for them to use to spark some inkspiration and have some creative fun. They use whatever they have on hand and then post a pic in our Facebook group. For mine I’m making a patterned paper birthday card.

Patterned Paper Birthday Card

I’m having a lot of fun right now crafting with the online exclusive Hello Irresistible DSP. The colours… the designs… so pretty! I especially like the designs using Petal Pink and Flirty Flamingo. To help the colors from the patterned paper stand out I’m using a Basic White card base. Then I layered 2 different designs on top. In between the 2 layers of DSP I have an embossed piece of Flirty Flamingo cardstock. I embossed it using the splatter 3D embossing folder.

Then to make it a birthday card I used a couple of sentiments from the Circle Sayings stamp set. I used Petal Pink ink for one and Flirty Flamingo ink for the other. Once I punched them out using the coordinating punch, I popped it up with some Stampin’ Dimensionals. And to finish it off I added a few Rhinestone Basic Jewels.

Stampin’ Up!s DSP packs make it really easy to create a pretty patterned paper birthday card… or any kind of card really!

Check out the card I made earlier this week using the same pack of DSP here.

If you want to join in on all the fun then join my team! I’m surrounded by a wonderful and creative bunch of people on both my smaller and larger team. PLUS if you join before June 30th you’ll get $206 worth of Stampin’ Up! product instead of $165 for only $135 (no tax or shipping depending on the province)!!! Sign up here!

Feminine Birthday Cards

This month marks the start of a busy season of gifting for us. From now until Christmas there are 6 birthdays to celebrate, plus we have Hannukah too. To kick things off I need 2 feminine birthday cards. One for my mom and one for my daughter. I’m using the same stamp set for both cards; Biggest Wish. I haven’t used it since I got it during Stampin’ Up!s flash stamp sale, so I’m excited to use it!

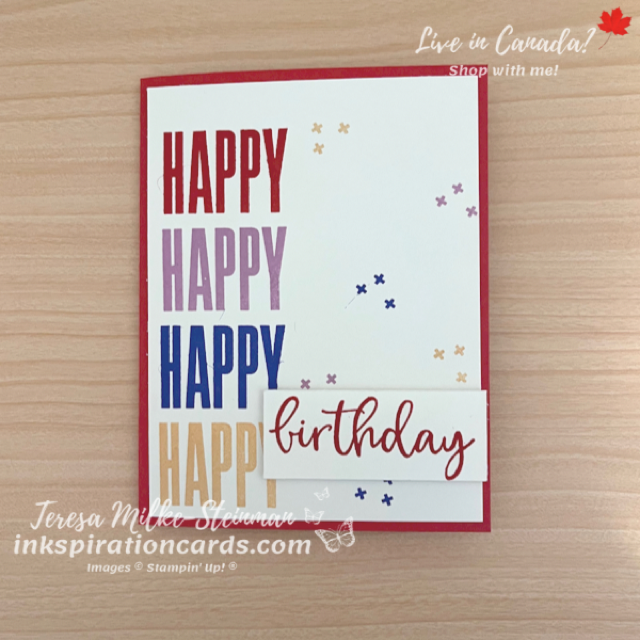
For my mom’s card I using some of the In Colours; Sweet Sorbet, Orchid Oasis, Fresh Freesia and Pale Papaya. The card base is Sweet Sorbet, then I used all of these colours to stamp “happy” down the left hand side of the card front. I also used Sweet Sorbet for stamping “birthday” and popped it up with some Stampin’ Dimensionals. And then for a celebratory kind of background I randomly stamped the small x’s using the other colours. At first I thought I would use some of the In Colour Dots, but the x’s almost look like confetti.

Feminine Birthday Card

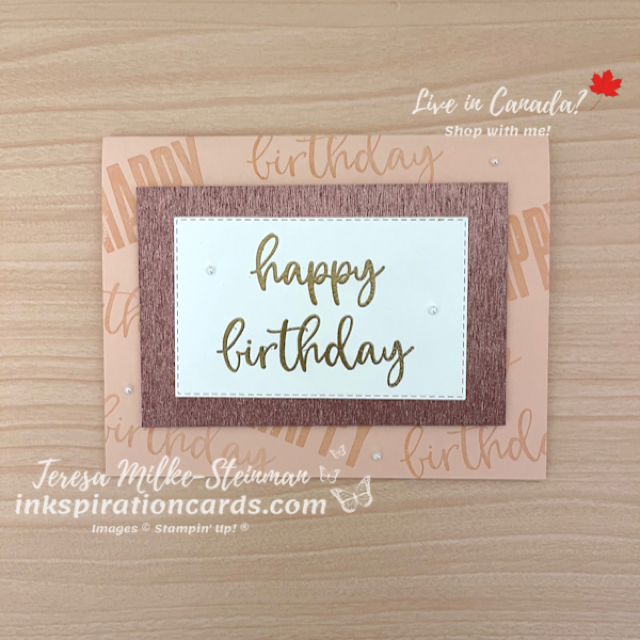
For my daughter’s card I used Petal Pink for my card base. I did some tone on tone stamping to create a simple background. Rose gold is the “theme” for her party this year, so I used some of the Rose Gold Metallic Specialty Paper for the card mat. Then I layered a piece of Basic White cardstock on that I did some heat embossing on in gold. Too bad Stampin’ Up! doesn’t have rose gold embossing powder. I’d be all over that! To add a little something more to the card I used the Stitched Rectangles dies to cut out the phrase. Then I popped up these layers with Stampin’ Dimensionals and added a few Iridescent Pearl Basic Jewels.

Feminine Birthday card

I usually find making feminine birthday cards so much easier than masculine birthday cards. But with these cards it’s pretty easy to give them a more masculine look… all you need to do is swap out the colours.

If you’re stuck for ideas for the guys in your life, check out my post using the He’s All That bundle here. And you can find both the He’s All That bundle and the Biggest Wish stamp set in my online store.

Summer Themed Birthday Card

Yes September is here. And yes Fall is less than two weeks away. But I’m still enjoying the warm summer weather. I think that’s where the inkspiration came from for today’s card. Plus I wanted to do some colouring! So that’s where I started… with the stamped image I wanted to colour. The In the Moment works great for this summer themed birthday card. I love all the images in this stamp set, but to keep with a summer theme there was only one choice.

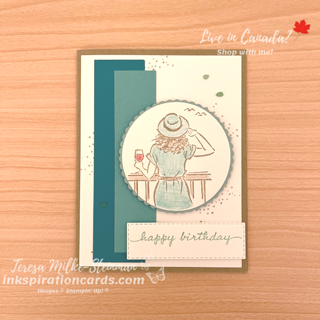
Then I picked my colour combination. I love blues and browns together and they’re a great combo for summer too! I used Crumb Cake as my base colour; the card base and the specs of sand behind all the other elements. Then I have 3 different blues. The blues are Bermuda Bay, Coastal Cabana and Pool Party. I liked the idea of the shades going from dark to light and so I simply used some strips of the different shades.

The image in the centre is stamped with Crumb Cake and then coloured with the Watercolour Pencils. I used Early Espresso from the first assortment. And Coastal Cabana and Cherry Cobbler from the second. I added a Pool Party scalloped circle behind it (using the Layering Circles dies) and popped them up with Stampin’ Dimensionals. The phrase is from the Happiness Abounds stamp set and I stamped in with Pool Party ink. Before I popped it up I die cut it using the Stitched Rectangles dies. And to finish it off I added a few of the blue-green Faux Sea Glass Shapes.

Summer Themed Birthday Card

I really like how this summer themed birthday card turned out! And I might need to add to my cardstock stash so I can do something similar with some Fall colours.

Check out one of the first cards I made with the In the Moment stamp set here. And you can find it here in my online shop.

Simple Handmade Cards

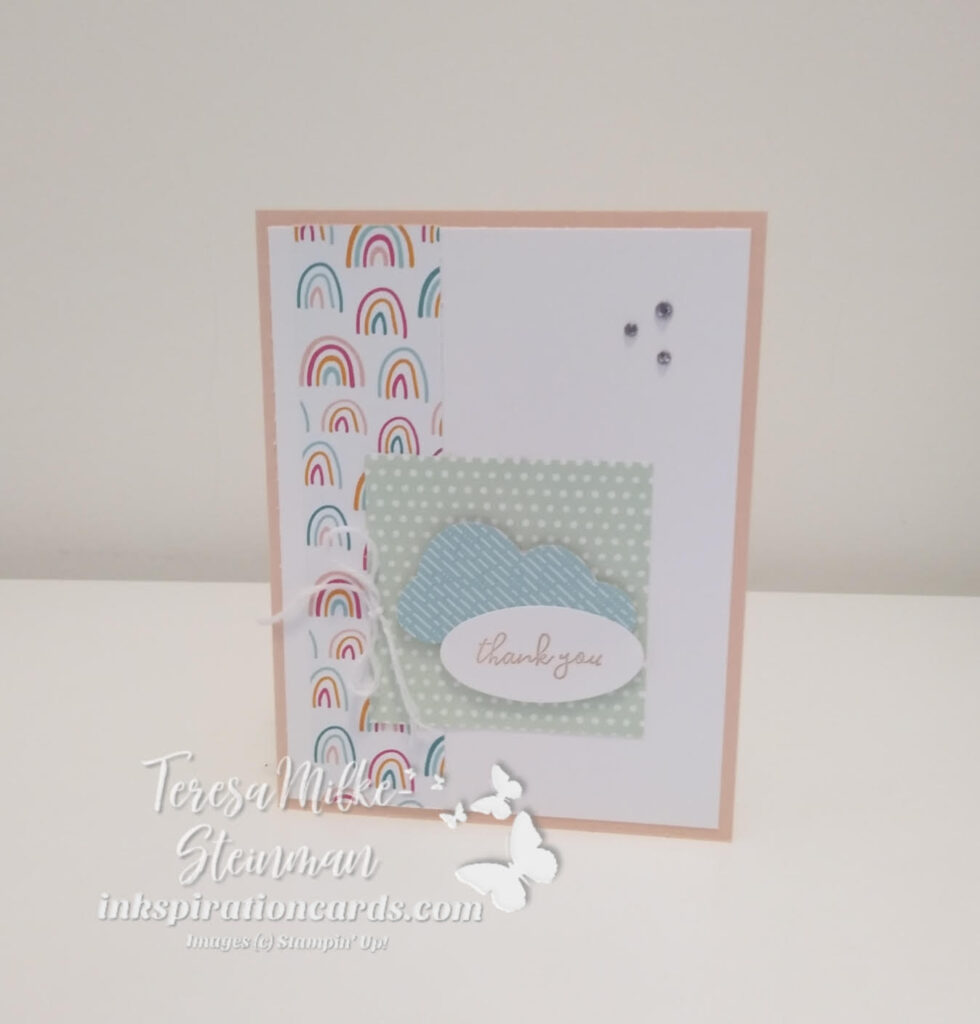
Today is the last day of Sale-a-bration! I’m going to miss a lot of these producs. There are so many great options in this catalogue. And I’ve had so much fun crafting with them. The Sunshine & Rainbows Designer Series Paper is one of my favourites. So I thought I’d share some simple handmade cards featuring this pretty patterned paper!

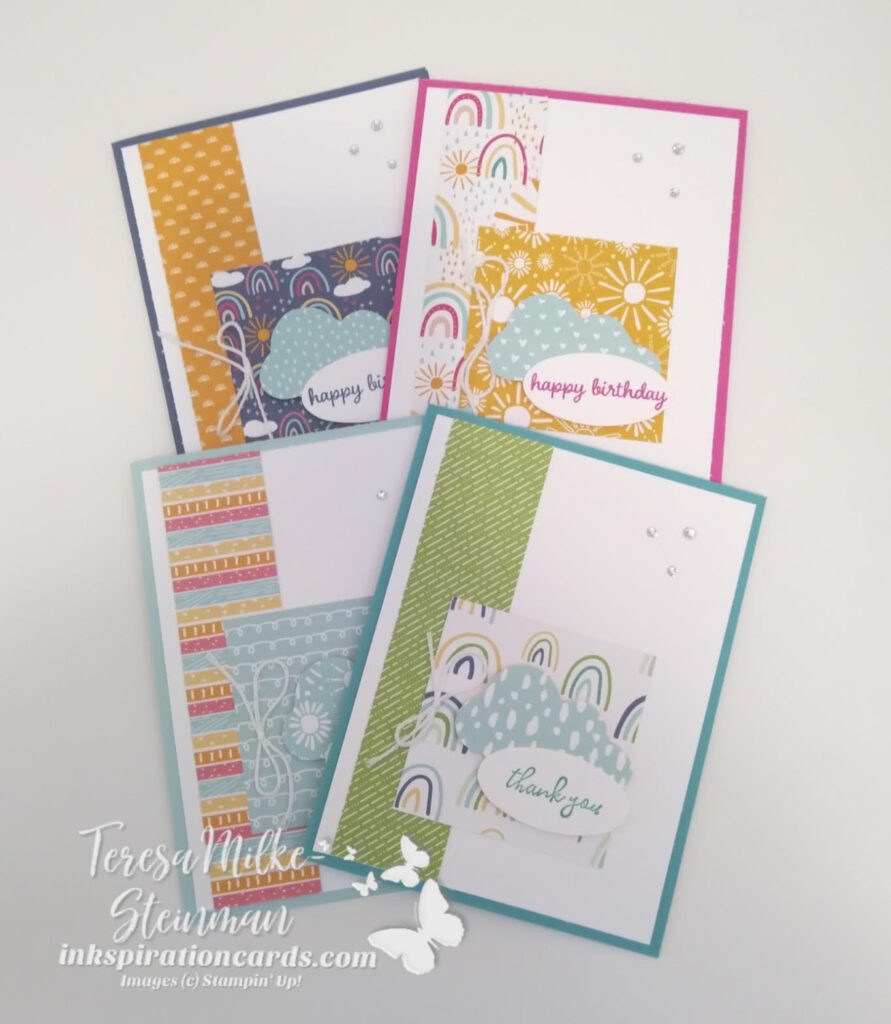
The inkspiration for these cards came from Shannon West. I love how she layered the different designs! The colours for the card bases came from the DSP designs i used. I used Magenta Madness, Misty Moonlight, Bermuda Bay, Petal Pink and Pool Party. And the DSP designs worked out really well because for all the cards I just flipped the sheet over for the other design.

Simple Handmade Cards

Since I don’t have the Cloud Punch, I fussy cut the clouds. Thankfully that was pretty easy! And the phrases came from Free as a Bird (thank you) and Timeless Tulips (happy birthday). The ink colours came from the card base colours. Then I punched out the phrase with the plain oval from the Double Oval Punch. And added a few Stampin’ Dimensionals behind them both to pop them up. To finish it off I added a few Rhinestone Basic Jewels and a simple bow using the white twine from the Baker’s Twine Essentials pack.

Simple Handmade Cards

I just love these simple handmade cards! And I’m going to miss a lot of the products from the Sale-a-bration catalogue. Especially the Sunshine & Rainbows DSP. Check out another project I made with this great patterned paper here.

Stampin’ Up! will have some new Sale-a-bration products in the summer, but these ones will be gone after today. So if there’s something you’ve had your eye on now is the time! Head over to my online shop and get yours before they’re gone!

#SimpleStamping with Sale-a-bration

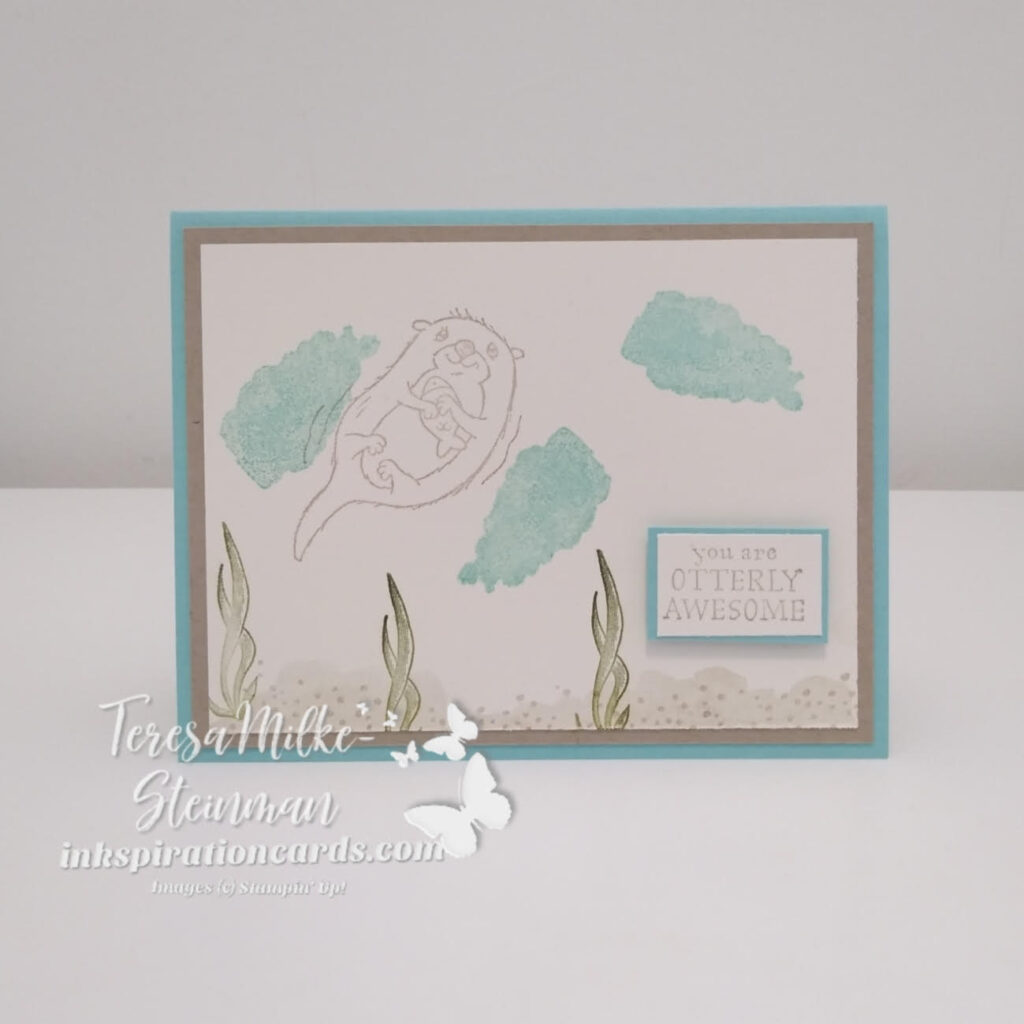
The first #SimpleStamping challenge of 2022 is here! And it’s Sale-a-bration so it totally makes sense that this month’s challenge is some #SimpleStamping with Sale-a-bration. This month we need to create a birthday card using stamps, ink, paper and something from the Sale-a-bration catalogue. At first I thought of using the Sunshine & Rainbows Designer Series Paper because it’s filled with lots of bright, fun colours. Great for a birthday card right?! But I’m just loving the Awesome Otters stamp set so I ended up using that as the jumping off point for my design instead.

From there I needed my colour combination. Coastal Cabana is such a pretty blue so I started with that. The Crumb Cake coordinates really well, plus it’s a good colour for an otter and some sand. I also used some Old Olive so I could create a nice water scene. The Friends are like Seashells stamp set worked great for this. I used it for the seaweed and the specs of sand. Then I used a couple of the filler images, stamped off on a scrap piece of paper, to make the sand and add a bit of water.

#SimpleStamping with Sale-a-bration

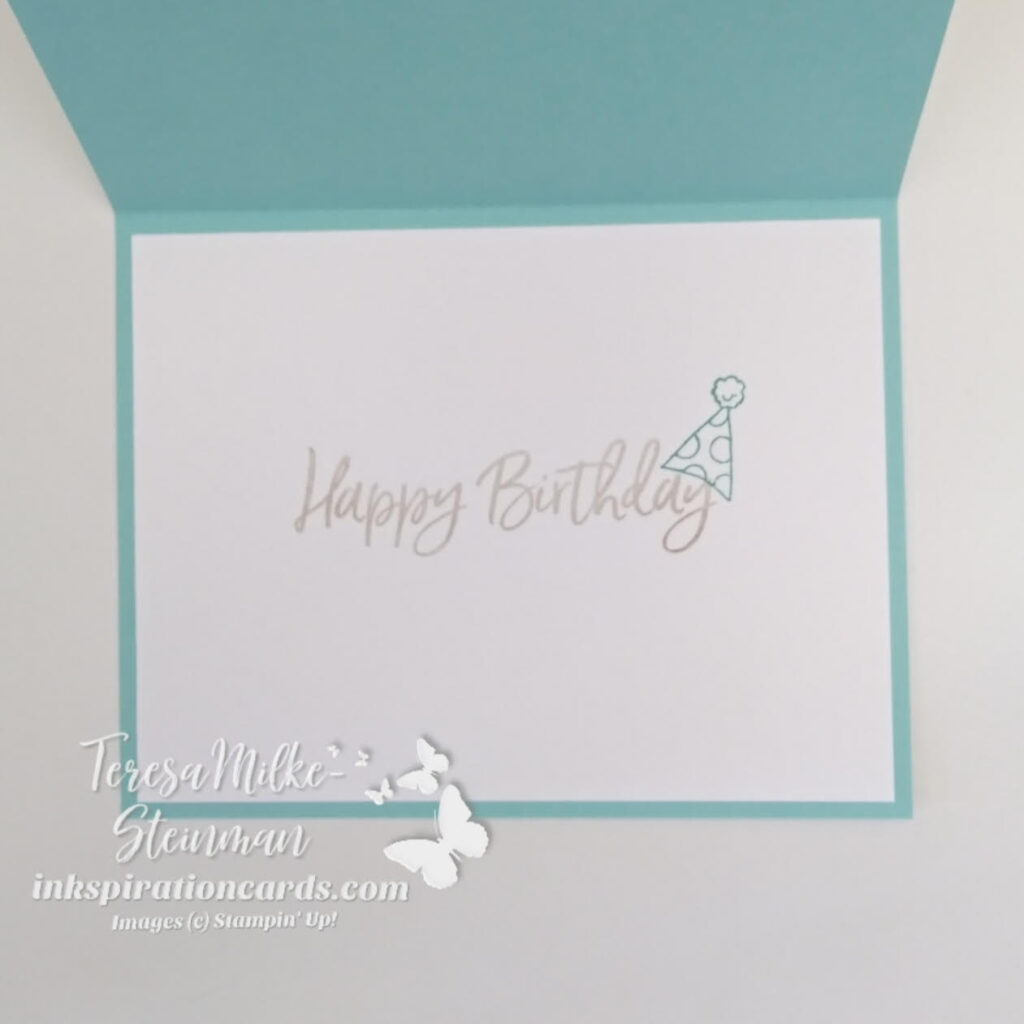
The phrase on the outside is a great one. It can be used for a birthday card or a just because card. So since this is supposed to be a birthday card I added an extra phrase on the inside. I used the “happy birthday” from the Sweet Ice Cream stamp set. Which I topped off with the birthday hat from the Awesome Otters stamp set.

#SimpleStamping with Sale-a-bration

I always have fun with #SimpleStamping! And doing some #SimpleStamping with Sale-a-bration made it even more fun. Here’s another card I made using the Awesome Otters stamp set. And remember you only need a $60 order to earn these cute little guys for free! So once you have your list head over to my online shop.

Friendly Hello

This past weekend I had an online catalogue launch party on my Facebook page to celebrate the new catalogues. There was a lot going on! Games, prizes and the chance to check out some of the products from the January-June Mini and Sale-a-bration catalgoues. And of course what stamping party would be complete without some stamping! So I had a live crafting session. And for my customers who registered, they received some supplies to stamp along… and some treats too! I used the Friendly Hello stamp set from the Sale-a-bration catalogue. Partly because I love it and partly because I thought most stampers would have some stamp sets with flowers and birds to substitute.

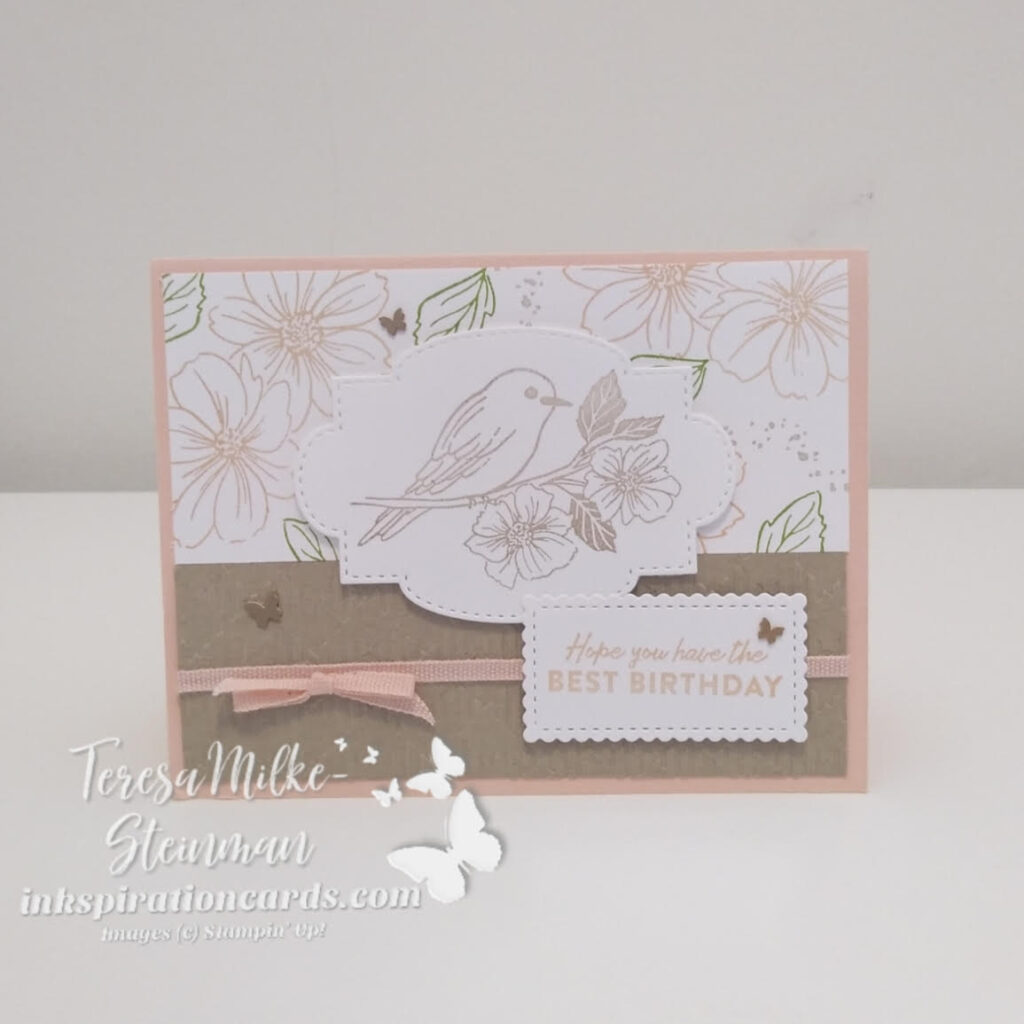
I thought about using the Designer Series Paper that comes with the free stamp set, but decided not to. I did pull my colour combination from the DSP though and used Petal Pink, Granny Apple Green and Crumb Cake. With these colours I made my own stamped DSP. I love doing this and this one turned out nice!

Underneath I added a piece of Crumb Cake cardstock that I embossed using the new Gingham Embossing Folder. It really adds a little something to plain cardstock! And I think this may be my new favourite embossing folder. I also wrapped some Petal Pink cotton ribbon around it and tied a bow. This ribbon comes from the new Cotton Ribbon Combo pack. It comes with Petal Pink and Misty Moonlight.

From there I added the bird on a branch image and a phrase. Both were cut out using the Stitched So Sweetly dies and popped up with some Stampin’ Dimensionals. Then to finish it off I added a bit of bling with a few of the new Brushed Brass Butterflies. I love crafting with these sssooo much! I’ve already used over half a pack! Check out one of my other cards using these butterflies and some of the other great Sale-a-bration products here. Here’s the card from my party…

Friendly Hello

I’m sad that the Friendly Hello stamp set and DSP are only around until February 28th. But I’m definitely going to make the most of it! I hope you like this card as much as my customers and party attendees do!

For more information on how to earn this stamp set and DSP for free, check out my post all about Sale-a-bration here. And then you can fill up your cart in my online shop here. Remember to use this month’s host code when you do to get a free pack of Polished Dots from me for your order of $49 or more!

Friendly Hello

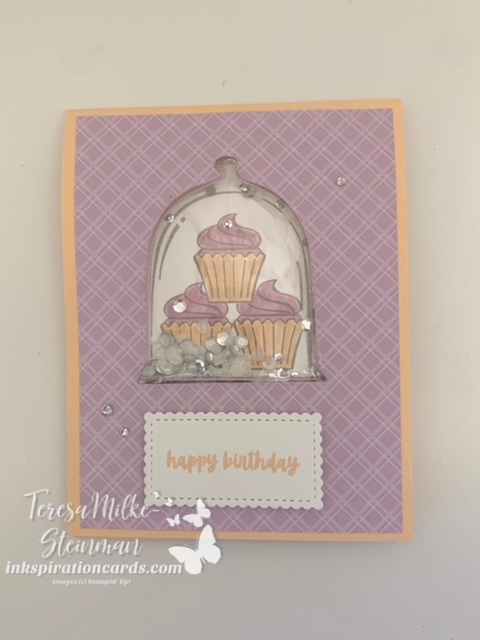
Special Birthday Card

October has a few birthdays for us. This is a special birthday card that I made for my mom. I always like to make something a little different for her. Lately I’ve been making fancy fold cards for her. Check out the card I made for her for Mother’s Day here. I got the idea for this fun fold from Patty Bennett. She’s a successful demonstrator from the United States and recently got a chance to do some crafting with Shelli and Sara Douglas.

For the cut out in my card I decided to do something different… I thought it would be fun to use the Cloche dies and make a shaker card. I love shaker cards! They’re so much fun and so easy to make. Since this is a birthday card I went with the cupcakes for inside the cloche. I’m just loving the Sweet Treats stamp set. The images are so cute and it covers more than one holiday.

In terms of the colour combination I wanted to keep it nice and bright. So I chose from the newest In Colours; Pale Papaya and Fresh Fressia. I also used the In Colour Designer Series Paper. Usually I wouldn’t have thought of putting these colours together, but they actually work nicely with each other. For ink I used Pale Papaya and Fresh Fressia of course, but I also added some Crumb Cake. That way the colours would really pop on the cupcakes.

For each panel I switched it up just a little bit. And then I used the Stitched So Sweetly dies for the Basic White pieces on the inside and outside of the card. Inside the cloche shaker dome I added a bunch of the Subtle Shimmer Sequins. These sequins are so pretty and you know that I love to add bling to just about all my cards!

I hope you like how this special birthday card turned out as much as I did!

And here’s the link to Patty’s video if you’d like to try to make one yourself.

End of Summer #SimpleStamping

September is here and Fall is just around the corner! I’m looking forward to the leaves changing colour, but I do love the warmer Summer weather and will be a little sad when that’s gone. So when I saw this month’s #SimpleStamping challenge I thought I’d do some end of summer #SimpleStamping. This month’s challenge from Stampin’ Up! is to create a birthday card with just stamps, ink and paper. No extras this month.

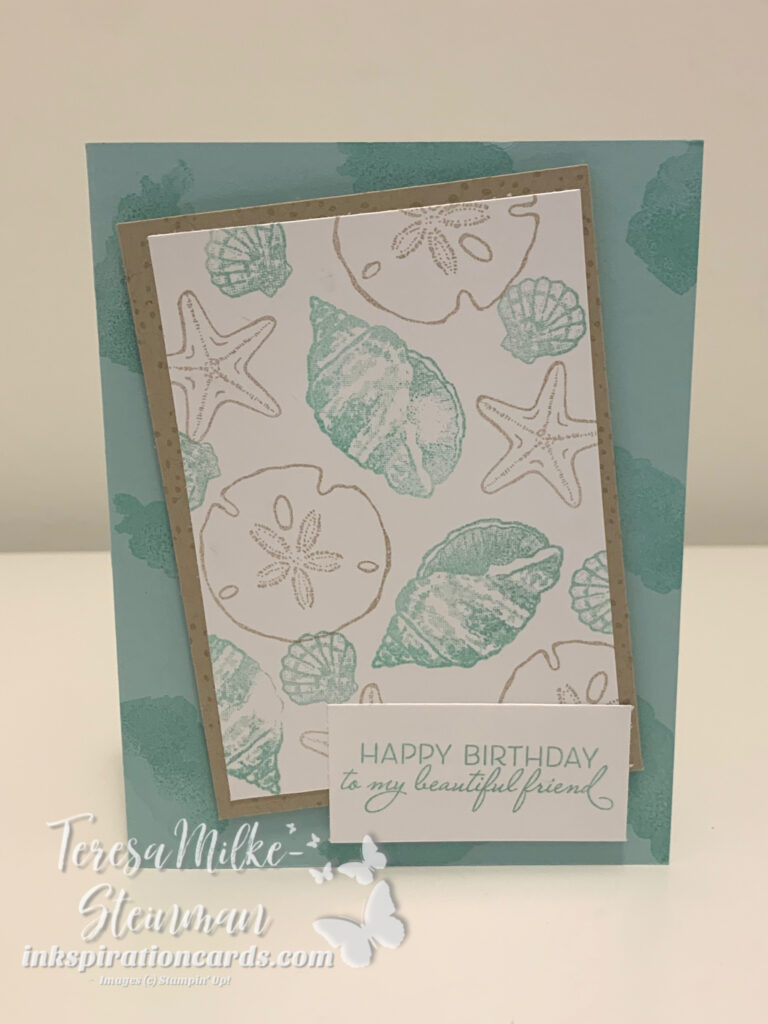
The first stamp set that I thought of for this card was the Friends are like Seashells stamp set. I love this stamp set! The phrases and fonts are so versatile. And the images are so pretty. Plus you can potentially do some 2-step stamping with this set. With that decided I needed my colour combination. This is one I’ve used before. But I just love these colours with this stamp set; Pool Party and Crumb Cake. I actually like putting blues and browns together. It’s one of my favourite colour combinations.

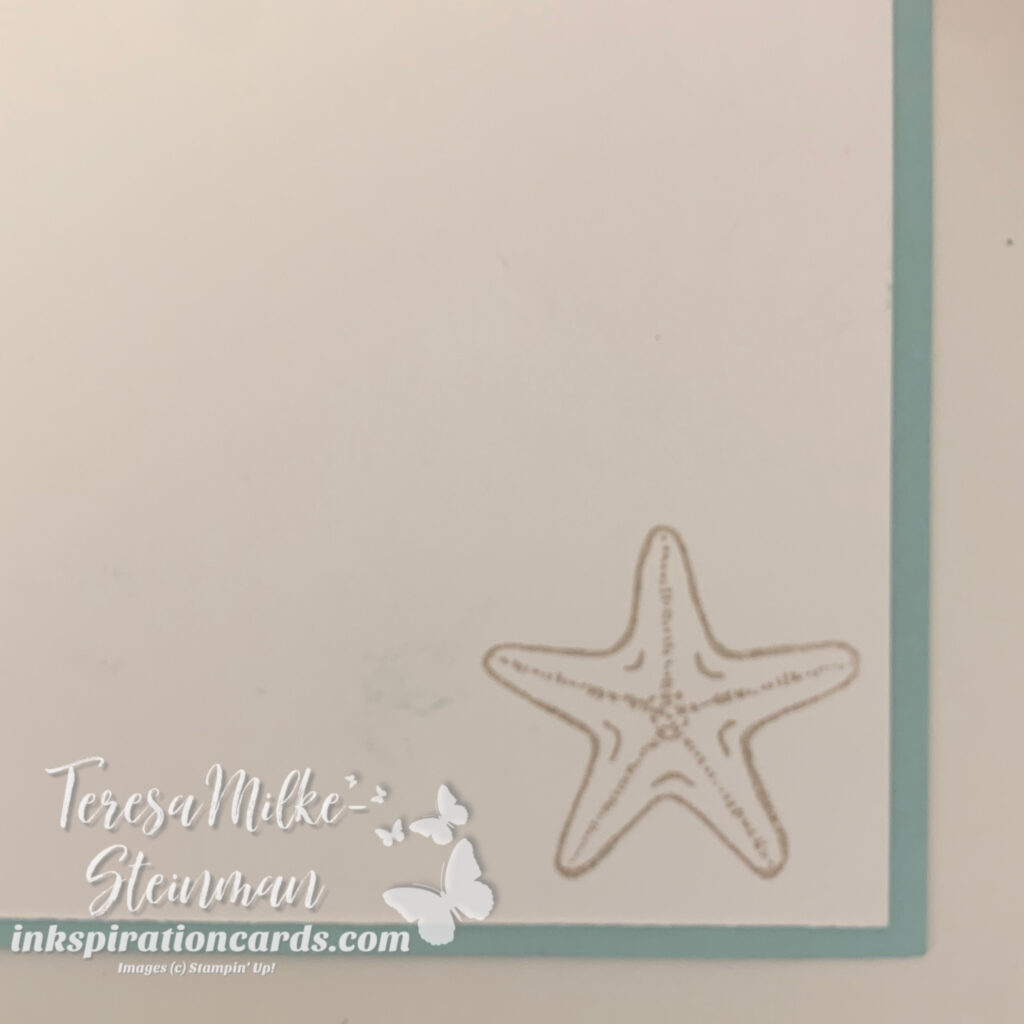
On the outside I did some tone on tone stamping. I created a background with one of the images on the Pool Party card base with Pool Party ink. And so I made my other pieces of cardstock smaller than I usually do. Then I stamped the specs of sand image on the Crumb Cake card mat with Crumb Cake ink. I made a kind of seashell collage with both ink colours on the card front. And to top it all off I stamped a Crumb Cake starfish on the inside of the card.

To kick this card up a knotch, I would add either some Wink of Stella or a few Opal Rounds. Or maybe a bit of both, lol! I hope you enjoyed my end of summer #SimpleStamping. You can check out one of my more recent #SimpleStamping cards here. And if you want to get yourself some stamps, ink and paper to get your craft on, you can stock up in my online shop.

Sweet Treats

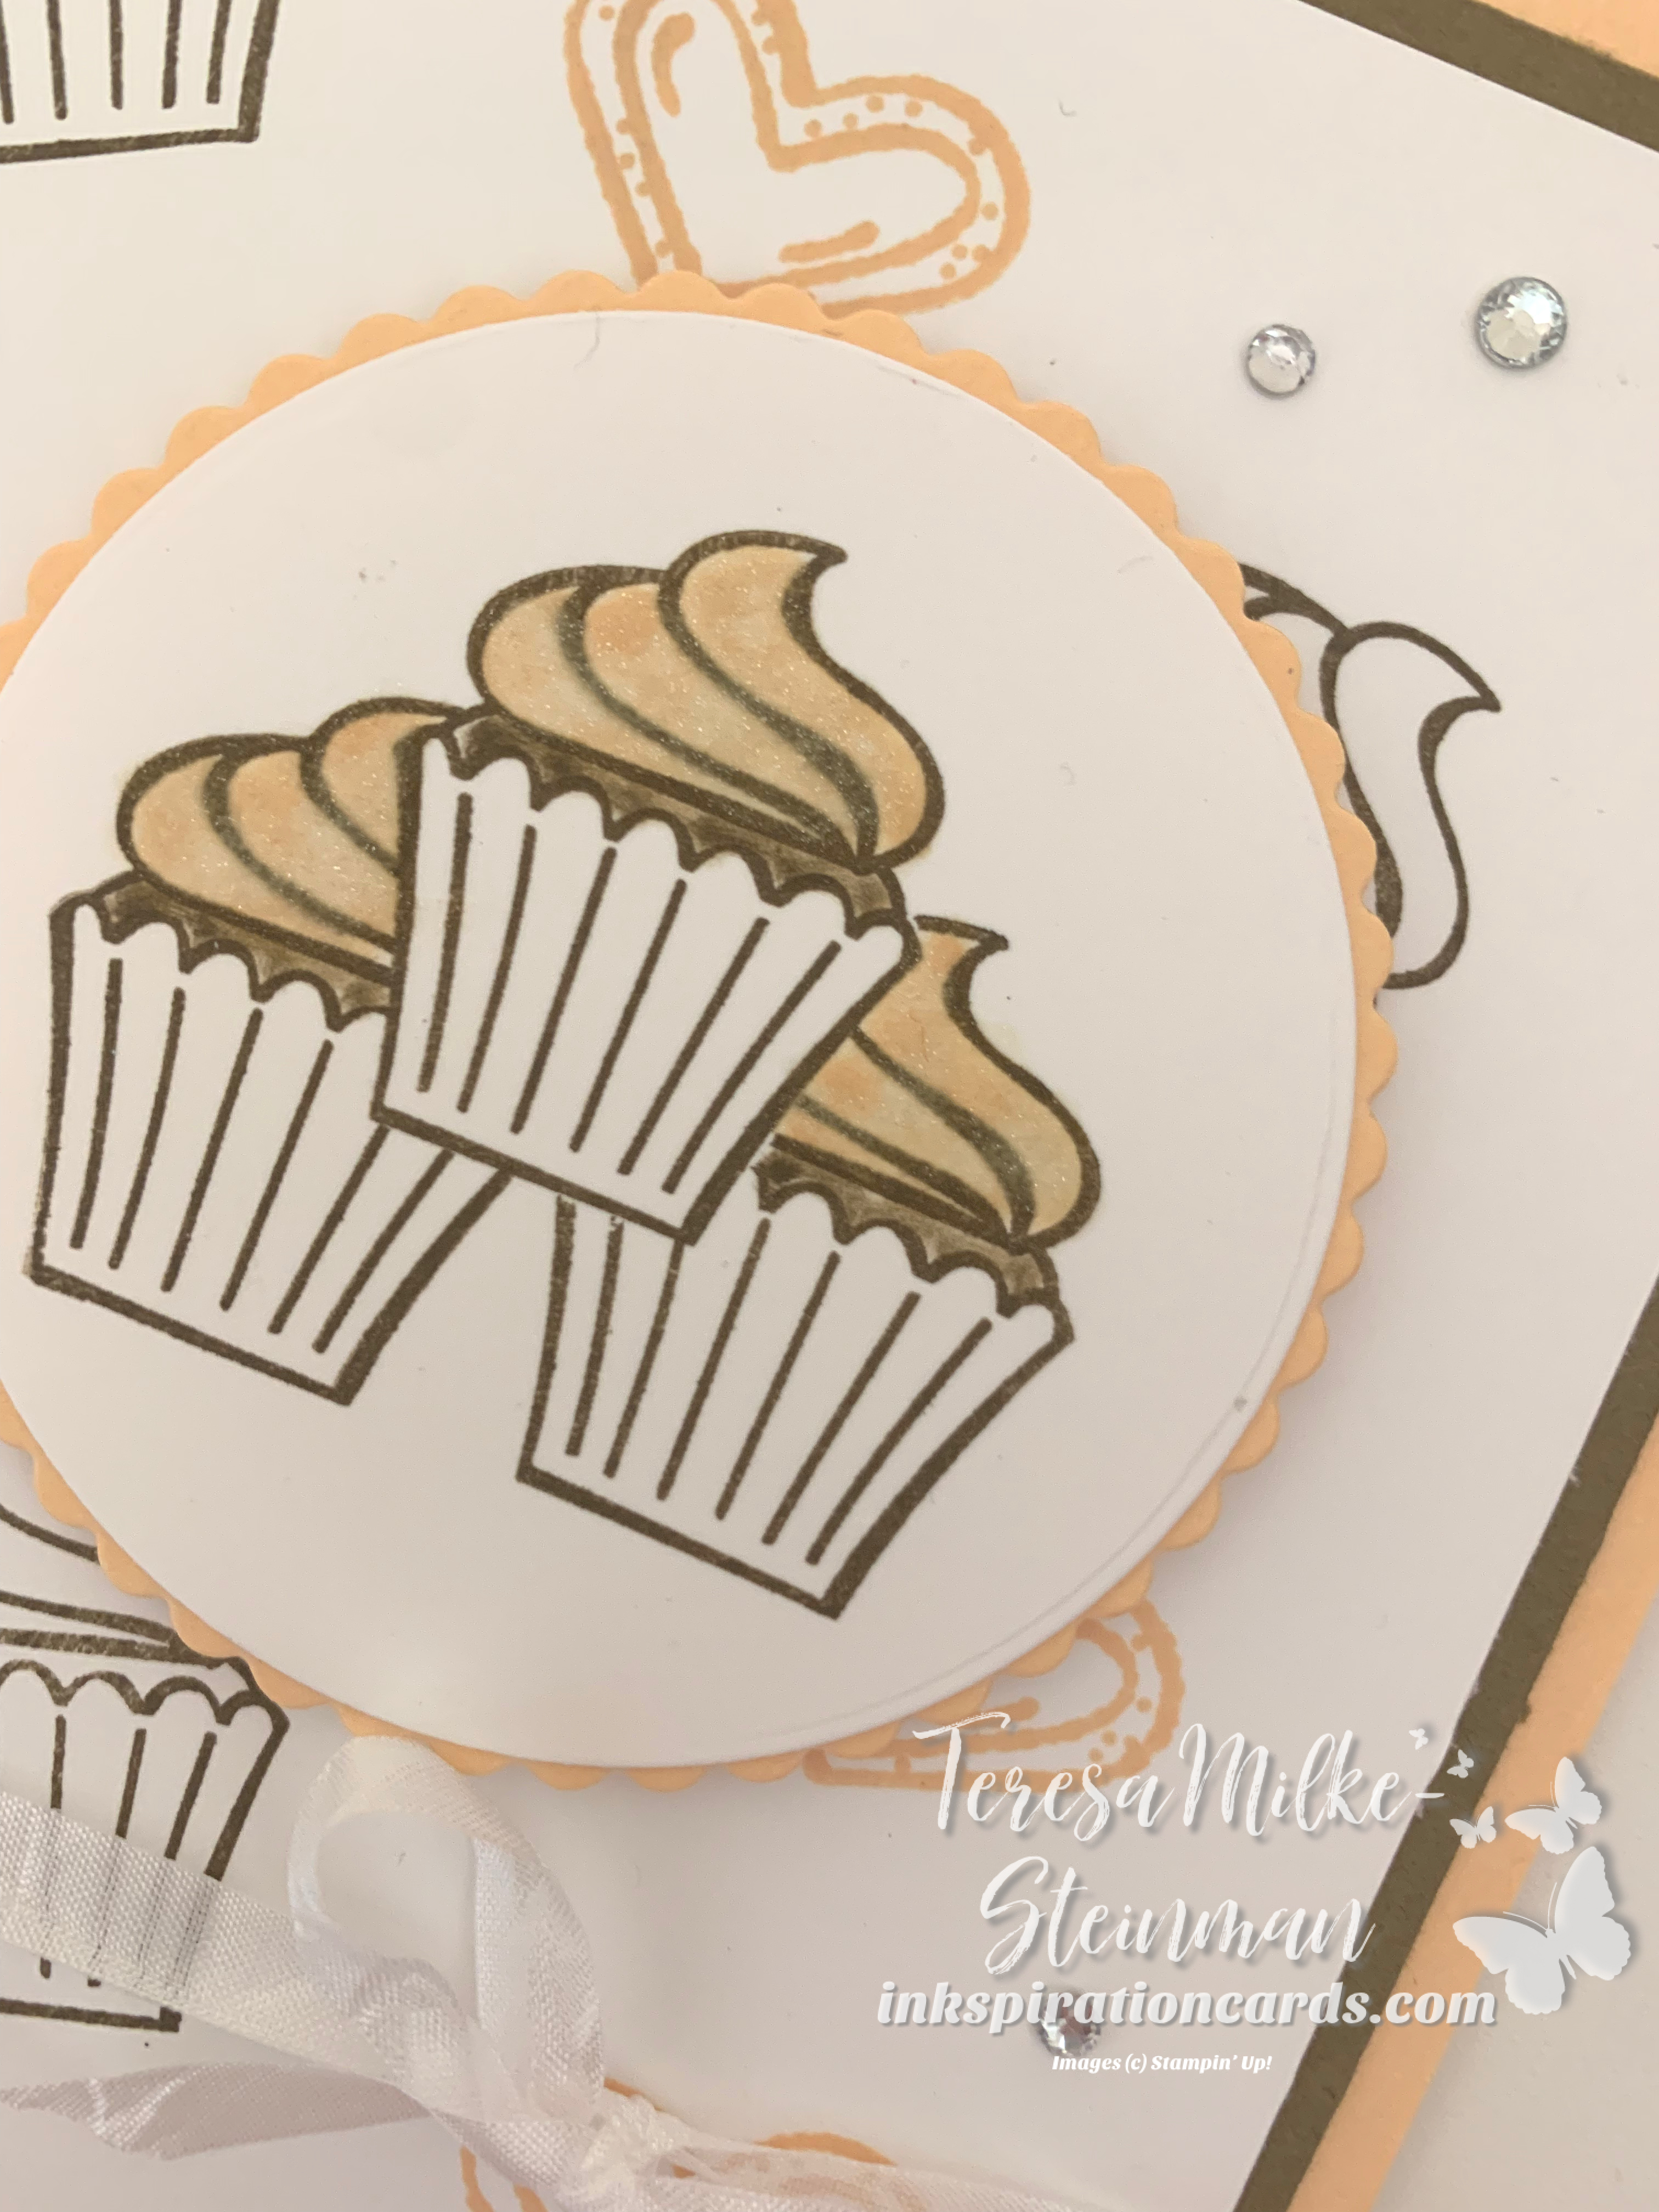
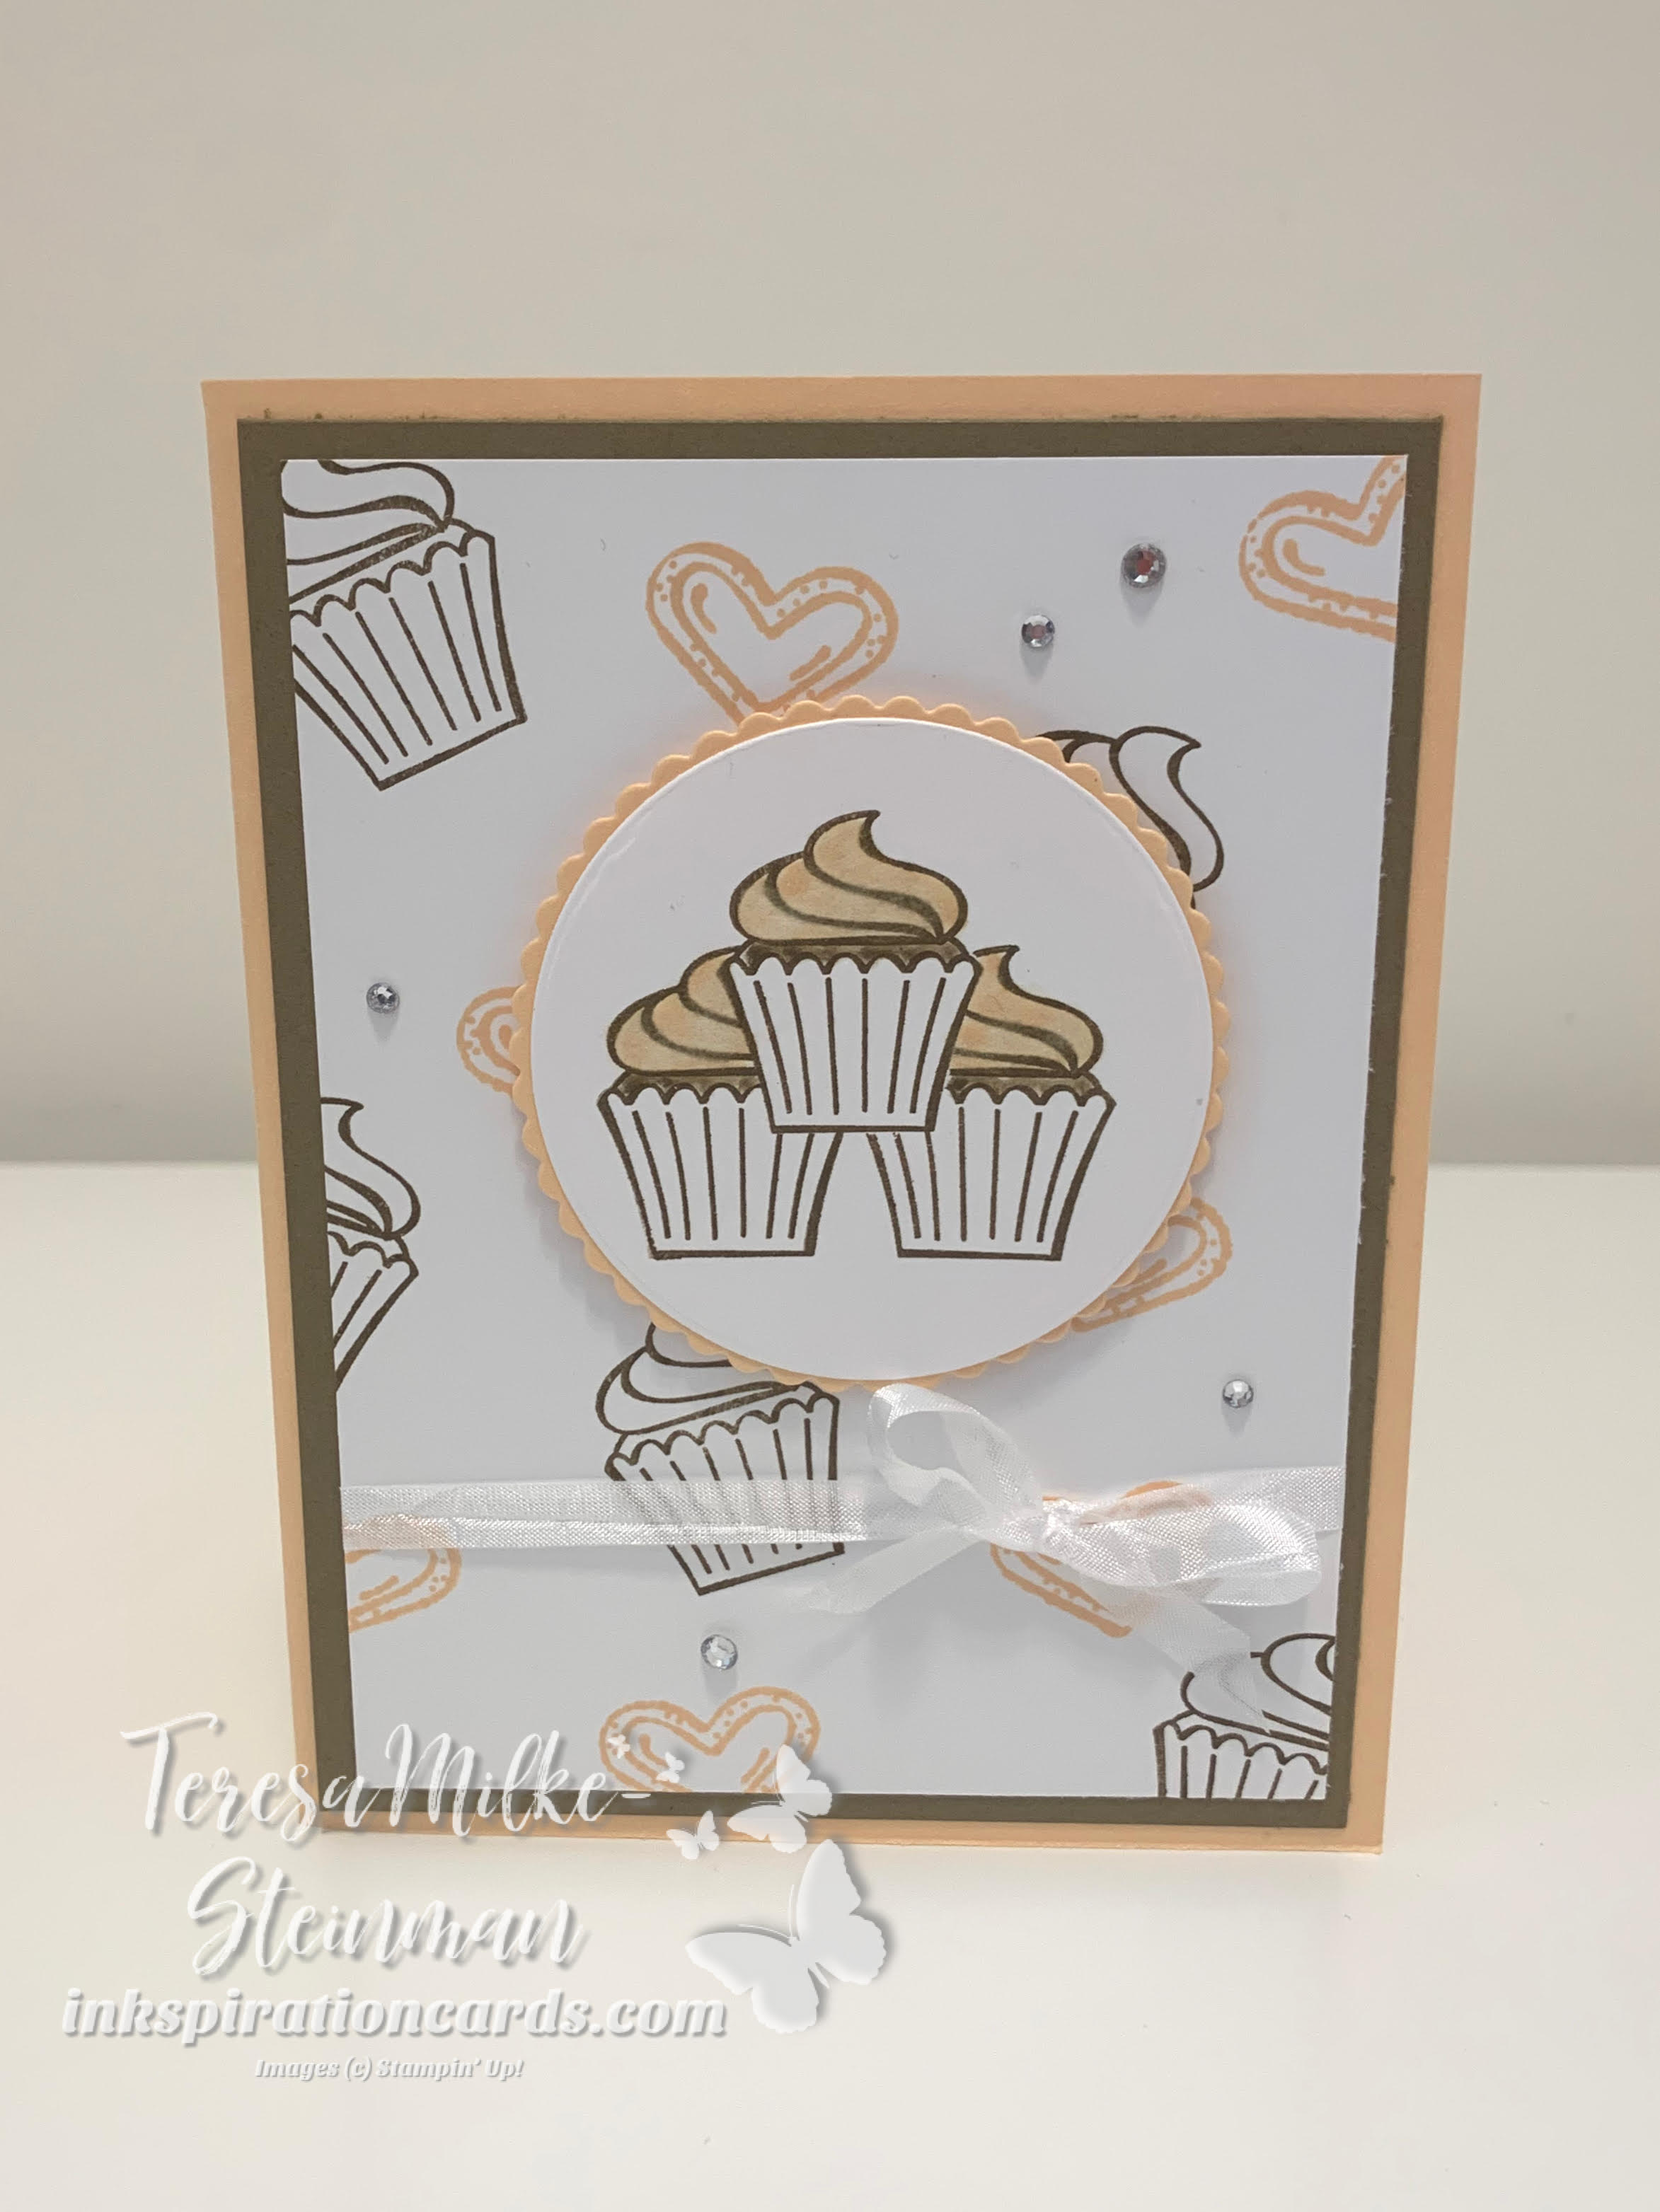
The new mini catalogue is here! And so is another round of Sale-a-bration!! I’ve been having fun with some of the products from the new catalogues and am so excited to share them with you. While the July-December mini catalogue is all about the holidays, especially Christmas, this card is something a little different. I’ve been on the look out for a new birthday themed stamp set and I found a really cute one in the mini. It’s the Sweet Treats stamp set.

I don’t think I’m quite ready to take the deep dive into holiday crafting just yet. So while I can use this set for Christmas, I decided to make a birthday card instead. I just love the versatility of this set. And I can’t wait to use the coordinating dies! For this card I started my colour combination with Pale Papaya, one of the newest In Colours. I also wanted something a little darker than Crumb Cake. So I went with Soft Suede and I really love these two colours together.

For this design I wanted the Pale Papaya to be the stand out colour. So I used it for the card base and frame behind the cupcakes. For the background I used a combination of the Pale Papaya and Soft Suede to stamp the images. Then I wrapped some of the White Crinkled Seam Binding ribbon around it and added a bow.

Sweet Treats

I really wanted some cupcakes as the focal point for this card. So I used some masking to create my cupcake pile. Then I used a Blender Pen to make some Pale Papaya frosting and Soft Suede cupcakes. Once that was dry I added some Wink of Stella to the frosting.

To help them stand out even more I used the Layering Circles dies to frame them. And then I popped them up with some Stampin’ Dimensionals. I still wanted a little something more for this card. So I pulled out one of my favourite go-tos… the Rhinestone Basic Jewels. I love my bling!

Sweet Treats

I just LOVE this card using the Sweet Treats stamp set! And I can’t wait to craft some more with it. If you want to check out one of the stamp sets that you can earn for FREE during Sale-a-bration, then check out last week’s post here. And if you want to check out the new mini catalogue, you can do that here in my online shop. Plus if you live in Canada and want your very own copy just send me an email (inkspirationwithteresa@gmail.com). I’d be happy to mail them out to you!

Friends are like Seashells

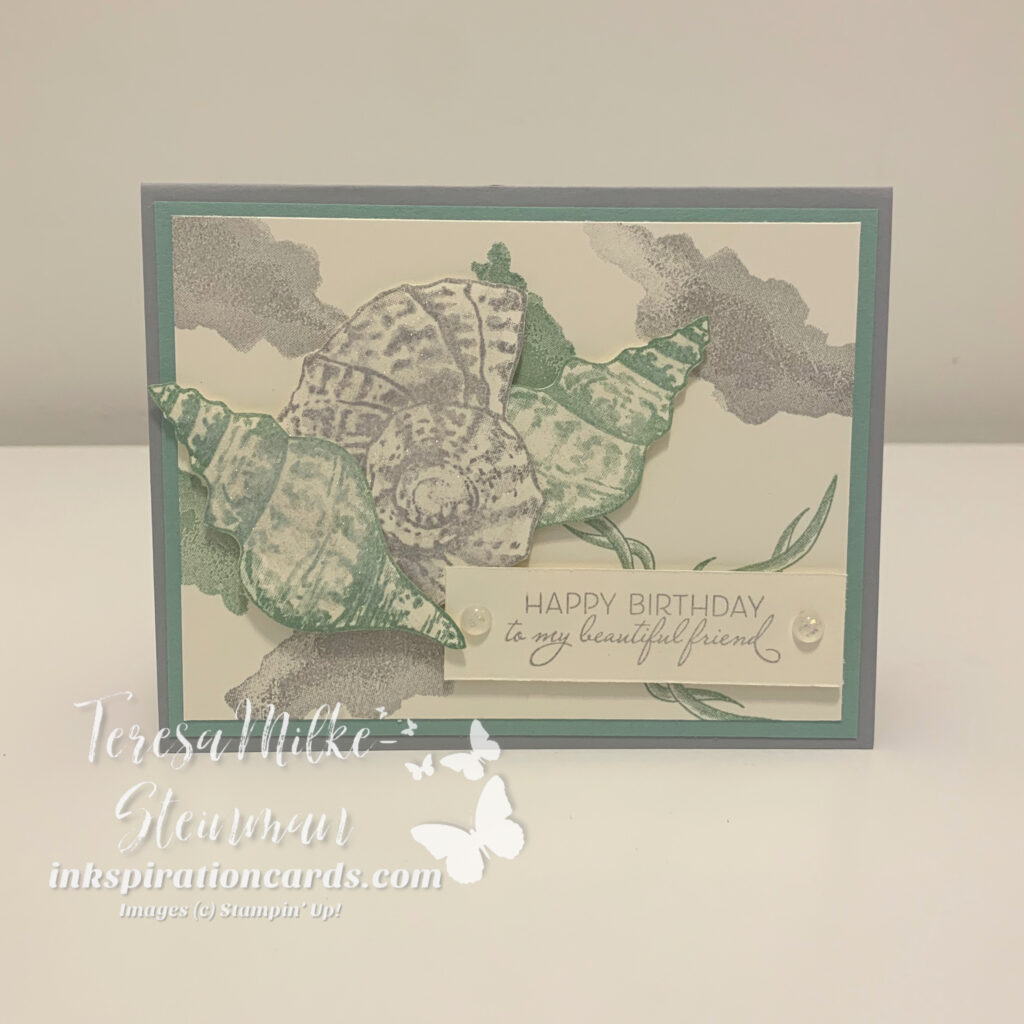
Summer is just around the corner and so I’ve been crafting with the Friends are like Seashells stamp set lately. I fell in love with this stamp as soon as I saw it! The images are beautiful and the phrases make is so versatile. The holidays got in the way for a while, but I’m so glad I came back to it.

For this card I wanted to use a different colour combination with this stamp set. So far I’ve used Crumb Cake along with Pool Party or Petal Pink. But this time I decided to go with Smoky Slate and Mint Macaron. I’ve used this colour combination before. And I know it may not be an obvious colour combination for seashells, but I think it really works well.

Friends are like Seashells

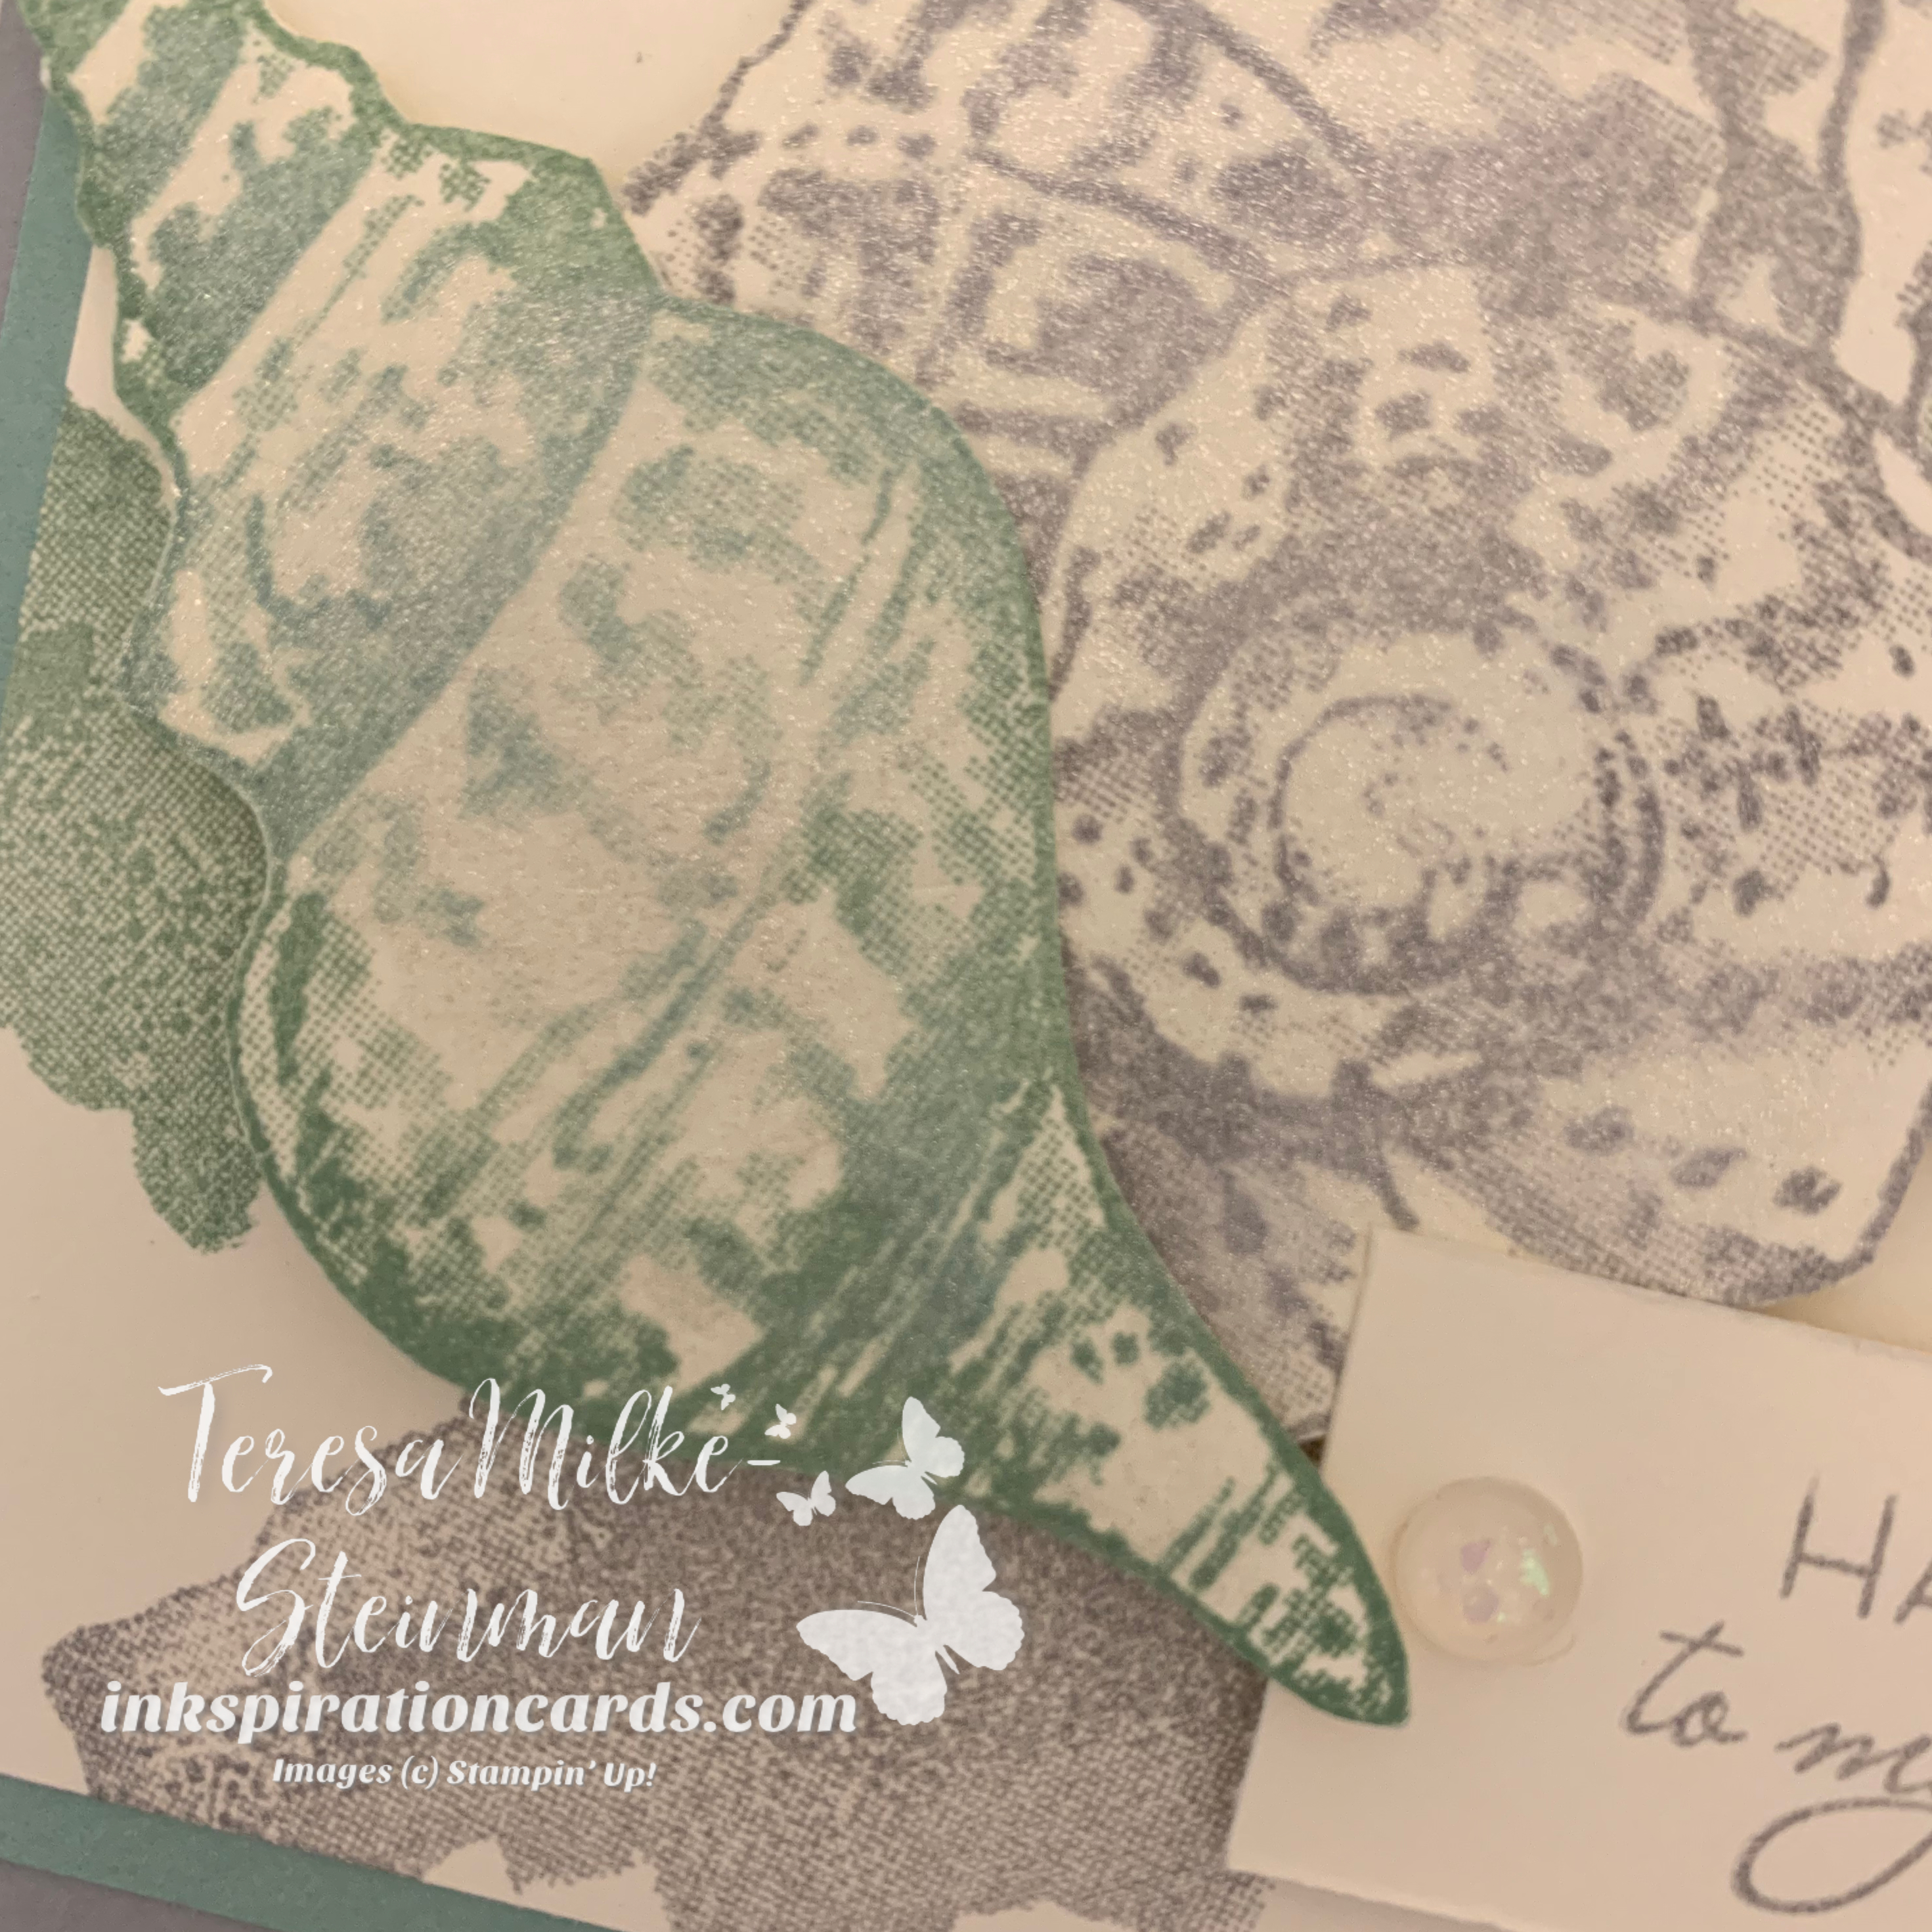
I also wanted to show off some of the large seashell images. Unfortunately I don’t have the coordinating dies (yet), so I fussy cut them which wasn’t too bad. For my background I decided to use the stamps that would typically be used to “colour in” the seashell stamps. I’ve done a seashell background before so I wanted to switch it up a bit. I’ve also used the seashells as a foreground which you can check out here.

I left the phrase as is. But if you want it would look nice cut out with the Stitched Rectangles dies too. I popped up the seashells and the phrase with some Stampin’ Dimensionals. And then I added some bling… For the seashells I used the Wink of Stella Glitterbrush and I added a couple of Opal Rounds on either side of the phrase.

Friends are like Seashells

Looking at my background now I’m going to have to try some DIY Designer Series Paper with the Friends are like Seashells stamp set. Check out the stamp set and coordinating dies in my online shop.

A #simplestamping Birthday

I’m finally getting around to this month’s #simplestamping challenge from Stampin’ Up! This month there were no extras allowed. No punches, no Designer Series Paper, just stamps, ink and paper. And for this month we needed to create a #simplestamping birthday card. I’m usually pretty simple with my card designs, but keeping it to just stamps, ink and paper is still a challenge. And this month’s challenge is no exception!

For my design I also wanted to use one of the Sale-a-bration stamp sets; Approaching Perfection. The phrases are great and the images work well too. With this card though I actually just used the images from this set and went with a phrase from the Many Mates stamp set. I had an idea for a stepped up version using the Sale-a-bration Oh So Ombre DSP so that’s where I started for my colours.

I went with Bermuda Bay for both of my card bases. But for my #simplestamping card I paired it with Mint Macaron. I debated about a monochromatic look for both cards but decided not to. I framed the “Happy Birthday” with a little bit of Bermuda Bay cardstock and then decided to skip the Stampin’ Dimensionals.

A #simplestamping birthday

For my stepped up version I used the same stamps but added some of the Oh So Ombre DSP. This is one of my favorites from the Sale-a-bration catalogue! I framed the images and phrase using one of the other designs from the same paper pack. There were a few debates with this card too. In this case it was Dimensionals, ribbon or rhinestones. In the end I decided to keep this card fairly simple too.

A #simplestamping birthday

I hope you enjoyed my versions of a #simplestamping birthday card. I definitely enjoyed creating them. And I think I need to challenge myself to use just stamps, ink and paper more often.

There’s only a few more days until Sale-a-bration if finished! So if you want to find out how to get free and exclusive products then check out this post. Or if you live in Canada and are ready to fill up your cart then head over to my online shop!

DIY Shimmer Paper

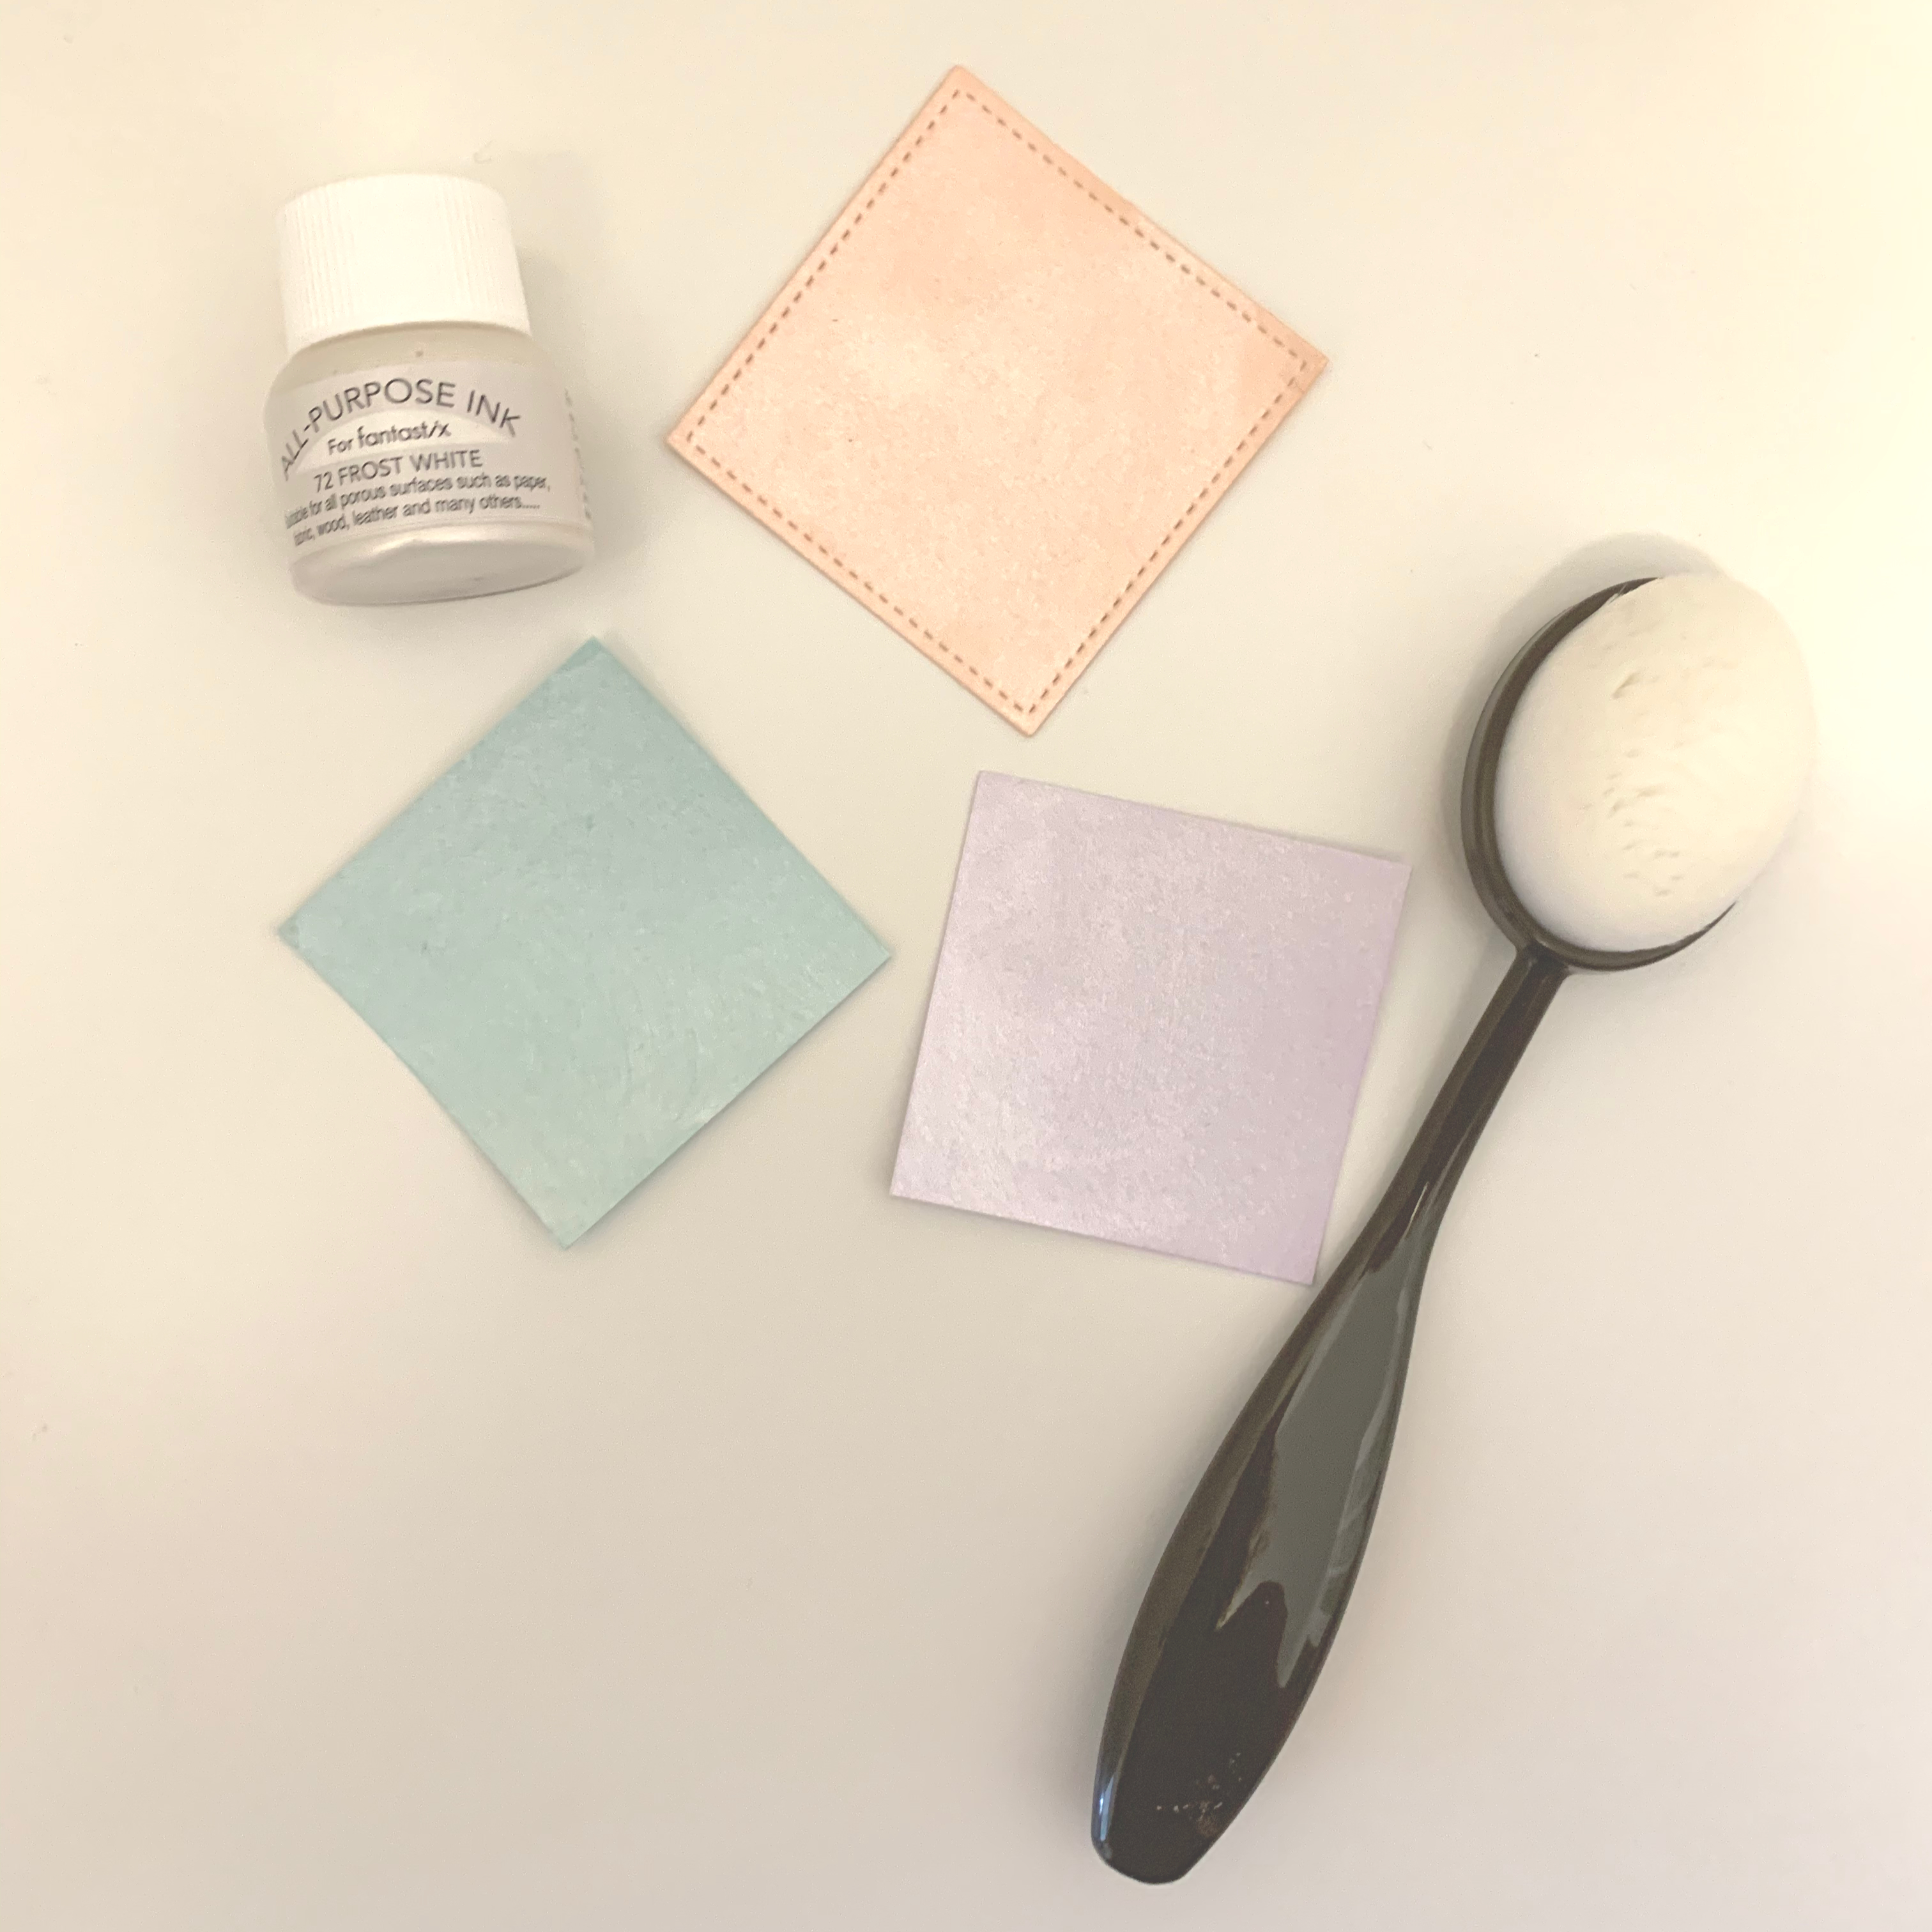
Recently I saw another demonstrator share a picture of some shimmer paper she had made. It looked so easy that I just had to try it out for myself. And it is so I decided I’d share my DIY shimmer paper project with you. All you need for this is whatever coloured cardstock you want, Frost White Shimmer paint and the new Blending Brushes. If you haven’t checked out these new brushes yet you definitely need to. They are so easy to use and easy to clean!

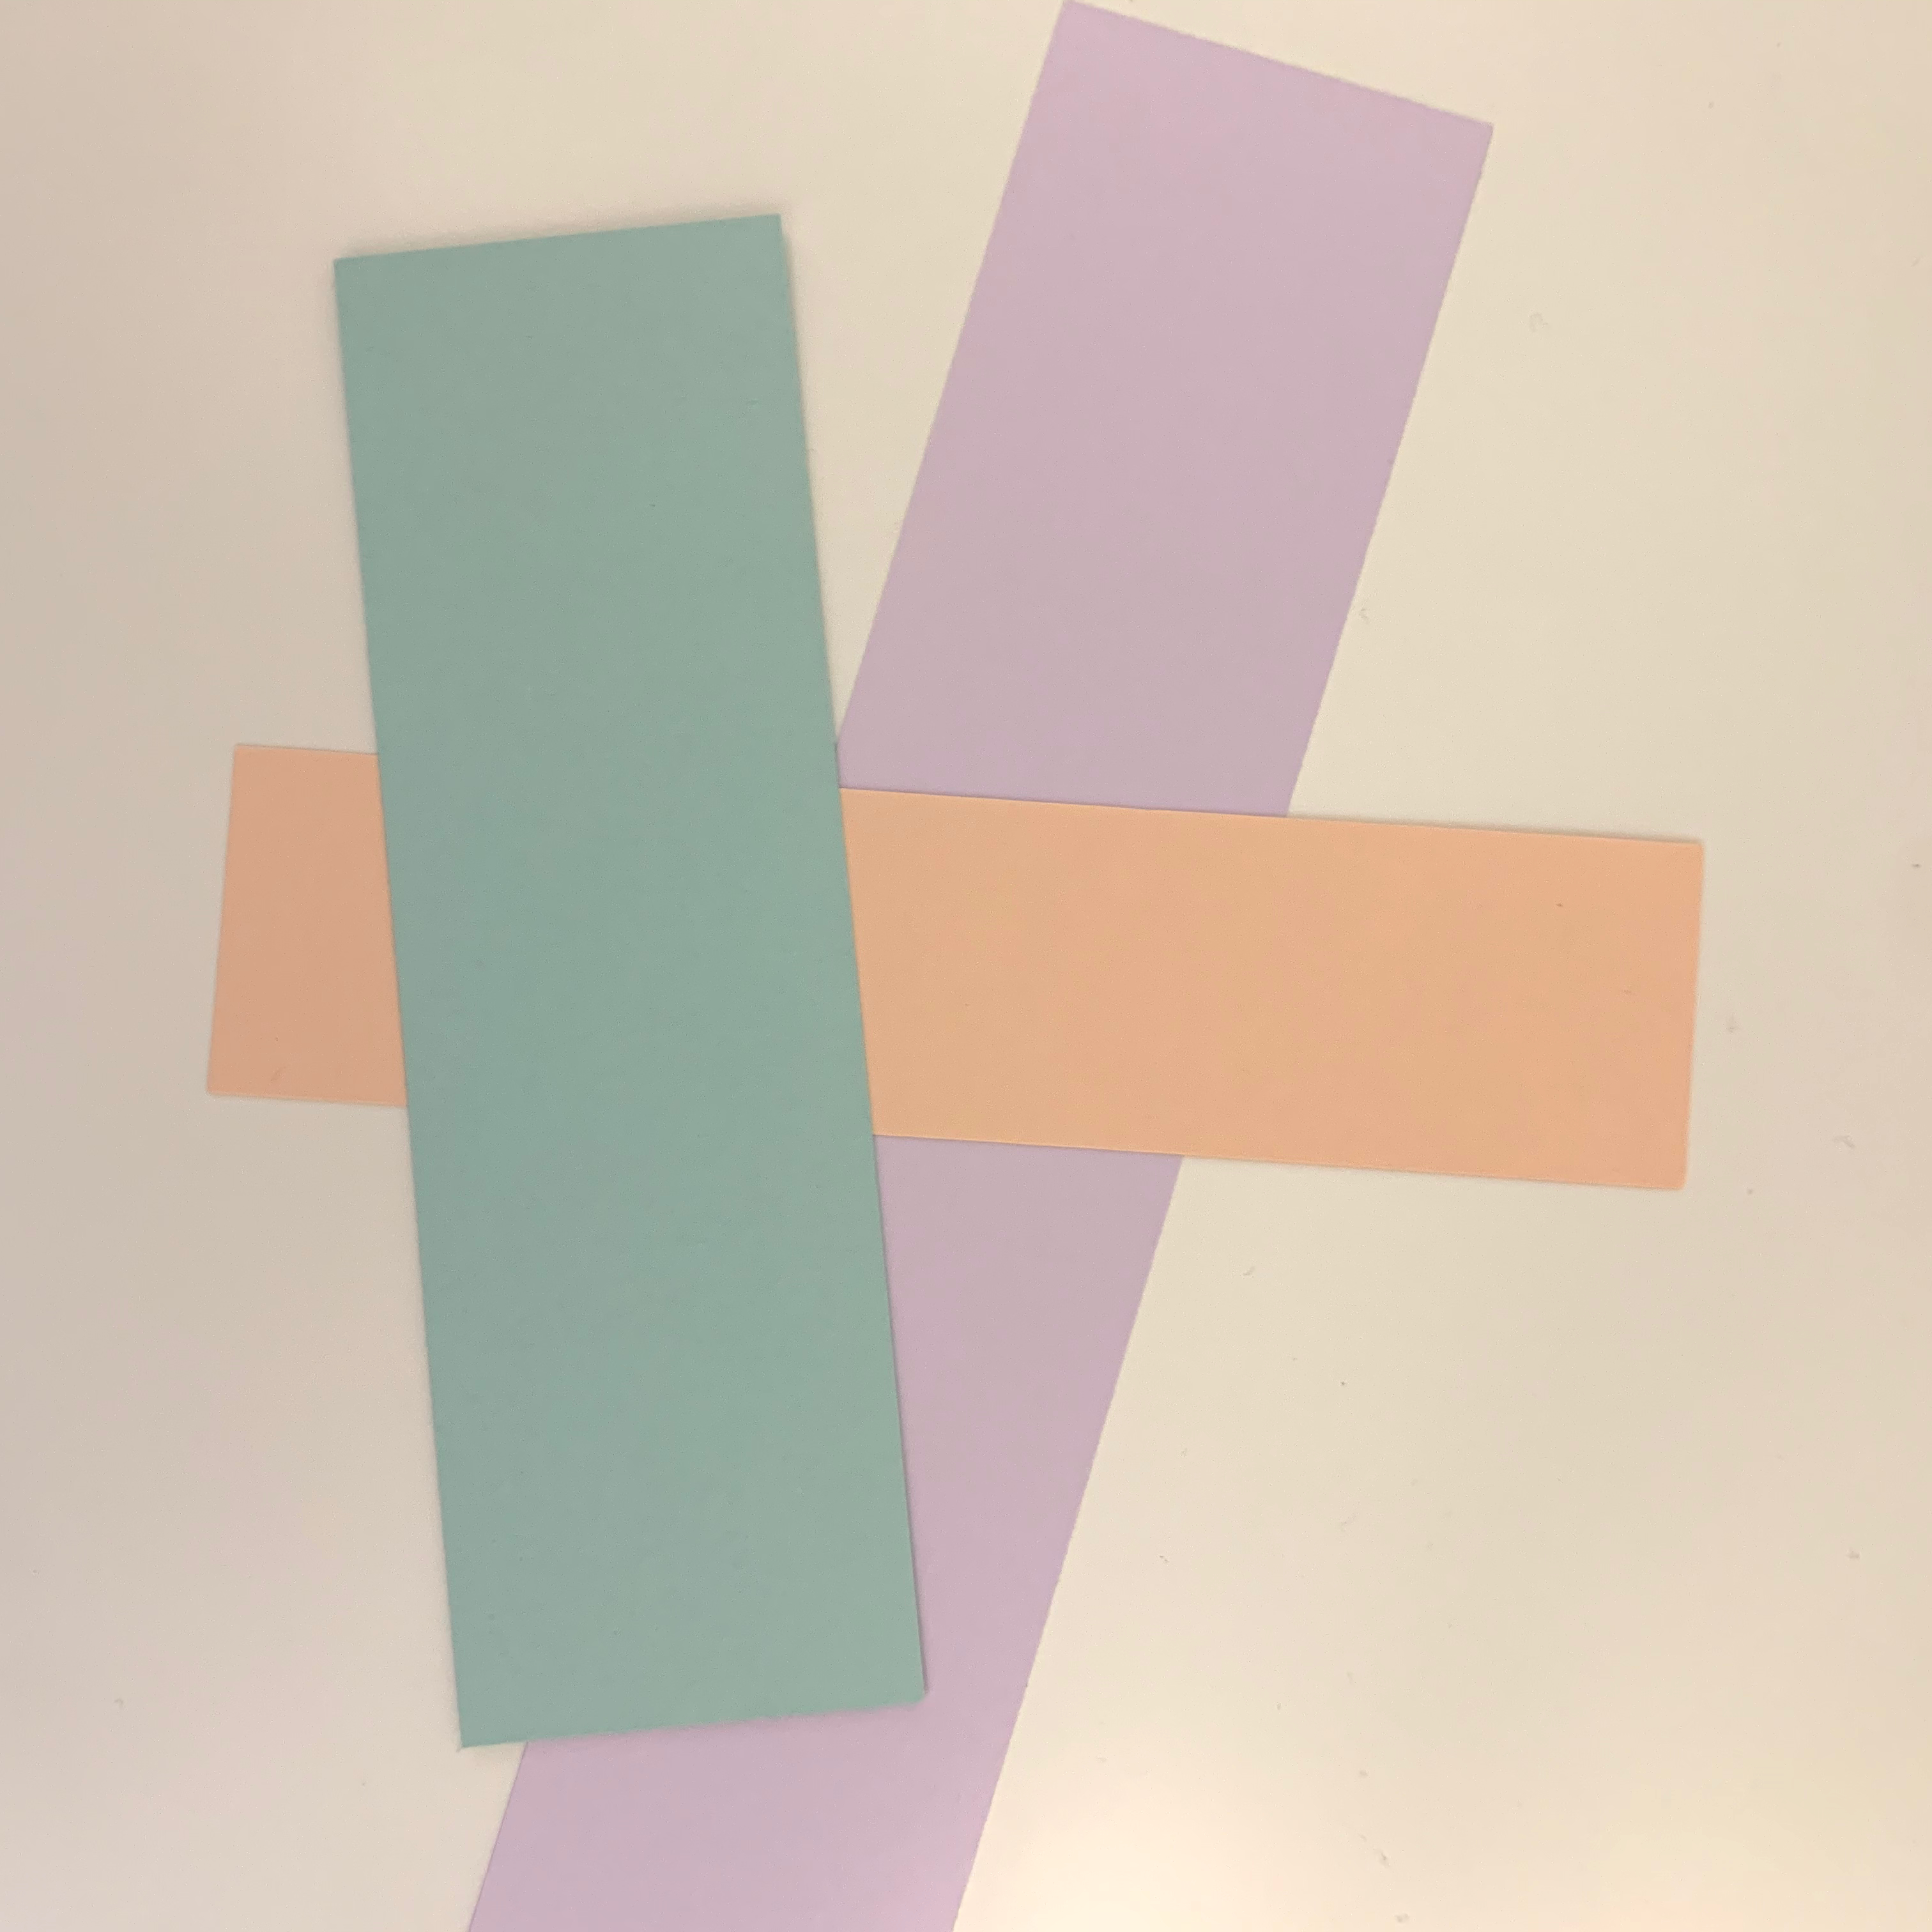
For my card I chose Petal Pink, Pool Party and Purple Posy. I love these colours and somehow didn’t even notice all the “p”s until someone on my team pointed it out to me. LOL To turn it into shimmer paper I started by pouring some of the Frost White Shimmer paint onto some paper. Then I dipped my Blending Brush into it and rubbed it onto the cardstock using a circular motion. Here’s a before and after of my cardstock…

When I saw this technique I totally thought of using the Sweet Ice Cream bundle for a card. I’ve been having a lot of fun crafting with this set. Last week I made a fancy fold using this set. You can check out my Two Fold Panel card here.

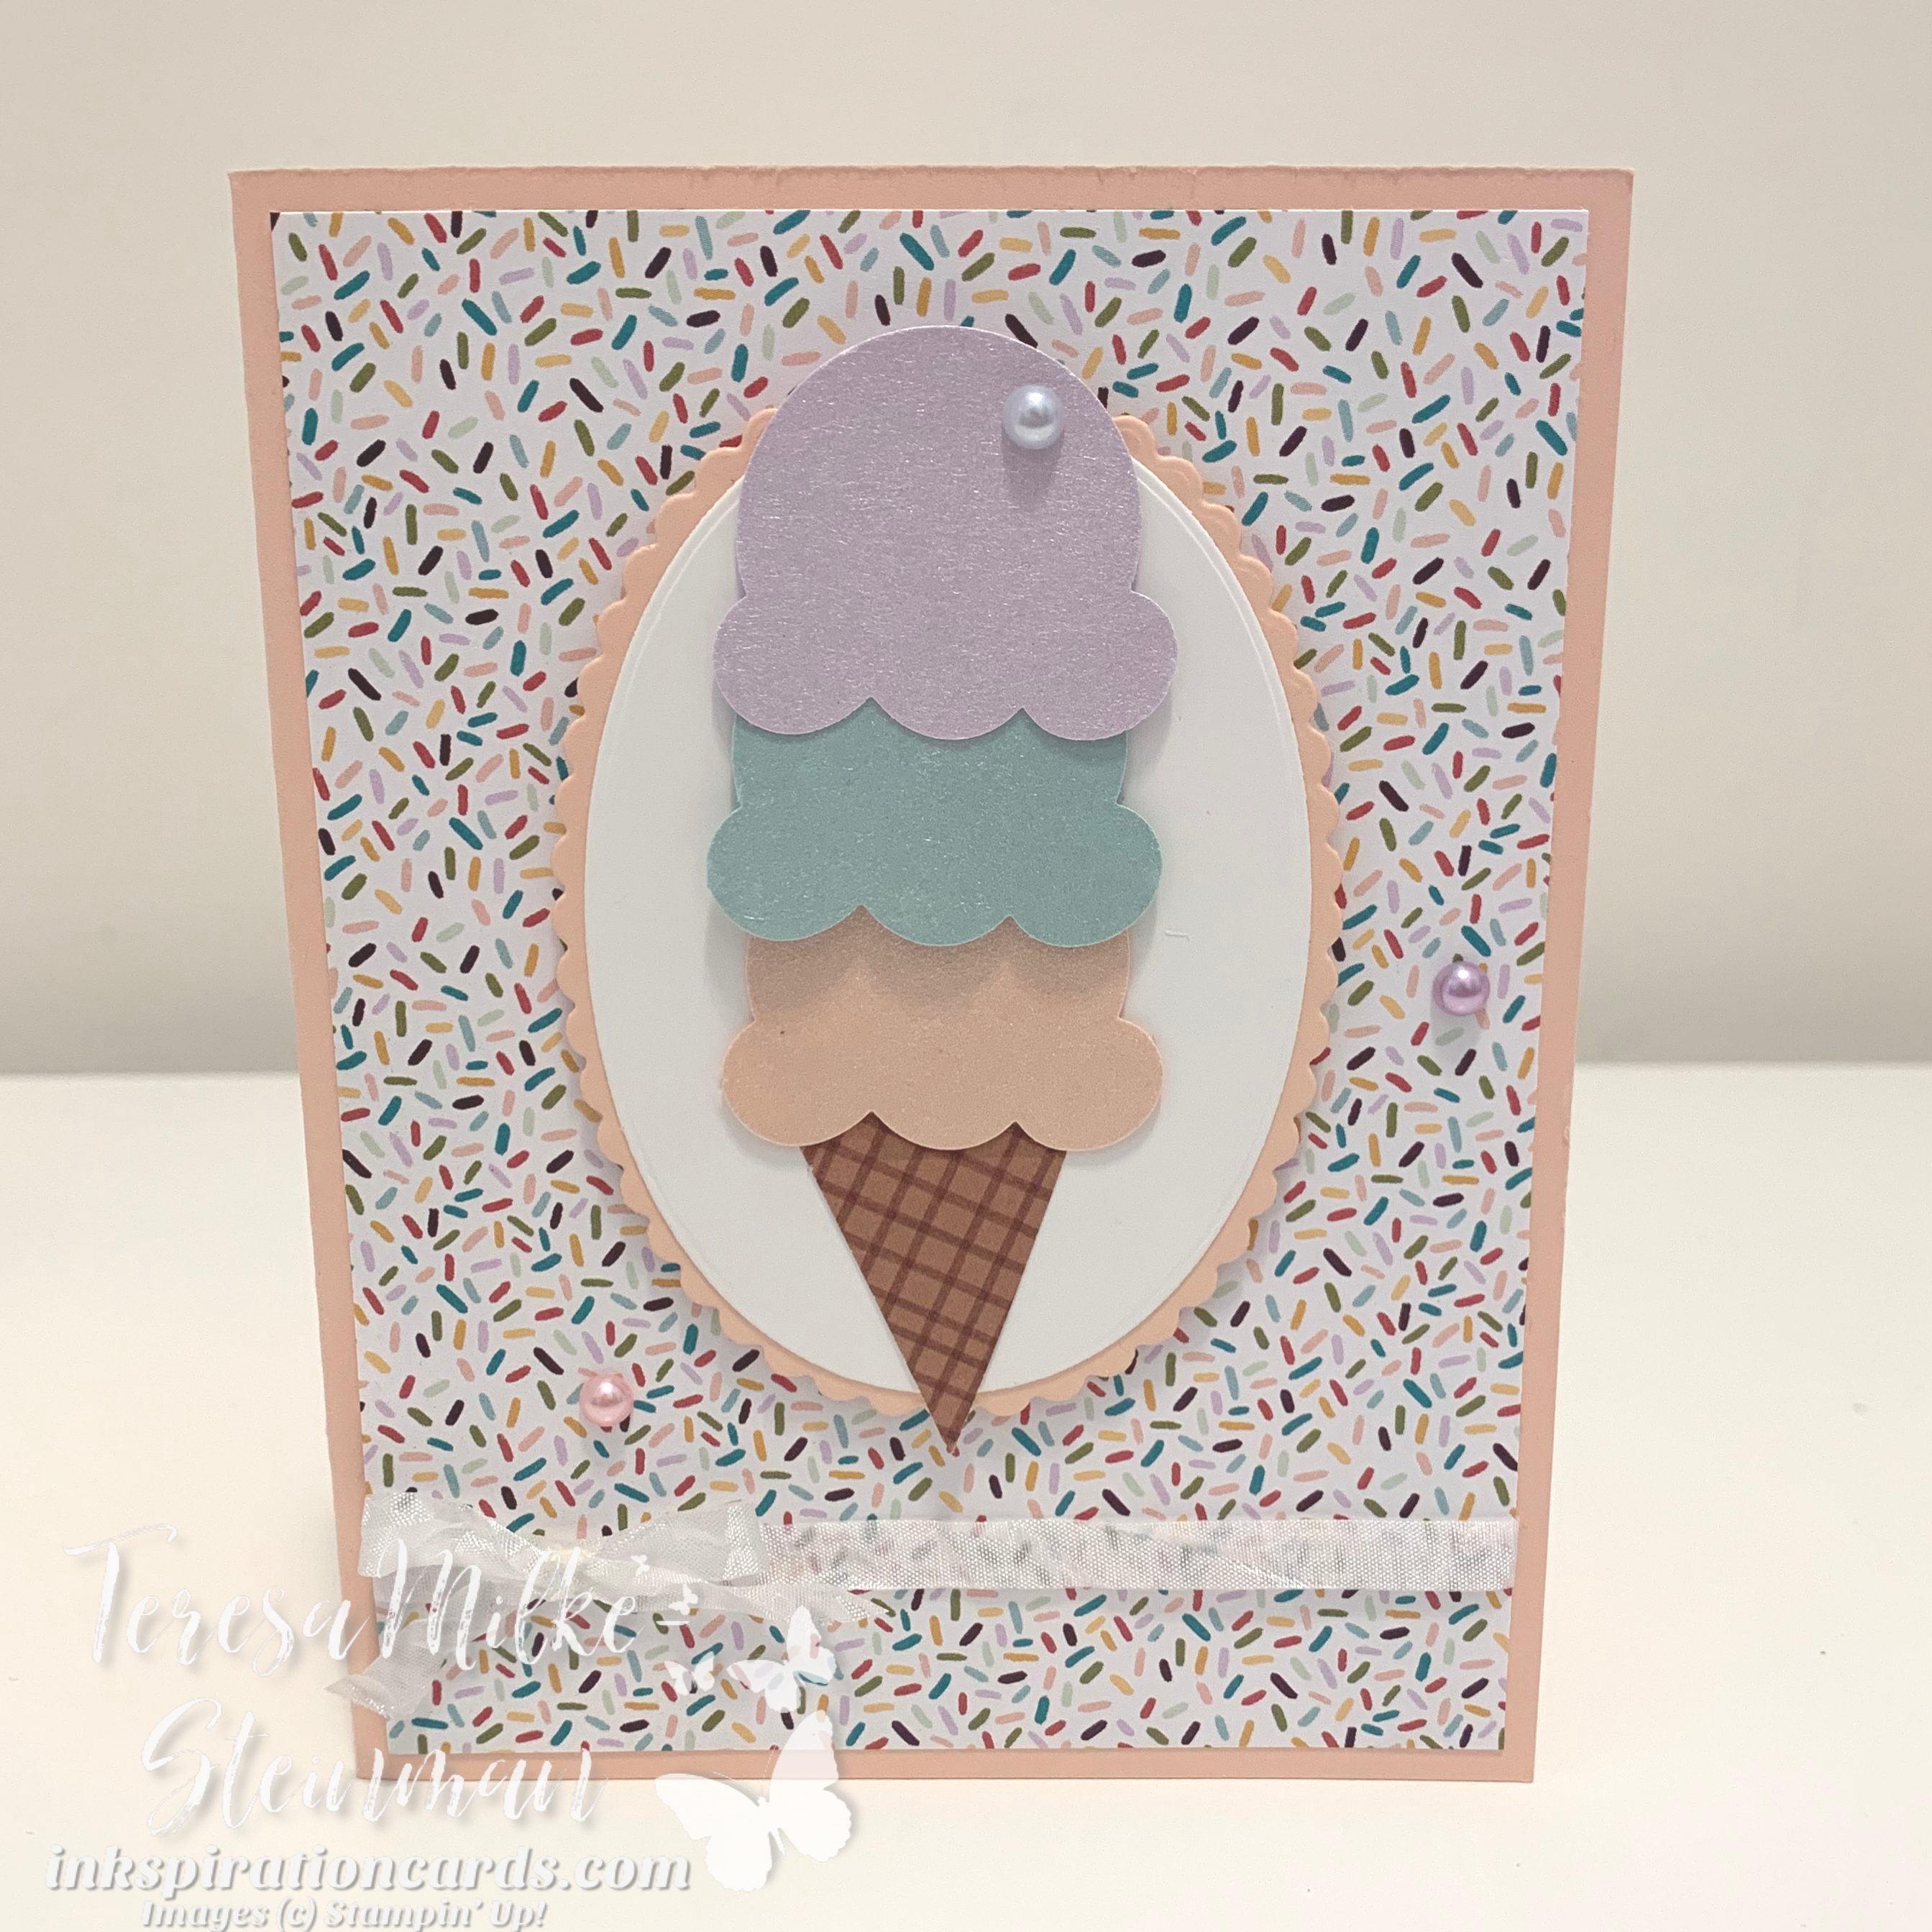
So for this card I used Petal Pink for my card base and then just added a piece of the Ice Cream Corner Designer Series Paper. Then I layered a couple of ovals using the Layering Ovals dies to frame my ice cream cone. The cone is just a piece of the DSP that I punched using the Ice Cream Cone builder punch. I also used the same punch on the shimmer cardstock I made.

To finish it off I added a few more things. I popped up the framed ice cream cone using Stampin’ Dimensionals. I also added some of the Crinkled Seam Binding Ribbon and a few of the Pastel Pearls. Here’s the final card…

DIY Shimmer Paper

I had so much fun with this DIY shimmer paper! I hope you’ll try it out and show me what you make. And if you like the Sweet Ice Cream bundle as much as I do you’ll want to check out my upcoming classes and events. In March I’ll be featuring the Sweet Ice Cream stamp set in my Stamp & Jammies online class.