A Different Kind of Halloween Card

Halloween is next weekend, can you believe it?! Where has this year gone? For Halloween I’m usually more into making home decor pieces or treat packages. I don’t hand out very many Halloween cards. But I thought I’d try a different kind of Halloween card. Most Halloween projects are full of ghosts and jack-o-lanterns, but I just love these cute little pumpkins from the Giving Gifts dies.

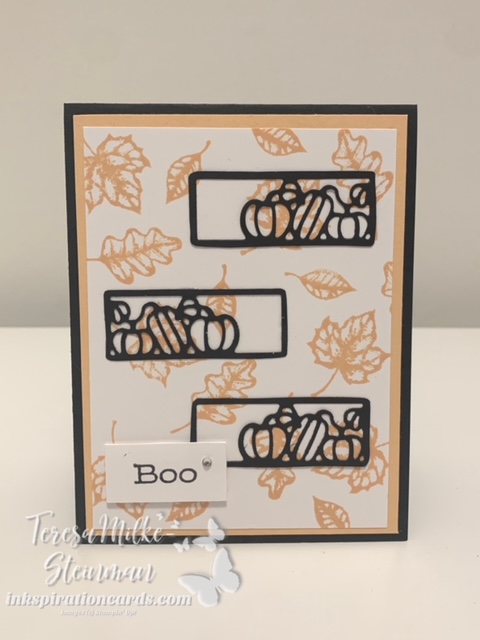
For my colour combination I did stick with orange and black. But instead of Pumpkin Pie I used Pale Papaya. I really like how it looks! It’s not super intense or bright and not too light. Plus I love the way the Basic Black stands out.

I knew that I wanted to use the little pumpkins from the dies and of course I needed the “Boo” from the coordinating Time of Giving stamp set. But behind it all I just stamped the leaf cluster image. I didn’t want the bigger pumpkins from the Pretty Pumpkins stamp set in the background… although you could. I like that the leaves are smaller and still give that fall feel to the card.

Once I stamped the leaves I used some Multi-Purpose Liquid glue to stick on the pumpkin patches. And the centre one I just flipped around to have the pumpkins facing the other direction. You don’t even notice that you’re looking at the “wrong side” of the cardstock. From here I popped up the phrase with some Stampin’ Dimensionals and then added a bit of bling. Can’t forget that!
A Different Kind of Halloween Card

It’s such a cute card! And it’s definitely a different kind of Halloween card. I think I’m going to use this colour combination again next Halloween. And while I might make a couple of Halloween cards, I’m still sticking with my treats and decor.

You can check out another fall card I made recently the Pretty Pumpkins bundle here. And you get both bundles in my online shop.
Halloween Shadow Box

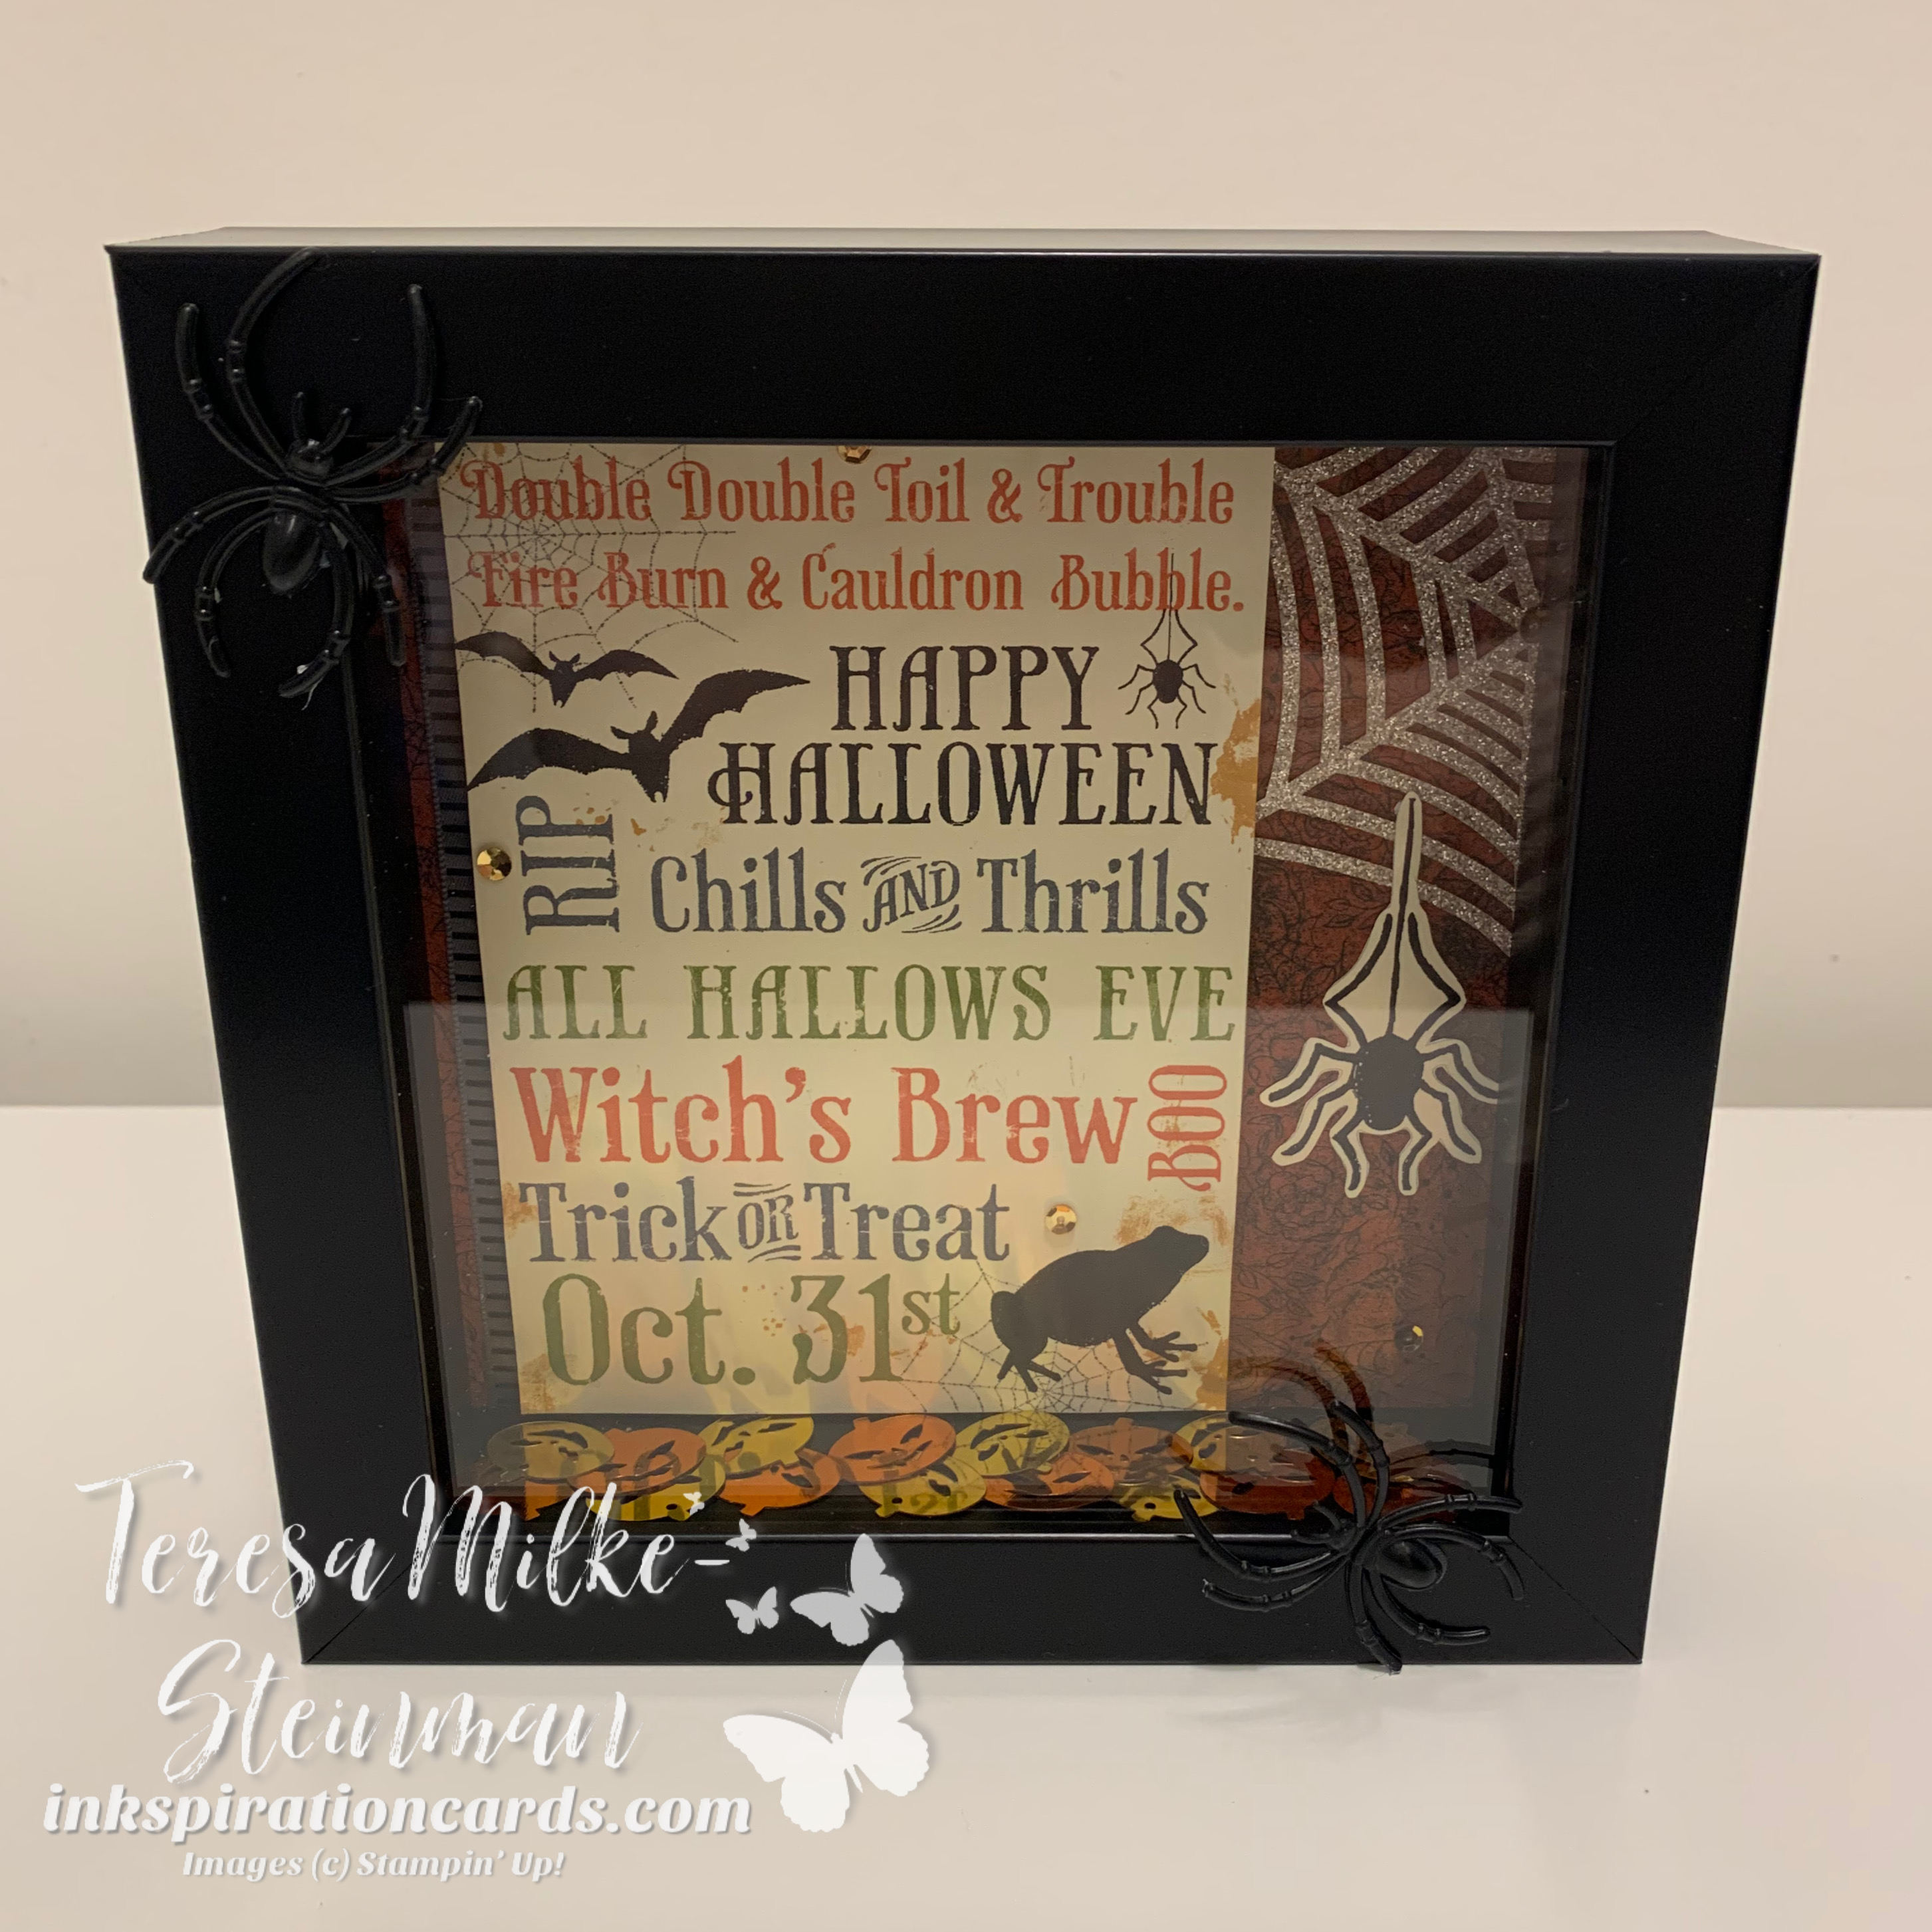
Even though Halloween is looking a little different this year, we’re trying to make the best of it. My munchkins have been decorating inside and outside our house. Our pumpkins were carved earlier this week and I’m putting some treats together. I’ve also been having fun creating different projects for Halloween. Usually I’m not much for Halloween cards so I’ve been making treat boxes and other things. My last “big” project for Halloween this year is a Halloween shadow box.

I’ve had some of these supplies for a while and have used them in different projects. Recently when I was cleaning up my craft stash I found them and decided I’d pull them together to make a home decor piece. Then about a week ago when I was at a local Michael’s picking up some stuff for my daughter’s birthday I saw that they had shadow boxes and frames on sale. So of course I grabbed a shadow box, black of course, for my other pieces.

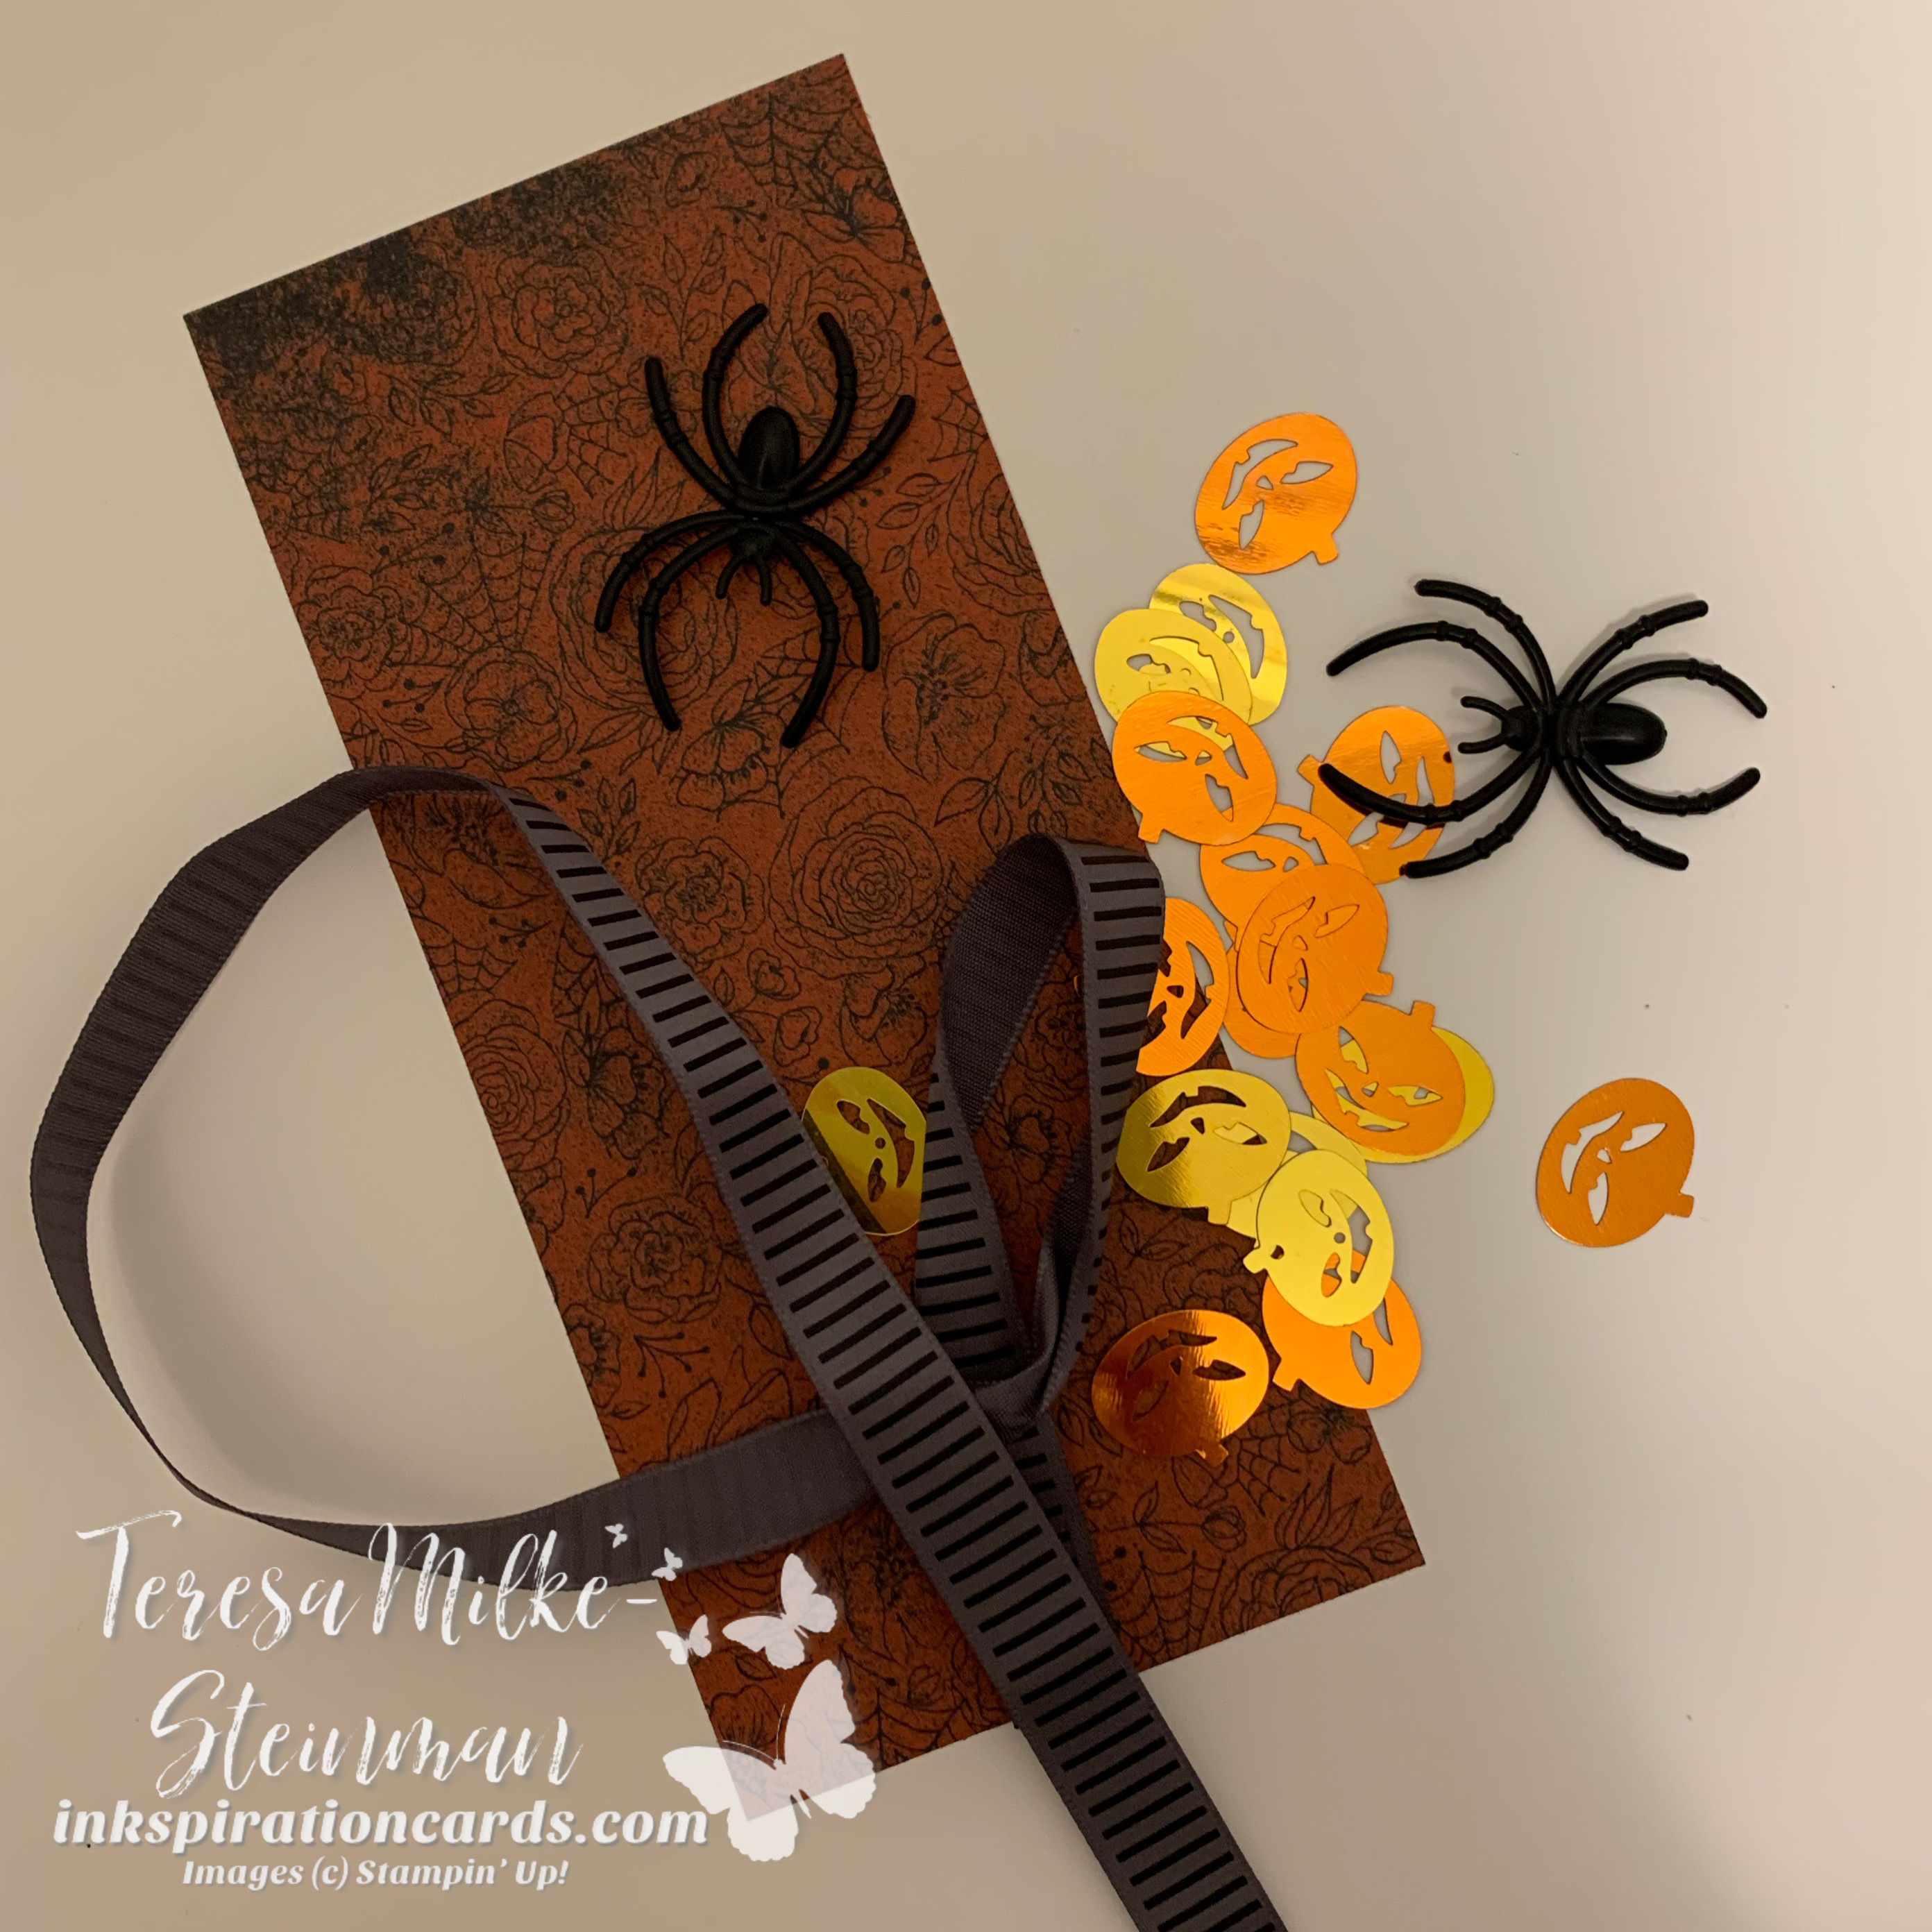
Here are some of the supplies I used…

Halloween Shadow Box

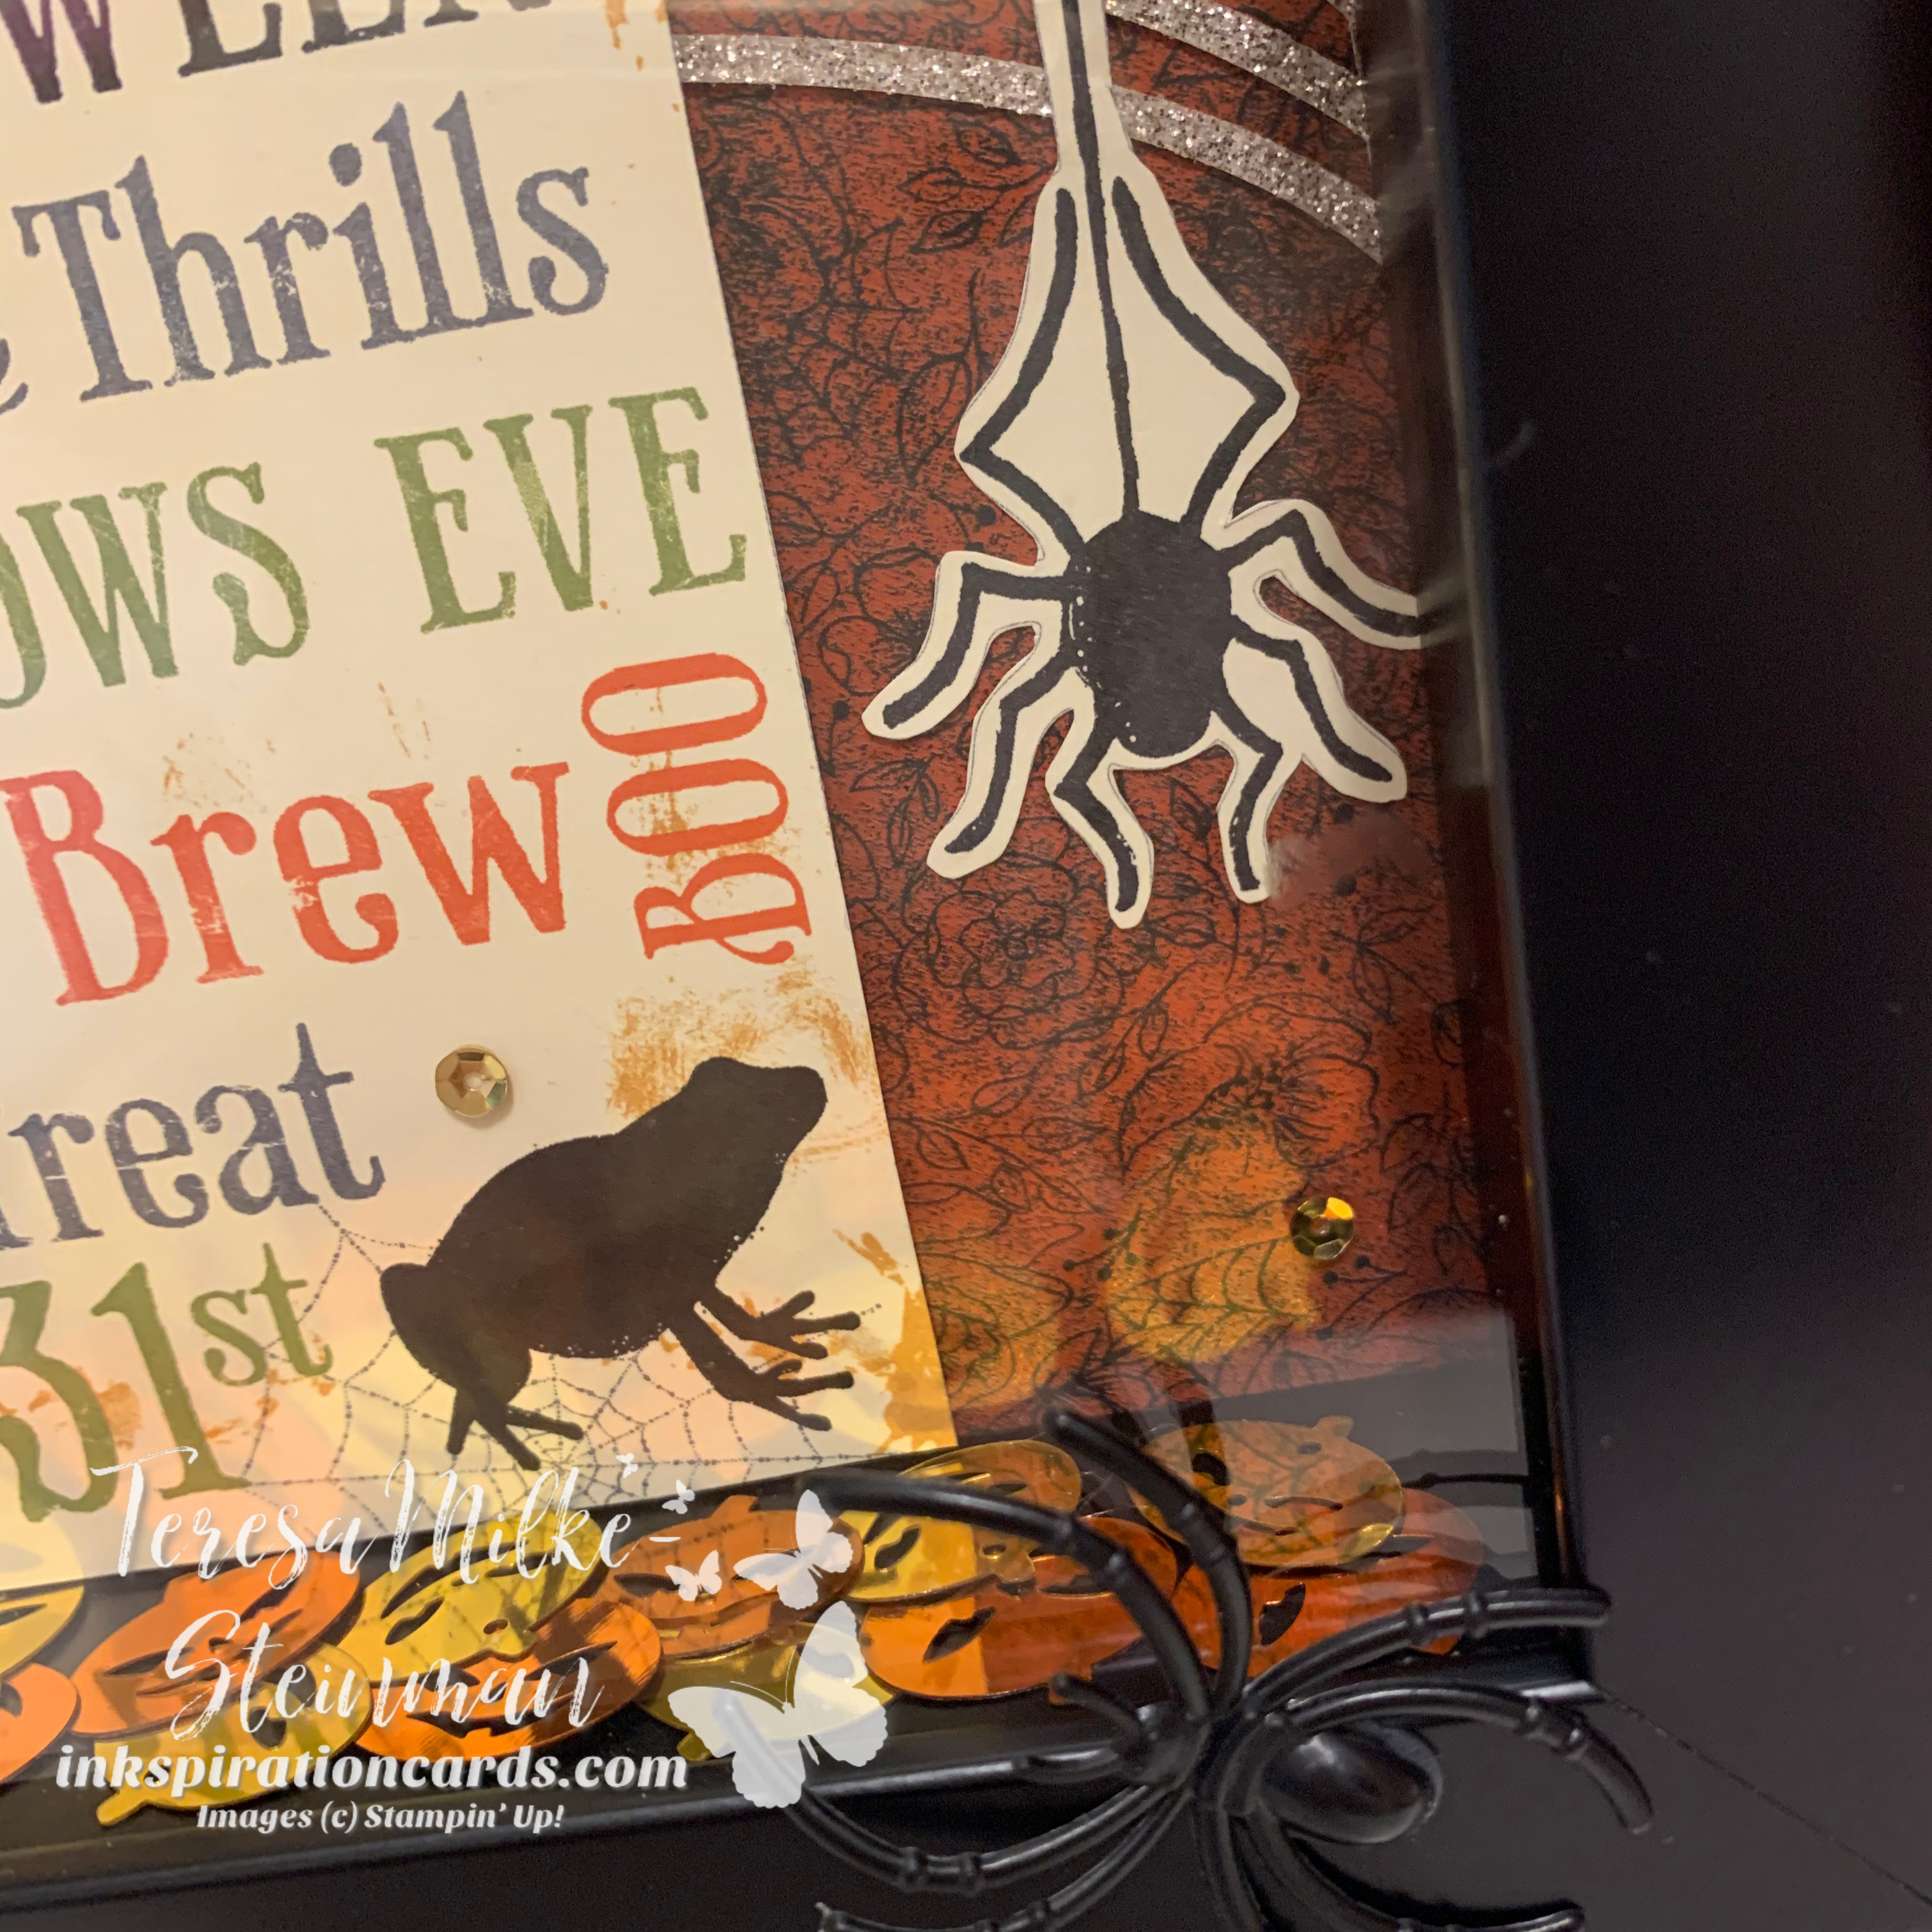
The Designer Series Paper I used came from the Magic in the Night pack, which is on sale until tomorrow. The spiders are ones that have usually ended up on our front porch with webs for decoration. The shiny pumpkins came from a local Dollarama and the ribbon was from a previous project.

Halloween Shadow Box

The other pieces came from project kit I got when I joined the Stampin’ Up! family. It came with a black tray, some other Halloween themed patterned paper and the ribbon I mentionned. The tray has recently been painted white because I decided I want to use it for something else. So I was left with the other pieces. I think the pieces I used worked really well together.

Halloween Shadow Box

I love how the Halloween shadow box turned out and I hope you do too. If you’re interested in how to make some easy Halloween themed treat boxes then you’ll definitely want to check out this post from a couple of weeks ago!

Countdown to Halloween

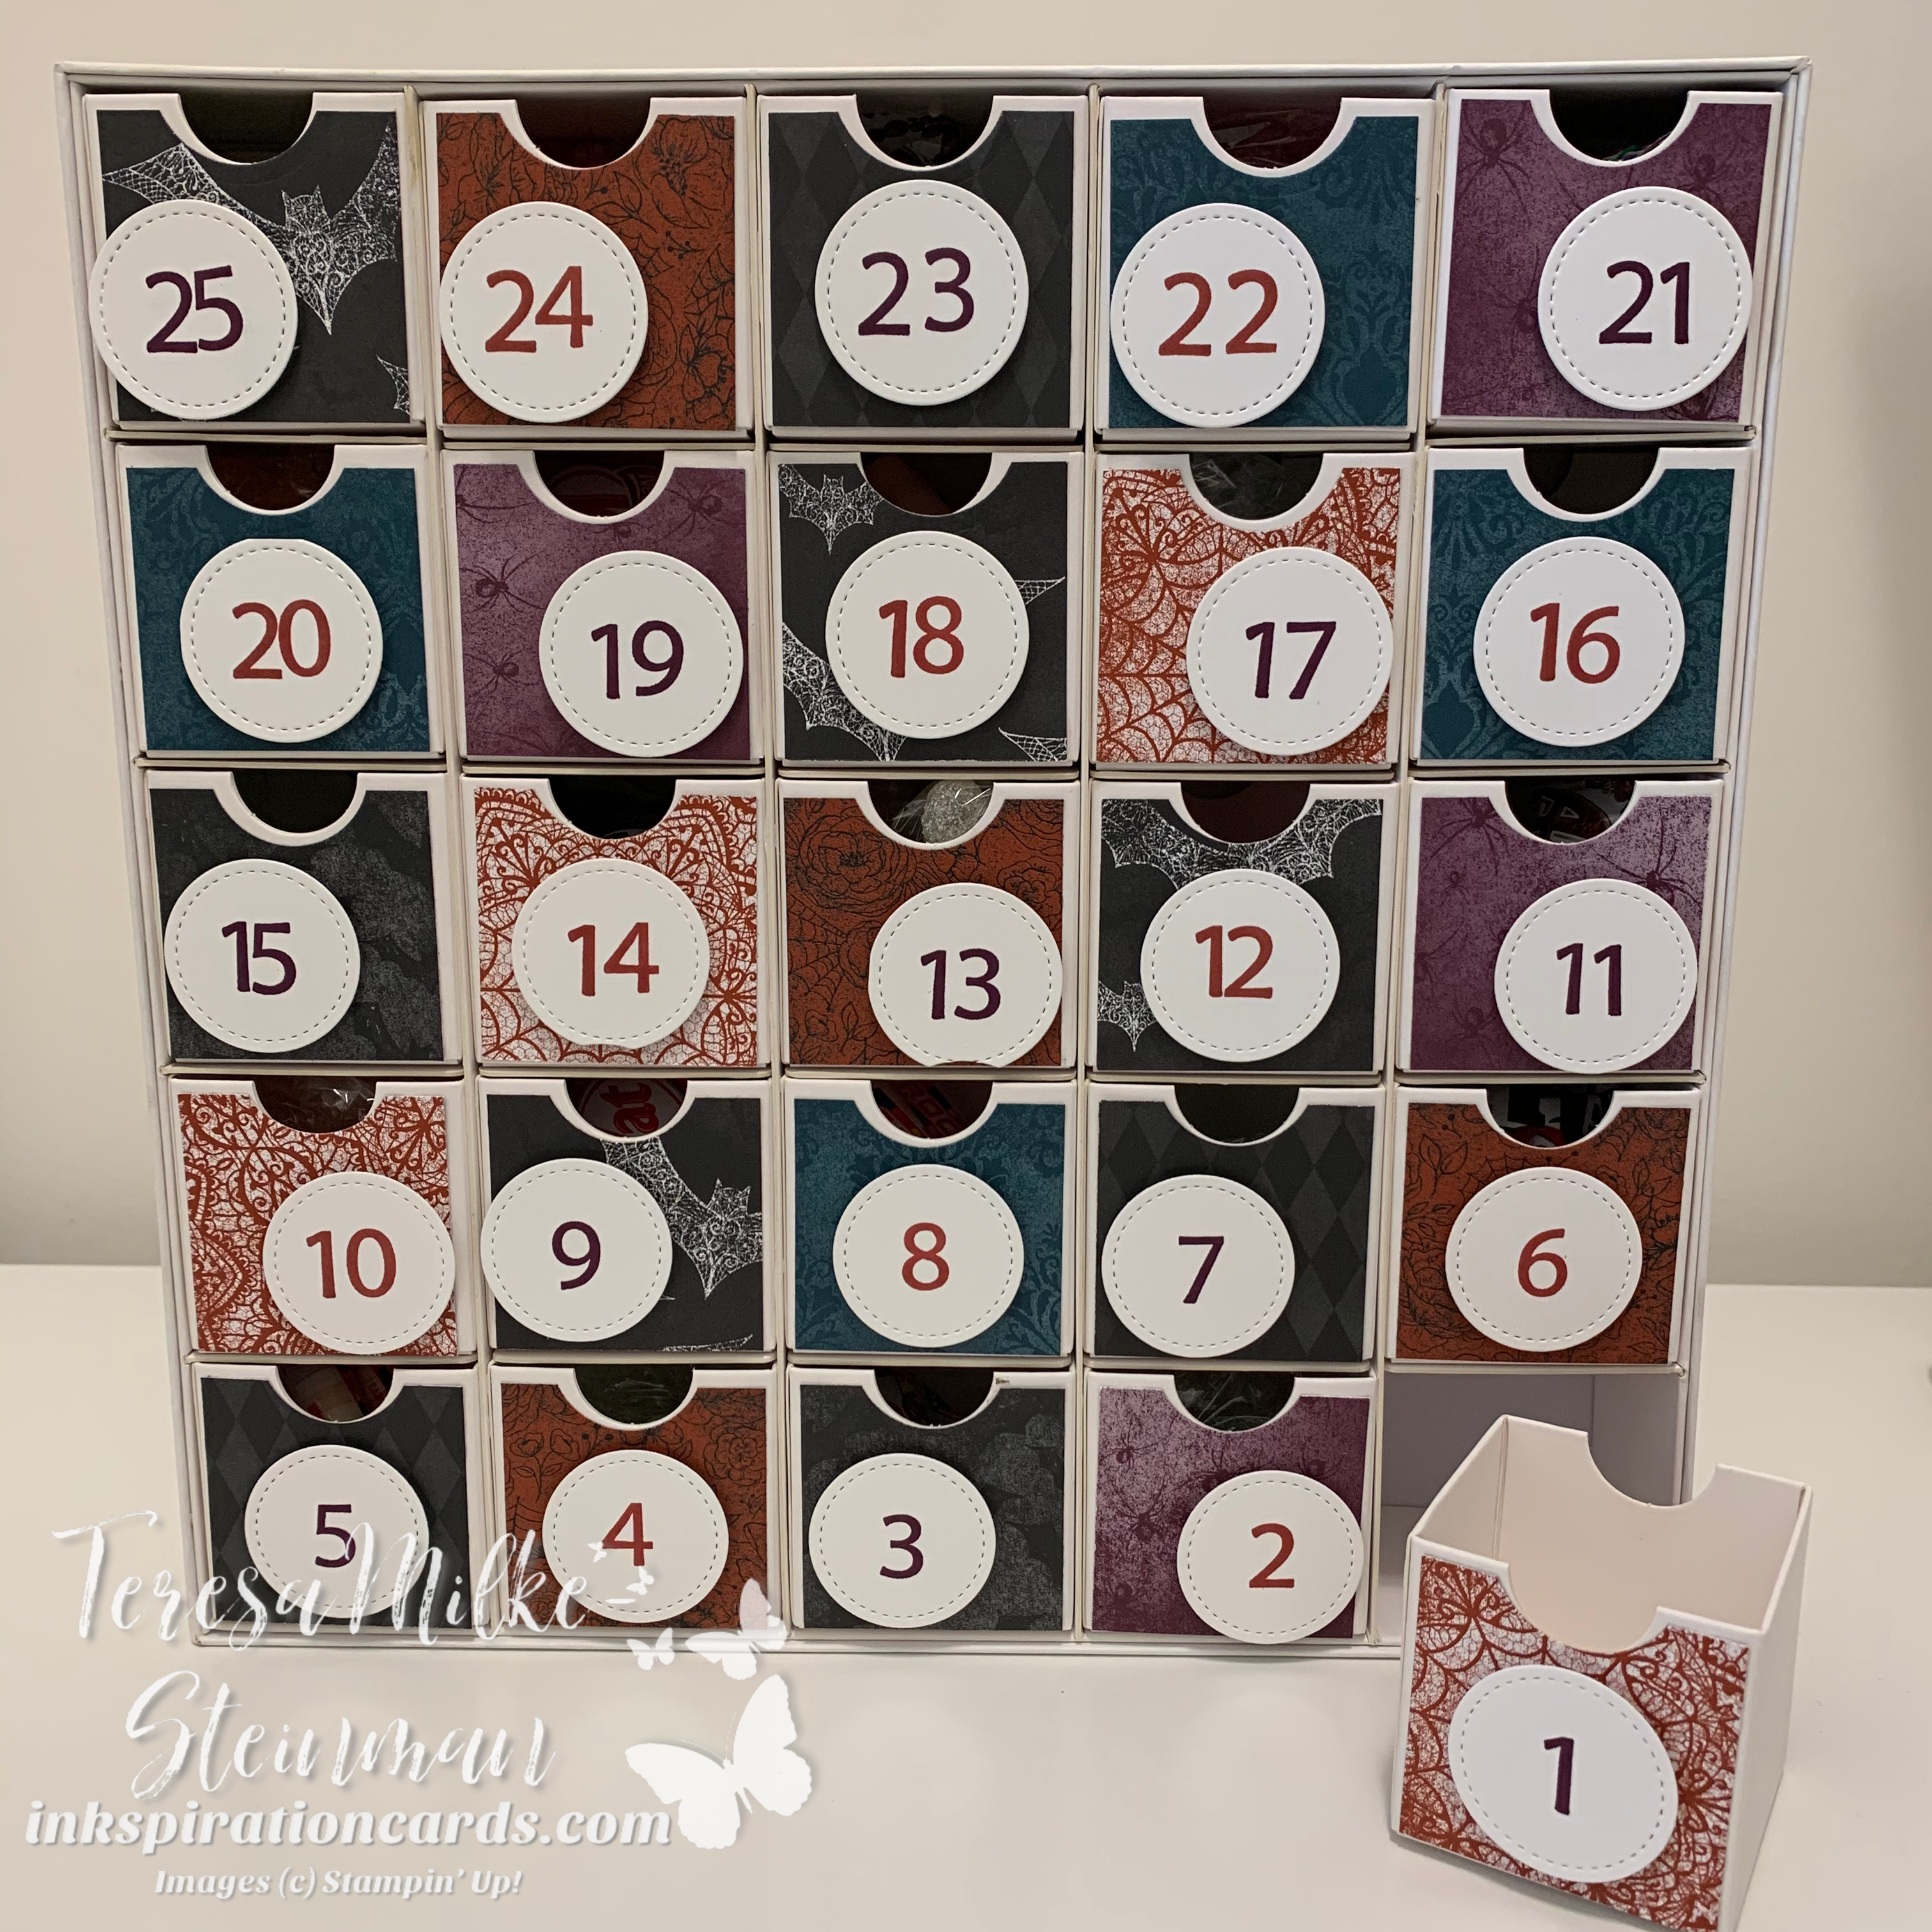
We’re doing a countdown to Halloween in our house! Since this year is going to look very different I thought I would do something a little different. My munchkins love Halloween and have already been decorating the house. So just in case we’re not able to go trick or treating I thought I would convert my Christmas Countdown project kit into one for Halloween. It was super easy to do and I love the Magic is in the Night Designer Series Paper!

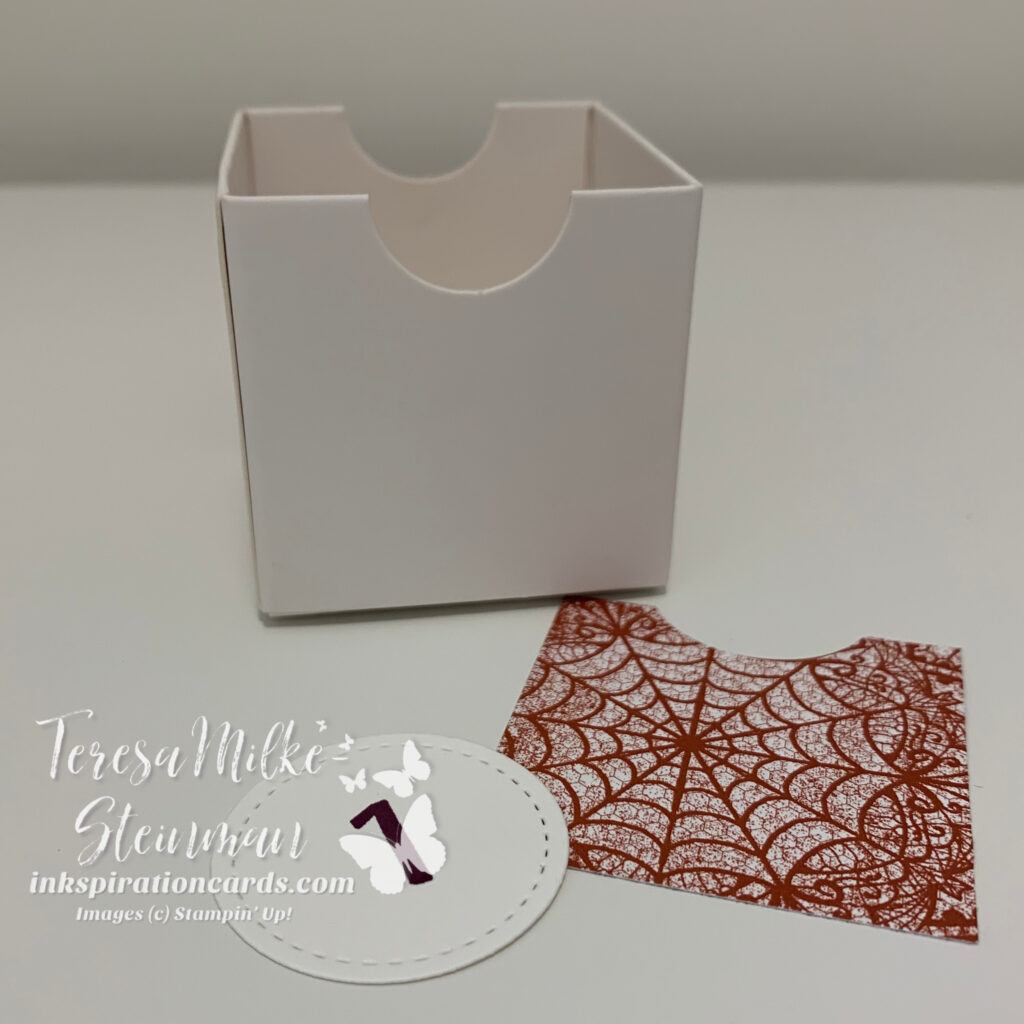
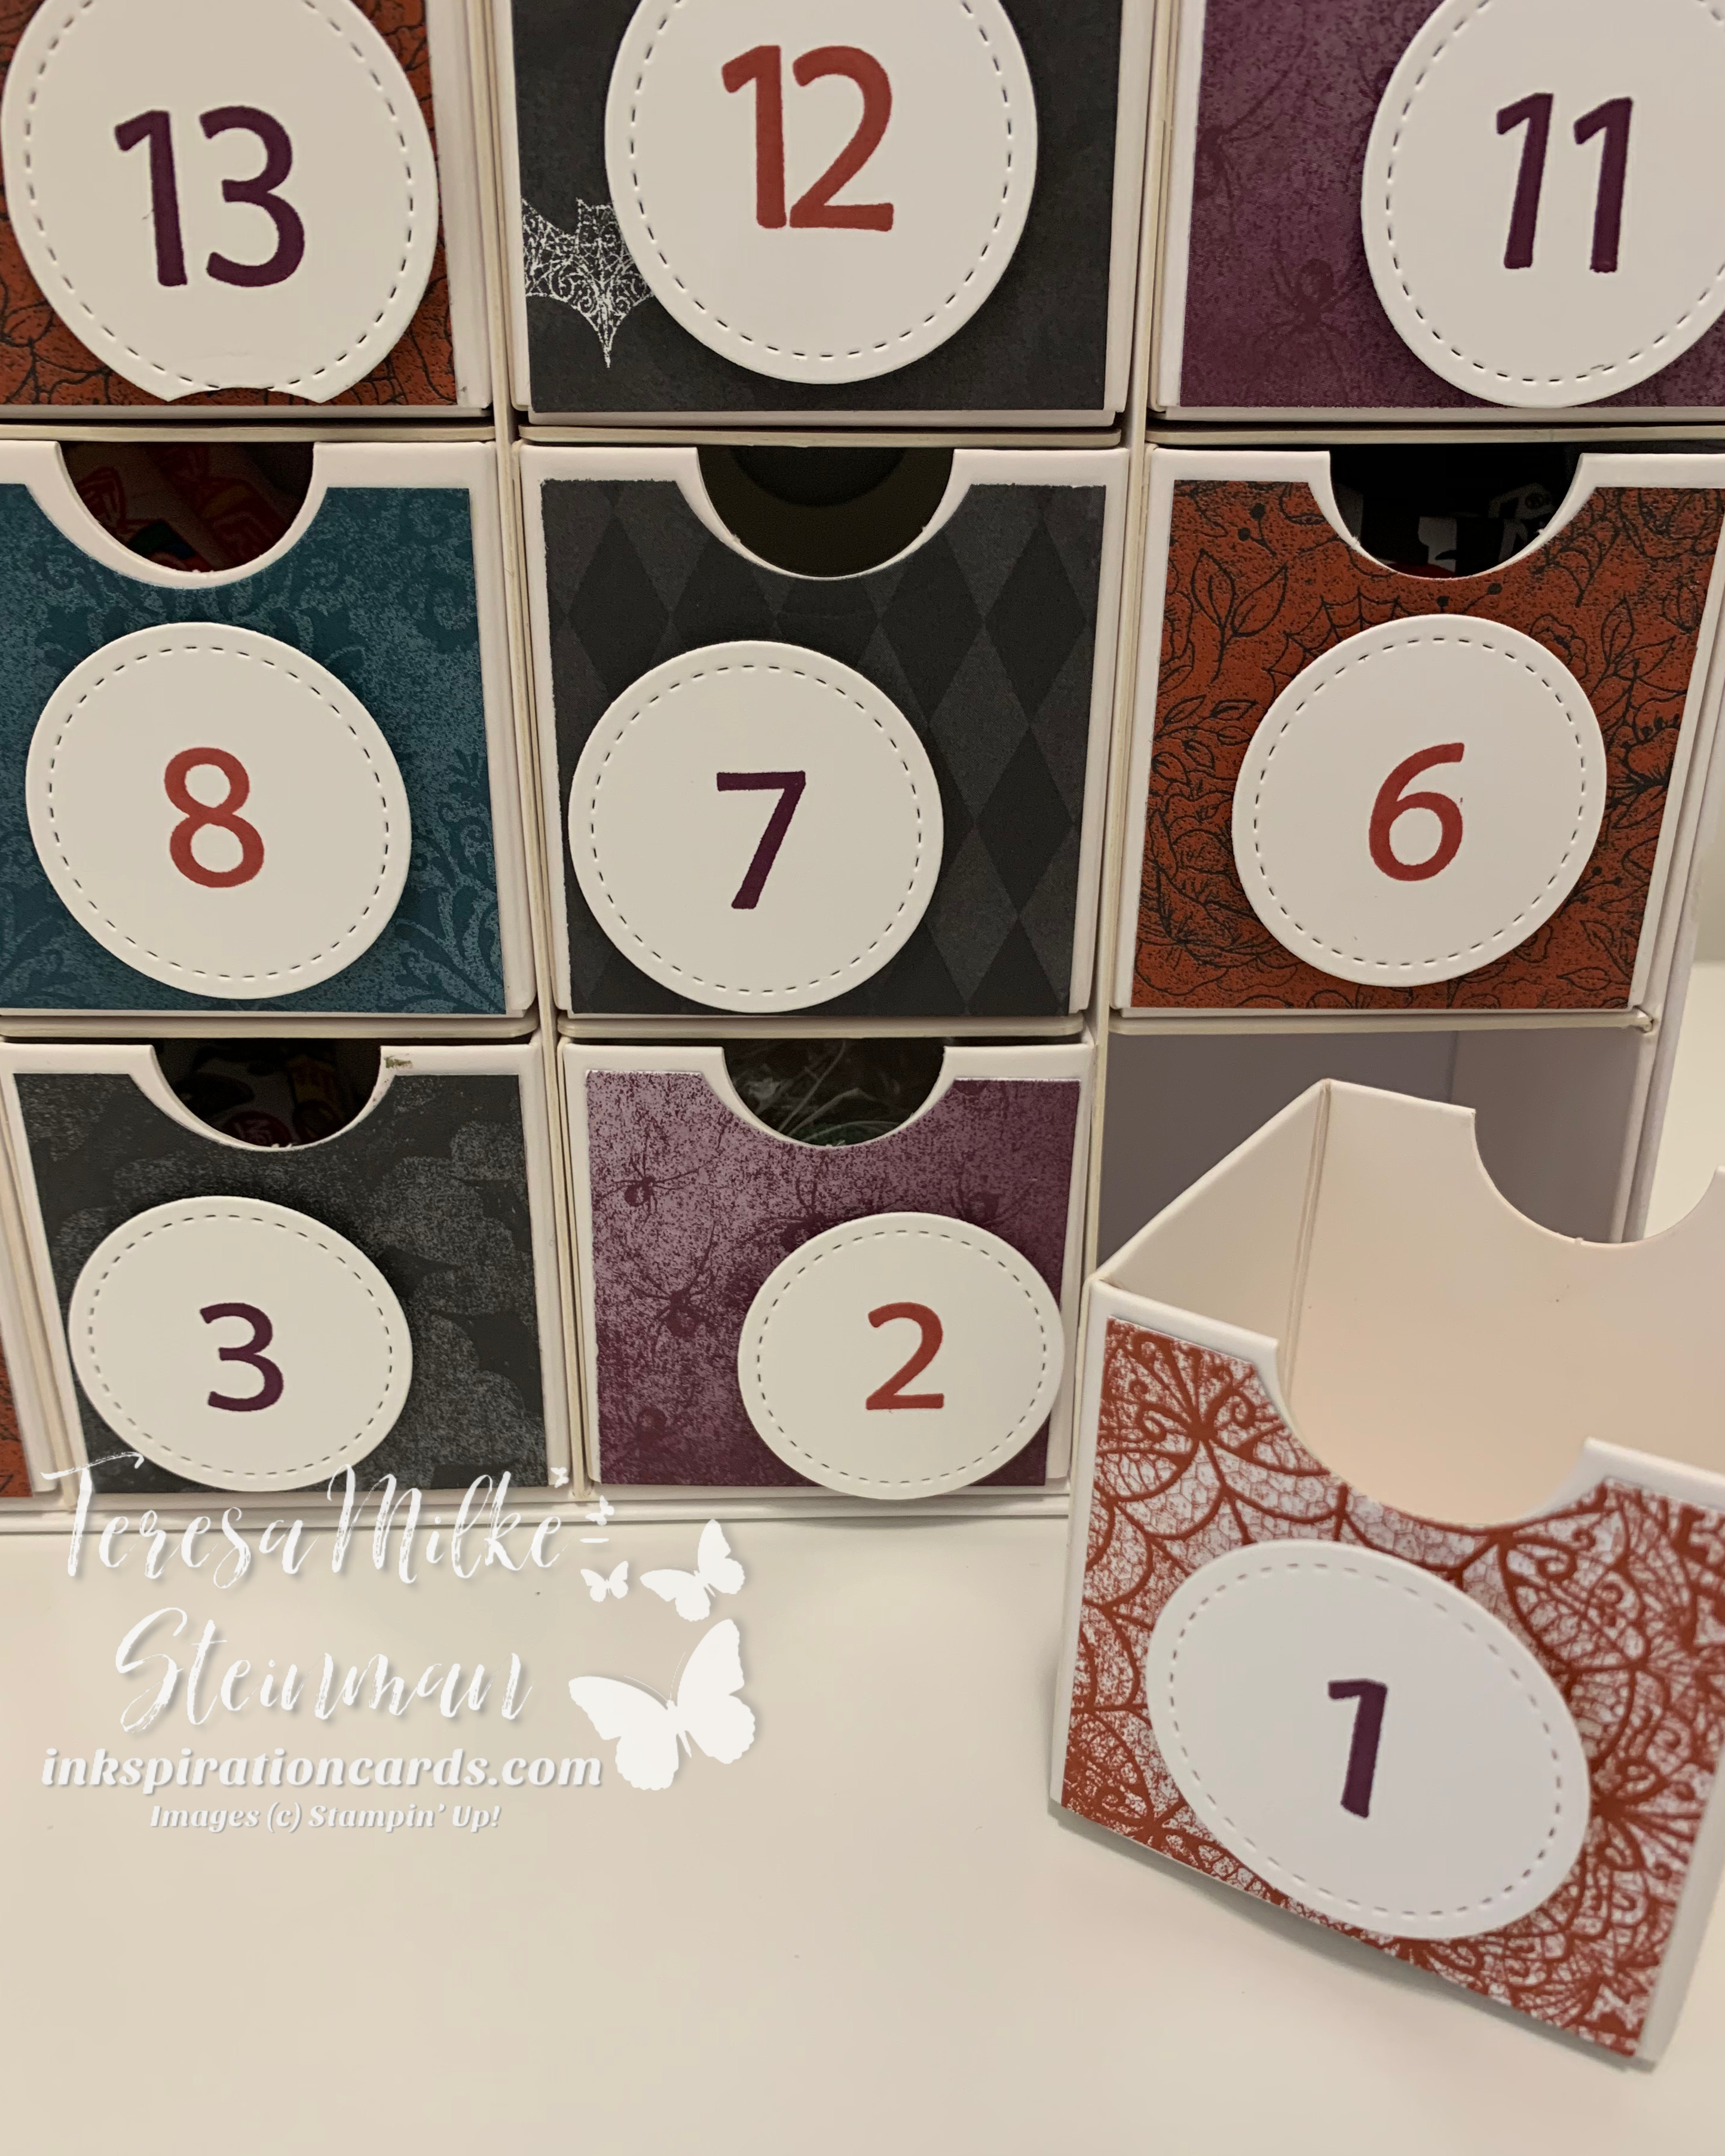
To start I picked a bunch of different designs from the Magic is in the Night DSP pack. I wanted to make sure I had enough options to spread out the designs. Then I cut them down to fit the front of the boxes.

Countdown to Halloween

To make sure I didn’t cover up the groove in the top of the box I used one of the Stitched Shapes circle dies. I also used one of these dies to cut out all my numbers. The numbers came from a retired stamp set I have for just such a project, but you can use whatever you have. I stamped the numbers in Blackberry Bliss and Cajun Craze ink; alternating between odd and even numbers.

Countdown to Halloween

Then of course I had to fill them with something. While my munchkins enjoy some of the Halloween chocolates/treats, they really love gummies. So I went to my local Bulk Barn to get some different Halloween themed gummies. I did also pick up a box of chocolates. Since I have two munchkins and I wasn’t about to make one for each of them I had to be strategic in my treat choices. The gummies of course fit no problem. As for the rest I was able to put in 2 packages of Rockets, M & Ms and Kit Kat bars. If you only have to fit in one you’d likely be able to fit in a single Coffee Crisp or box of Smarties.

My munchkins have been really enjoying their countdown. Here’s how it turned out…

Countdown to Halloween

I love how easy this was and so I think I might have to do something like this for their next birthdays!

I’m having an online class using the Christmas Countdown project kit and there’s still time to RSVP. So if you live in Canada and would like some more information check out my upcoming classes and events. The deadline to RSVP is November 3rd and you can always email me with any questions; inkspirationwithteresa@gmail.com.