Cascading Display Fold Card

Fancy Folds Design Team

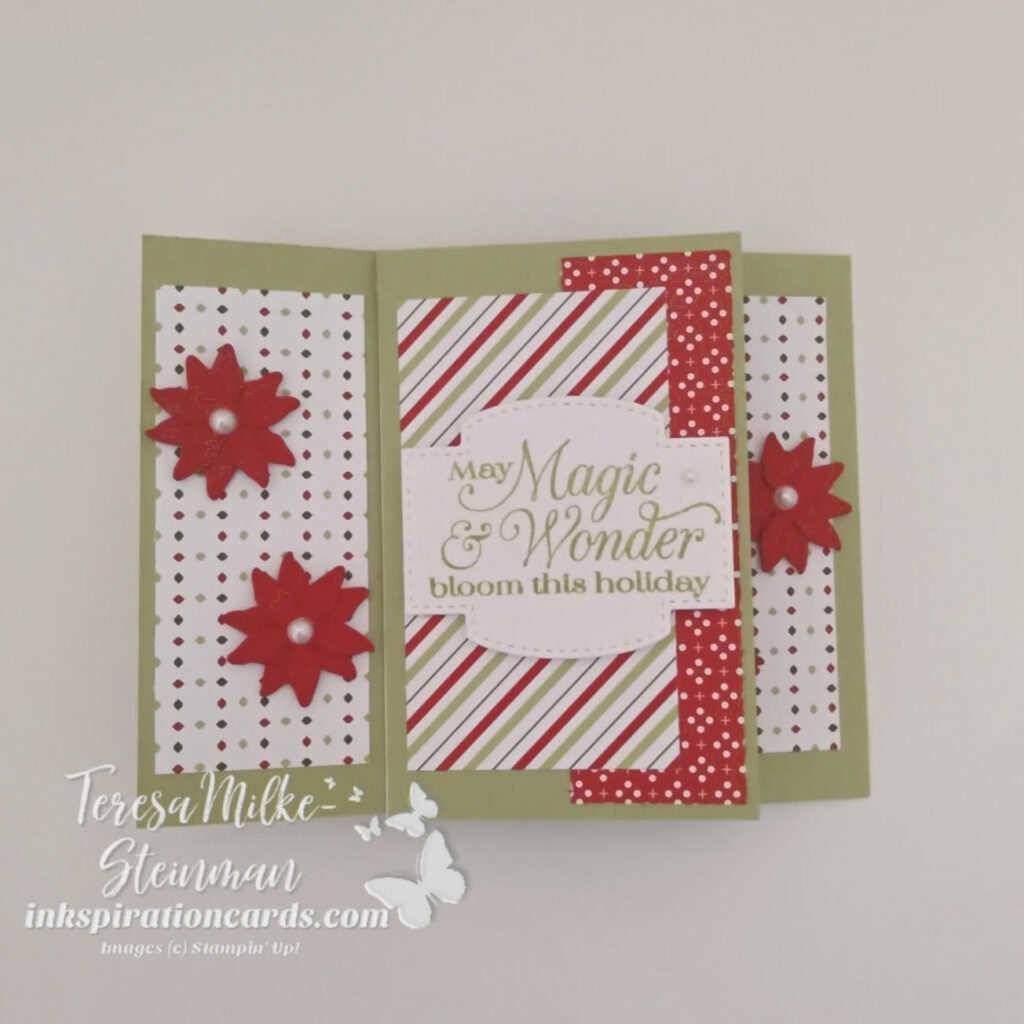
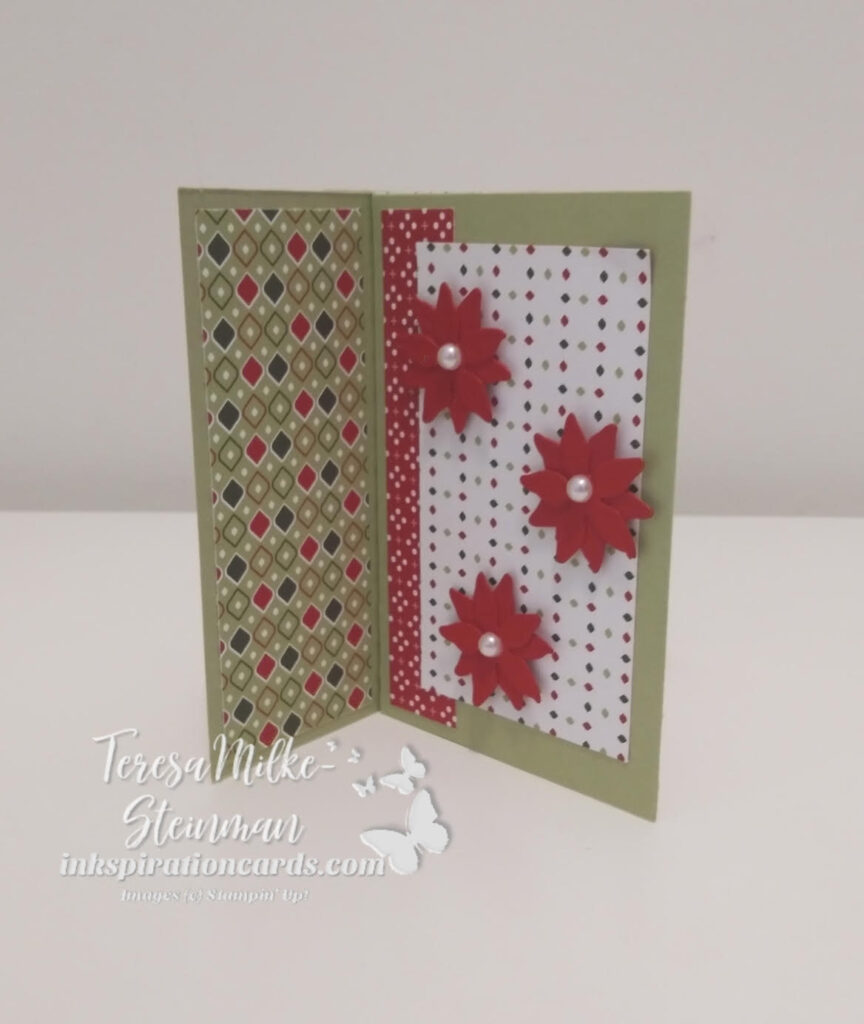
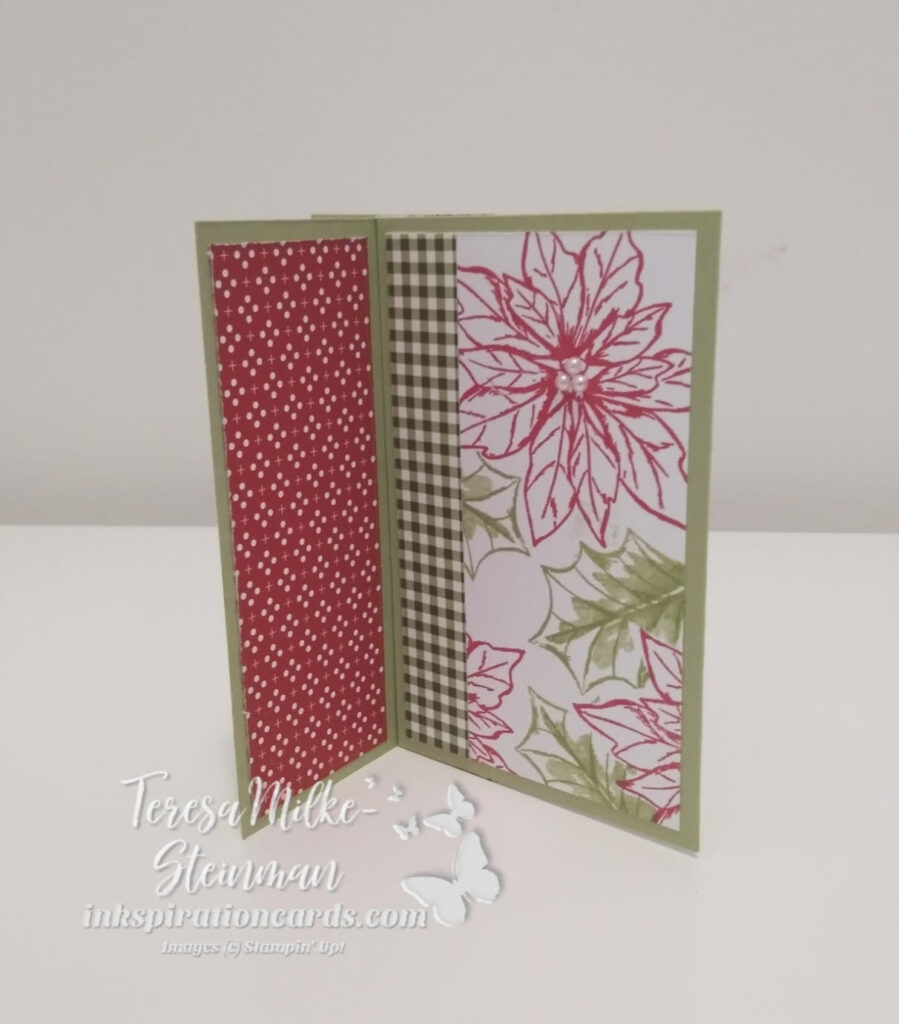
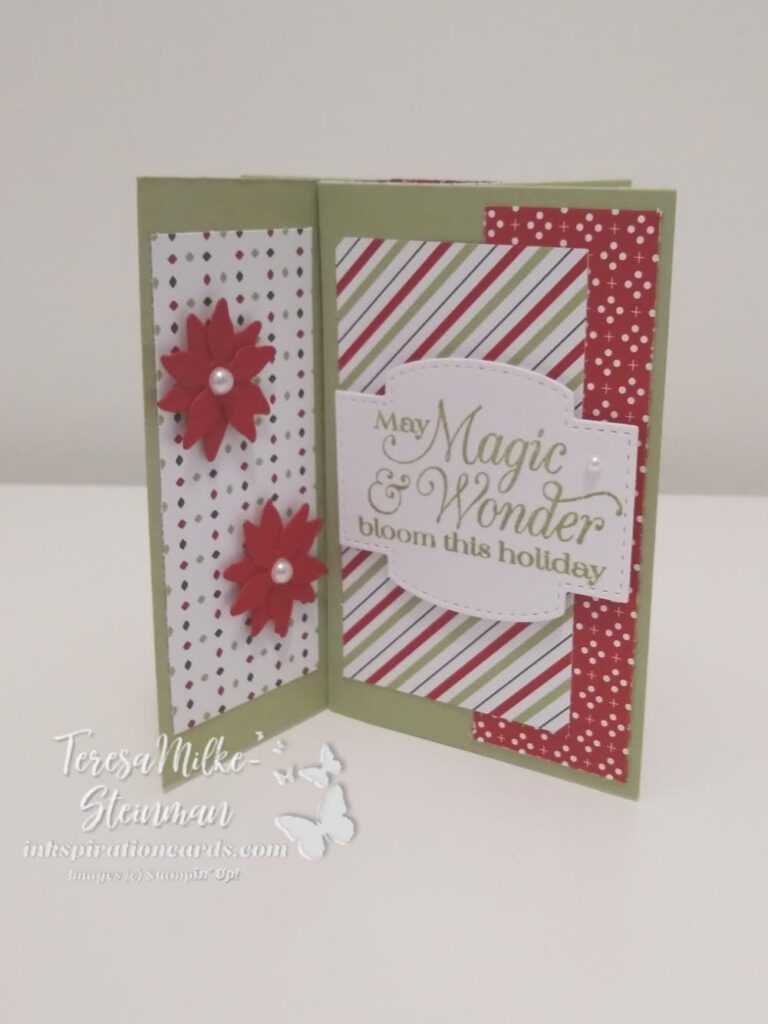
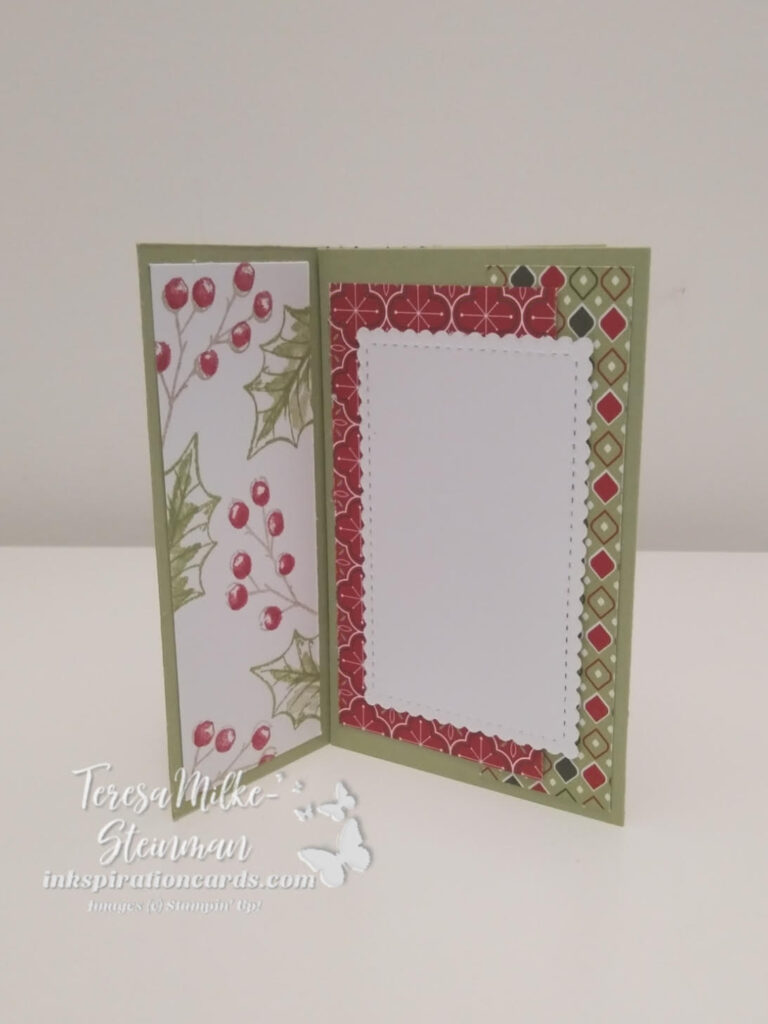
We’re back! And this month we’re making a Cascading Display fold card. This is a fun and simple card to make and it looks great! It’s funny… the more I make fancy fold cards the more I find them easier than they look. For measurements and tips to make your own check out my YouTube video here. Then post a pic in the comments. I’d love to see your designs!

Both of my designs for this fancy fold card are Christmas themed. I guess I’m really getting into my holiday crafting. Anyway… for one design I paired the Christmas Scottie stamp set and Lights Aglow Designer Series Paper. For the colour combination I used Smoky Slate and Mint Macaron. I just love the way the gold foil sparkles with this DSP! Don’t you?!

The other design uses the Spruced Up stamp set and the Painted Christmas DSP. This time with Evening Evergreen and Soft Succulent for my colours. I thought about popping up some elements or adding some bling, but decided the card didn’t need it. The simple mechanism that helps layer the different pieces really does the trick. It closes so nicely and when it’s open you can easily see all the different layers.
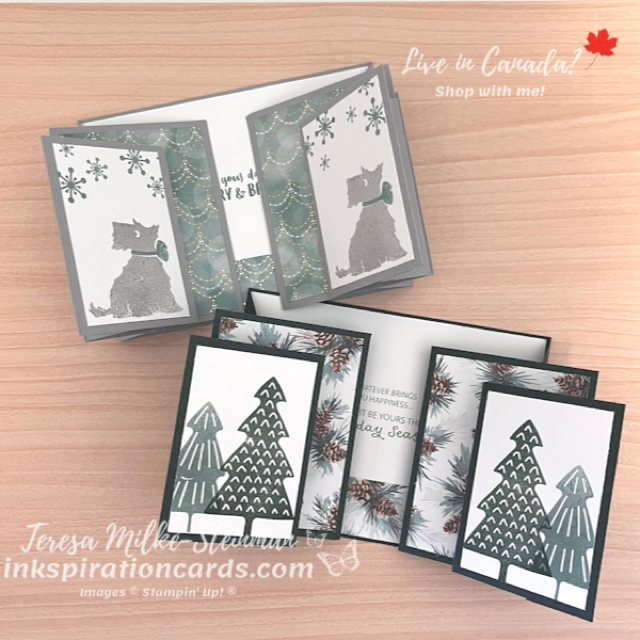
Cascading Display Fold Card

Make sure to keep hopping around the world to see all the different Cascading Display fold card designs! Up next is Mette Nordling Shaw from Australia. Check out her design here

And if you want to check out last month’s hop where we made a Triple Floating Diamond card, you can start that hop here.
Triple Floating Diamond Card

Fancy Folds Design Team

The Fancy Folds Design team is back for another blog hop! And this month we’re making a Triple Floating Diamond card. It’s a little bit of a bigger card than I usually make so I’ll need to find or make my own envelope, but it’s such a pretty card. You can check out Amanda’s video here. She’s the Scrimpingmommy, from the UK and give you the measurements and steps so you can follow along if you need to.

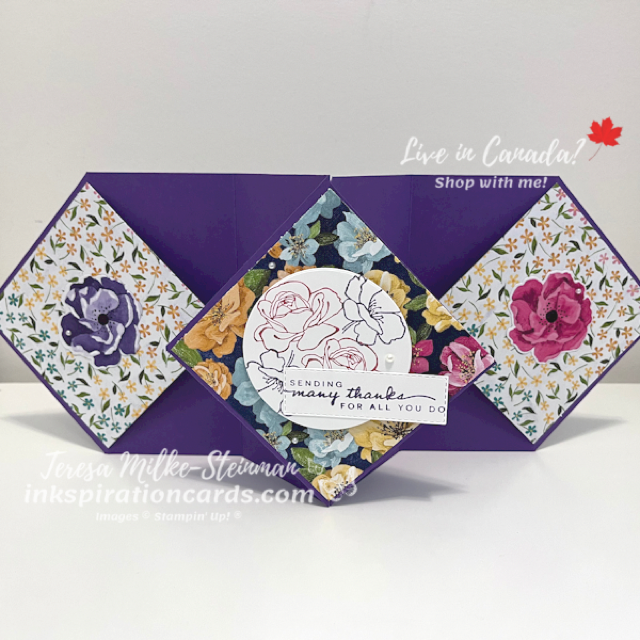
For my card I decided to not make a holiday card this time. I’m not quite in full holiday crafting mode yet. Instead I’m using the Hues of Happiness Designer Series Paper. It’s so pretty! And I decided to make a sort of thank you card using the coordinating Happiness Abounds stamp set. The colour combination I chose came from the DSP, of course. I used Gorgeous Grape cardstock for the card base. Then I used 2 different designs from the DSP pack for my diamonds. For my ink colours I used Gorgeous Grape and Melon Mambo.

I used a simpler design for my outer diamonds and a darker one in the centre. That way I could have my phrase and stamped flowers stand out. I cut out the flowers using one of the Layering Circles dies and my phrase with one of the Stitched Rectangles dies. Plus I popped these up using some Stampin’ Dimensionals. Then to add a little something more to the outer diamonds I used the Blossoming Happiness dies to cut out a couple of the larger flowers from one of the other designs.

Triple Floating Diamond Card

The Triple Floating Diamond card is such a cool looking card right?!

Make sure to keep hopping so you can see all the cards! Up next is Gina Conner and you can see her card here.

And if you want to check out last month’s blog hop where we made a Curvy Pop-Up card, you can start that hop here.
Double Triangle Fold Card

Fancy Folds Design Team

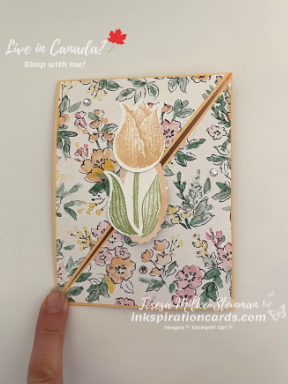
It’s time for another Fancy Folds Design Team blog hop. And this month we’re making a Double Fold Triangle card. This is such a cute and simple card to make. Dawn, a demonstrator from the US, has a great video to help you be able to make your own.

For my card I knew I wanted to show off the Hand Penned Designer Series Paper. This patterned paper is so pretty! I just love all the colours and flowers and I’ll be sad once it’s gone in a couple of weeks. For the card base I chose one of the colours from the DSP; Pale Papaya. This has become one of my favourite colours recently.

From here I needed to add something to the front of the card. To keep with the spring, floral theme I decided to use the Timeless Tulips stamp set and punch. This is another favourite of mine for crafting this time of year. I kept it simple and just added a tulip to the card front. To stick the tulip together I used the Double Oval Punch. I punched some of another design from the same DSP pack with the scalloped oval. And then some Basic White cardstock with the plain oval.

On the plain oval I stamped a stem and leaf for my tulip. Then stuck it all together and to the card front with some Stampin’ SEAL. On another piece of Basic White cardstock I stamped another leaf and the large tulip. And then punched those out and added them to the card front the same way. I thought about popping it up with Stampin’ Dimensionals, but decided not to. To finish it off I added a few Rhinestone Basic Jewels.

I hope you like it…

Double Triangle Fold Card

To keep hopping and check out more ideas for the Double Triangle Fold card, check out Mette Nordling Shaw’s here!

And if you’d like to check out last month’s hop, the Impossible card, you can start here.

The Impossible Card

Fancy Folds Design Team

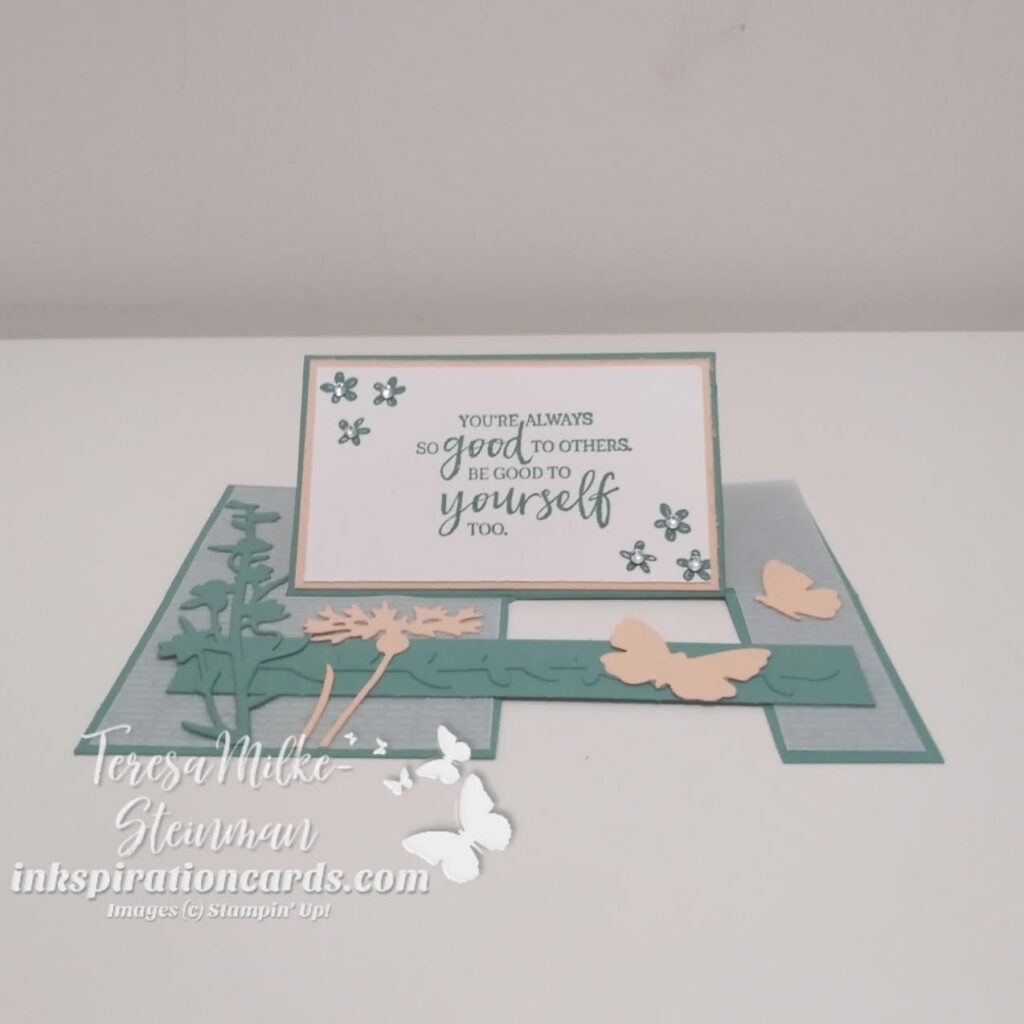
It’s time for another Fancy Fold Design team blog hop! This month we’re taking on the Impossible Card! And don’t worry the name makes it sounds more difficult than it really is. Once you have the measurements this is a fun and simple card to re-create. Dawn Griffith, a US demonstrator, has a good video and she shares the measurements. You can check that out here.

For my design I wanted to show off the Vellum Layering Designs from the January-June Mini catalogue. So for my base colour I went with something darker to really help the design pop. I thought that Just Jade, which is retiring once supplies run out, would work well. It’s a deeper green, but not too dark. For my other colour I chose Petal Pink. A nice soft colour to compliment the Just Jade and it’s a nice Spring colour combination.

To add some layers on top of the vellum I added a strip of Just Jade cardstock to keep the card base still and then some of the Meadows dies pieces. I had to trim a few of the pieces, but that’s easy enough to do. It was a little tricky getting these into place because I adhered the die cut pieces to the vellum before I adhered the vellum to the card base. But I wanted to make sure that I didn’t have glue showing.

The phrase came from the In the Moment stamp set. And the flowers came from the Dahlia Days stamp set. Then I added a few of the smallest Rhinestone Basic Jewels to the centres of my flowers. Gotta add some bling! Here’s my card…

Impossible Card

To keep going on this month’s Impossible Card blog hop, check out Mette Nordling Shaw’s card here.

In last month’s blog hop we made a Pop-Up card. You can check mine out here and then keep hopping around the world. I hope you enjoy this month’s blog hop!

Bay Window Card

Fancy Folds Design Team

It’s time for the last Fancy Folds Design Team blog hop of 2021! I have so much fun participating in these blog hops. Even when I’m pushing myself to get it done in time. This month we’re making a Bay Window card. I’ve seen these before and they look so neat! And as usual I’m finding that it’s easier to make than you think. This one especially. You can check out LeeAnn Greff’s video here if you want to try it out yourself.

For my card design I immediately thought of the soon to be released stamp set, In the Moment. One of the images is perfect to set up so that the woman is looking out of bay window. So of course I had to use it! The next piece to my design was the Designer Series Paper. I was using the Beauty of Earth DSP for another project and one of the designs caught my eye as I was about to put it away. It’s the blue design with what looks like trees and splotches (aka snowflakes possibly).

From here I decided to use Misty Moonlight for my card base and I stamped the image and inner phrase using Tuxedo Black Memento ink. For a bit I debated about colouring the image, but decided I liked it better as is. I did add a few Misty Moonlight snowflakes from the Snowflake Wishes to prop up my window. I die cut it using one of the Meadows dies and the image using the Stitched So Sweetly dies.

If you wanted to add a little something more to this, you could add a few Rhinestone Basic Jewels. This is one time for me where I decided to not add some bling to my card. I know hard to believe right?! Here’s the card…

Misty Moonlight Bay Window card

The Bay Window card is such a simple fun fold to make! Remember to keep hopping and check out all the cards. Up next is Mette Nordling Shaw’s card which you can check out here.

Bay Window card

And if you want to check out last month’s blog hop where we made a Pinwheel Tower card, you can start that hop here!

Pinwheel Tower Card

Fancy Folds Design Team

The Fancy Folds Design Team is back with another blog hop! And this month we’re making a Pinwheel Tower card. I love the look of this card! And I love that it fits in one of my usual invitation envelopes! LeeAnn Greff has a good video with measurements that you can check out here.

For my design I decided to make a holiday card. I’m definitely getting into the holiday season. And for this card I decided to use some returning products. I started with the Heartwarming Hugs Designer Series Paper and used it to pull my colour combination; Pear Pizzazz and Real Red. Pear Pizzazz is such a nice shade of green. Plus I love just about all the designs in this paper pack so it didn’t take much to coordinate the different designs. I even made sure to match up the designs when the card is flat. Check it out…

To go with the Heartwarming Hugs DSP I decided to use the Poinsettia Petals stamp set and coordinating dies. I’m so glad that these are still in the Annual Catalogue! These were a go to for me last year when they first came out. And I love going back to it every once in a while. To add a little something more to my card I layered two of the small poinsettias to create a fuller one. Then I added a Pearl Basic Jewels to the centre of them as well as a few to one of the larger stamped poinsettias.

The phrase and blank piece of cardstock were cut out using the Stitched So Sweetly dies. These dies are a new favourite of mine and I love the different designs.

I had a lot of fun designing my Pinwheel Tower card. And as usual it turned out to be easier to make than I initially thought! Make sure to keep going on this month’s blog hop and check out Gina Connor’s design here.

And if you want to check out last month’s blog hop where we made a Triangle Gatefold card you can start that here.

Diagonal Faux Pocket Card

Fancy Folds Design Team

September’s Fancy Folds Design Team blog hop is ready to go! This month we’re making a Diagonal Faux Pocket card. It’s such an easy fold and it looks really neat too. I love this kind of Fancy Fold and I’m excited to share it with you. For a video to walk you through this fold, check out LeeAnn Greff.

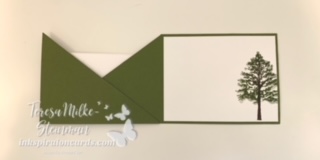
This is a great card to show off Stampin’ Up!s Designer Series Paper. So for my card design I started there with the Beauty of the Earth DSP. The designs in this pack are so pretty and they’re great for the Fall season which is right around the corner. Once I picked the designs for the card I decided on Mossy Meadow for the card base. And of course I stuck with the coordinating Beauty of Friendship stamp set.

On the inside I used Early Espresso and Mossy Meadow to stamp a tree. And to made the different shades for the leaves I stamped one image in full strength and the other I stamped off first. I love how it turned out!

Diagonal Faux Pocket Card

For the front of the card I didn’t want to take away from the DSP designs. So I simply stamped the phrase on a piece of Basic White cardstock using Mossy Meadow. Then I added a few Early Espresso splotches. To frame it I used the Stitched Rectangles dies and then popped it up using some carefully placed Stampin’ Dimensionals.

I debated about adding a DSP tree on the outside, but it didn’t quite work. So instead I added a few Rhinestone Basic Jewels. These are totally my favourite go to. Here’s my card…

Diagonal Faux Pocket Card

I love easy fun folds like the Diagonal Faux Pocket card! You can check out last month’s fancy fold here. And of course don’t forget to go to the next stop on the hop; Nadine Schweda.

Diagonal Faux Pocket Card

Twist & Pop Card

Fancy Folds Design Team

I’m back this month with another Fancy Folds Design team blog hop! This month we’re making a Twist & Pop card. When I first heard the name I admit I was a little intimidated. But when I saw the card I was super excited to give it a try. And this video by Maymay shows off an easy way to make it.

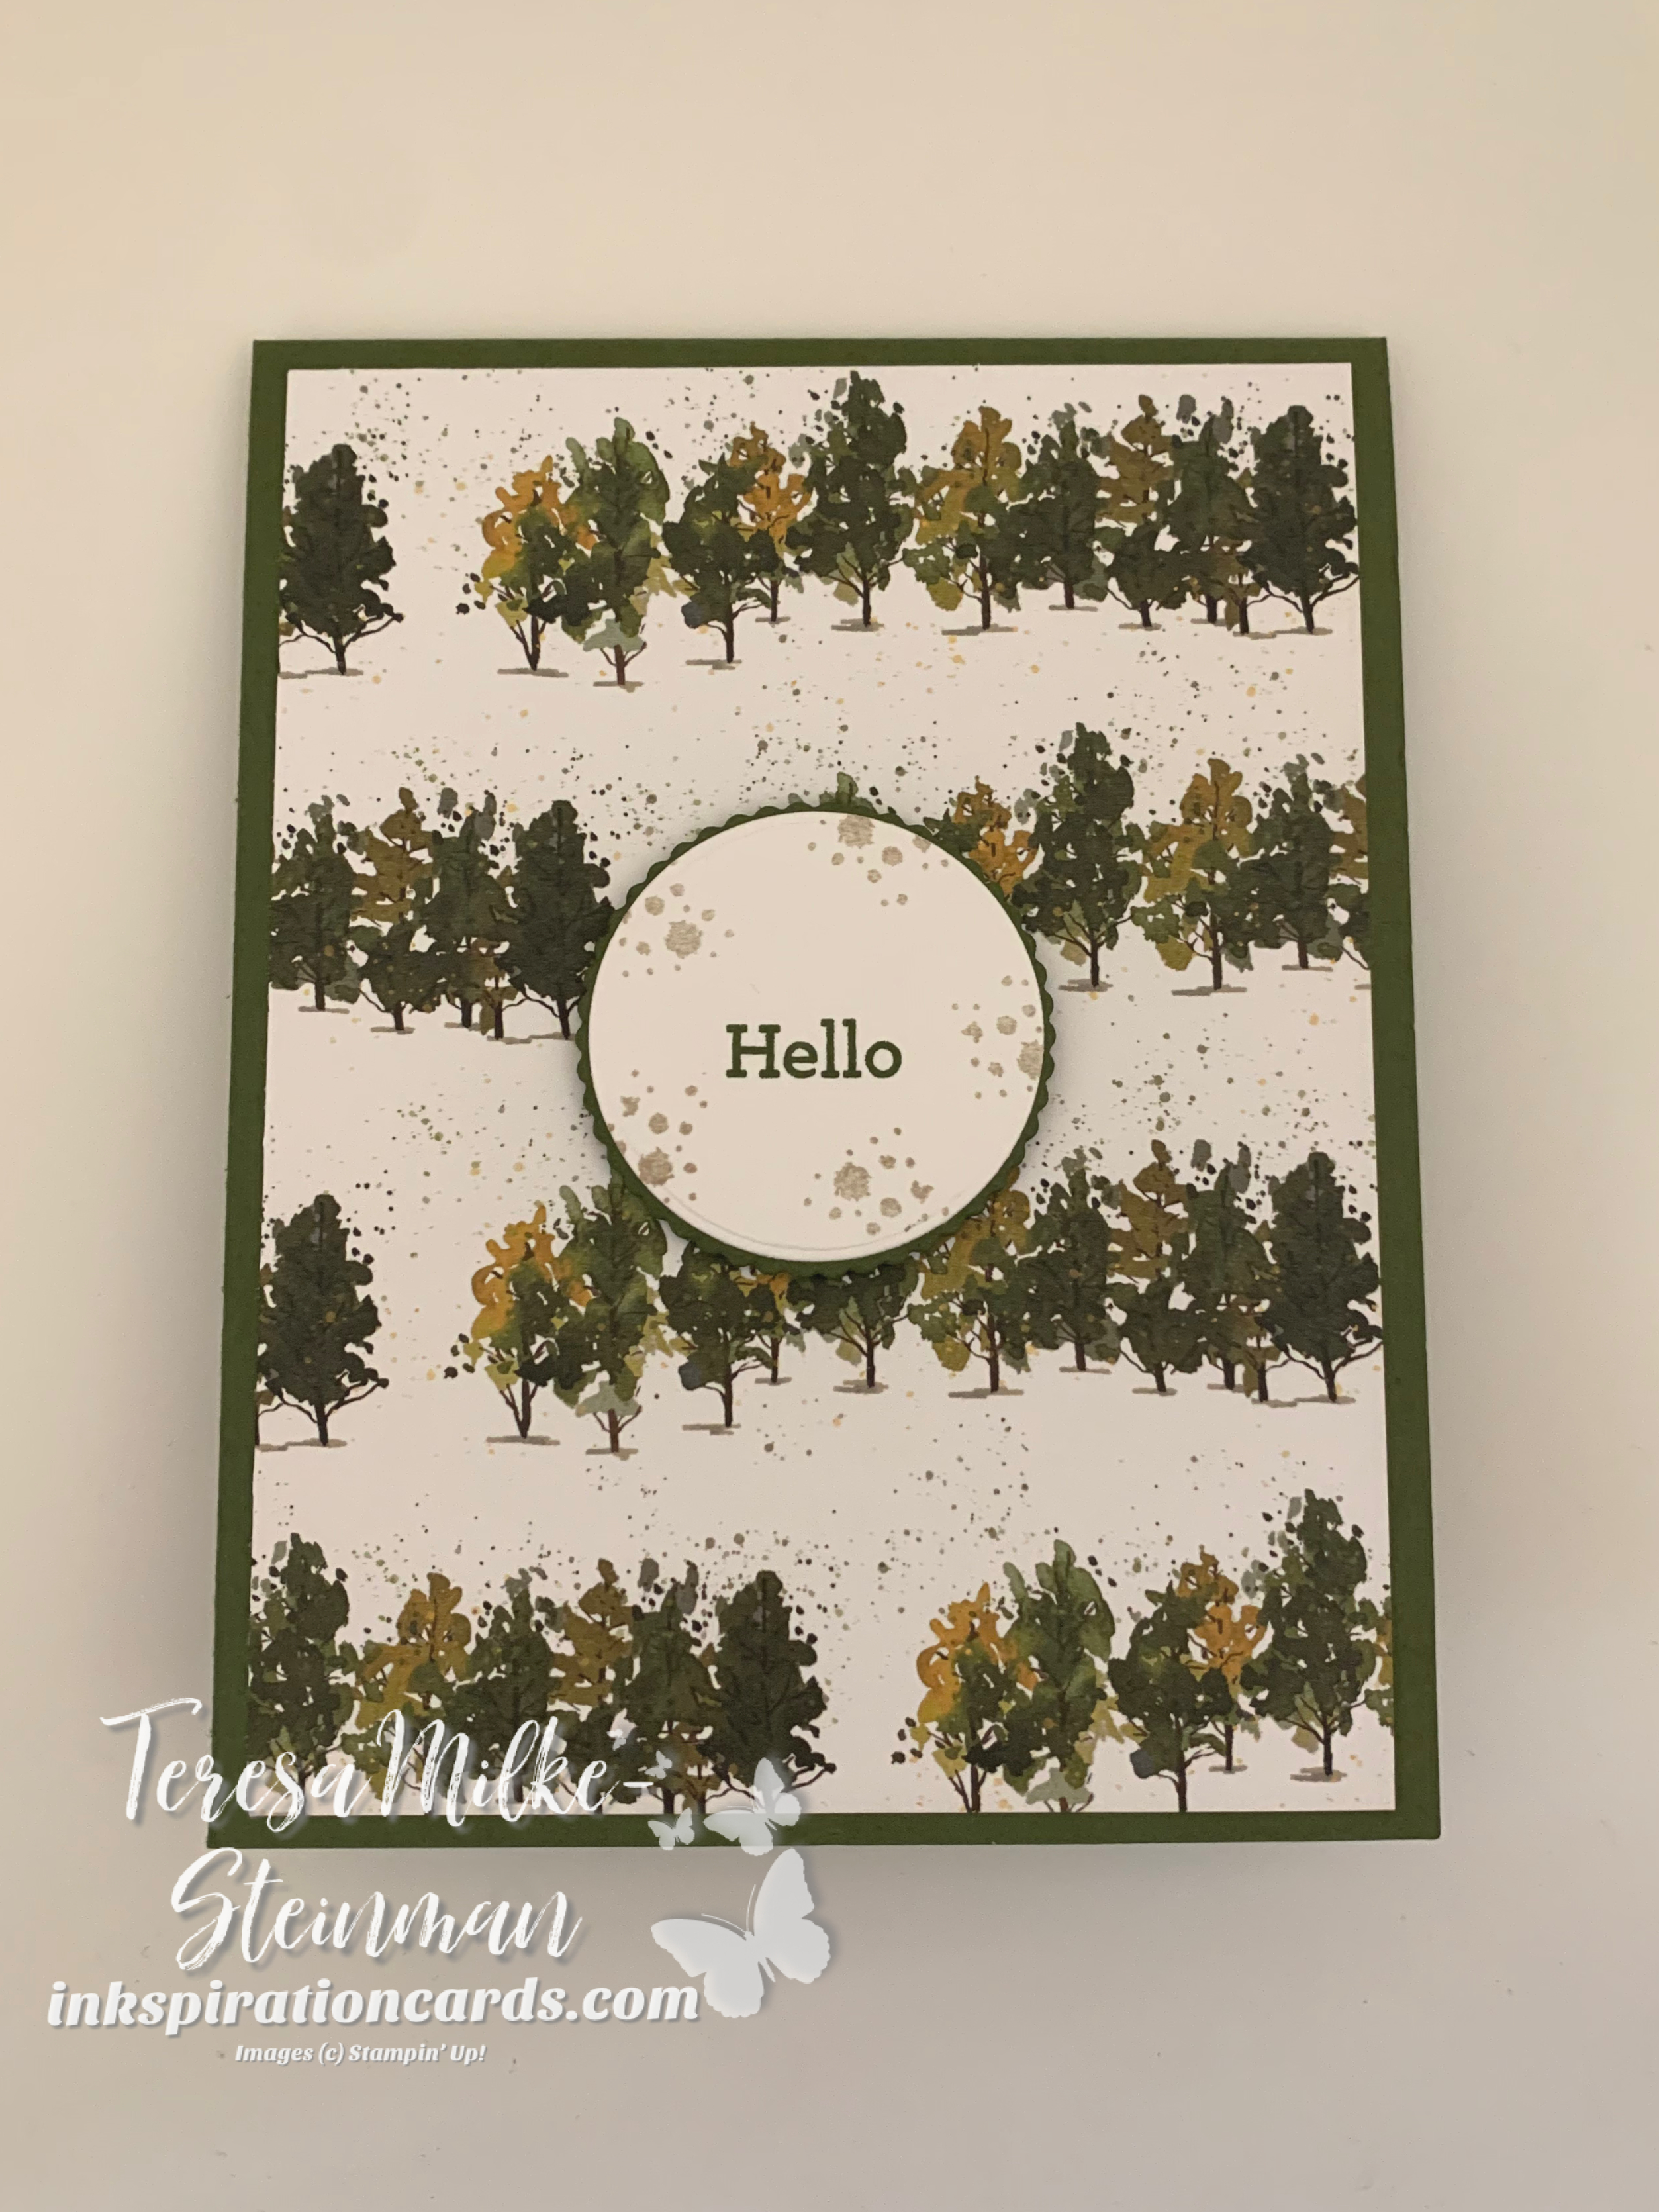
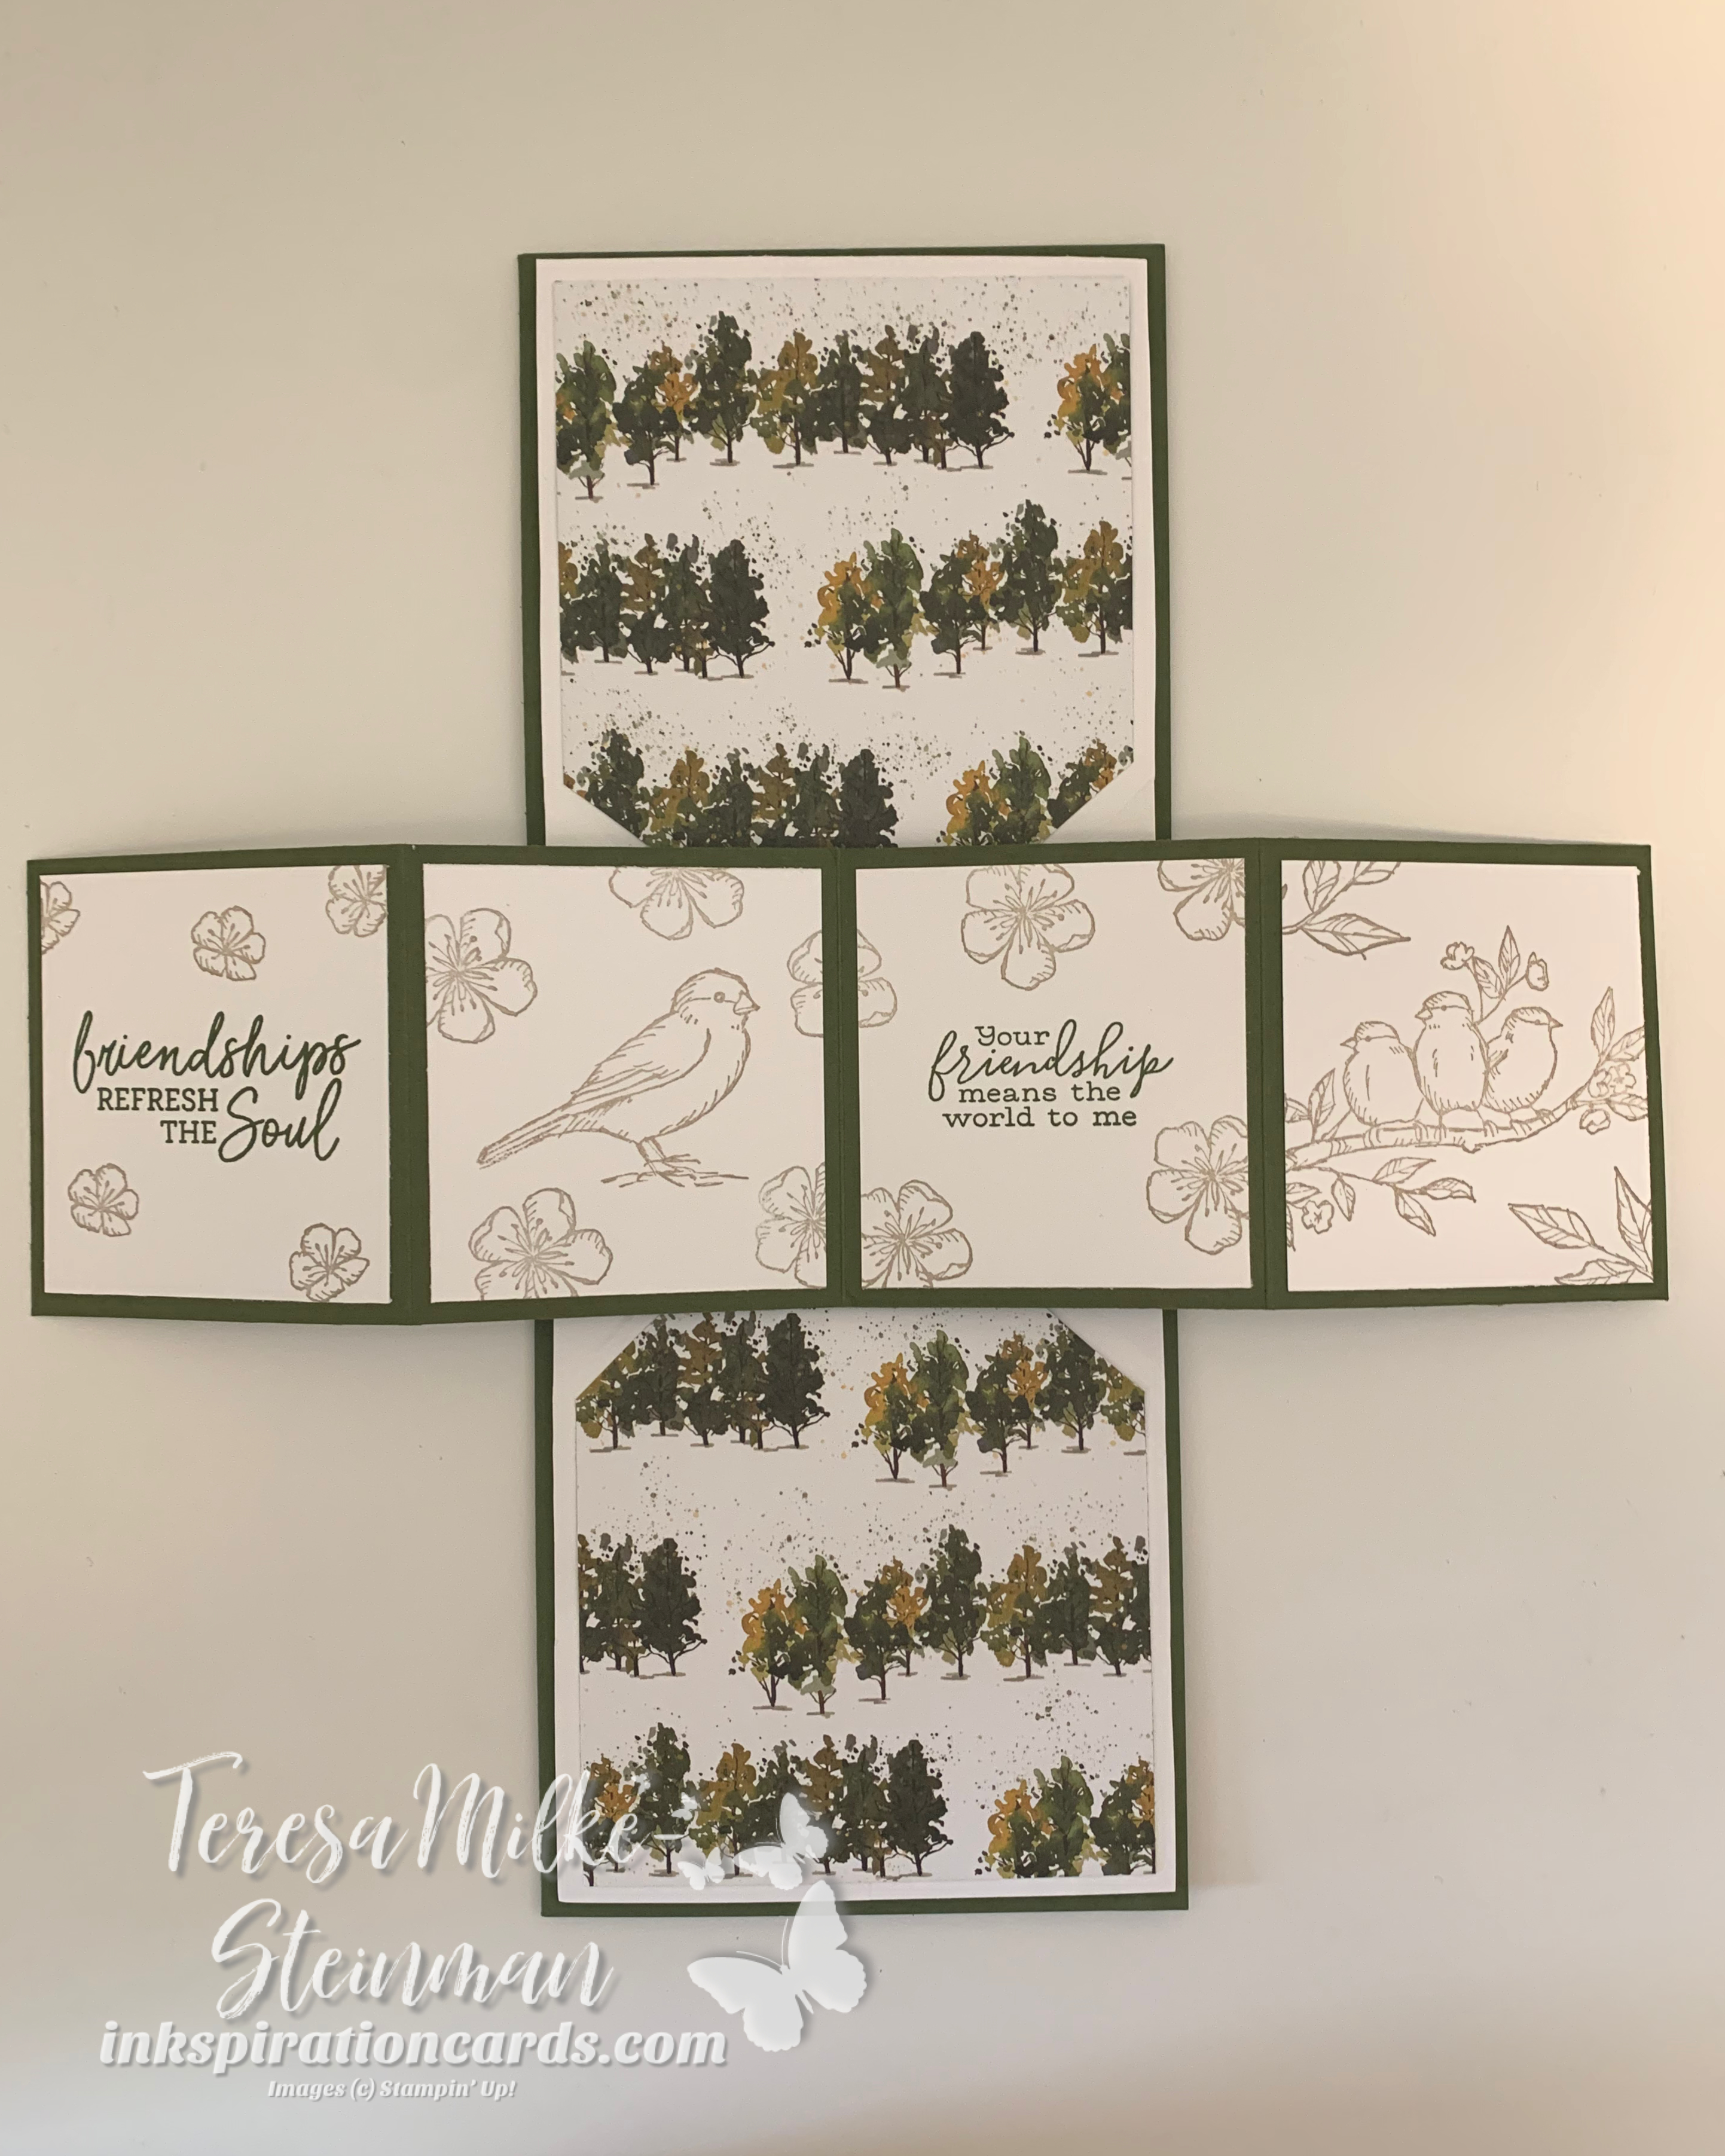
To spark some inkspiration for my card design I started with the Beauty of the Earth Designer Series Paper. I’ve been having a lot of fun lately crafting with this DSP pack and I knew I wanted to use one of these designs. Once I picked the sheet I wanted to use I choose my colour combination. For my colours I pulled Mossy Meadow from the DSP and paired it with Crumb Cake.

Now even though the “main event” of this card is on the inside, I still wanted to have a little something on the outside. So I used the same DSP as on the inside and stamped “hello” from the Beauty of Friendship stamp set. I cut out the phrase and a Mossy Meadow border with the Layering Circles dies and popped it up with a couple Stampin’ Dimensionals.

Twist & Pop card

For the inside of the card I used the same DSP sheet from the Beauty of the Earth pack. I used a different phrase from the Beauty of Friendship stamp set as well as one from the Free as a Bird stamp set. And the images came from the Free as a Bird stamp set.

Twist & Pop card

The Twist & Pop card was so much fun to make! I did have to play around a bit with the mechanism, but I think it turned out pretty nicely.

Make sure to keep hopping and check out the next Twist & Pop card from Fiona Carson here.

Twist & Pop

Our last blog hop showed off the Slide & Lock card. You can check mine out here and then keep hopping if you like. Enjoy!

Display Frame Card

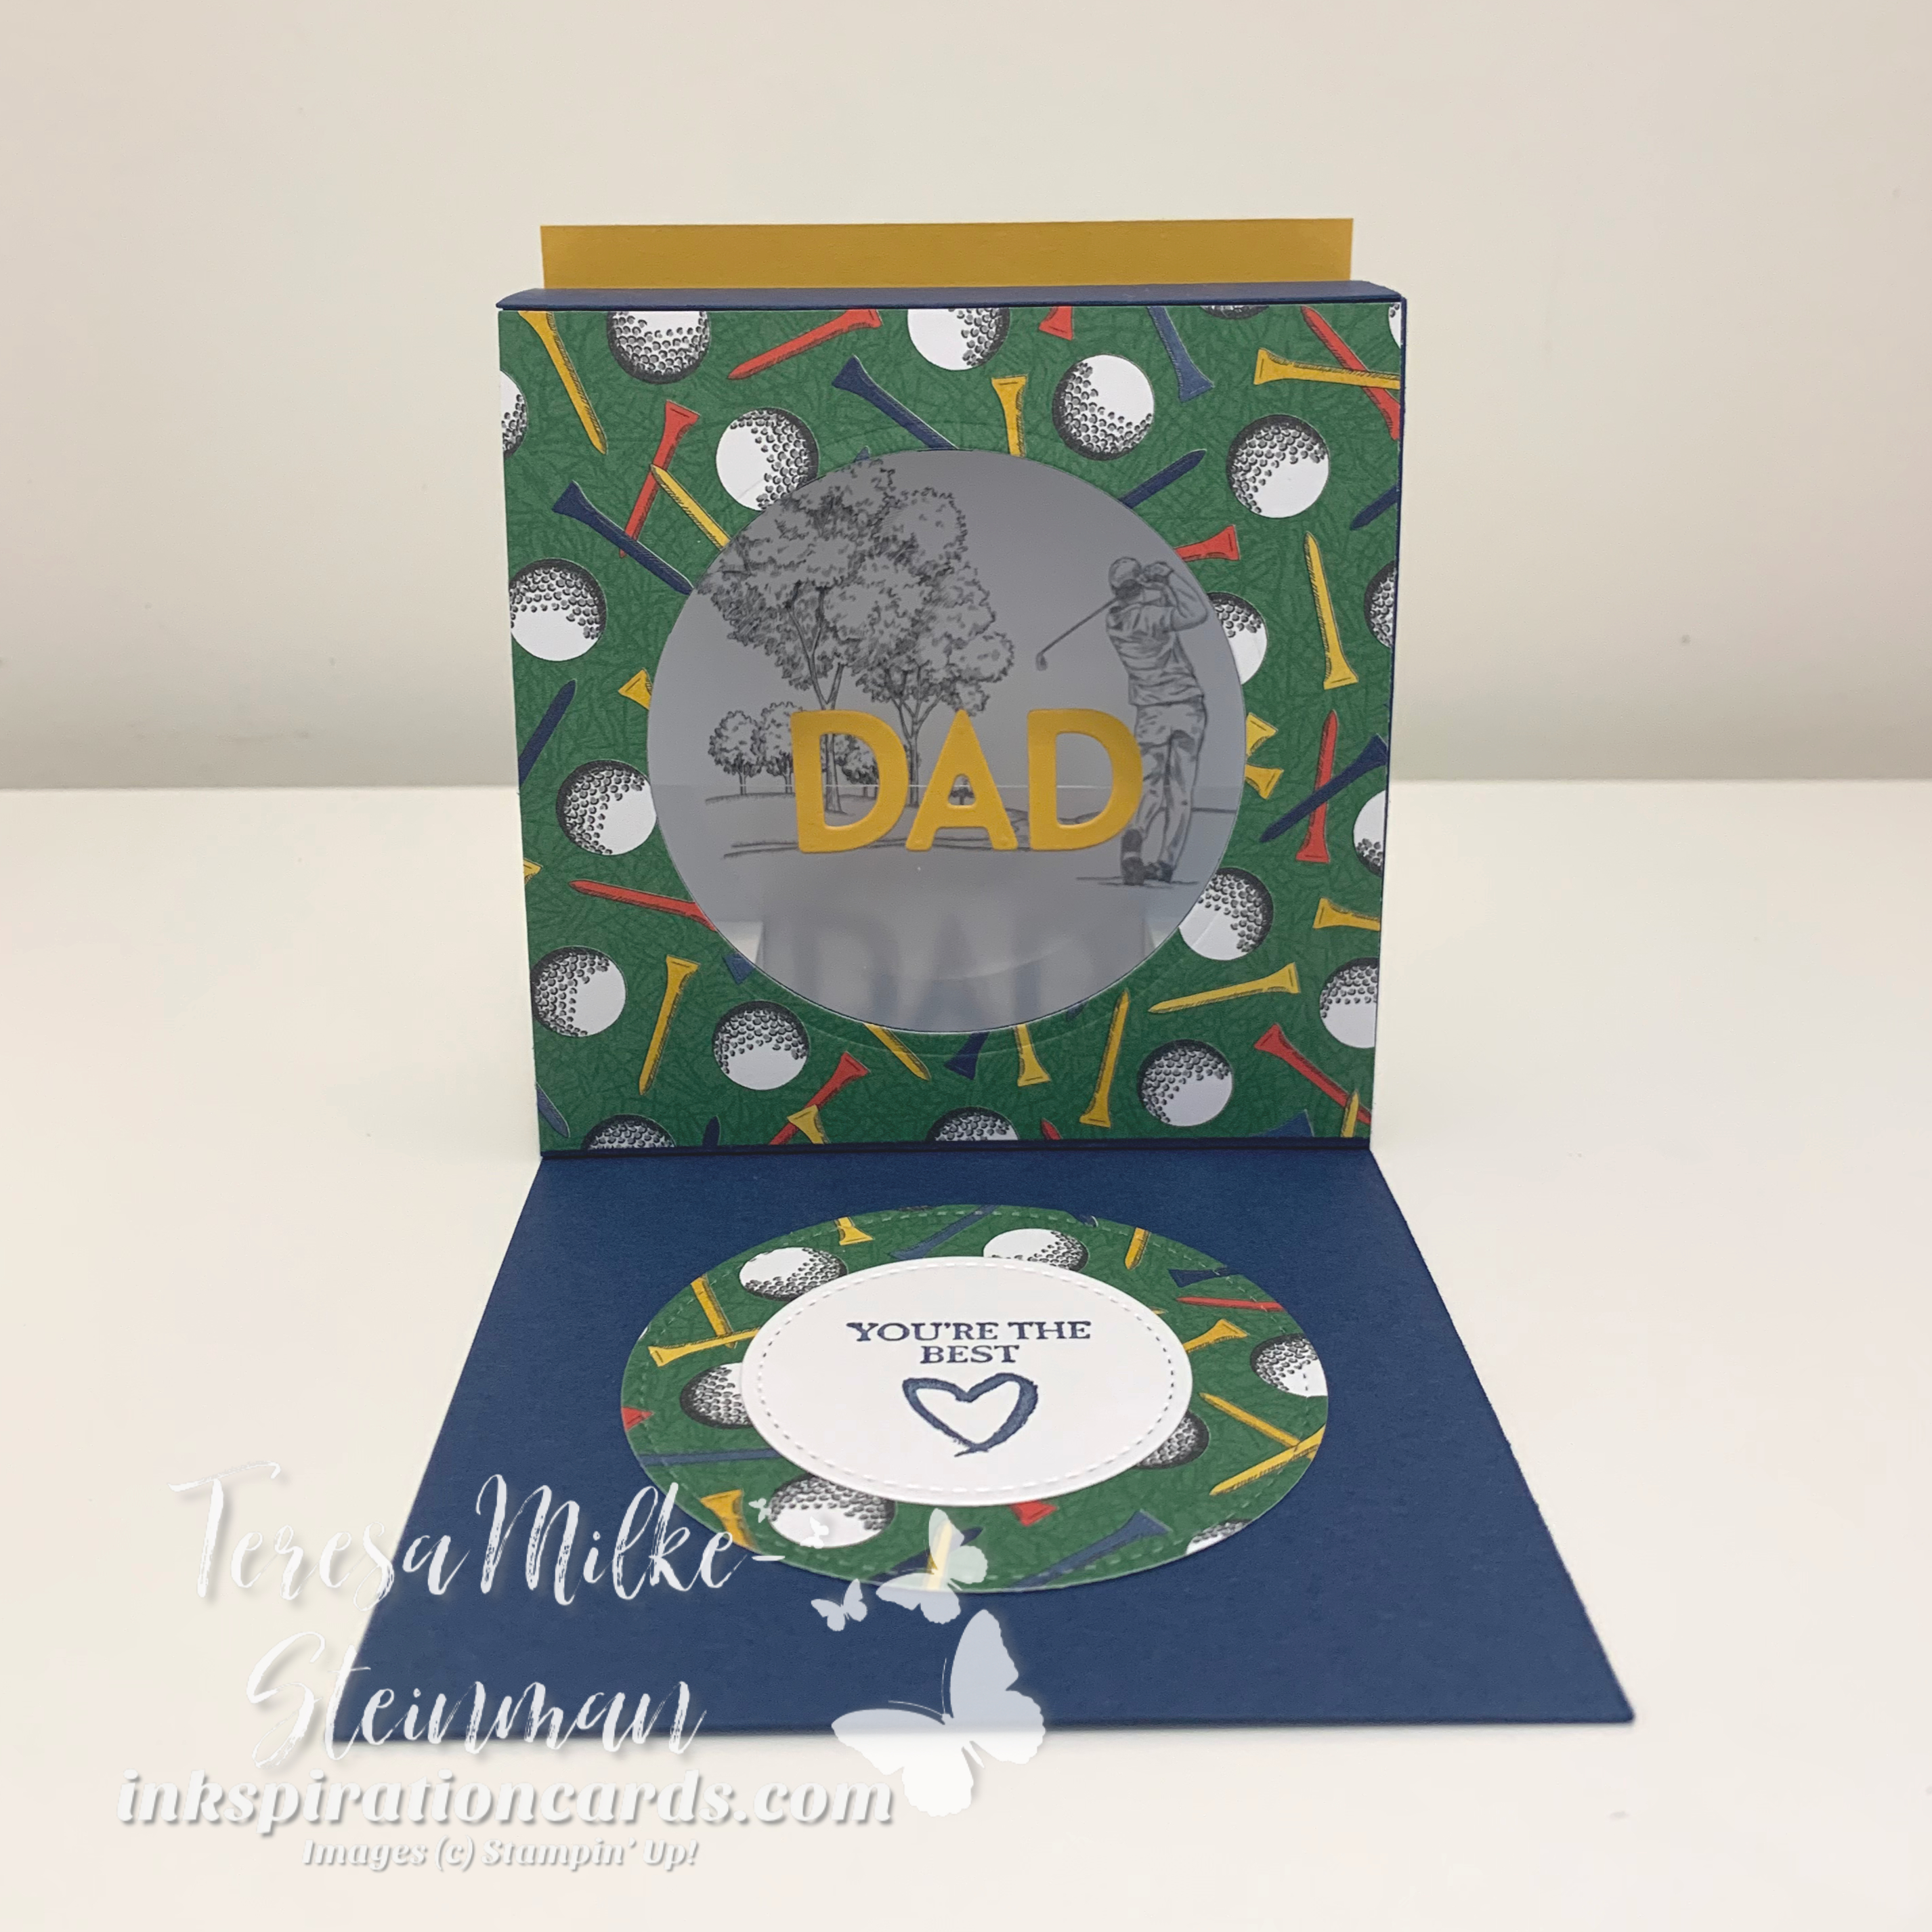
I’m sure I’m not the only one who would say this, but my dad is not an easy person to shop for. I don’t think he ever has been. And whenever I ask him what he wants he never really has an answer. So for Father’s Day I decided to make a special card for him; a Display Frame card. Another demonstrator posted their version of this card and I thought it would be really fun! I checked out Jennifer McGuire’s YouTube video for the step by steps and as with most fancy folds it’s easier than it looks.

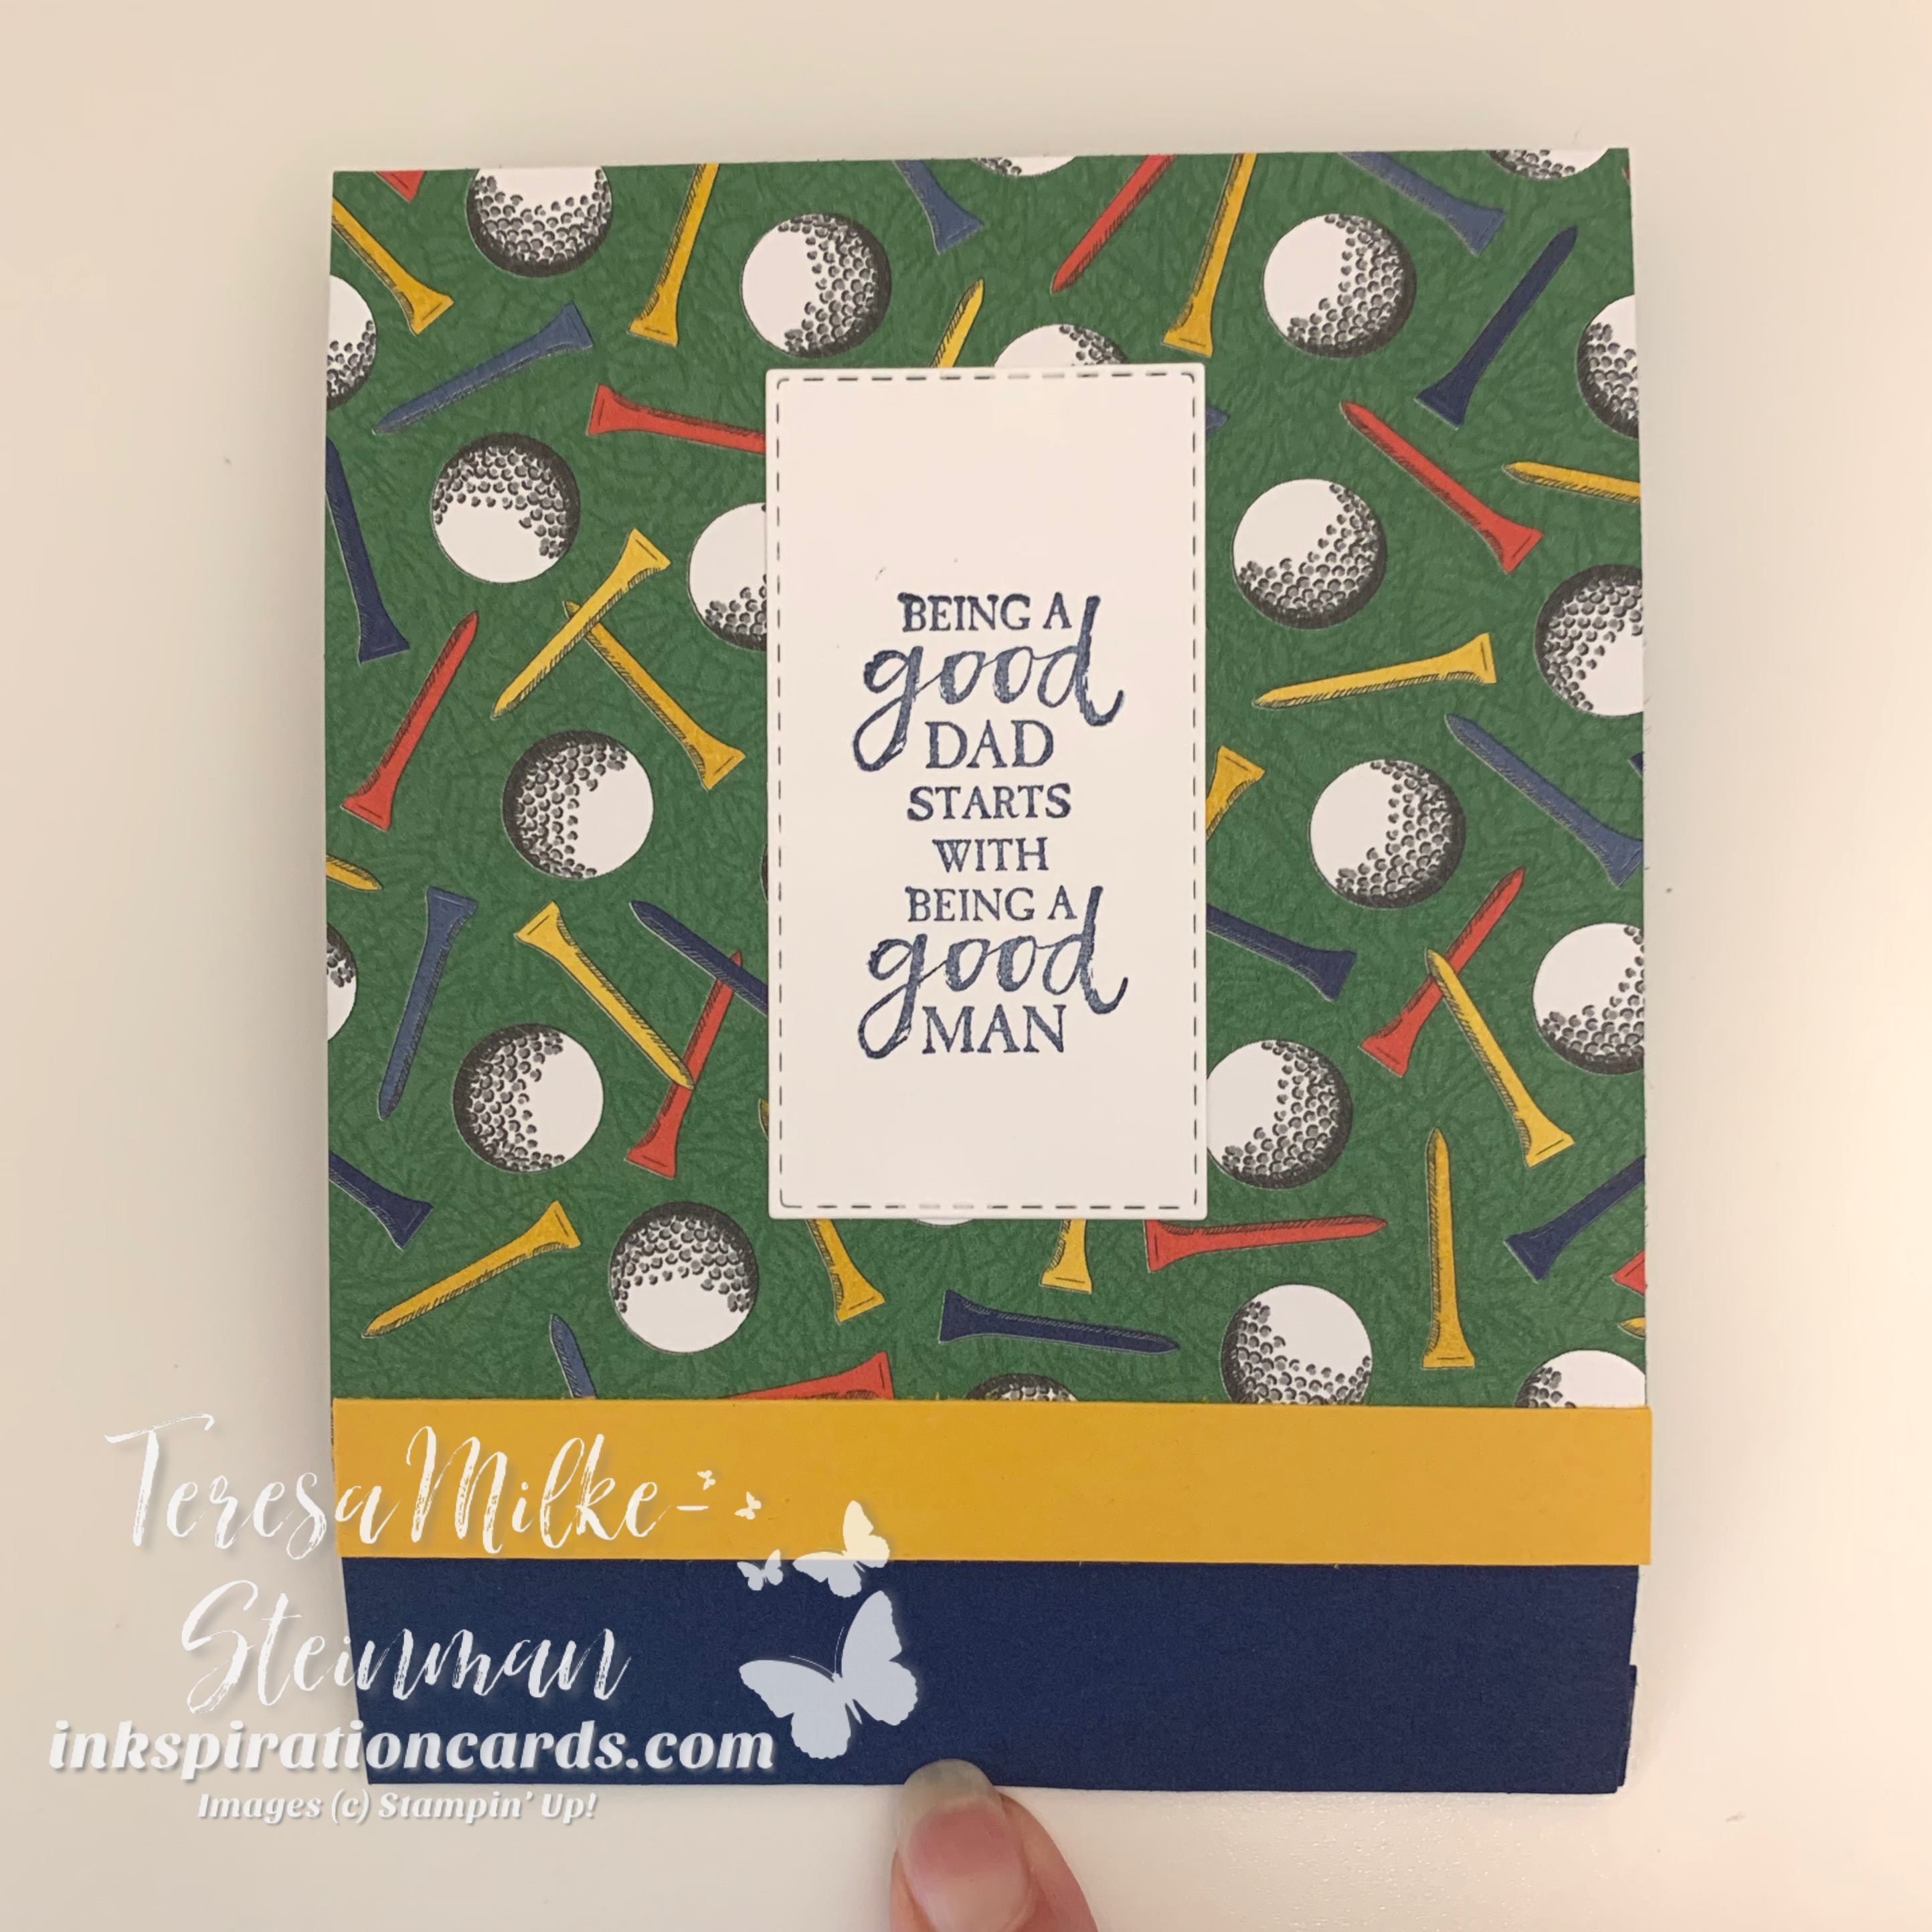
For this card I used a little bit of current and retired products. My dad has always been a BIG golf fan and so I started off my design with the retired Country Club Designer Series Paper. And I pulled my colour combination from there. I used Night of Navy for the card base and some Crushed Curry for a bit of extra pop.

Display Frame Card

To create the opening for the frame I used the largest circle from the retired Stitched Shapes dies. The Layering Circles dies would work well too, but mine had gone into hiding. I used the Playful Alphabet dies to create “Dad” out of Crushed Curry cardstock. And I popped it up using a piece of Window Sheet and a couple of small boxes adhered on the inside of the frame at the back.

The phrases on the front and inside of the card came from the “A Good Man” stamp set. This is a great set for masculine themed cards and so I’ve been using it a lot lately. Here’s the inside of the card…

Display Frame Card

This Display Frame card turned out really nicely and was super easy to make! If you want to start trying some fancy folds yourself, this would be a good one to start out with. You can also check out my card for a recent Fancy Folds Design Team blog hop here.

Slide and Lock

Fancy Folds Design Team

Time for another Fancy Folds Design Team blog hop! This month we’re making the Slide and Lock fancy fold card. I was super excited when I saw that this was the fold we’d be doing this month. Back in April when I “attended” OnTour , some fellow demonstrators shared some cards they had made and this was one of them! I’ll have a simple project sheet for you at the end of this post so make sure to grab it. You can also check out this video by Lisa Curcio showing off the slide and lock card.

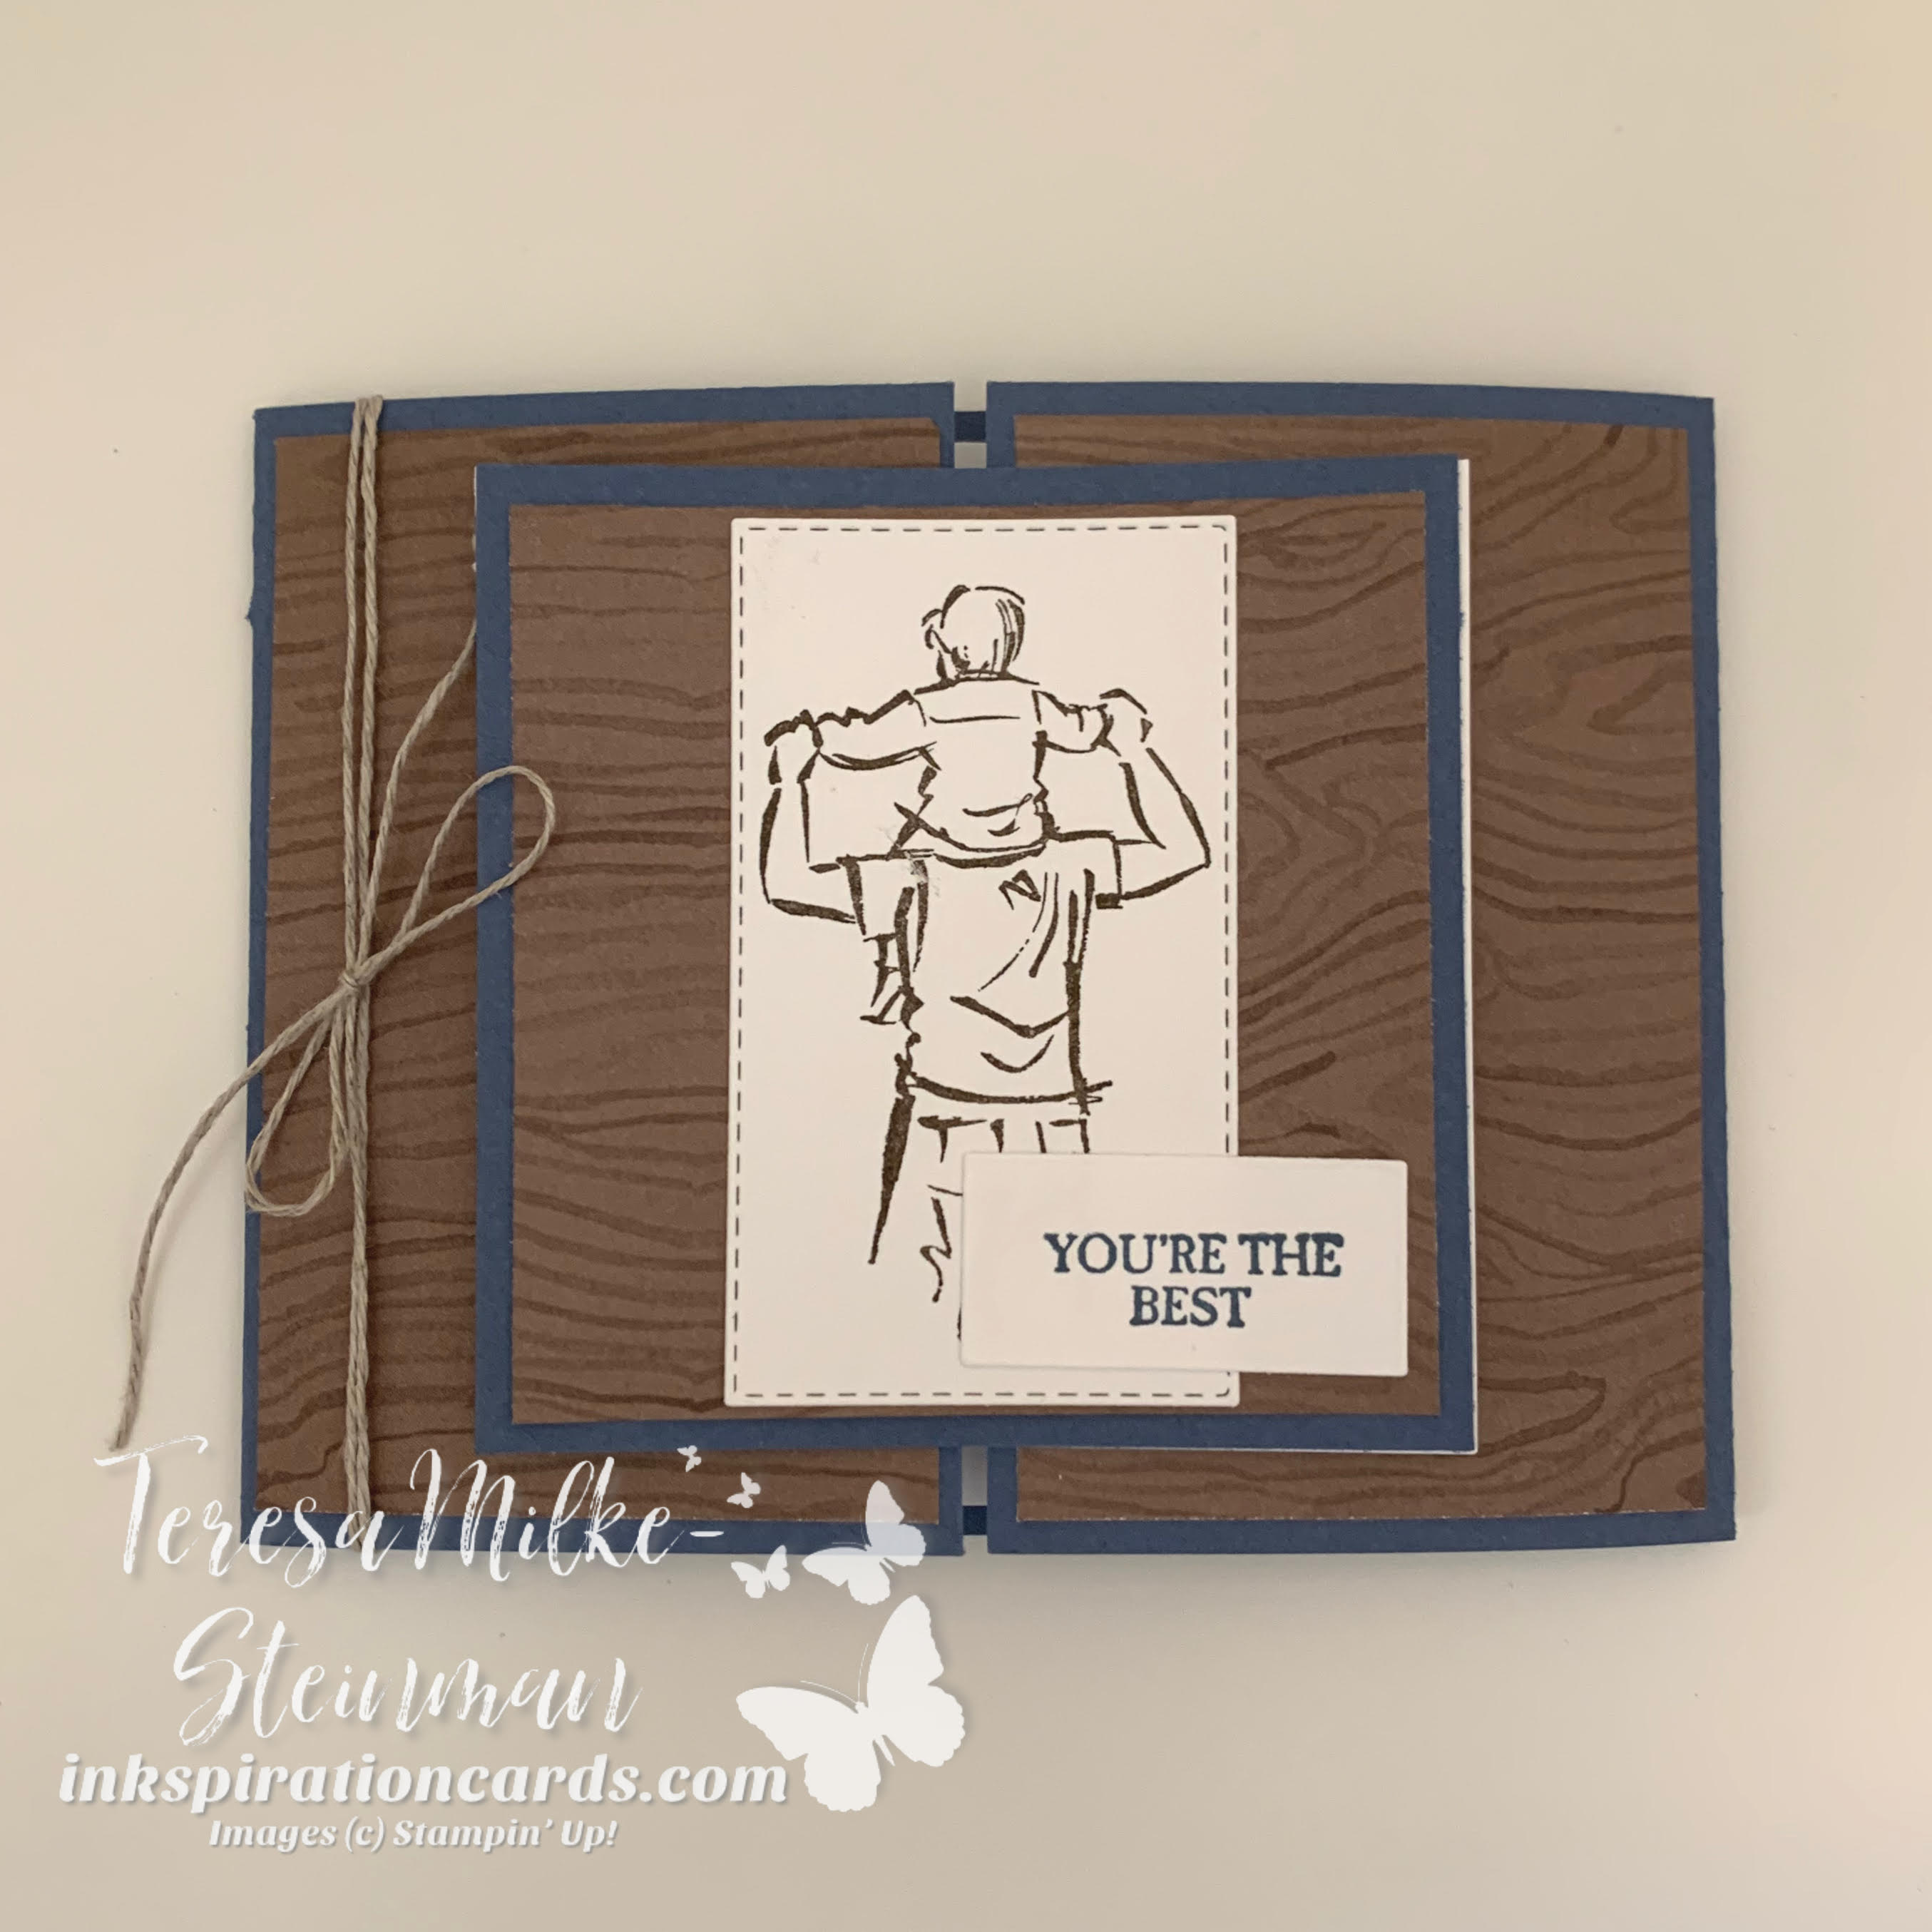
For my card I started with the idea of creating a Father’s Day card. With it being just a month away I’m getting into my masculine theme mindset. Plus I love the Beauty of the Earth Designer Series Paper and one of the designs works perfectly. So I started with the wood grain design from this DSP pack and paired it with Misty Moonlight as my base.

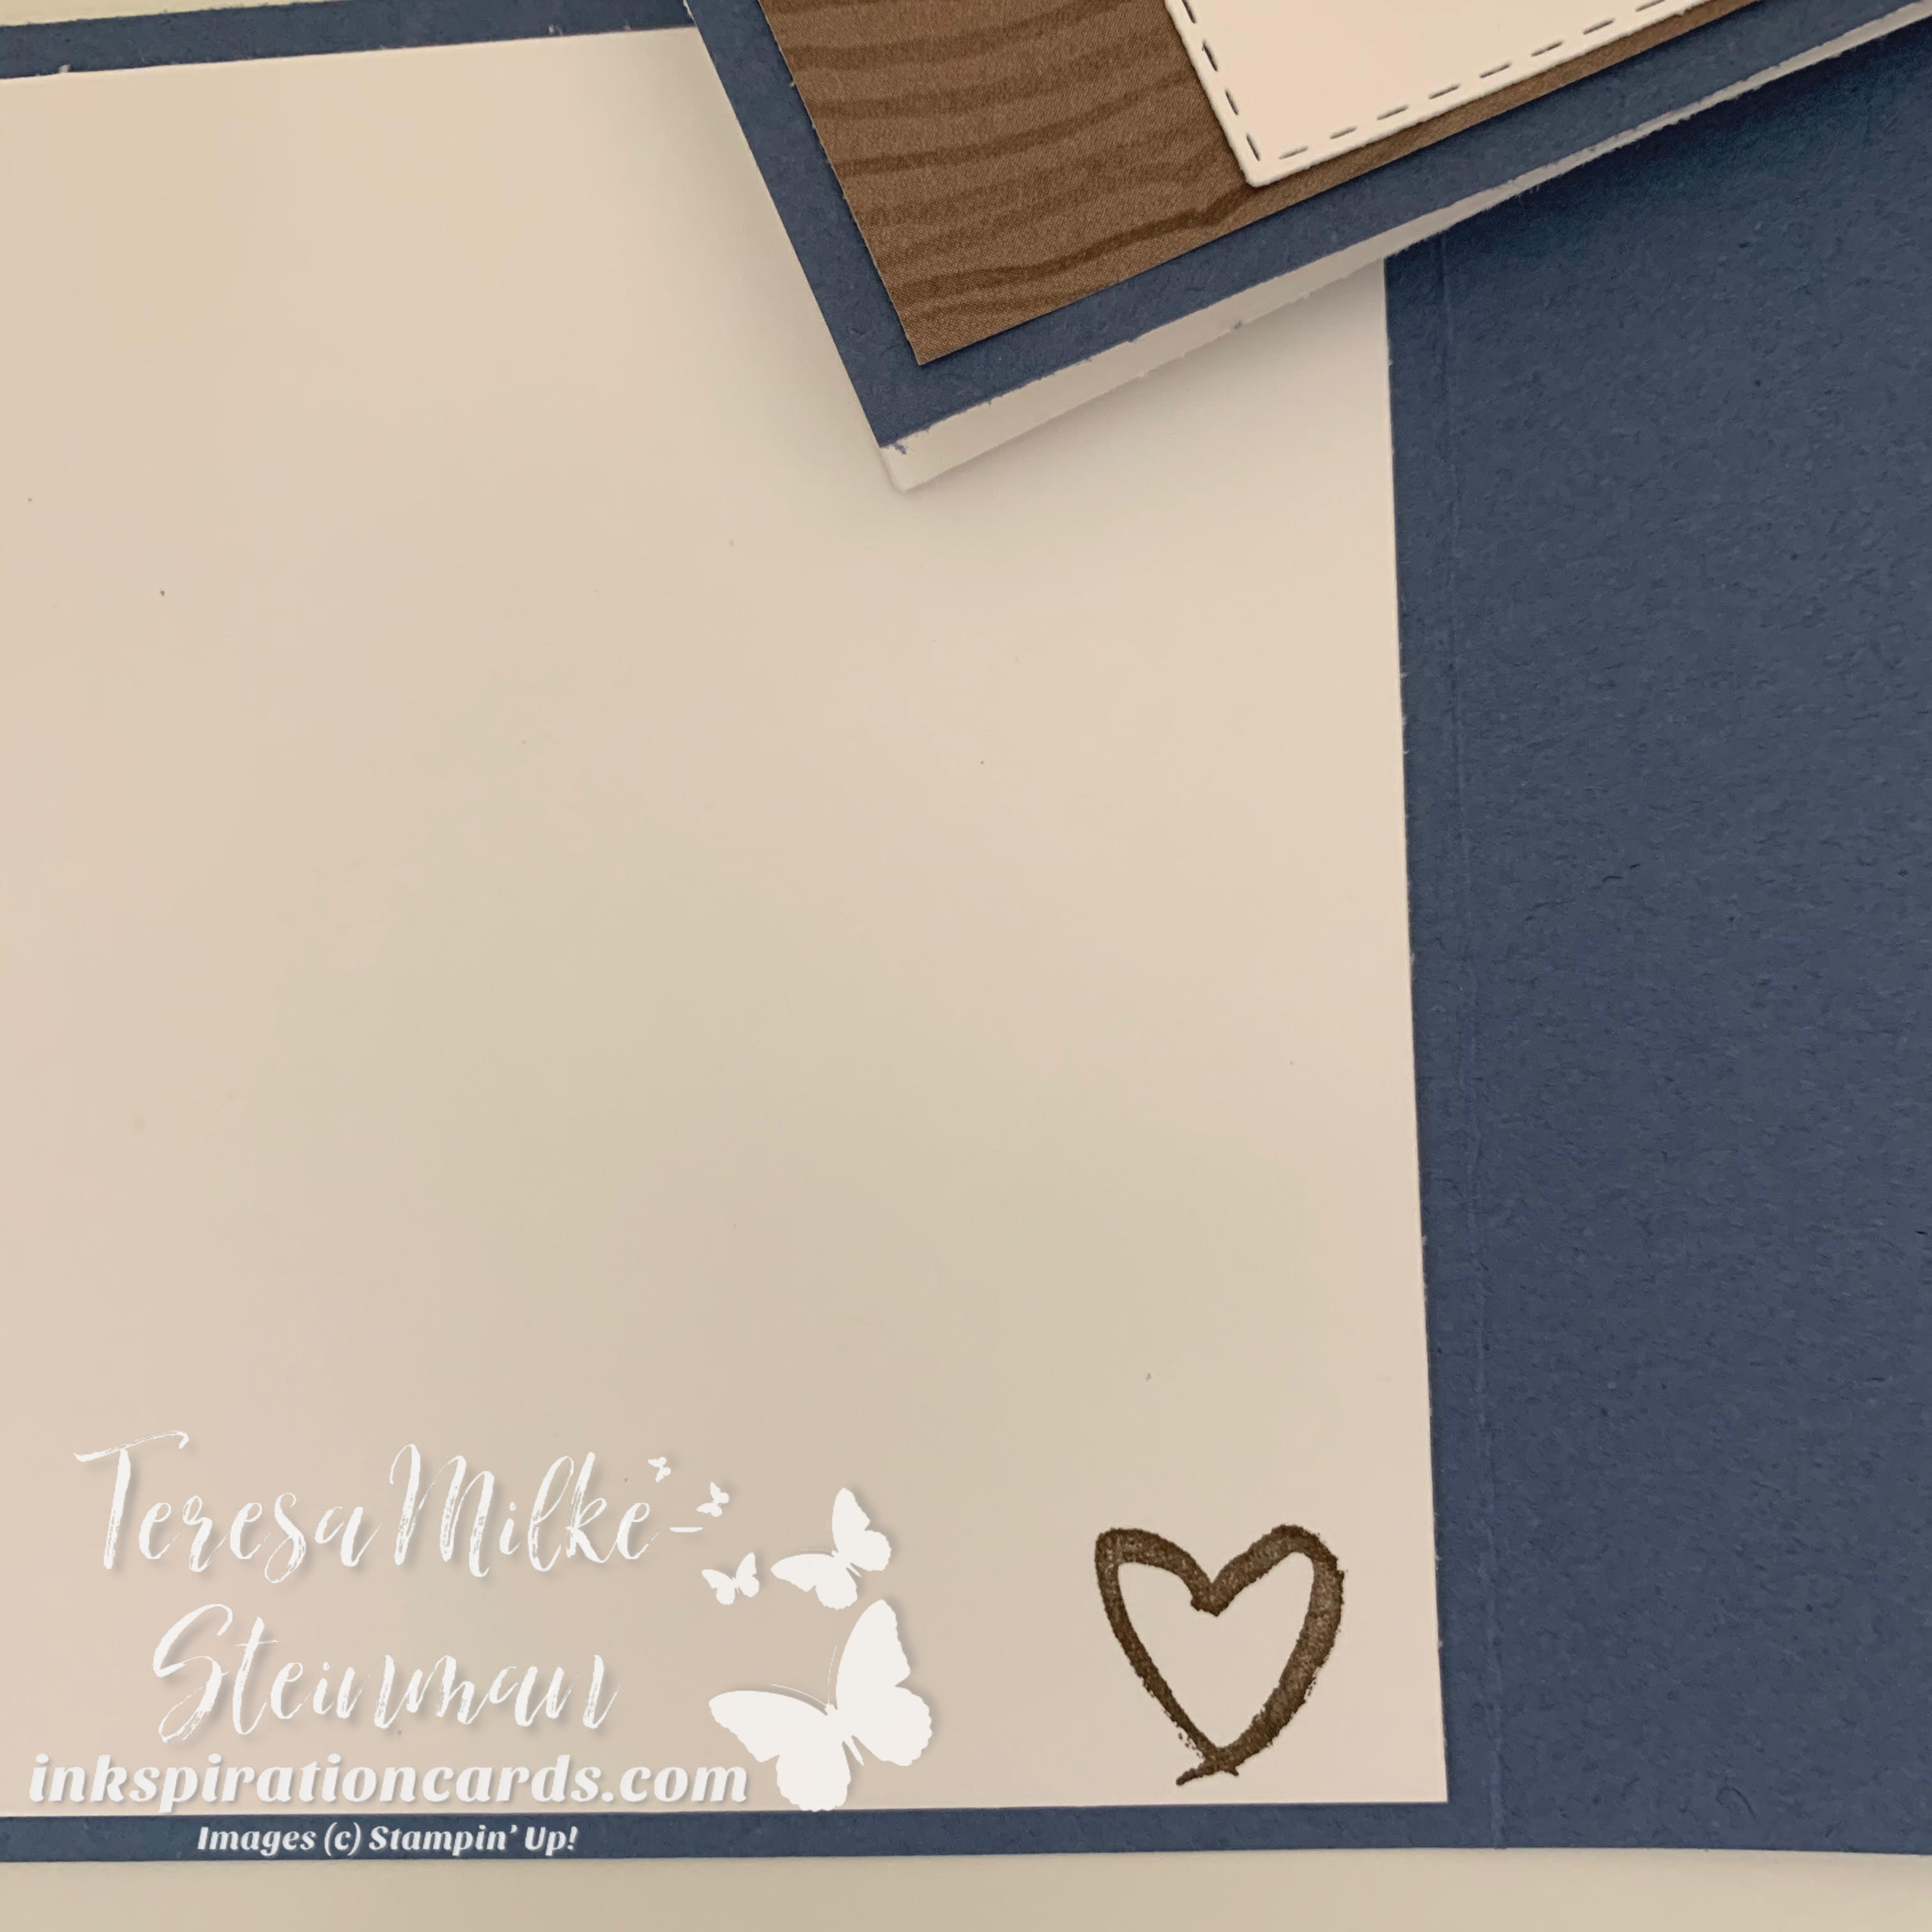
Sticking with the Father’s Day theme I chose the A Good Man stamp set. This set has some really nice images and phrases. It’s definitely going to be used alot over the next couple of weeks. For the inside I simply stamped the heart image using Early Espresso ink.

Slide and lock

For the outside of the card I used the image of a child on a man’s shoulders with Early Espresso ink. I also used the phrase “you’re the best” which I stamped in Misty Moonight ink. To cut each of these out I used one of the Stitched Rectangles dies and one from the Beautiful Trees dies. I debated about adding some Stampin’ Dimensionals to pop them up even more, but decided not to. I did want to add a little something more though so I added some Linen Thread.

Slide and lock

This is such a fun and easy card to make! Here’s my simple project sheet with measurement and instructions if you’d like to try this yourself.

And make sure to check out the next Slide and Lock card on the hop with Nadine Schweda!

Interactive Wiper Card

Fancy Folds Design Team

I’ve got another fancy fold for you guys! This month the Fancy Folds design team is making an Interactive Wiper card. I wasn’t quite sure how this card would go. Cards with moving parts aren’t exactly my thing. This video from France Martin, a demonstrator from France, was pretty helpful though.

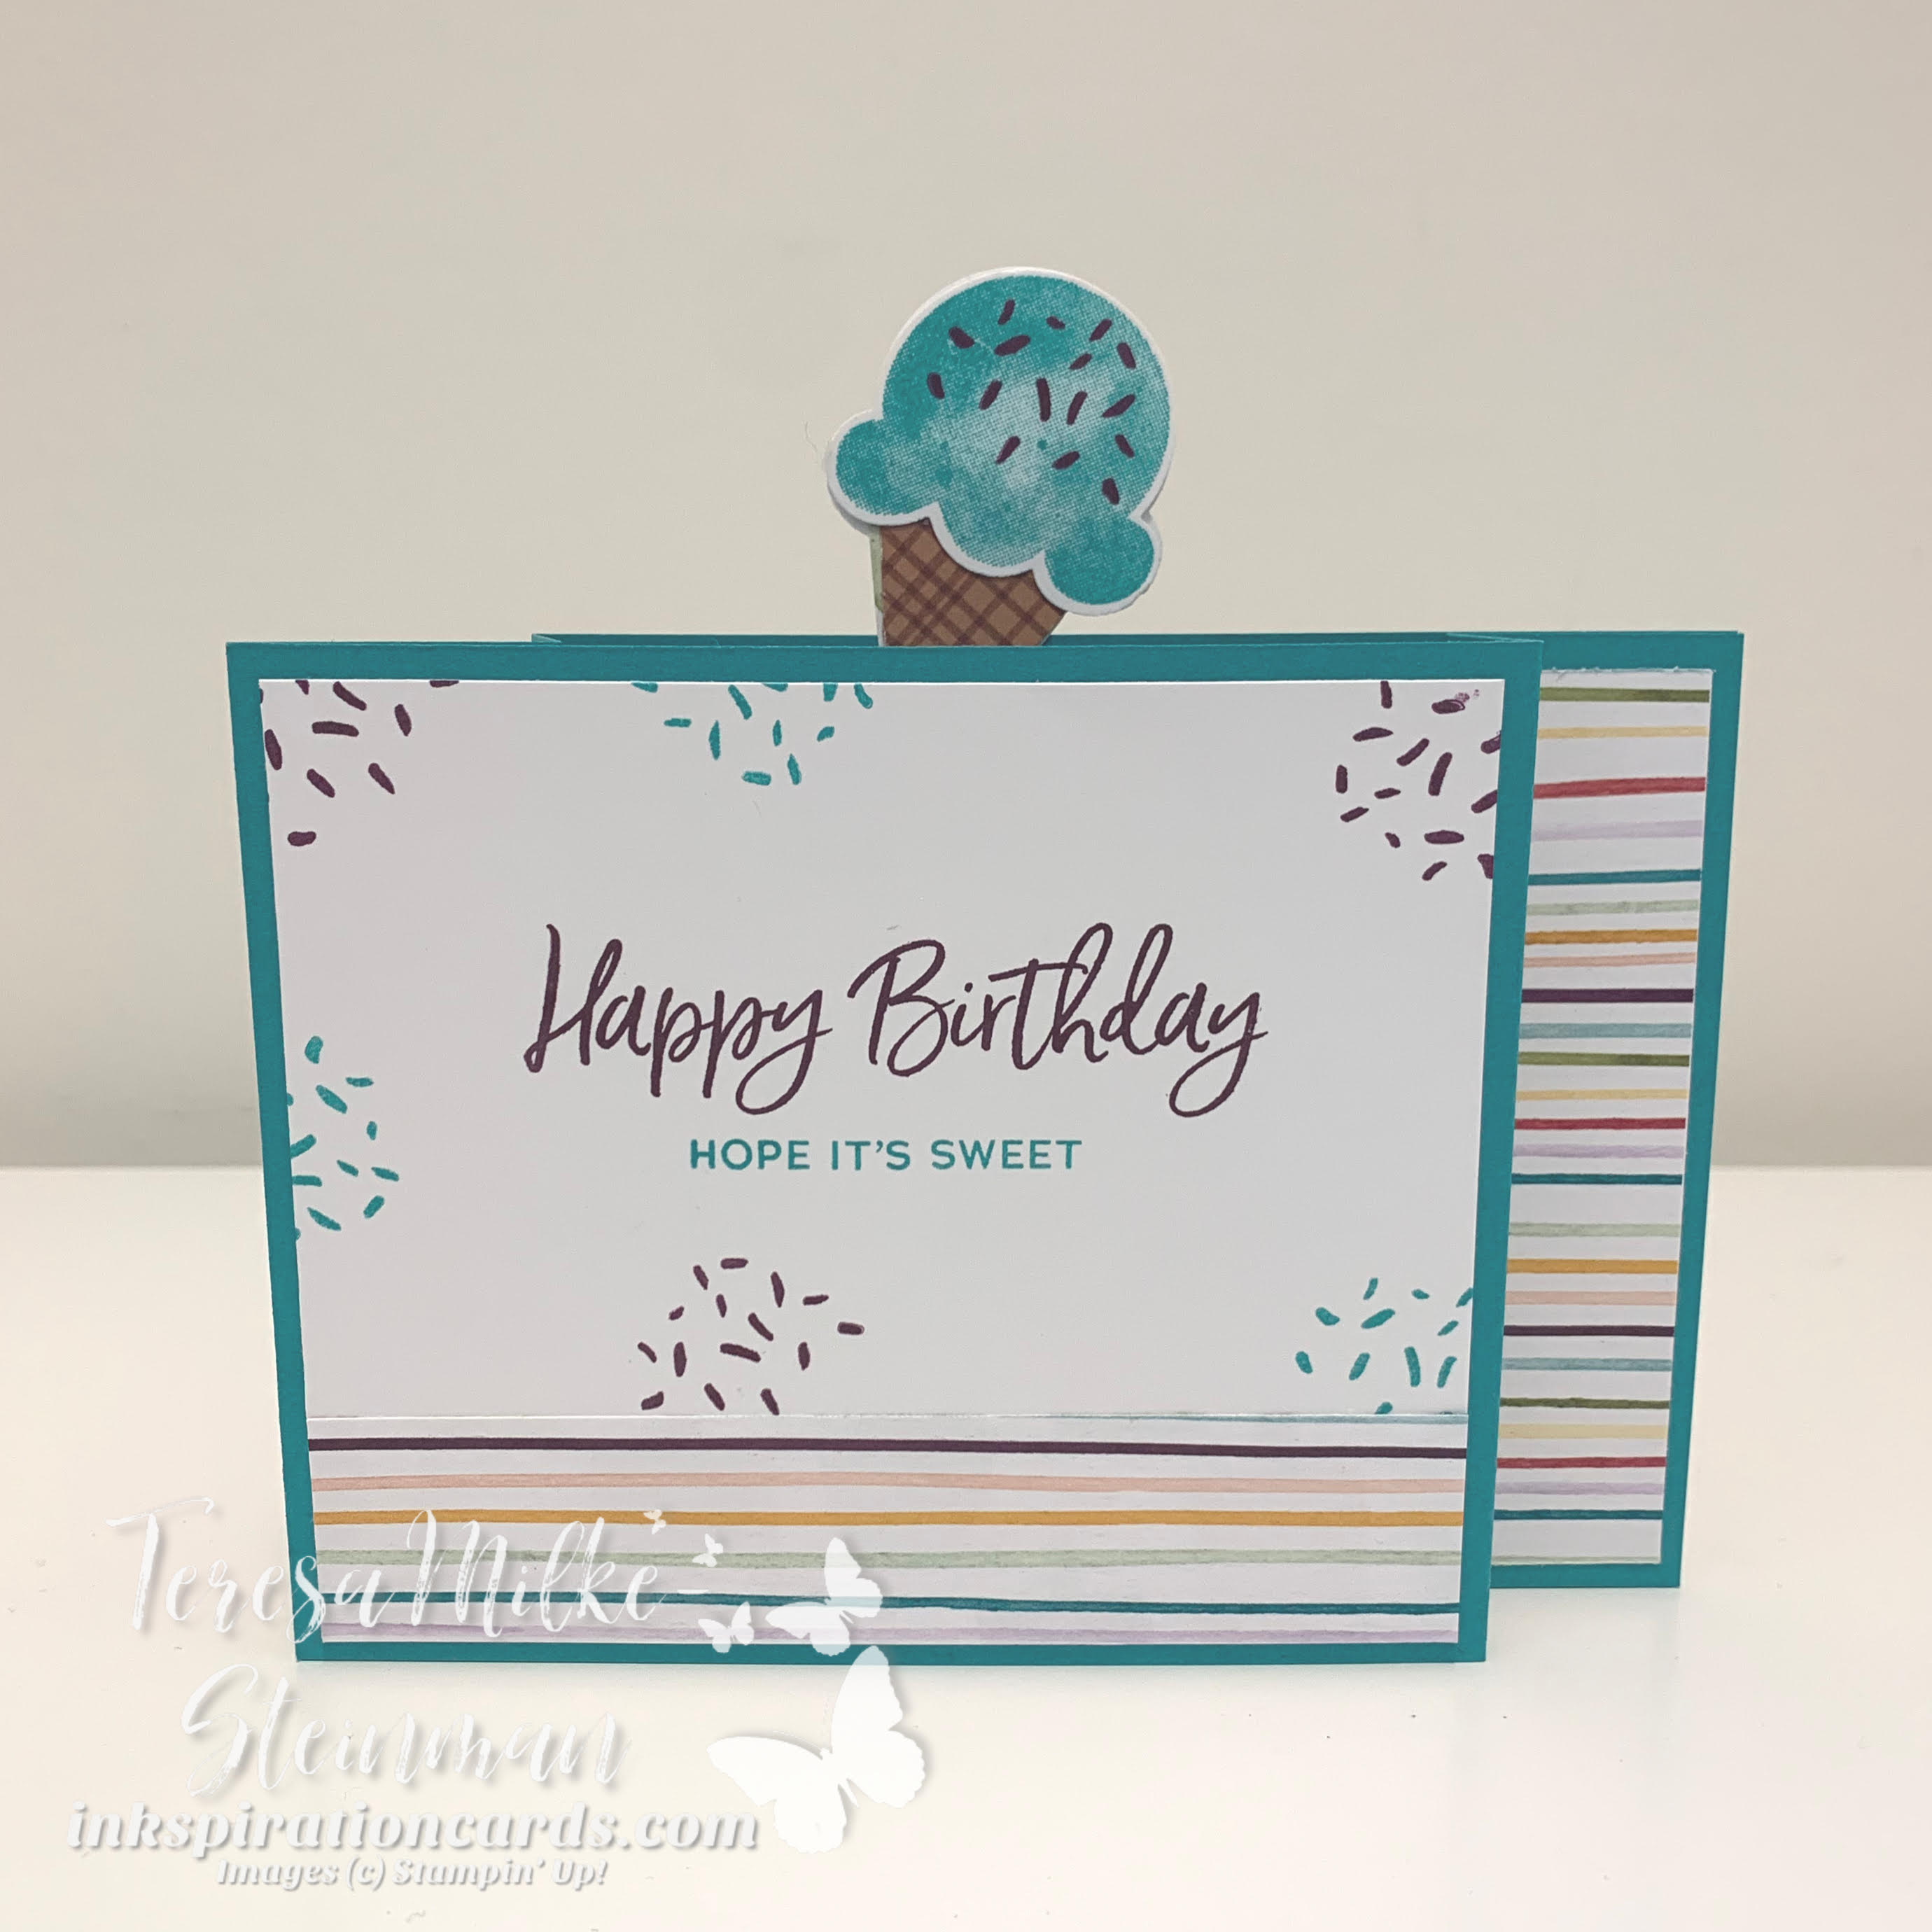
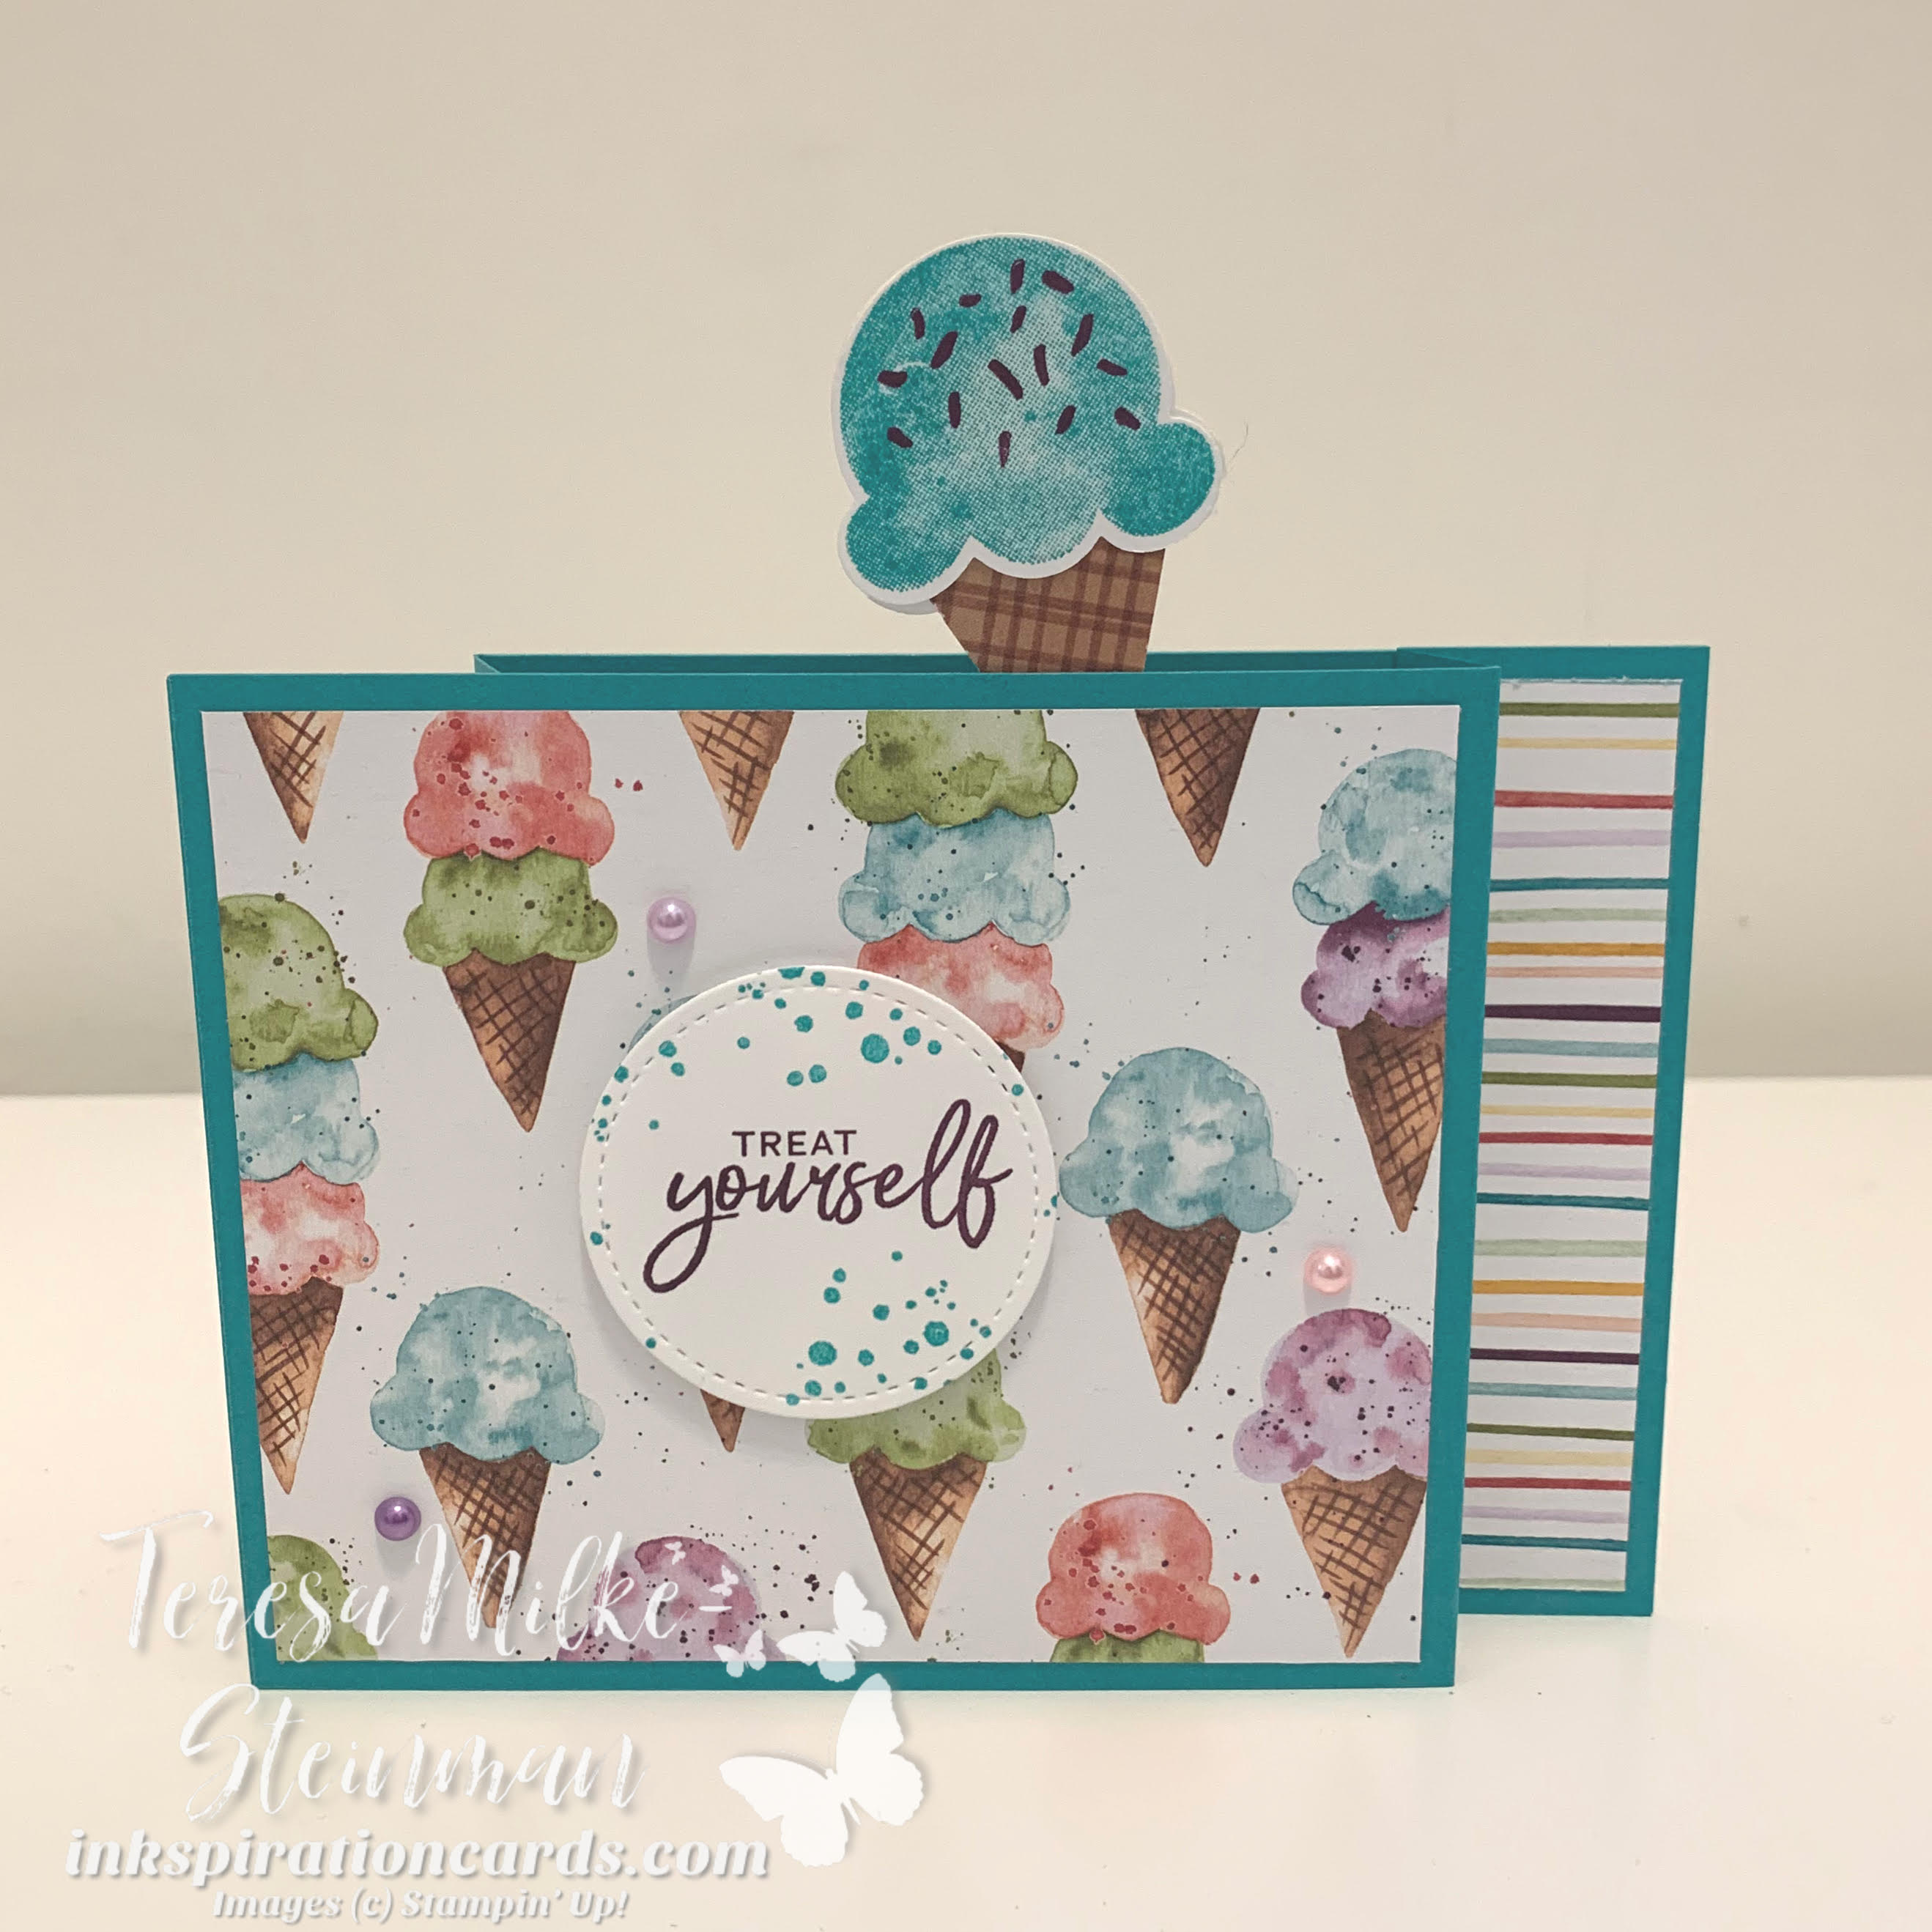
For my card I decided to use the Ice Cream Corner suite. I’ve been having a lot of fun crafting with this month’s Paper Pumpkin kit, So Cool, which coordinates with this suite. It’s such a bright and fun kit/suite and I thought those would be nice elements for this card. I started by looking at the colours from the Designer Series Paper and pulled my colour combination from there. Bermuda Bay for my card base and ink and Blackberry Bliss for my other ink colour. Even with that though I love the rainbow of colours from the different designs of DSP that I chose.

The phrases came from the Sweet Ice Cream stamp set. And I let the images from the DSP speak for themselves. Although of course I used a combination of DSP and the coordinating stamp set and punch for my pop up. The waffle DSP design made the cone super easy. And for the scoop I used Bermuda Bay for the ice cream and Blackberry Bliss for the sprinkles.

Interactive Wiper Card

It took a little bit of fidgeting to get the cone to pop up the way I wanted it too. But it worked out nicely! I also added a little something on the front. I stamped another phrase with Blackberry Bliss and some sprinkles with Bermuda Bay. Then cut it out with the Stitched Shapes dies. To finish it off I popped it up with some Stampin’ Dimensionals and added a few Pastel Pearls.

Interactive Wiper Card

This Interactive Wiper card was a fun one to make! Make sure to keep going on this month’s blog hop and check out Fiona Carson’s card here. And you can check out my card from last month’s blog hop here.

Pop Up Card

Fancy Fold Design Team

It’s time for another Fancy Folds Design Team blog hop! This month we’re making a Pop Up card. It’s a fun card that really does pop, lol. Here’s a video highlighting this card and make sure you grab my simple project sheet at the end of this post. And of course make sure to keep going on this month’s blog hop with the next link at the bottom.

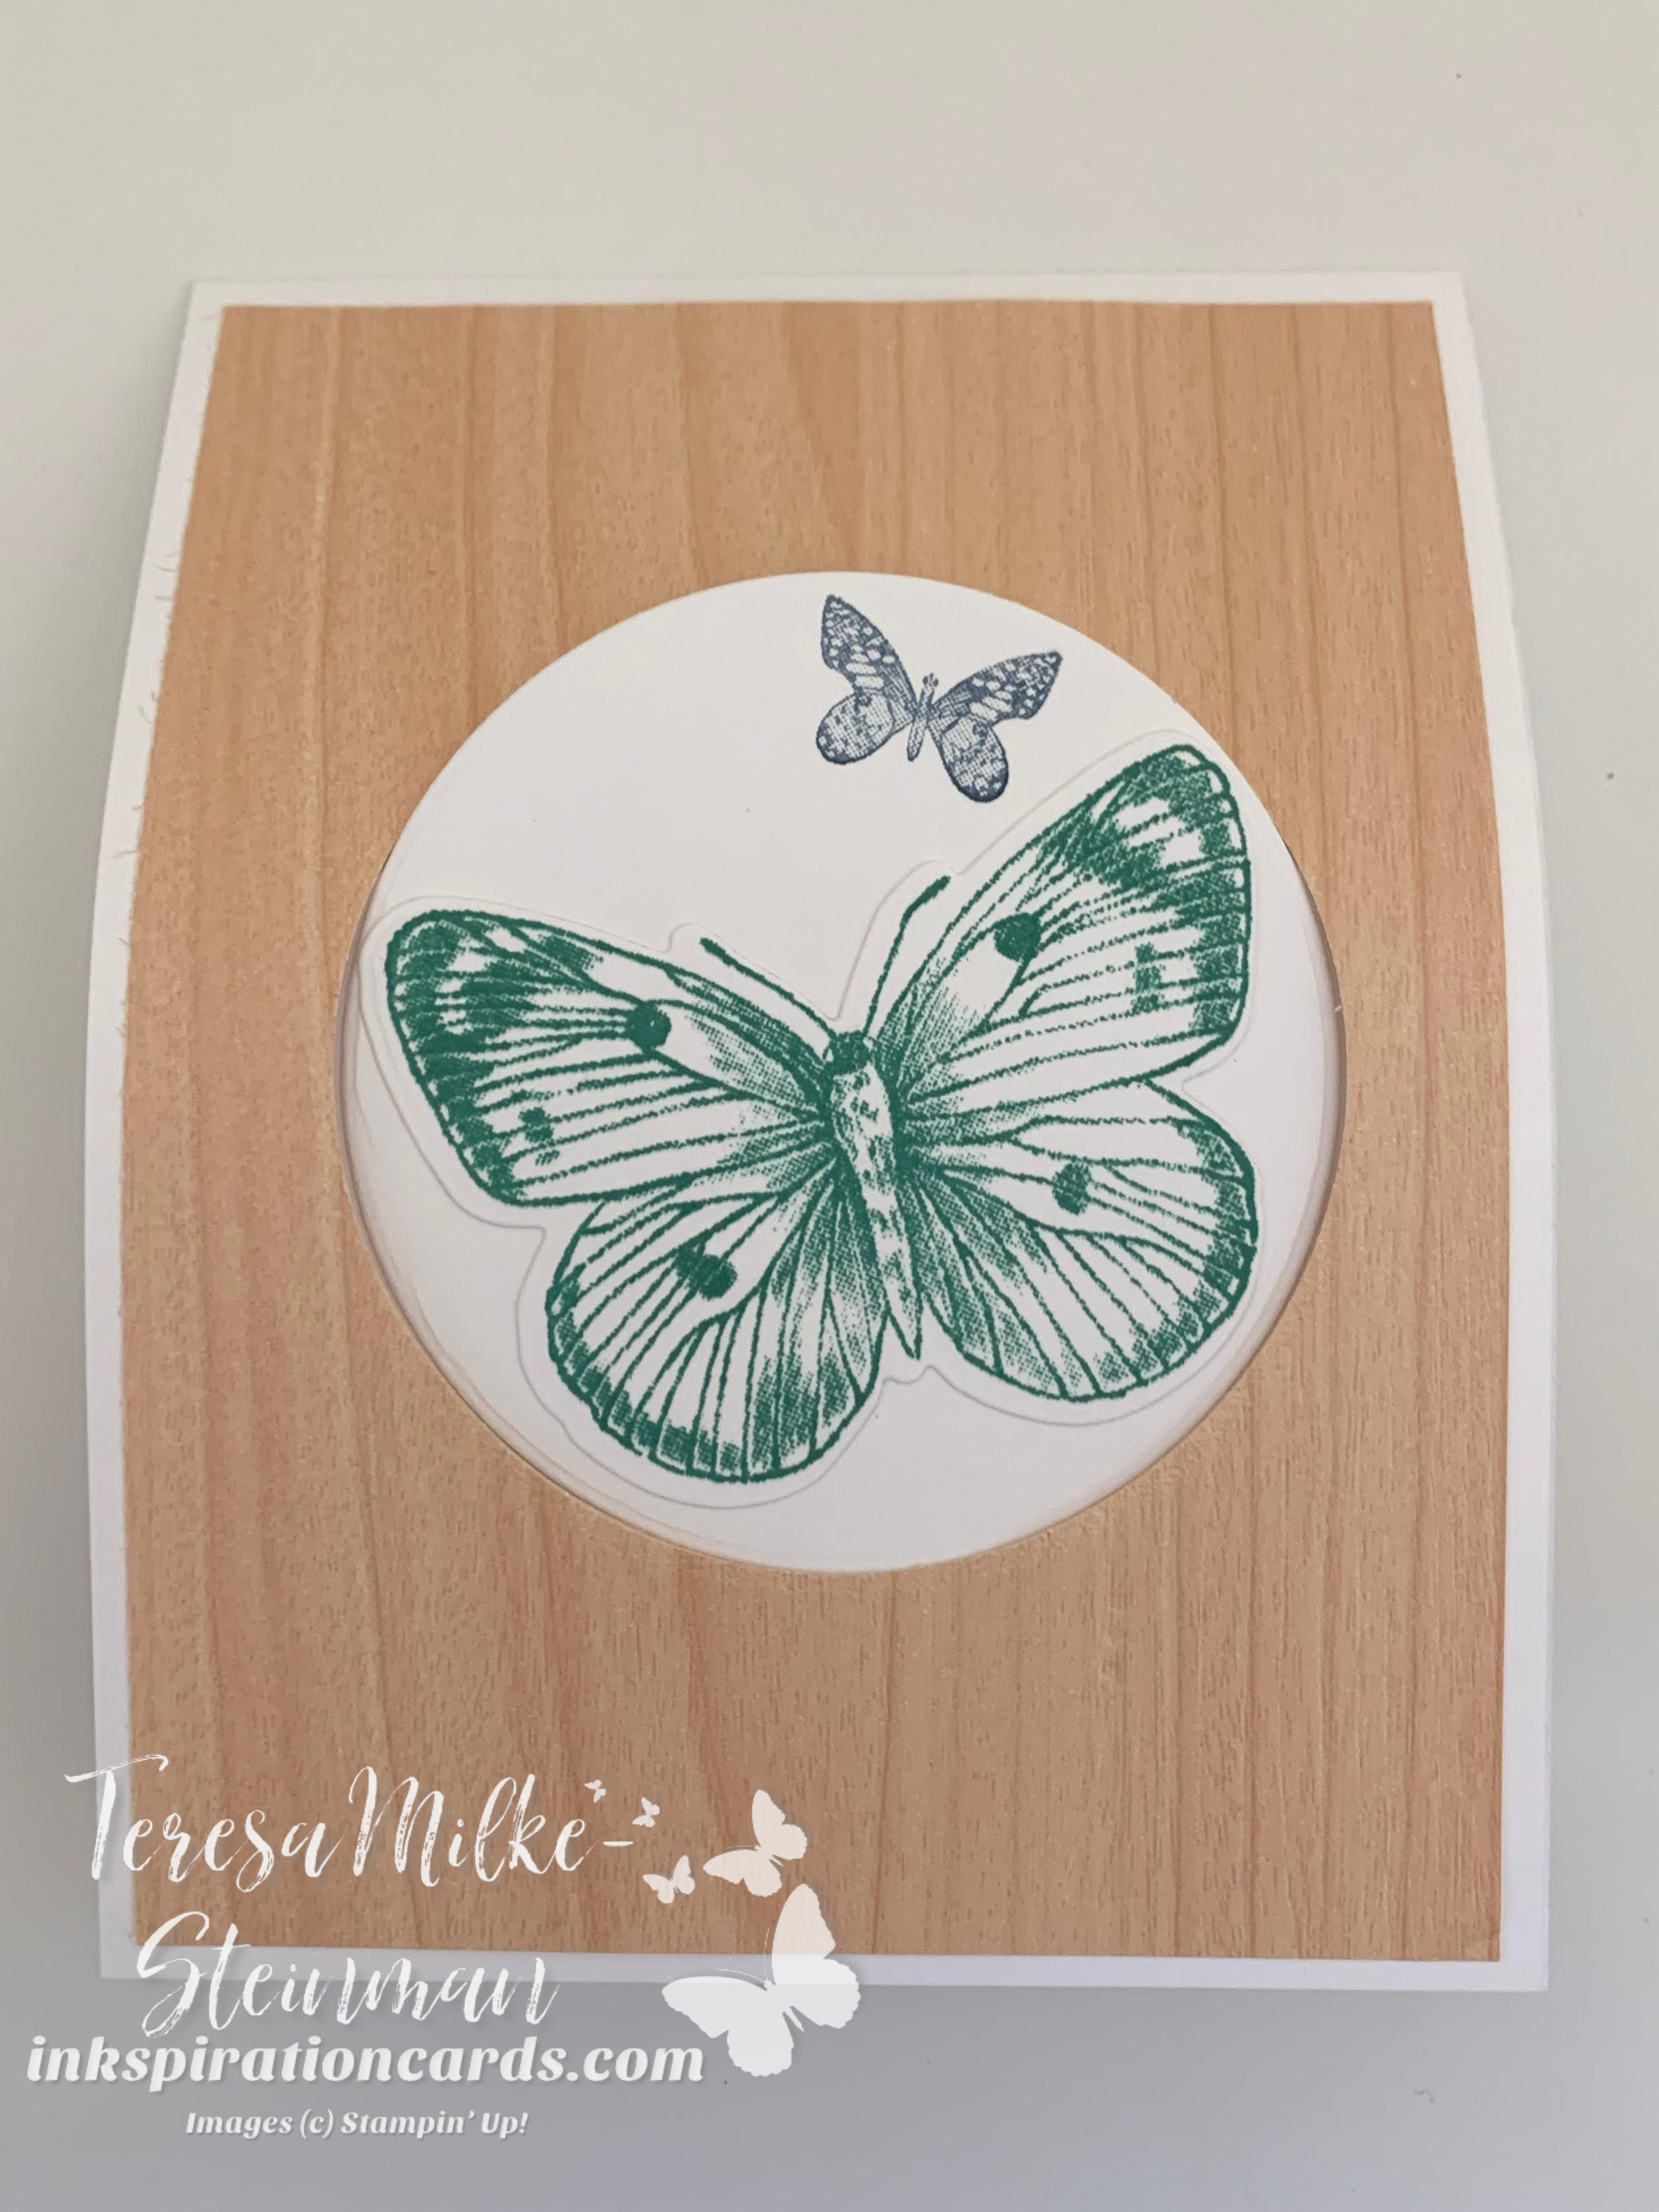
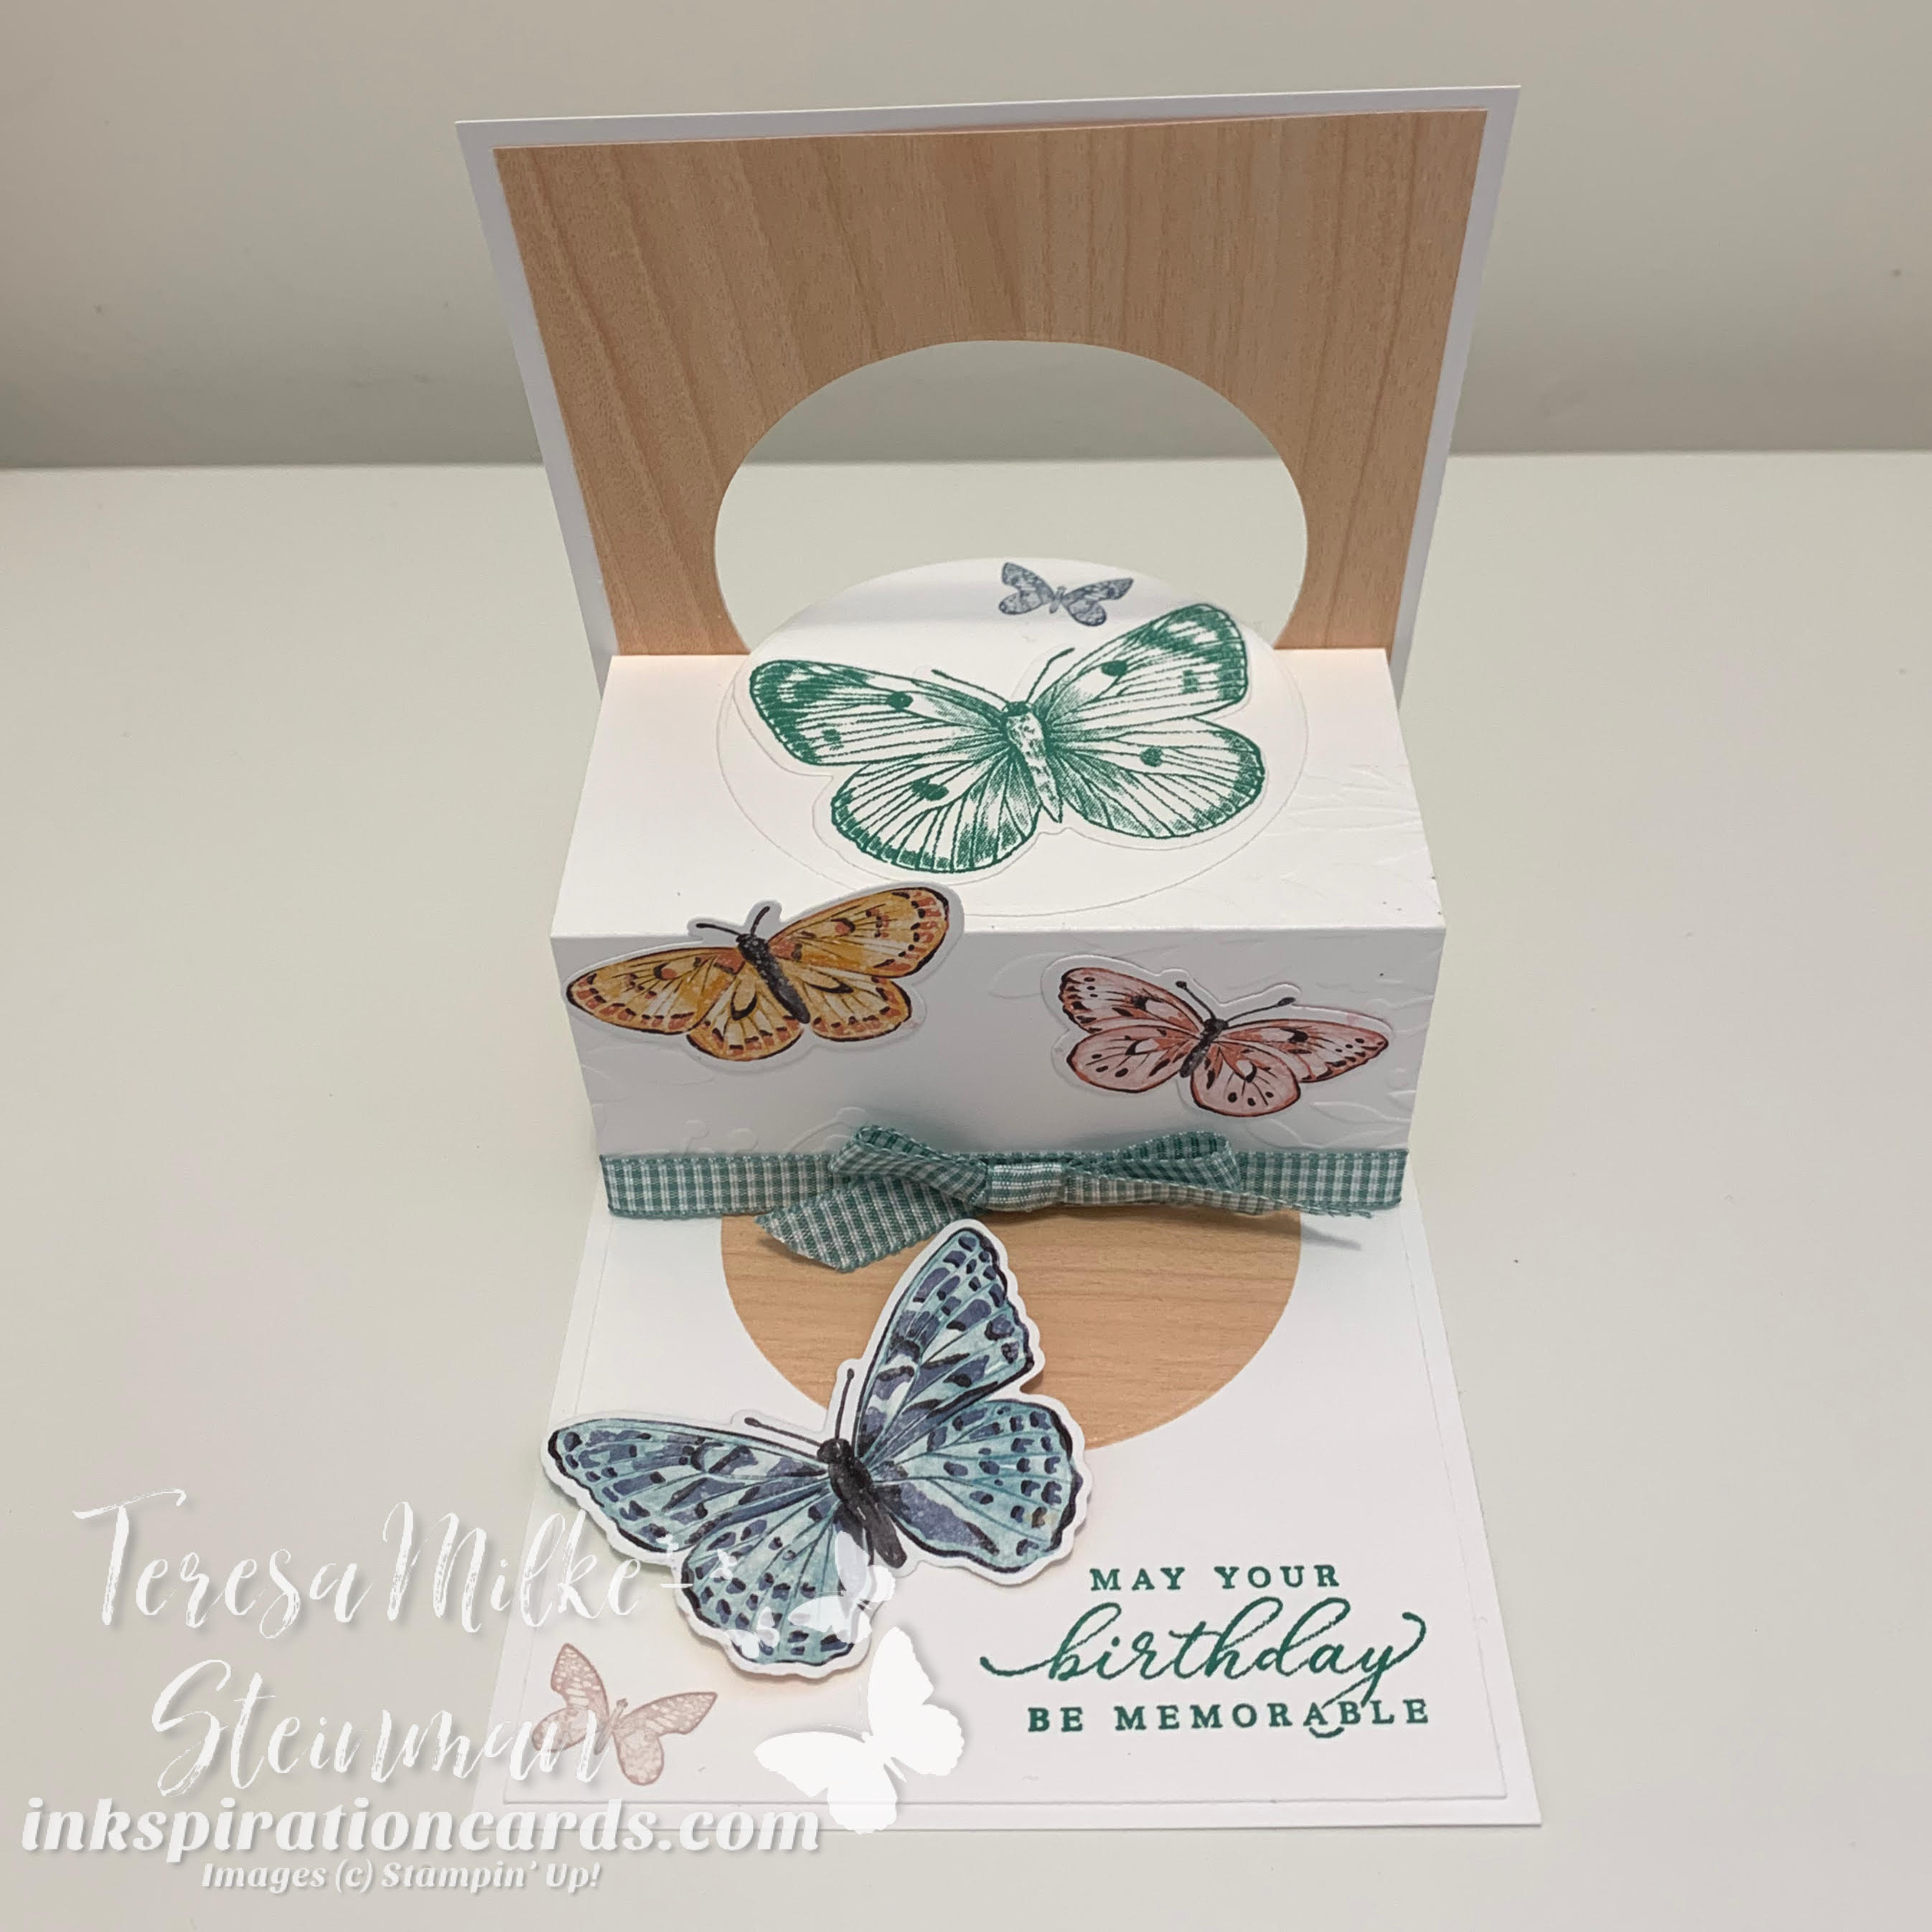
For my card design I just had to use the new Butterfly Bouquet! I’ve been loving crafting with these products. So keep checking back here for more projects. In the meantime, for this card I used it all. I used the stamp set, the dies AND both Designer Series Papers. So of course I used Basic White for my card base. That way it would help the colours pop even more.

I used the Natural Touch Specialty Paper to frame the outside and inside of my card. And then I used the dies to cut out some butterflies from one of the designs from the Butterfly Bijou 6×6 DSP pack. I just love how I don’t have to fussy cut the butterflies! I’ve done that before and while it could have been worse it was still a pain.

Pop Up Card

On the inside I embossed the Basic White “box” with one of the Greenery Embossing folders. I thought it fit nicely with the butterflies. I also stamped some butterflies using Just Jade ink. And then cut them out with the dies so I had a bunch to pick from for the card. Plus I knew that I wanted to used the Just Jade Gingham ribbon from the Flowers for Every Season combo pack. So it was a nice way to bring out that colour.

I didn’t pop up any of the butterflies or use any Rhinestone Basic Jewels. Instead I added some Wink of Sotella to a couple of the butterflies. I also stamped a couple of smaller butterflies from Butterfly Wishes in Misty Moonlight and Blushing Bride. And my phrase came from the Timeless Tropical stamp set.

Pop Up Card

This was such a fun card to make! Make sure to grab my simple project sheet with measurements and instructions.

And be sure to keep going with the Pop Up card for this month’s Fancy Folds Design Team blog hop. Aude Barbara’s post is next right here!

Fancy Folds Design Team Blog Hop