Shaded Gatefold Card

Fancy Folds Design Team

It’s time for the last Fancy Folds Design team blog hop of 2022! I really enjoy these hops and can’t wait to make even more fun and fancy folds next year! For this month’s hop we’re making a Shaded Gatefold Card. This one works out to be a different size than my usual cards, so I’ll just have to make a special envelope for it with some pretty patterned paper. Jan B, a demonstrator from the UK, has a great video to help you through all the steps. I highly suggest taking it slow once you’ve scored and folded the card base. The folding in of it took me a couple of tries. You can find her video here.

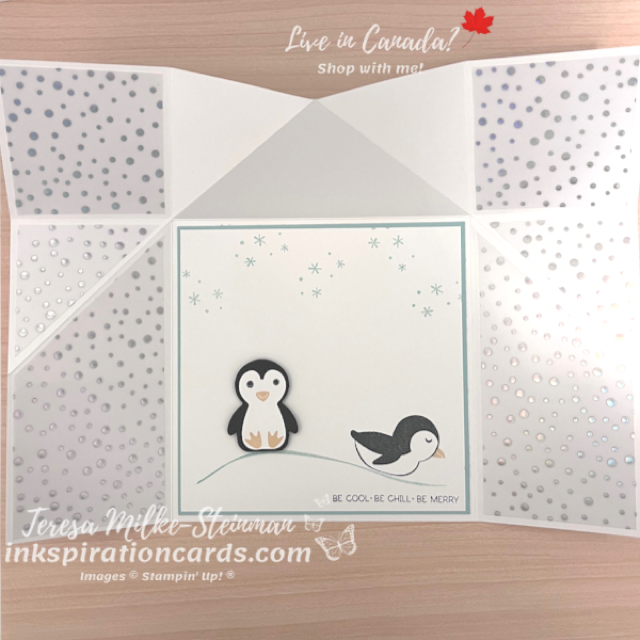
For my card design I stuck with a Basic White card base. Keeps it simple and helps with the snowy winter theme. I wanted to create a cute little scene inside the card using the Penguin Place bundle. The snowflakes and hill are stamped with Pool Party ink. And for the penguins I used Tuxedo Black Memento ink and Pale Papaya. The coordinating punch makes it really easy to create more friends. These penguins are super cute! I’m sad to see these guys retiring.

To go with my penguin friends I used the Snowflake Specialty Vellum. And on the outside I used some of the snowflakes from the Joyful Flurry stamp set. To adhere the vellum I was very strategic with my Multi-Purpose Liquid Glue. I definitely didn’t want any glue peeking out from behind these iridescent dots!
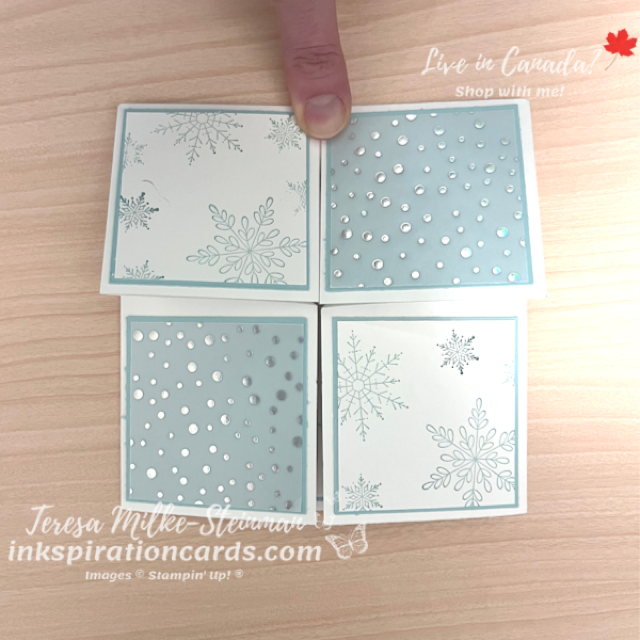
The Shaded Gatefold card was definitely a fun one to make! My littlest munchkin is already asking me if he can have it, lol!

Keep hopping to see the other’s designs! Up next is Mette Nordling Shaw. You can see her design here.

You can also check out last month’s hop where we made a Dual Pop-Up card.
Christmas #SimpleStamping

November is here and there’s only 6 1/2 weeks until Christmas! Can you believe it?! I’m finally taking the full deep dive into my holiday crafting. I’d like to try and get my holiday cards out at the beginning of December this year. Fingers crossed! So when I saw this month’s #SimpleStamping challenge from Stampin’ Up! I was all in! This month the challenge is to do some Christmas #SimpleStamping, or something for the New Year. And this time we can add some embellishments to the usual stamps, ink and paper.

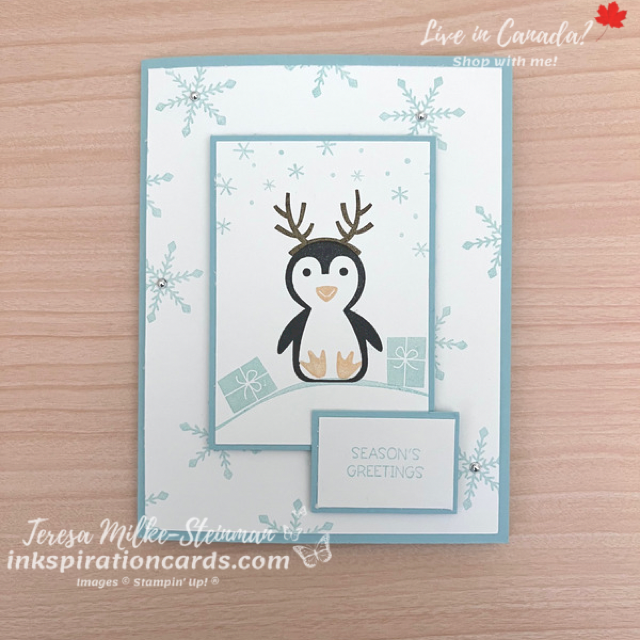
I haven’t done any crafting with the Penguin Place stamp set in a while so I decided to use that as my main stamp set. And to keep with the christmas/winter theme I’m using Pool Party as my main colour. The snowflakes I stamped in the background come from the Spruced Up stamp set. And I used Tuxedo Black Memento ink, Pale Papaya, Soft Suede and Pool Party to create the scene in the centre.

I framed the scene with a bit of Pool Party cardstock. Then popped up the scene with some Stampin’ Dimensionals and layered the phrase on top. The phrase comes from the Penguin Place stamp set. Then to finish it off I added a few of the silver Festive Pearls to the centres of the snowflakes in the background. I love this pack of pearls!

Christmas #SimpleStamping

Check out my Facebook live where I crafted this Christmas #SimpleStamping card here. I do live crafting there every Monday night, so be sure to like my page while you’re there so you don’t miss out!

And you can check out last month’s #SimpleStamping challenge here.

Floating Element Technique

I found a new technique recently and I’m excited to share it with you! It’s the floating element technique. So basically you make certain elements of your card look like they’re floating. This one I’m sharing today is a great one to use when you don’t know what to do with your scraps of Designer Series Paper. So I’m using some of the scraps from my Sale-a-bration Silver & Gold DSP.

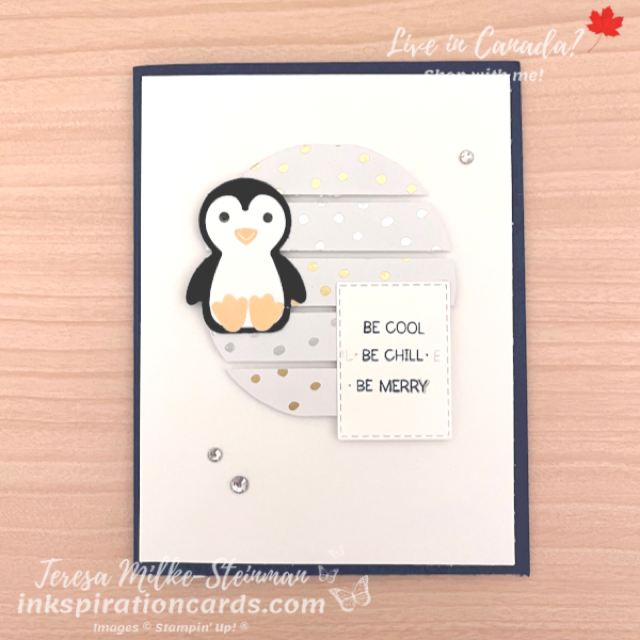
To go with the Silver & Gold DSP I’m using a Night of Navy card base. For the image and phrase I’m using the Penguin Place bundle. I love these penguins! They’re super cute! And this time I decided to make a penguin using the Penguin Builder Punch. The cardstock I used for the penguin is, of course, Basic Black and Basic White. For the feet I used Pale Papaya. I just love this colour for my penguins. Then for the face I used Tuxedo Black Memento ink for the eyes and Pale Papaya for the beak.

Behind my penguin are my scraps of Silver & Gold DSP. To create this effect I started by lining up all my scraps, alternating between silver and gold. Then I made the circle using one of the Layering Circles dies. Once I had my circle, I added it to my Basic White card front using Stampin’ Dimensionals making sure to leave a little bit of a gap between each strip.

From here I layered my penguin and phrase on top. I stamped the phrase using Night of Navy ink and used some scrap paper to layer the words on top of each other instead of leaving them in a straight line. Then I used the smallest Stitched Rectangles die to cut it out. To finish it off I added a few Rhinestone Basic Jewels.

Floating Element Technique

Super cute right! I love the floating element technique and definitely be making more like this!

Don’t forget that tomorrow is the last day of Sale-a-bration! After August 31st the Silver & Gold DSP won’t be available, along with the other great free and exclusive products. Head over to my online shop before they’re gone! And you can check out one of the other projects I made using the Hippest Hippos which are also from the Sale-a-bration catalogue here.

Curvy Pop-Up Card

Fancy Folds Design Team

This month the Fancy Folds Design Team is making a Curvy Pop-Up card. I saw this fun fold a while ago and am glad to finally get the chance to make one of my own. This is such a cute card and I love that it’s so easy to make! To make your own, check out the video I shared on my YouTube channel here. In that version I used the Penguin Place bundle from the July-December Mini and the Silver & Gold Designer Series Paper from the Sale-a-bration catalogues. It includes the measurements and you can follow along with me step by step.

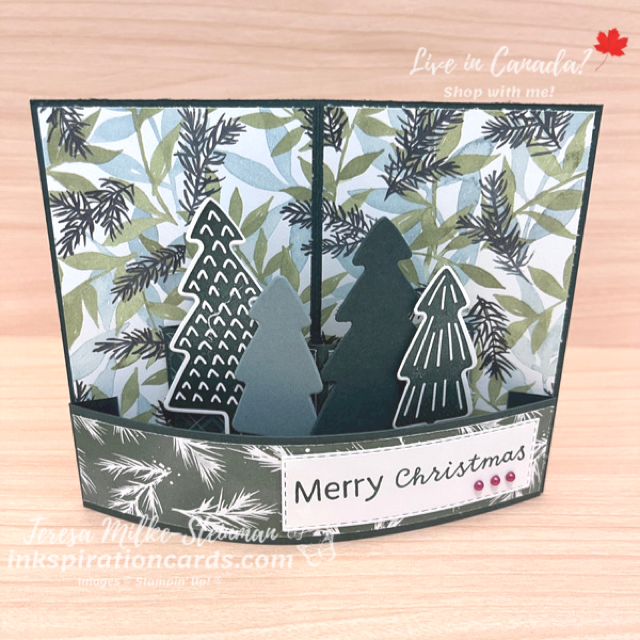
In my first version I used the All Spruced Up bundle. It’s such a fun set of stamps and dies to craft with! Then to keep with the Christmas theme I decided to use the Painted Christmas Designer Series Paper. It’s so pretty and I used it to choose my colour combination for the card. I used Evening Evergreen as the main colour with a splash of Soft Succulent.

For the pop-up in the centre I used a combination of stamped images that I cut out using the coordinating dies along with some simple cardstock cut outs. The larger ones in the back I added using Stampin’ SEAL and the smaller ones with Stampin’ Dimensionals.

The phrase I cut out using the Stitched Rectangles dies. Then added a few of the Festive Pearls to add a bit of bling. You can also add a little bit of Wink of Stella Glitterbrush to the die cut trees if you want a little more. To have somewhere to add a note, just add some Basic White cardstock on the back.

Such a cute fun fold card right?! Make sure to keep hopping around the world. Up next is the Curvy Pop-Up card from Mette Nordling-Shaw. Check that out here.

And check out last month’s hop here, where we made a Mirror Fold card.

#SimpleStamping Birthday Card

For this month’s #SimpleStamping challenge Stampin’ Up! is looking for a #SimpleStamping birthday card using stamps, ink, paper and a Sale-a-bration item. I’ve been having a lot of fun crafting with some of the Sale-a-bration products so I’m excited for this challenge. Especially since it gives me the chance to use these super cute hippos again! Check out one of my other cards using the Hippest Hippos here.

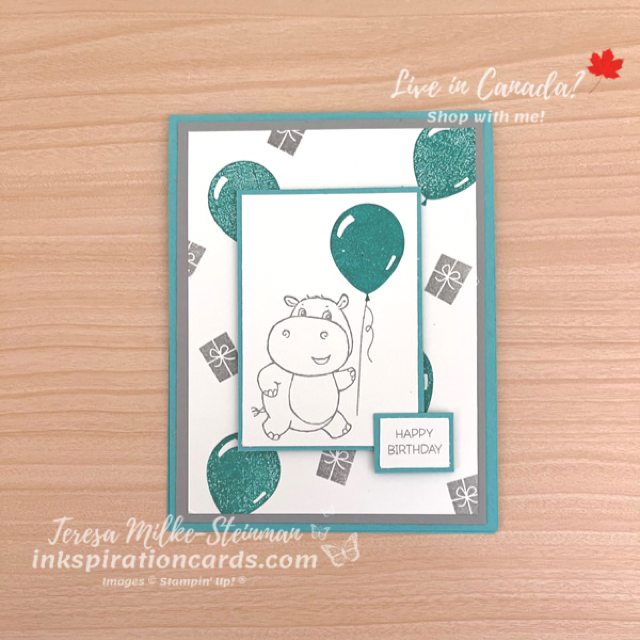
For this card I’m using a nice bright colour for my card base, Coastal Cabana. And Smoky Slate for my hippos. Then to make this a birthday card I’m pairing the Hippest Hippos from the Sale-a-bration catalogue with the Penguin Place stamp set from the July-December Mini catalogue.

I wanted the hippo to be the main focus for the card so I framed it with some more Coastal Cabana cardstock and popped it up with some Stampin’ Dimensionals. The “happy birthday” is also framed and popped up. Behind these I stamped a nice simple background. I used Coastal Cabana for the balloons and Smoky Slate for the presents.

#SimpleStamping Birthday Card

Both these stamp sets are super cute! And I love how they worked together to create this #SimpleStamping birthday card.

To step this card up you can add some Wink of Stella Glitterbrush to one or more of the balloons. And you could colour in the hippos using Stampin’ Blends or Watercolour pencils. Adding some bling is another easy way to step this card up and there are so many options to choose from.

Check out the Hippest Hippos and the other Sale-a-bration products over in my online shop. Sale-a-bration ends on August 31st, but don’t wait til then to put in your order things are already starting to sell out!

Fun Fold Card

I saw a post from Jo Blackman a couple of weeks ago showing this cute fun fold card and I knew that I wanted to give it a try. My first thought was to use the Penguin Place stamp set for my design. For the other design that I used for my YouTube channel, I picked the Sale-a-bration stamp set Hippest Hippos. Check out my video here.

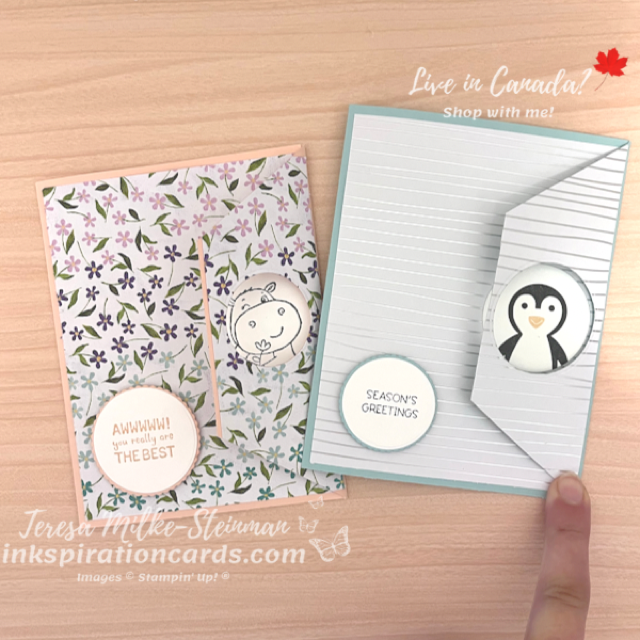
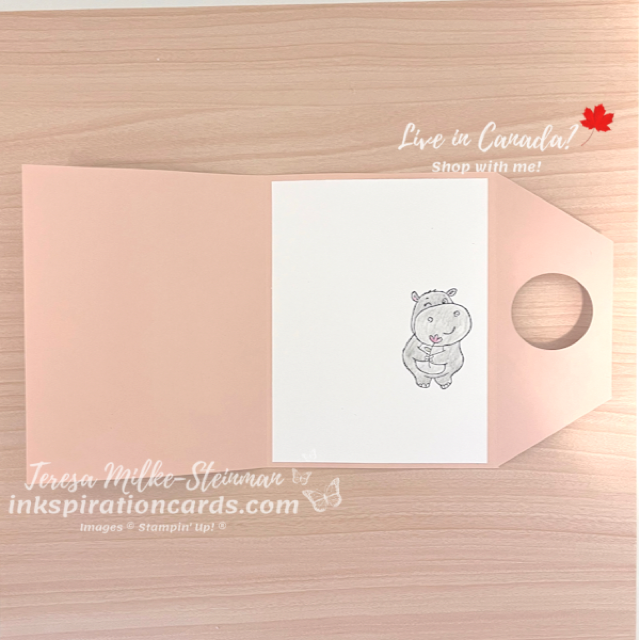
From here I needed to pick the Designer Series Paper I was using so I could get my colour combination. For the Penguin Place card design I paired it with the Sale-a-bration Silver & Gold Designer Series Paper, so I used a Pool Party card base. And for the Hippest Hippos card I used one of the designs from the Hues of Happiness pack of Designer Series Paper with a Petal Pink card base. This piece of patterned paper also helped me pick the hippo for my card!

On the inside of the card I stamped the full versions of my cute critters. Adding some of the cute accessories for my penguin and the Watercolour Pencils to colour my hippo. My critters and phrases were all die cut using the Layering Circles dies, even the scalloped cardstock. Then I popped up the framed phrases using Stampin’ Dimensionals. But my plain critters I kept on the same level as the DSP.

Fun Fold Card

I kept the outside of the cards simple. If you want you can add some Rhinestone Basic Jewels or Brushed Brass Butterflies. That would add a little something more to this fun fold card.

Fun Fold Card

You can check out another of my recent fun fold cards here. Each month I join the Fancy Folds Design team for a blog hop and earlier this month we made a Mirror Fold card.