Faux Wood Paneling Card

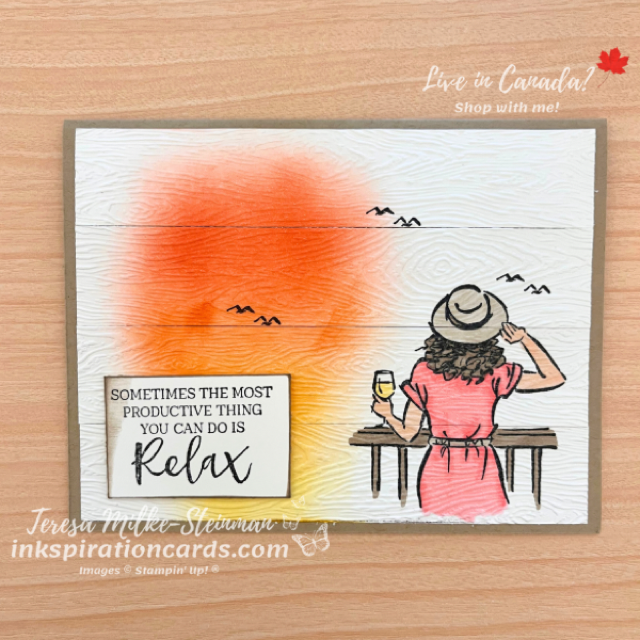
The idea for this card came from a picture I saw of a home decor project. I really liked how they had an image on what looked like wood panels and thought it would make for a pretty cool card design. I’m calling it the Faux Wood Paneling card for obvious reasons. If you can think of another name, or if there is already a name, let me know. I’d love to hear it!

I wish I still had some of the recently retired Sahara Sand cardstock. It would have looked really nice! Crumb Cake is too dark and so I’m using Basic White. The softer colour of Very Vanilla would maybe work even better for this card design. I did use Crumb Cake for my card base though.

The biggest tip for this design is to do ALL your stamping, colouring, etc. first. Embossing first would make it alot harder to get nice even colour. I stamped one of the images from the In the Moment stamp set using Tuxedo Black Memento ink. Then I stamped the birds from that same image a couple more times. To avoid getting any unwanted leftover ink on your cardstock, make sure to use a scrap piece of paper or cardstock to cover the rest of the image.

To create the sunset I used my Blending Brushes along with 3 different colours. I started at the bottom of the cardstock with Crushed Curry. Then I used Flirty Flamingo and finally Calypso Coral. These 3 colours go really well together and blend well too!

Next I coloured the image with Stampin’ Blends. I used Dark Crumb Cake for the railing, the band on the hat and the hair. Then Light Crumb Cake on the hat and belt. For the dress I used both the Light and Dark Flirty Flamingo Stampin’ Blends. And for the wine I used Light Daffodil Delight. If you’re more of a red wine person Merry Merlot would work well.

Once that was done I embossed it with the Timber 3D embossing folder and cut it into 1″ strips. To finish it off I stamped a phrase from the same stamp set with Memento ink and then added some Crumb Cake ink around the edges. Then I popped it up with some Stampin’ Dimensionals.
Faux Wood Paneling Card

This Faux Wood Paneling card was fun to make! I don’t think I’ve used so many different techniques on one card before.

Check out another card I made using the In the Moment stamp set here. And you can find this stamp set along with everything else you need in my online shop!
Colouring with Circle Sayings

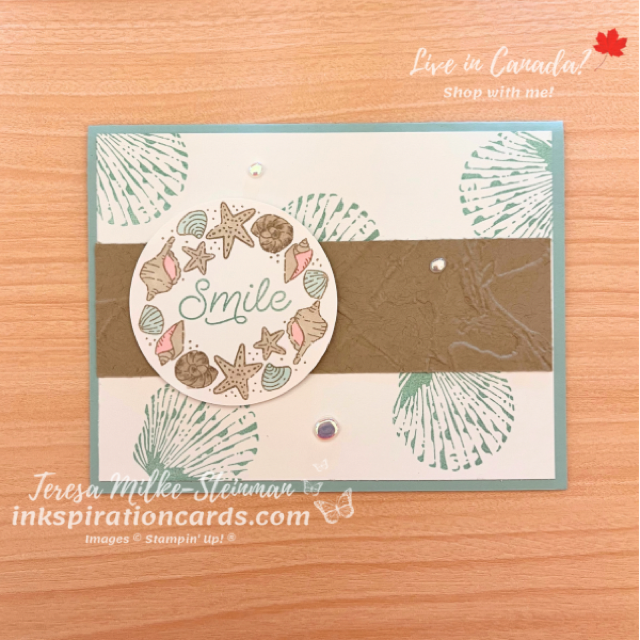
With all the hustle of working mom life I don’t colour as often as I’d like to. It’s definitely been way too long since I did some colouring for a project. And one of the reasons I love the Circle Sayings bundle is because the images are great for colouring. So this week I decided to finally get around to some colouring with Circle Sayings. And since it’s still July I’m going with a summer themed card.

So that’s where I started with my design. With the seashell image as my jumping off point, I went with Pool Party and Crumb Cake as my colour combination. I just love these colours for a summer/beach themed card. So I have Pool Party for my card base and then I added a strip of Crumb Cake across the centre. But not before I embossed it with the 3D Painted Texture embossing folder.

Behind the strip of embossed Crumb Cake cardstock are a few seashells. These ones are from the Season of Chic stamp set. Then on top of these layers I have my little seashells from Circle Sayings. I stamped it twice with Crumb Cake ink to create a ring. Usually when I’m colouring with my Stampin’ Blends I stamp with Tuxedo Black Memento ink. Fortunately it worked out for me. I used mostly the light Crumb Cake blend. But there’s also some light Pool Party, light Petal Pink and a little bit of the dark Crumb Cake.

Once that dried I punched it out and popped it up with some Stampin’ Dimensionals. Then to finish it off I added a few of the Flat Adhesive Backed Pearls.

Colouring with Circle Sayings

I definitely need to do some more colouring with Circle Sayings! Maybe next time I’ll use the Watercolour Pencils.

Check out another card I made using the Circle Sayings bundle here. And you can find the bundle in my online shop here.

Simple Card Sketch

My team’s cards from our recent card swap have all arrived and I’m excited to share them with you! With 15 cards I always look for my favourites to share here. This time around I love them all, so stay tuned for the rest over the next few weeks. The cards I’m sharing today all use the same simple card sketch… and of course each has their own spin on it.

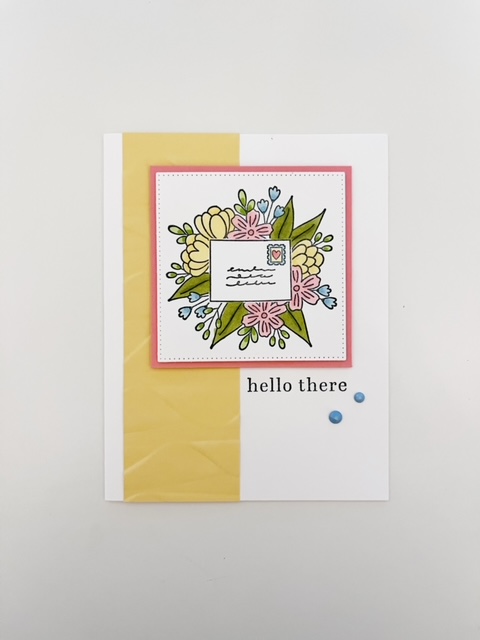
This first card is from Wendy Fee. She used the Full of Love stamp set which she coloured with a variety of Stampin’ Blends. She cut out the image using the Stylish Shapes dies and her strip along the left hand side of the card is a piece of So Saffron cardstock that she embossed using the Cascading Ruffles 3D embossing folder. I also like the Solid Faceted Gems that she added. It adds a little something more to this cute card!

Simple Card Sketch

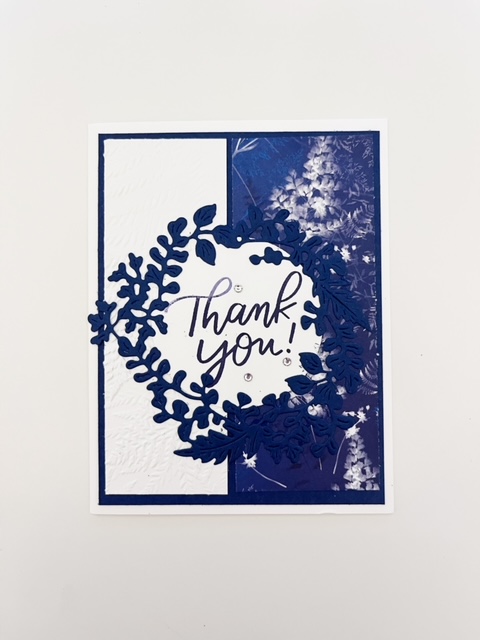
The next card is from Linda Warrington. She’s using one of my favourite Designer Series Paper packs from the Annual Catalogue… the Sun Prints DSP. It’s such a beautiful pack of patterned paper! On the left hand side of the card, next to the piece of DSP, is a strip of Basic White embossed using the Fern 3D embossing folder. The “thank you” comes from the Good Feelings stamp set. This is a great sentiment filled stamp set. And she circled the sentiment using the Natural Prints dies.

Simple Card Sketch

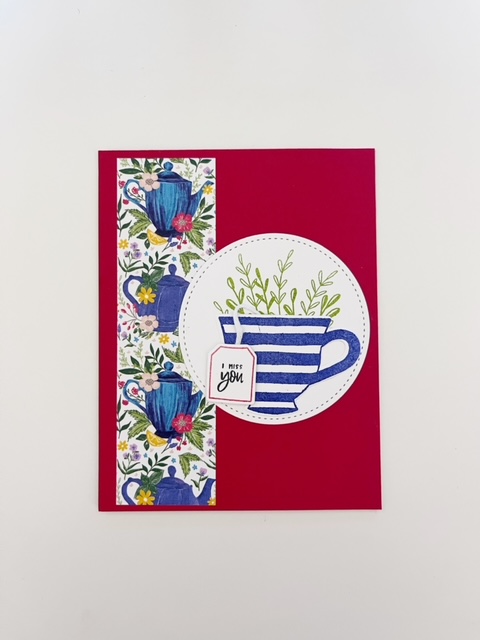
And this last card is from Lorraine Melanson. This card really shows off the Tea Boutique products. Her strip on the left hand side of the card is a piece of the Tea Boutique DSP. And then her central focus uses the Cup of Tea bundle and Stylish Shapes dies. I LOVE tea and I just think this set of stamps and dies are so cute! It’s definitely one near the top of my wishlist.

Simple Card Sketch

It’s so interesting to see how the same simple card sketch of a strip along the left hand side and phrase/image in the centre can turn out so differently! This is why I love joining my team card swaps. There’s always so many great ideas to be found!

If you love to craft and be creative and would love to join a great team of positive, creative and supportive people, then join my team. I’m happy to answer any questions you have or you can check out my page where I talk about why I love being a Stampin’ Up! demonstrator. Or you can just dive right in here. And right now when you join you’ll also get an awesome planner complete with an exclusive stamp set and stickers to get you started in your business or just get you organized!

All Together

One of the great things about being a Stampin’ Up! Demonstrator are the sneak peeks at new products. And the chance to purchase them before they’re officially released of course. So this week I’m sharing something new that’s coming this Tuesday. It’s the All Together suite of products. And the special thing about this suite is that Stampin’ Up! is releasing a whole new set of skin tone Stampin’ Blends just for it! Along with all the new Blends there’s a new pack of black and white Designer Series Paper, a new stamp set and coordinating dies.

While I would love to get it all, my budget said otherwise. So for now I have the Here Together stamp set and the Light Stampin’ Blends. I’ll definitely be adding to my blend collection with my next order. In the meantime I wanted to do a little something with what I have.

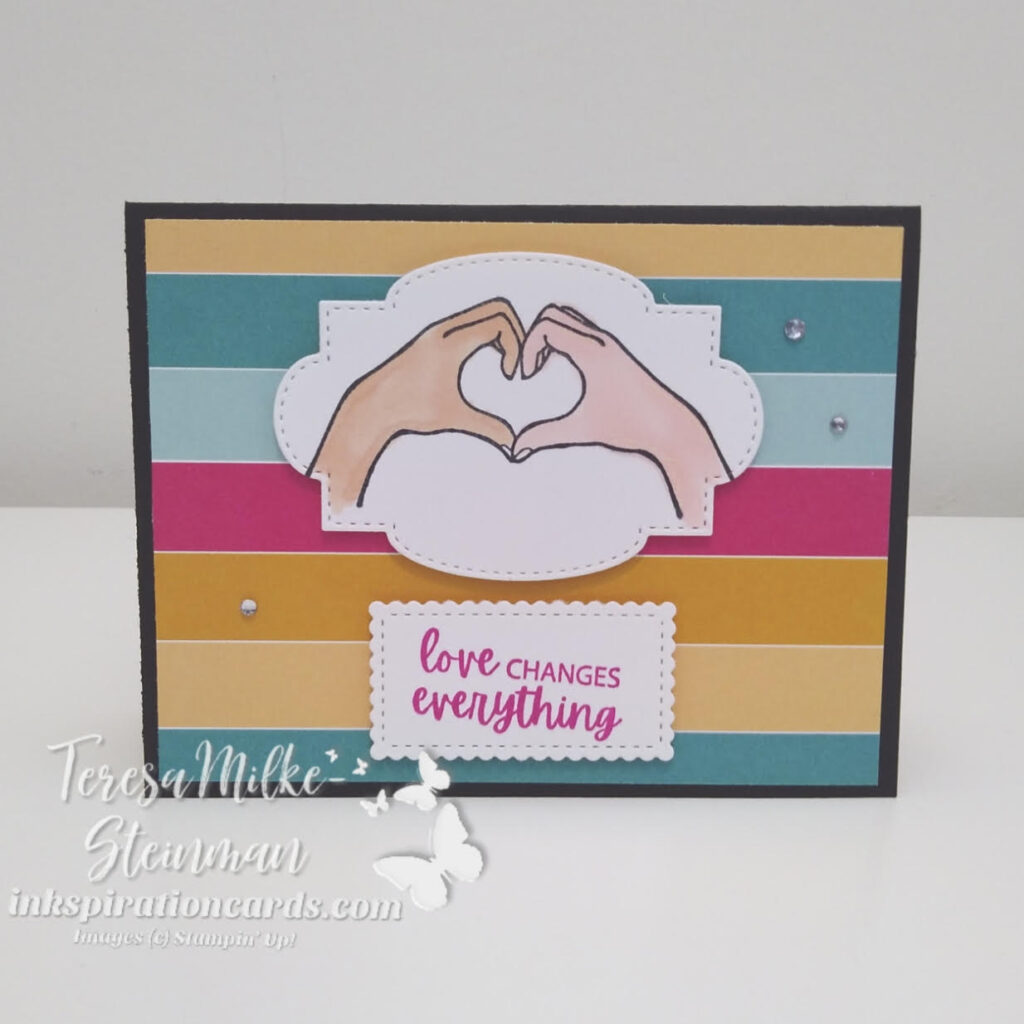
I really wanted the image to be the main focus so I decided to have some Designer Series Paper for my background. For this card I used one of the designs from the Sale-a-bration Sunshine and Rainbows DSP. Then I pulled the Melon Mambo from the design and used that colour to stamp the phrase. The image was stamped with Tuxedo Black Memento ink and then I coloured them with my new Stampin’ Blends.

To make them pop even more I cut out both the image and phrase using the Stitched So Sweetly dies and popped them up with some Stampin’ Dimensionals. And of course I added a few Rhinestone Basic Jewels for a little something extra! Here’s the finished card…

All Together

I love the new All Together suite and am looking forward to seeing more diversity in everyone’s creations! This suite is available starting on Tuesday until May 2nd. In the meantime check out this post using some of the other Stampin’ Blends. And here’s my online shop for when you’ve got your list all set to go.

United through Creativity

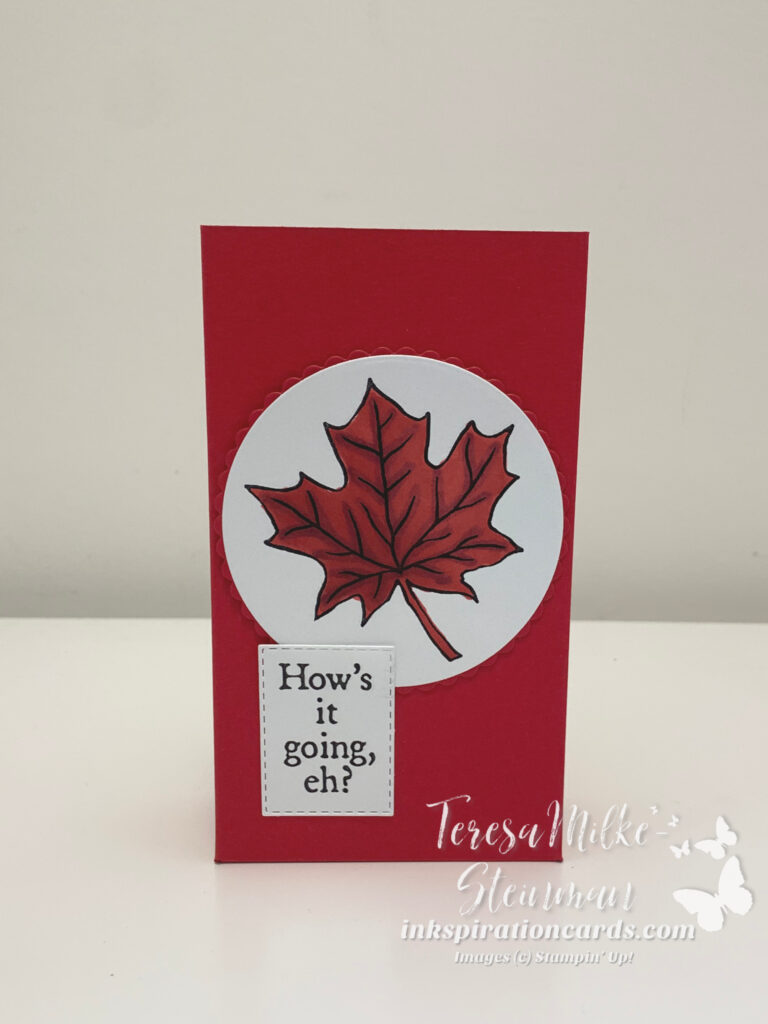
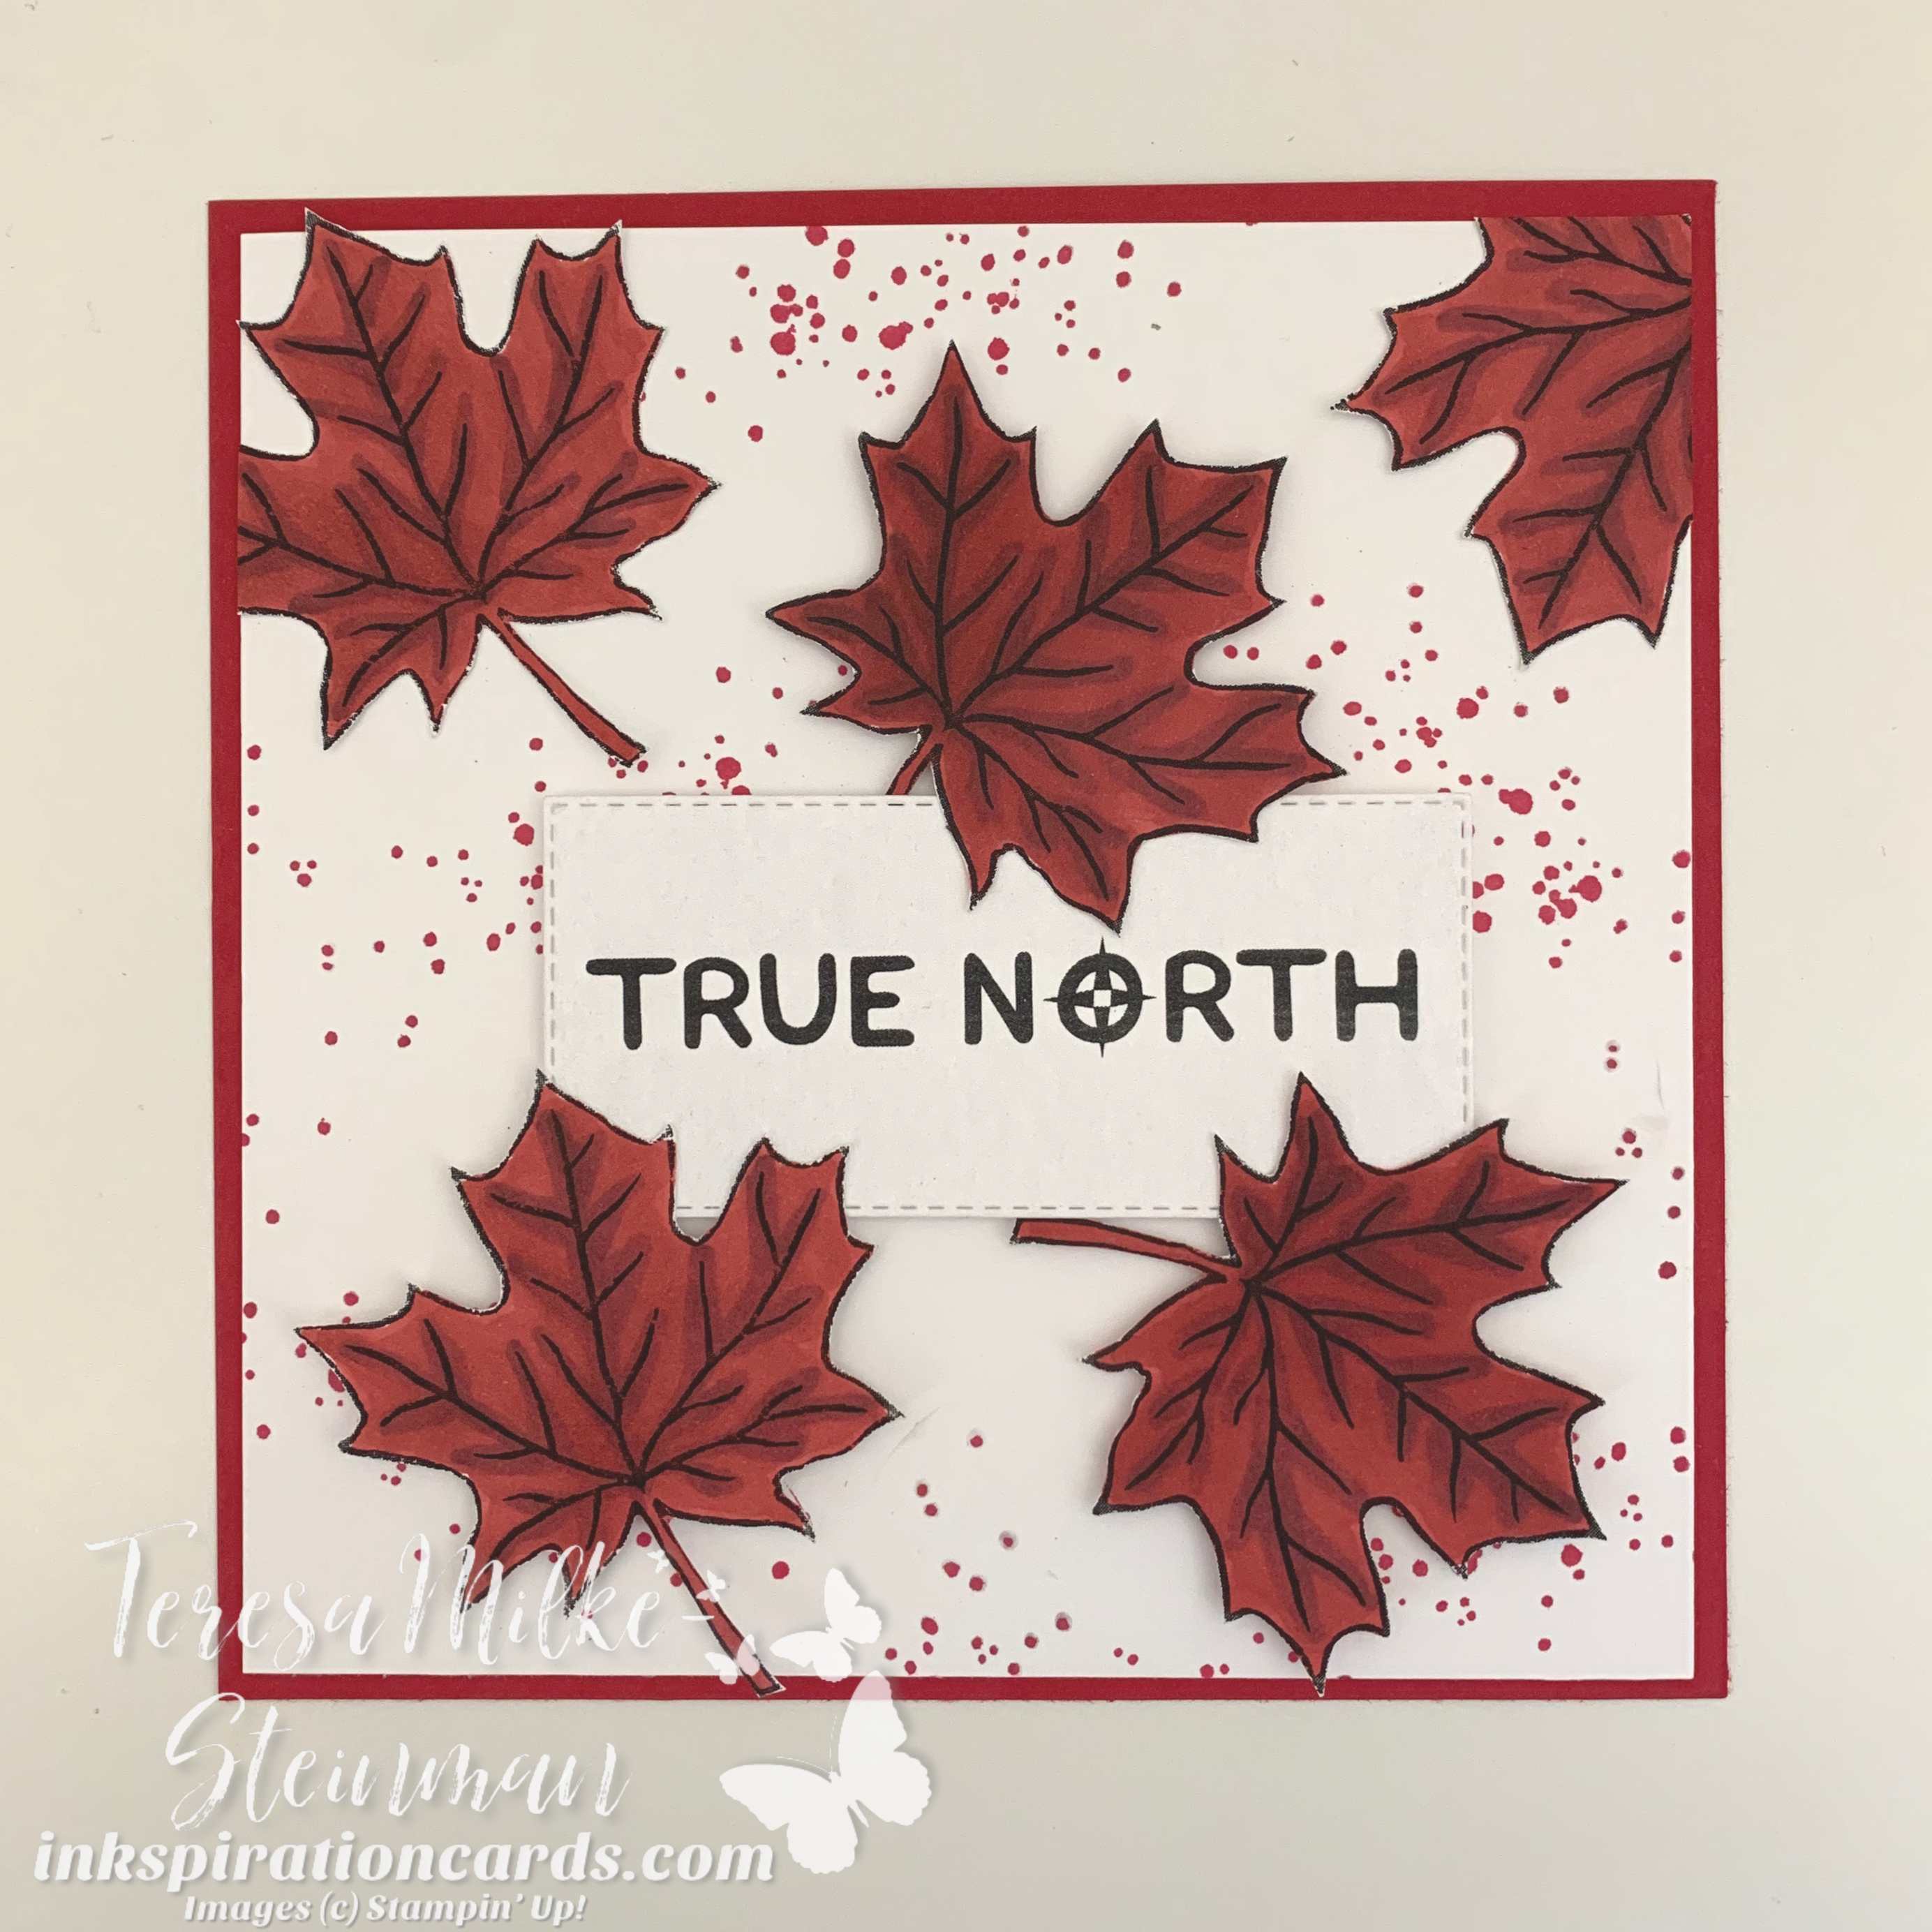
I love colouring! But I don’t get to do it as often as I’d like with a full time job and two munchkins. So this last week I decided it was time to get back to it. I’ve been meaning to get creative with Stampin’ Up!s free digital stamps, United through Creativity, and with Canada coming up (yesterday) I thought it would be the perfect time. There’s a lot of different images and phrases to choose from, but for Canada Day the maple leaf image and those coordinating phrase were ideal!

Once I printed all the maple leaves I needed I pulled out my Real Red Stampin’ Blends and got to some colouring. I wanted to make a couple of different projects so I needed to print a bunch of them. Since I wasn’t able to isolate the maple leaf image I just did some double-sided printing. I knew I only wanted the maple leaf so I didn’t mind the overlap.

The first project I had in mind was to create two treat bags for my two munchkins. Since there still aren’t any big celebrations going on I wanted to do something special. To make the treat box I just cut and scored some Real Red cardstock. Then I adhered it with some Tear & Tape adhesive. I cut out the coloured maple leaves and phrases using the Layering Circles and Stitched Rectangles dies. We had some candy leftover from the teacher gifts we had put together, so I used that and added a couple other treats to fill the bags.

United through Creativity

The other project I wanted to make was a framed home decor piece. I grab the 6×6 Shadowboxes from Michael’s whenever I get the chance so that’s the measurement I used for this. Now to keep my eyes peeled for a sale and some white ones!

I created the background with some Real Red and Basic White cardstock. And I stamped the Basic White cardstock using the ink splatter image from the Quiet Meadow stamp set and some Real Red ink. I fussy cut the rest of my coloured maple leaves. This is not something I do often, but it was a necessary evil for this project. I adhered a couple of the maple leaves right to the stamped cardstock. The others I adhered parts of the leaves directly to the cut out phrase, then adhered the phrase and other leaves to the stamped cardstock with some dimensionals.

United through Creativity

I LOVE how these turned out! And my munchkins loved their treat boxes. I’m excited to do some more colouring with the United through Creativity digital stamps. You can download yours here. And you can check out another colouring project I did here. Enjoy!