Season of Chic

I love the versatility of the Season of Chic stamps and dies! I’ve only been crafting with these for a little bit. And so I feel like I’m only starting to scratch the surface of what I can do with them. So far I’ve mostly been using the stamps. This time I want the dies to be more of a focus.

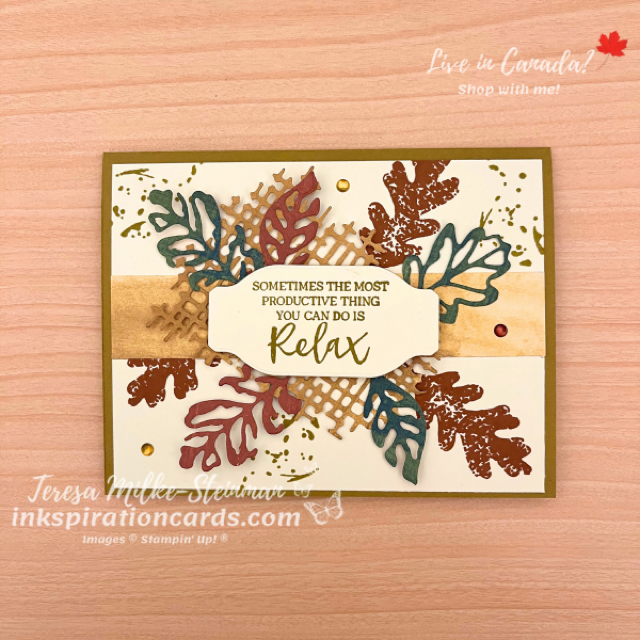
The newest In Colours are great fall like colours. And so I used those as the inkspiration for my colour combination. I used Wild Wheat for the card base. But decided not to have a card mat. Instead I used a piece of Basic White that I stamped with some leaves using Copper Clay ink and splatter with Wild Wheat ink.

On top of that I added a strip of Designer Series Paper from the Fresh as a Daisy pack. This pack uses a lot of the 2023-2025 In Colours. I really wanted to add lots of layers for this card, so on top of that I added the mesh die cut using Wild Wheat cardstock. Then on top of that I added some more leaves using a couple other designs from the same pack of patterned paper. One design is Copper Clay and the other is Garden Green.

While I love the sentiments in the Season of Chic stamp set, I wanted something different for this card. Fall is all about letting go, slowing down and getting ready for winter. So this sentiment from the In the Moment stamp set is perfect. I stamped it with Wild Wheat ink. Then I die cut it with one of the Something Fancy dies and popped it up with a few Stampin’ Dimensionals. To finish it off I added a few of the 2023-2025 In Colour Dots.
Season of Chic

If you’re looking for a stamp set that will cover most of your stamping needs, I highly encourage you to check out the Season of Chic stamp set!

Check out another card I crafted using the Season of Chic stamp set here.

And if you want to see all the images and dies that come with this set, check out my online shop.
Faux Wood Paneling Card

The idea for this card came from a picture I saw of a home decor project. I really liked how they had an image on what looked like wood panels and thought it would make for a pretty cool card design. I’m calling it the Faux Wood Paneling card for obvious reasons. If you can think of another name, or if there is already a name, let me know. I’d love to hear it!

I wish I still had some of the recently retired Sahara Sand cardstock. It would have looked really nice! Crumb Cake is too dark and so I’m using Basic White. The softer colour of Very Vanilla would maybe work even better for this card design. I did use Crumb Cake for my card base though.

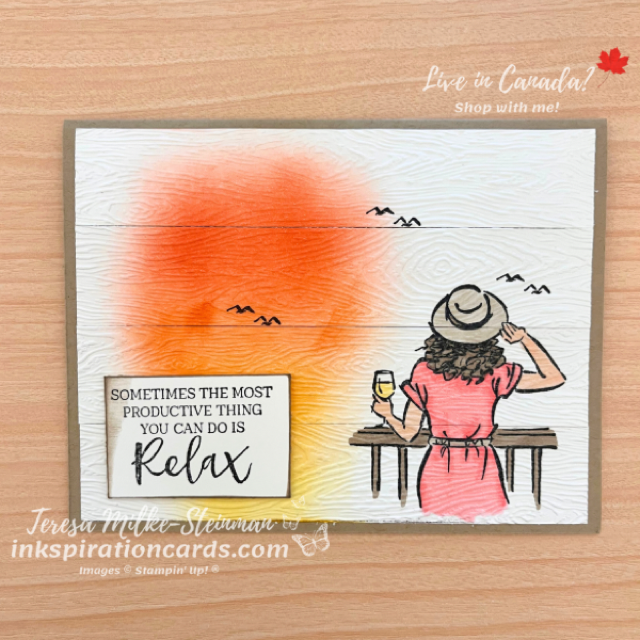
The biggest tip for this design is to do ALL your stamping, colouring, etc. first. Embossing first would make it alot harder to get nice even colour. I stamped one of the images from the In the Moment stamp set using Tuxedo Black Memento ink. Then I stamped the birds from that same image a couple more times. To avoid getting any unwanted leftover ink on your cardstock, make sure to use a scrap piece of paper or cardstock to cover the rest of the image.

To create the sunset I used my Blending Brushes along with 3 different colours. I started at the bottom of the cardstock with Crushed Curry. Then I used Flirty Flamingo and finally Calypso Coral. These 3 colours go really well together and blend well too!

Next I coloured the image with Stampin’ Blends. I used Dark Crumb Cake for the railing, the band on the hat and the hair. Then Light Crumb Cake on the hat and belt. For the dress I used both the Light and Dark Flirty Flamingo Stampin’ Blends. And for the wine I used Light Daffodil Delight. If you’re more of a red wine person Merry Merlot would work well.

Once that was done I embossed it with the Timber 3D embossing folder and cut it into 1″ strips. To finish it off I stamped a phrase from the same stamp set with Memento ink and then added some Crumb Cake ink around the edges. Then I popped it up with some Stampin’ Dimensionals.

Faux Wood Paneling Card

This Faux Wood Paneling card was fun to make! I don’t think I’ve used so many different techniques on one card before.

Check out another card I made using the In the Moment stamp set here. And you can find this stamp set along with everything else you need in my online shop!

Monochromatic Card with Patterned Paper

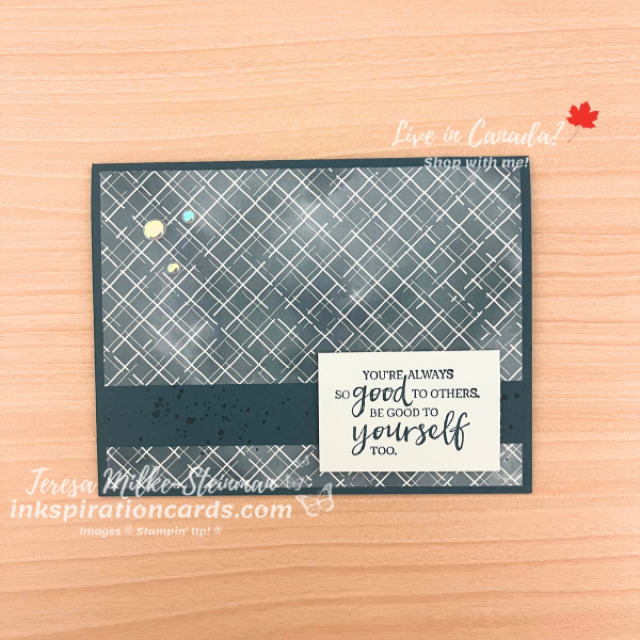
For most of my cards I use 2 colours, sometimes 3 or 4. But I also love a good monochromatic card. And crafting a monochromatic card with patterned paper is a simple way to make it really pretty. I just love the Hello Irresisitible Designer Series Paper! This is such a pretty pack of paper… and great for this kind of card.

To start I picked my DSP design. I chose a simple Pretty Peacock design and so I used that colour for my card base and ink colour too. This is such a pretty colour. I’m really glad Stampin’ Up! brought it back with the recent Colour Refresh they did.

On top of the piece of DSP I added a strip of Pretty Peacock cardstock. But first, to spruce it up a bit I did some tone on tone stamping with the ink splatter image from the Quiet Meadow stamp set. Then on top of that I added the sentiment. This one comes from the In the Moment stamp set. It’s of course stamped with Pretty Peacock ink too.

To finish off this simple card, I popped up the sentiment with a few Stampin’ Dimensionals. And then I added a few of the Flat Adhesive Backed Pearls. Don’t you just love the rainbow effect you get when these catch the light?!

Monochromatic Card with Patterned Paper

It’s so easy to craft a beautiful monochromatic card with patterned paper! All you need to do is pick a design. And right now there’s ALOT of options, so that’s probably going to be the hardest part.

Check out this other card I made using the online exclusive Hello Irresistible DSP here.

And check all the different packs of patterned paper that Stampin’ Up! has in my online shop.

Diamond Flip Fold Card

Fancy Folds Design Team

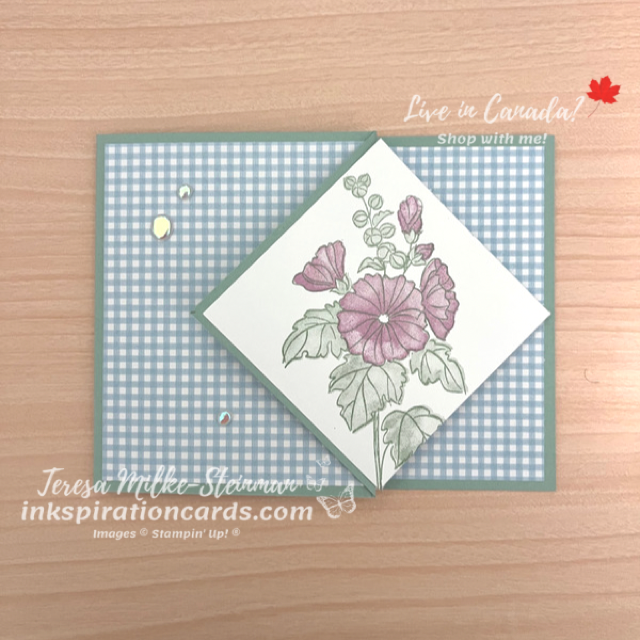
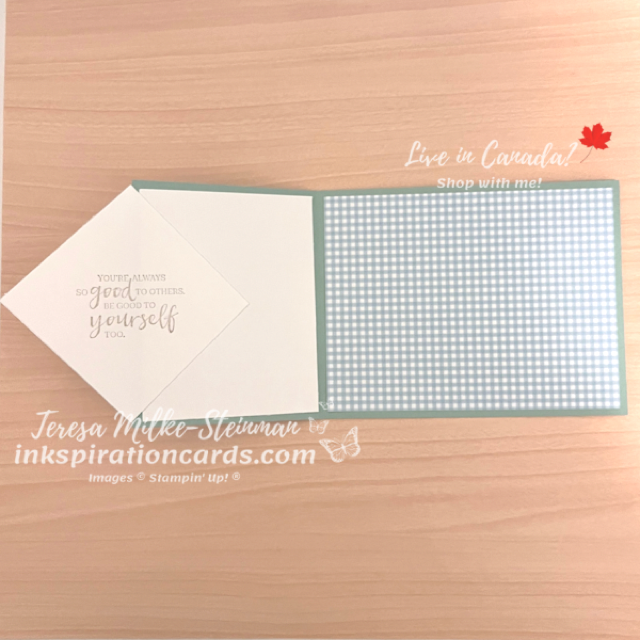
The Fancy Folds Design team is back for another year of fun fancy folds! And this month we’re making a Diamond Flip Fold card. It’s a nice simple fun fold card to ease back into things. For measurements and video instructions, check out this video from Linda Bauwin, a Stampin’ Up! demonstrator from the United States. And the measurements I used for my Basic White squares is 2 7/8″ x 2 7/8″.

This week I’m crafting with the Beautifully Happy stamp set from the Sale-a-bration catalogue. So I started my design with that in mind. One of my colours is of course a green (Mint Macaron) and so I pulled out the Country Gingham 6 x 6 Designer Series Paper. The smaller design from this sheet really helps the flowers be the focal point. Then to go with the Mint Macaron I chose Fresh Freesia. It’s such a pretty purple and I love pairing greens and purples together!

For the stamping I stamped the outline with full strength Mint Macaron. But for the “filling in” I stamped off for the leaves and buds. Then it was back to full strength for the flowers. I added a sentiment from the In the Moment stamp set to go on the inside. And went with Crumb Cake for my ink colour. As much as I love Fresh Freesia, I wanted a more subtle colour for the sentiment I chose. Then to finish it off I added a few of the Flat Adhesive Backed Pearls to add a little bit of bling. I also added some Wink of Stella to the flowers once they were fully dry.

To keep going on this month’s Diamond Flip Fold card hop, check out Mette Nordling Shaw’s card here.

You can also check out last month’s hop here, where we made a Shaded Gatefold card. That was definitely a fun one!

And don’t forget… Sale-a-bration is almost over! So if you’d like to earn the Beautifully Happy stamp set that I used in today’s card then head over to my online shop before February 28th!

Summer Themed Birthday Card

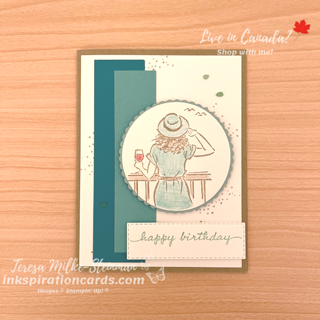
Yes September is here. And yes Fall is less than two weeks away. But I’m still enjoying the warm summer weather. I think that’s where the inkspiration came from for today’s card. Plus I wanted to do some colouring! So that’s where I started… with the stamped image I wanted to colour. The In the Moment works great for this summer themed birthday card. I love all the images in this stamp set, but to keep with a summer theme there was only one choice.

Then I picked my colour combination. I love blues and browns together and they’re a great combo for summer too! I used Crumb Cake as my base colour; the card base and the specs of sand behind all the other elements. Then I have 3 different blues. The blues are Bermuda Bay, Coastal Cabana and Pool Party. I liked the idea of the shades going from dark to light and so I simply used some strips of the different shades.

The image in the centre is stamped with Crumb Cake and then coloured with the Watercolour Pencils. I used Early Espresso from the first assortment. And Coastal Cabana and Cherry Cobbler from the second. I added a Pool Party scalloped circle behind it (using the Layering Circles dies) and popped them up with Stampin’ Dimensionals. The phrase is from the Happiness Abounds stamp set and I stamped in with Pool Party ink. Before I popped it up I die cut it using the Stitched Rectangles dies. And to finish it off I added a few of the blue-green Faux Sea Glass Shapes.

Summer Themed Birthday Card

I really like how this summer themed birthday card turned out! And I might need to add to my cardstock stash so I can do something similar with some Fall colours.

Check out one of the first cards I made with the In the Moment stamp set here. And you can find it here in my online shop.

Watercolour Background

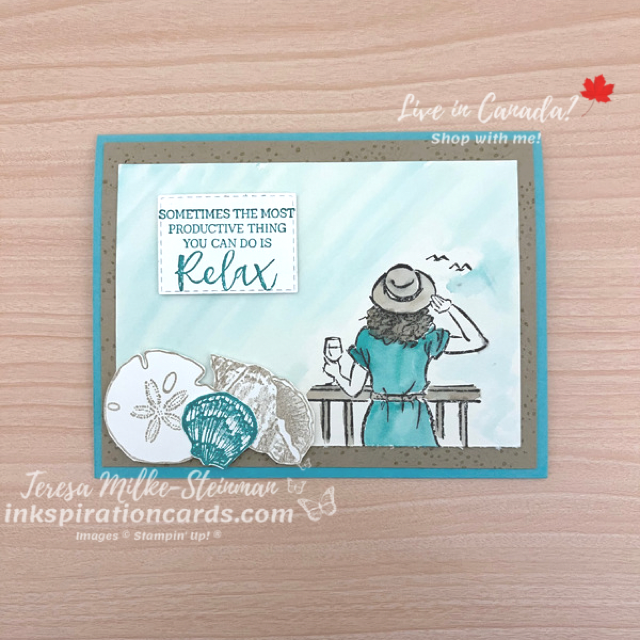
There are so many ways that you can use watercolouring to make great looking projects. I think that’s why I’ve been loving celebrating World Watercolour month. For this card I decided to create a watercolour background. It’s so easy and looks so pretty. You can even use more than one colour to give it a different look.

In this case I thought of making a summery/beach themed card. The In the Moment stamp set has a great image for this and it’s great for any kind of colouring. And of course I had to use the Friends are like Seashells stamp set. For my colour combination I used Coastal Cabana and Crumb Cake. I wanted something a little brighter than Pool Party which is what I usually use. And the Crumb Cake is great for some tone on tone stamping to create a sandy look.

Before I started my watercolour background I stamped my main image on to a piece of Fluid 100 Watercolour paper using Tuxedo Black Memento ink. Once that was dry I used my ink colours and water painters to colour the image in. Then I used more Coastal Cabana ink and my water painter to fill in the background all around the image.

The layers on top of this piece are nice and simple. I cut out the phrase using one of the smallest Stitched Rectangles dies and fussy cut the seashells. These ones are pretty easy to do that with. Then I popped them all up using some Stampin’ Dimensionals. I thought about adding some bling with the Wink of Stella Glitterbrush, but decided not to.

Watercolour Background

To check out this card and see how I created the watercolour background head over to my YouTube channel. And you can check out another card I created using watercolouring with the Happiness Abounds stamp set here.

Double Dutch Fold

Fancy Folds Design Team

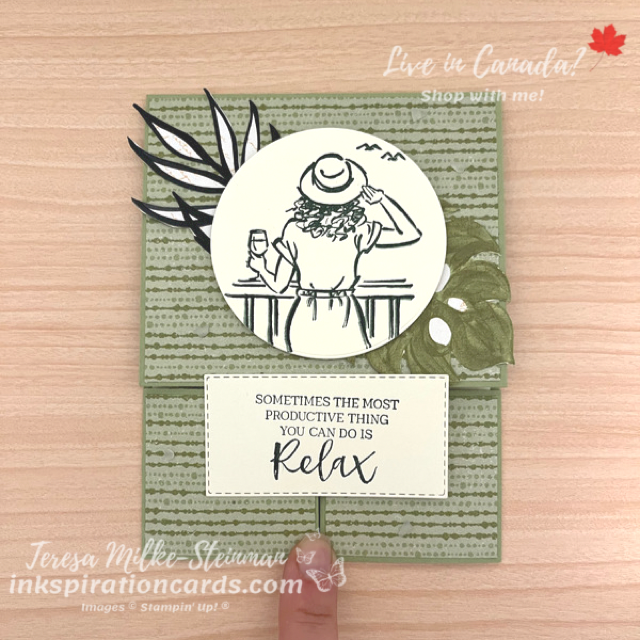
Another month… another Fancy Fold Design Team blog hop! I just love doing these fun folds. And this month we’re making a Double Dutch Fold card. The Gatefold card is a favourite of mine and one of my go-tos when I want to do something different. This fold totally reminds of that one. Beata from Splitcoaststampers shows a cute version here. She shares the measurements for the card base towards the beginning of the video and then check the comments for the measurement of the cardstock band.

My design came from my desire to use the Artfully Composed Designer Series Paper pack from the January-June Mini catalogue. I started by picking the patterned paper I wanted and then pulled my colours from that. I used Pear Pizzazz for the card base and Evening Evergreen for my ink colour. To add to the tropical vibe I fussy cut a couple of leaves from one of the other designs from the same pack.

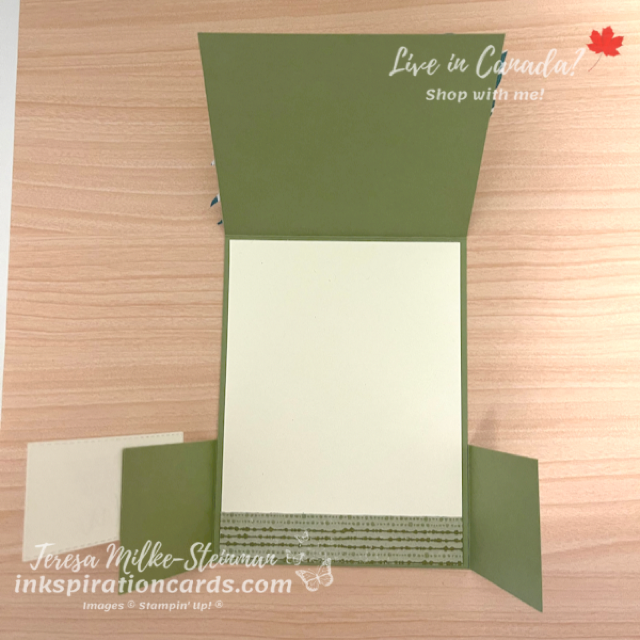
The image and phrase come from the In the Moment stamp set. I cut out the image using one of the Layering Circles dies and the phrase with one of the Stitched Rectangles dies. Then the image was popped up with some Stampin’ Dimensionals. I didn’t pop up the phrase because I want it to help keep the multiple flaps somewhat closed.

Then to finish it off I added a few of the Faux Sea Glass Shapes. A different version of bling. Here’s my card…

This was such a fun and simple card to make. Make sure you keep hopping around the world to see the rest of our Double Dutch Fold cards! Next up is Mette Nordling-Shaw from Australia. Check out her card here.

And you can check out last month’s blog hop here, where we made a Double Triangle Fold.

In the Moment

The January-June Mini catalogue is in full swing! I’m having a lot of fun with it and so are my team members. With every catalogue my team holds a card swap. I always enjoy participating in them. They’re a great chance to get a ton of inkspiration. And it’s a chance for me to see projects using products that are still on my wishlist. For this swap the main rule was to use a stamp set from the new mini catalogue. For me I decided to use the In the Moment stamp set. This is one that I got in my swag bag for OnStage@Home back in November.

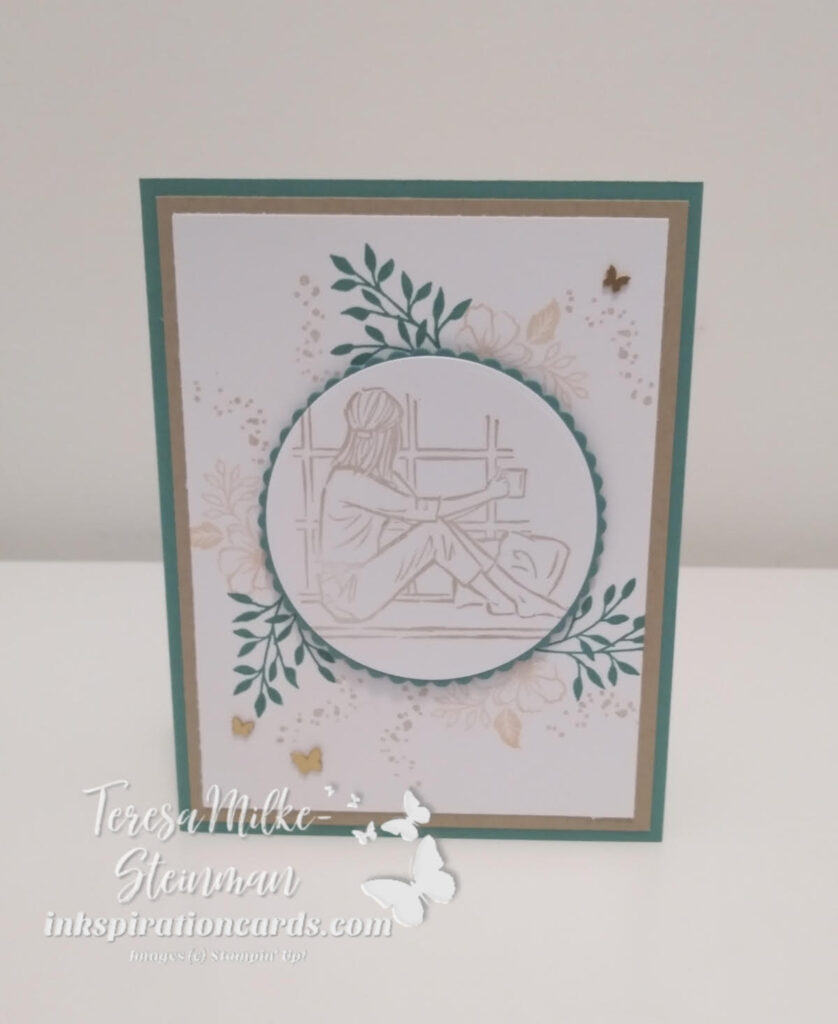
I really like the images in this stamp set, especially because I love to colour. This is a great stamp set for that! But when I’m creating a card for a card swap I don’t want to have to colour 15 cards. I like to keep my design fairly simple. So for this design I had a main image in the centre and then stamped a few in the background to frame it.

The main image of course came from the In the Moment stamp set. And the background images came from the Friendly Hello stamp set from the Sale-a-bration catalogue. I used a combination of Just Jade, Crumb Cake and Petal Pink for my colours. To frame my main image even more I used the Layering Circles dies and popped it up with a few Stampin’ Dimensionals. To finish it off I added a bit of bling with a few Brushed Brass Butterflies.

In the Moment

I finally got all my card swaps in the mail and I’m excited to share some of my favourites here! So make sure to follow me and keep checking back in. In the meantime check out a fun fold card I made recently using the In the Moment stamp set here. You can also check out this stamp set and the other great products from the January-June Mini catalogue here in my online shop.

Amazing Silhouettes

Back in November I attended OnStage @ Home. Just like everyone else Stampin’ Up! switched their annual conference online. And while I do miss the in-person events, I still enjoy the online version. They do a great job! Anyway…. as part of attending OnStage I received the Amazing Silhouettes stamp set which is in the new January-June Mini catalogue. I have to admit that I wasn’t as excited as with this Prize Patrol, but did see some potential.

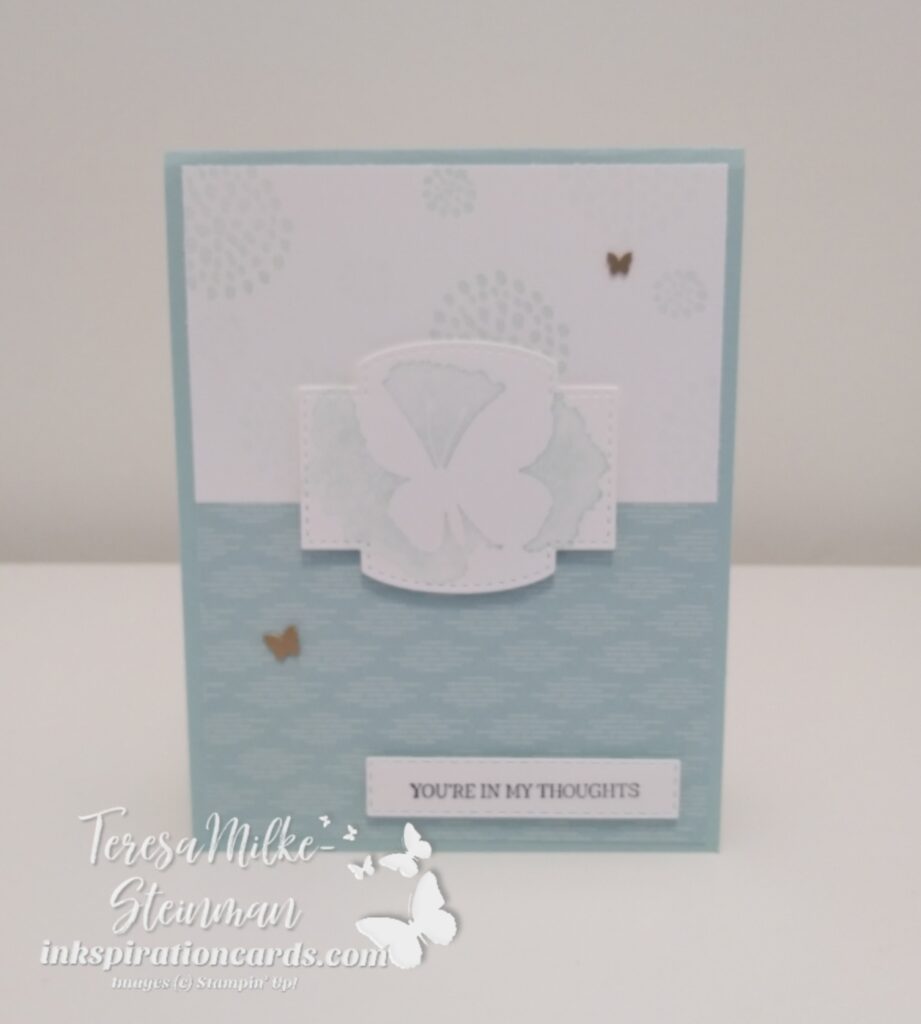
This card is my first design using this stamp set. And to ease my way into it I paired it with a few other stamp sets. I started my design thinking I would make a monochromatic card. And one of the Pool Party designs from the Sale-a-bration Sunshine & Rainbows Designer Series Paper was perfect! This one is a nice simple design and won’t overpower the other elements of the card. So Pool Party is my main colour for this card.

The central image is the butterfly from the Amazing Silhouettes stamp set. Behind that are the dotted circle images from the Sweet Conversations stamp set. Both of these I stamped with Pool Party, of course. But for the dotted circles I stamped them full strength and then once more for a faded image too. Then the phrase, which I stamped in Tuxedo Black Memento ink, came from the new In the Moment stamp set. This set also came from OnStage… I bought the swag box this time around and that was one of the goodies inside!

To highlight the phrase and butterfly I cut them out using the Stitched Rectangles and Stitched So Sweetly dies. And then I popped them up with some Stampin’ Dimensionals. To finish it off I added a couple of the Brass Brushed Butterflies. I just love these!! As soon as I saw them at OnStage I knew I had to have them. And when they ended up being one of the other Prize Patrols I was super excited. Here’s the card…

Amazing Silhouettes

The Amazing Silhouettes stamp set is definitely growing on me. I already have a couple other ideas in my head for other projects.

To fill up on supplies and make your own version of this card, head over to my online shop. Or if you want to get in on the sneak peeks and free products and join my team you can do that here. Plus when you do before February 28th you’ll get 2 extra stamp sets for free! Or if you want more info before joining the Stampin’ Up! family check out my join my team page here.