Monochromatic Halloween Card

I don’t usually make a lot of cards for Halloween. But I’ve been having so much fun crafting with the Them Bones Designer Series Paper that I couldn’t resist! This one is a monochromatic Halloween card. A lot of the time I pair black and orange for my Halloween crafting, but I thought I’d switch it up a little for this one.

So I layered a black design from the Them Bones DSP pack onto my Basic Black card base. But not before I wrapped a bit of the Black & White 1/4″ Gingham ribbon from the Annual catalogue. On top of that I added some more Basic Black cardstock to frame my image. The spooky wreath and spider come from the Cottage Wreaths stamp set. I also stamped a spider on the inside of the card and added a string of webbing using my Dark Basic Black Stampin’ Blend. I popped this up using a few Stampin’ Dimensionals.

For a sentiment I simply added a “BOO!” Which I framed with some more Basic Black cardstock and popped up with some more Stampin’ Dimensionals on top of the gingham ribbon. I added a little more of the gingham ribbon with a simple knot next to the sentiment. And then to finish it off I added a few of the Glow in the Dark Bats.
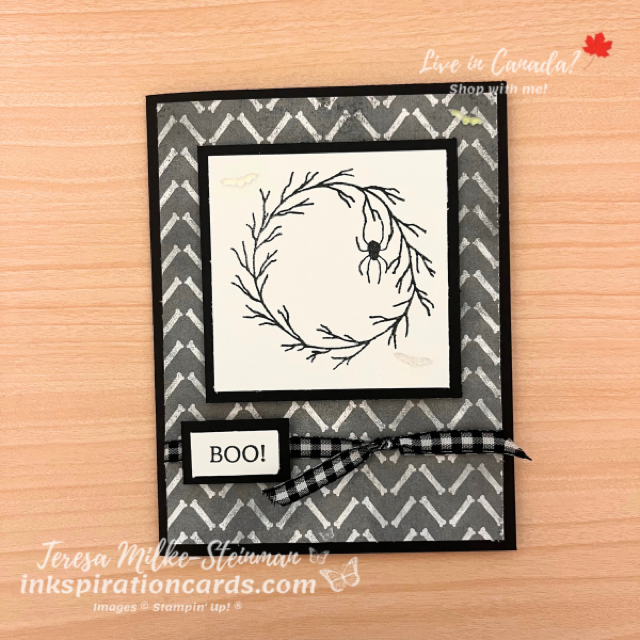
Monochromatic Halloween Card

See how this monochromatic Halloween card came together over on my Facebook page here.

And you can check out another handmade Halloween card I made using the Them Bones DSP pack here!
Hello Ladybug

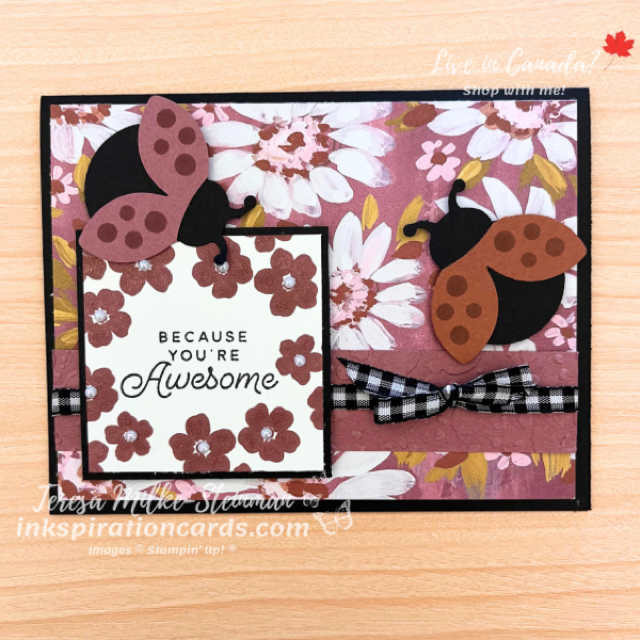
Before I get carried away with the new mini catalogue and all my holiday crafting, I thought I’d use a stamp set from the Annual Catalogue that I haven’t used in a while… Hello Ladybug. This is such a fun bundle to craft with!

For this card I thought it’d be fun to pair it with the Fresh like a Daisy Designer Series Paper. I really like this Moody Mauve design… it’s like a field full of daisies. So I’m using Moody Mauve for my card base or course. And I added a little strip of Moody Mauve cardstock that I embossed with the Splatter 3D embossing folder.

To go with the Basic Black of my ladybugs I added some of the Black and White Gingham ribbon. The sentiment is from the Circle Sayings stamp set. And I stamped it with Tuxedo Black Memento ink. I surrounded that with some Moody Mauve flowers. And then I popped this up with a Moody Mauve frame and some Stampin’ Dimensionals.

I added my Moody Mauve ladybugs with some more Dimensionals. And then I added some Wink of Stella and Iridescent Pearl Basic Jewels to my flowers.

Hello Ladybug

I love the little ladybugs you can make with the Hello Ladybug stamps and punch. They’re super cute!!

Check out another card I made using Hello Ladybug here.

Want to add these cute little bugs to your craft stash? You can find them in my online shop!

Enchanted Butterfly Birthday Card

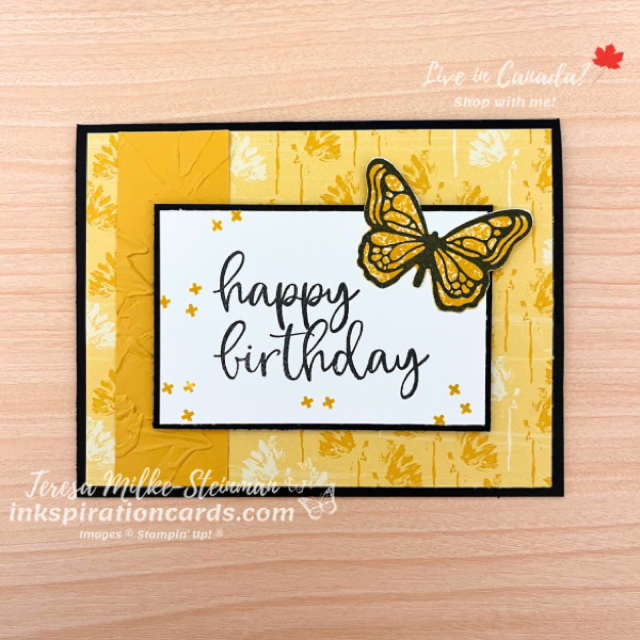
I was so excited when I saw this new stamp set from Stampin’ Up! If you’ve been following me for a while then you’ll know I LOVE butterflies and that I was pretty sad when the Butterfly Brilliance stamps and dies retired. (I’m holding on to those for sure!) Enchanted Butterfly was not part of the demonstrator pre-order back in April, so I had to wait. But I finally have it now and I’m so excited to get crafting with it! My first project is an Enchanted Butterfly birthday card.

Recently a team member shared a card in our group and I liked her design. (Thanks Diane Kent!) So I used that as my starting point and tweaked it as I went. I of course was adding a butterfly so I flipped through the Inked Botanicals Designer Series Paper pack for a design that would work for my background. Usually I don’t use a lot of yellows when I craft, but I loved this Crushed Curry design. It’s so simple and so pretty! To help it pop I’m using Basic Black cardstock for my base and for the centre frame.

On top of my DSP card mat I layered a piece of Crushed Curry cardstock that I embossed with the Painted Texture 3D embossing folder. This is one of my favourite embossing folders right now. It just adds that little something more you know. Then on top of that I used a “happy birthday” from the Biggest Wish stamp set. I stamped that with Tuxedo Black Memento ink and sprinkled some crosses around it using Crushed Curry ink.

Next I stamped the front facing butterfly image with Memento ink on a separate piece of Basic White cardstock. Once that was dry I flipped over the stamp to colour it in using Crushed Curry ink. Because this stamp set is reversible you can get nice clean images no matter what side you use. With other, non-reversible, stamp sets the image doesn’t line up when you flip them over. Then I popped up the butterfly and sentiment using some Stampin’ Dimensionals.

Enchanted Butterfly Birthday Card

If you want to add a little something more to this Enchanted Butterfly birthday card, you could add some Wink of Stella to the butterfly. Or you could add some Brushed Brass Butterflies.

You can find the Enchanted Butterfly stamp set and Inked Botanicals DSP in my online shop.

And you can check out this project I made using the recently retired Butterfly Brilliance stamp set here. I’ll be sharing another project using Enchanted Butterfly later this week, so make sure to follow my blog to get notified when I post!

Blossoming Happiness

Usually my cards are fairly simple… pretty but simple. I’ve seen some cards with layers upon layers of different things and can appreciate the work that goes into them. For me those designs can be a bit much sometimes. But lately I’ve been wanting to add some more layers to my cards while still keeping it simple. I think it all started with the Hues of Happiness suite. The images from the stamp set and Designer Series Paper are so pretty and the Blossoming Happiness dies lend themselves well to layering.

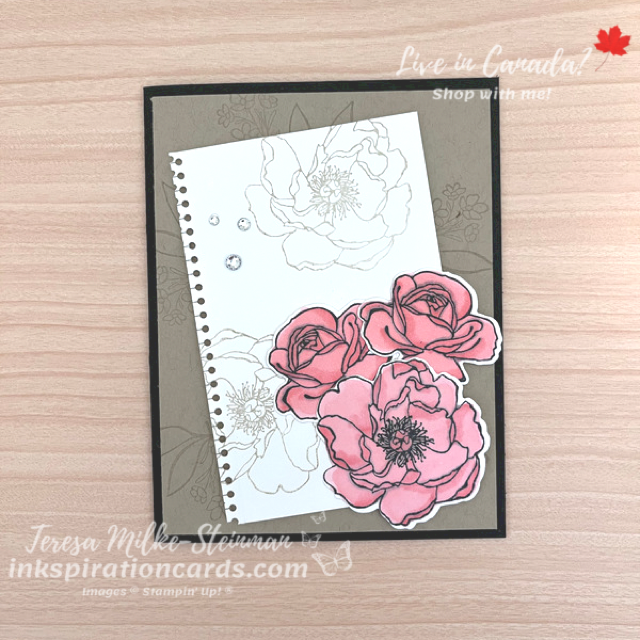
So in the spirit of keeping it simple I went with a neutral colour combination, Basic Black and Crumb Cake. Then I added a pop of colour with Flirty Flamingo. I stamped some leaves and one of the smaller bouquet of flowers images around the edge of the piece of Crumb Cake using Crumb Cake ink. The tone on tone stamping keeps it subtle and really helps the Flirty Flamingo stand out.

I also stamped a couple of the larger flowers on a piece of Basic White cardstock using Crumb Cake ink. Once that was dry I used one of the Blossoming Happiness dies to create a torn notebook page look. This is such a cool die! I added that to the Crumb Cake card mat on an angle with some Stampin’ Dimensionals.

Then for my last layer I stamped a few flowers using Tuxedo Black Memento ink on some Basic White cardstock. And here’s where the Flirty Flamingo comes in. I coloured the flowers using the Flirty Flamingo Stampin’ Blends. I just love colouring with these markers!! Then I cut them out using the coordinating dies and added them to my card. To finish it off I added a few Rhinestone Basic Jewels and some Wink of Stella to the centre of the coloured flowers.

Blossoming Happiness

I’m slowly easing my way into adding more layers to my cards. It’s a new kind of design, so it’ll take me a few attempts before I start to get the hang of it. But I love the Blossoming Happiness dies and know that they will definitely be a part of future layered creations!

Check out one of my other cards using the Happiness Abounds stamp set here. And you can check out the full Hues of Happiness suite in my online shop.

He’s All That

June is here! Which means that summer’s coming and Father’s Day is around the corner. In just over two weeks acutally. Maybe that’s why I’ve been making so many masculine cards lately… or maybe it’s because I just love the He’s All That bundle. Either way I thought I’d share another card using this bundle. Check out this one that I made for a Paper Craft Crew vertical sketch challenge here.

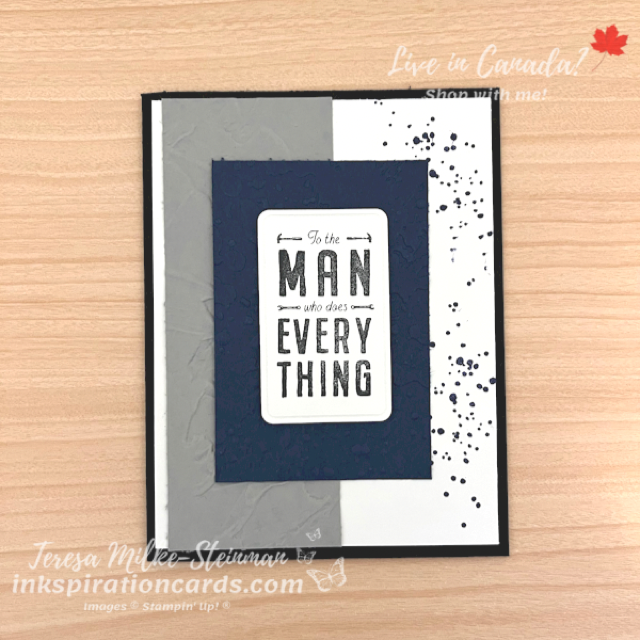
For this card I went with all neutral colours. Yes navy is a neutral colour. I used Basic Black for the card base. Then I mixed in some Smoky Slate and Night of Navy. To add a little something to the smaller pieces of cardstock I embossed them. I embossed the piece of Smoky Slate using the Painted Texture 3D embossing folder. And the piece of Night of Navy cardstock with the splatter folder from the Stripes & Splatter 3D embossing folders.

For the stamping I added a little bit of ink splatter from the Quiet Meadow stamp set using Night of Navy ink. And the phrase, from the He’s All That stamp set, I stamped in Tuxedo Black Memento ink. To cut out the phrase I just used one of the coordinating dies. Then to finish it off I popped up the phrase with a few Stampin’ Dimensionals. Here it is…

He's All That

The He’s All That stamp set and dies are great for masculine cards… and for Father’s Day. These kinds of cards are definitely more of a challenge for me so I’m glad to have something that makes it so much easier! Check out the whole suite of products in my online shop. I especially love the Designer Series Paper and can’t wait to get my hands on that too!